When you click on links to various merchants on this site and make a purchase, this can result in this site earning a commission. Affiliate programs and affiliations include, but are not limited to, the eBay Partner Network.
Custom Fabrication DepartmentThis is the section to discuss any and all custom work that you've done or had made that may not be available on the retail market.
This has been in the works for several months now. It�s taking longer than I wanted but when it comes to custom it just takes longer.
Originally I had ordered B&I black wood interior trim kit but there were many issues with quality and customer service as I had documented in an aftermarket review thread already. Based on my experiences I cannot recommend that kit. Waiting nearly 3 months for the B&I kit to be produced really delayed this project, but I�m glad it happened that way.
I decided to get my own hydrodipping done since I really want something unique.
I am combining, custom charcoal paint, a hydrodipped wood and brushed titanium patterns and real carbon fiber in both a traditional weave pattern and forged. I am mixing multiple textures an finishes to hopefully get the most interesting combination.
The traditional woven carbon fiber is from China, and CalPony cars. They use the same vacuum technique so the pieces match each other perfectly, the weave lays very flat with no distortions.
I had also sourced a local company that offers carbon fiber skinning which means they cover your parts in carbon fiber and apply a clear top coat. For additional CF pieces not available aftermarket I went with the same CF weave thinking they would match, but the end result was much different since they do not use a vacuum process. The weave was too different, so I decided to have them re do the few finished CF pieces in a carbon fiber that looks completely different, forged carbon fiber.
I wanted the hydrodip wood pattern to be a little different. I picked out a few more common grains and one that was a little more wild looking. The challenge here is making all the finishes look slightly different but cohesive. The hydrodipper is in the process of doing samples for me so we can get them looking right. I�ll post some pics of what we have so far.
The remaining parts are getting skinned in the forged carbon fiber and should be here in a week and a half.
I�m also doing some customization in the engine bay. The engine cover was painted in gloss Ford Oxford white. I had the raised Ford oval filled in as I am using an aluminum badge in its place.
I had custom badges made that go where the ECOBOOST lettering is. I�m in the process of having them cleared in a flat clear, ai thought the gloss clear blended in too much with the gloss on the engine cover. If I don�t like it will shoot them again in the gloss.
I will powdercoat, paint and hydrodip parts in the engine bay including an air intake and some other new parts.
This is going to be a slow process now that the holidays are here and it�s getting cold out. I�ll try and update as often as possible.
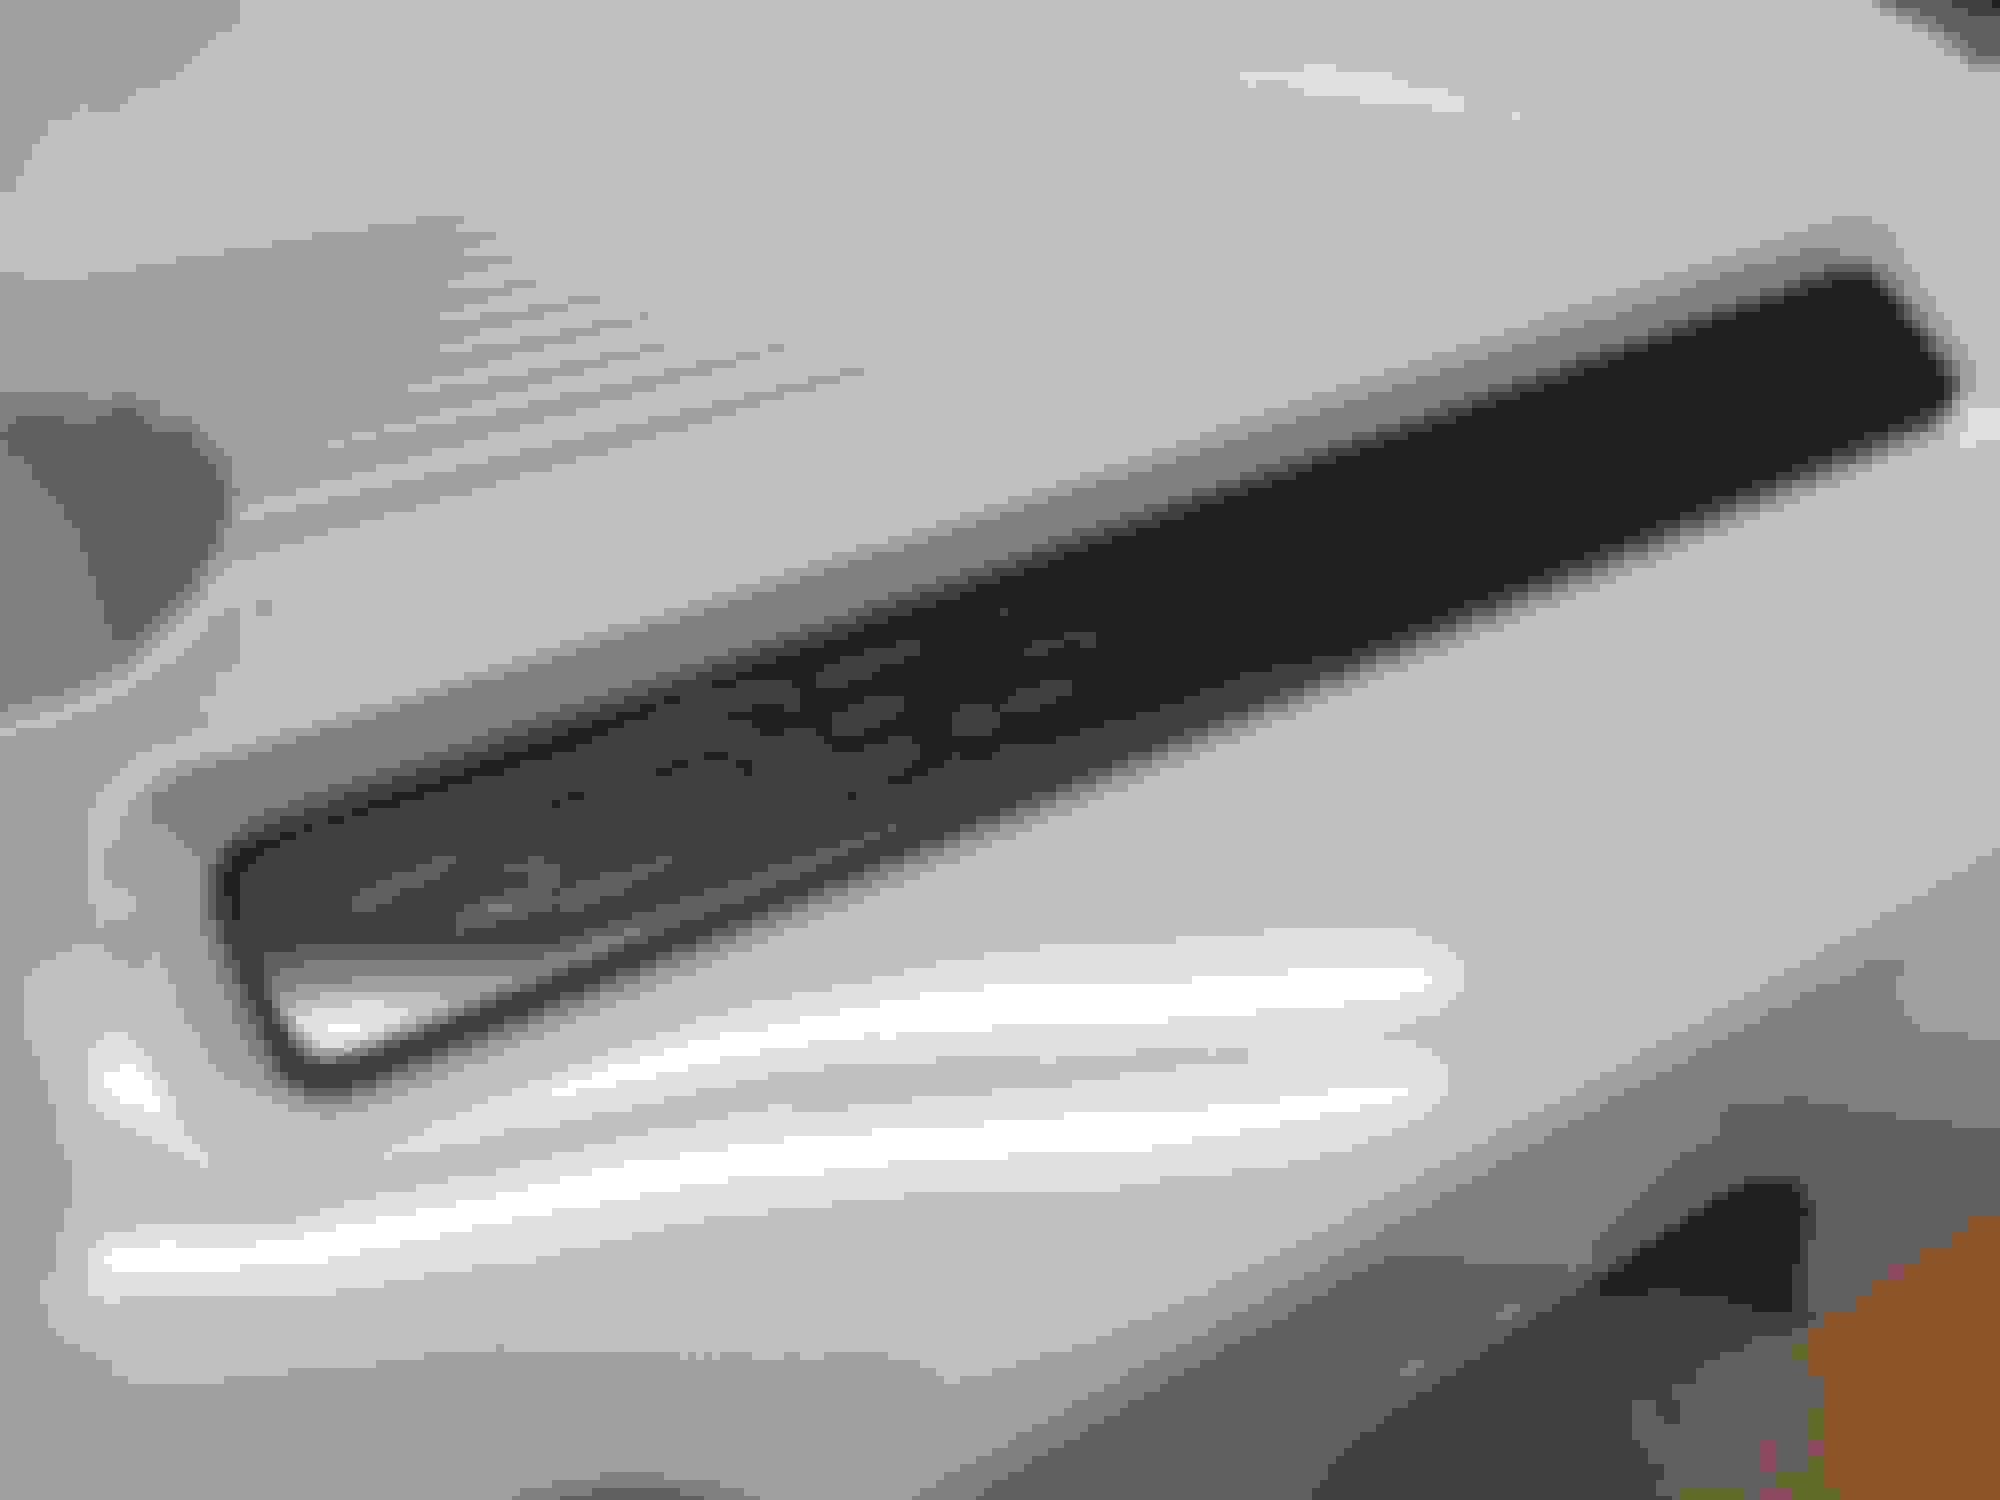
Engine cover and custom badge with typography and graphics I created myself, I’m a brand designer/illustrator.
The original badges were etched out of black plastic but the relief was too subtle and the plastic looked cheap to me, there was a sharp outer edge on the plastic that made it look unfinished and cheap. So I sanded down the outer edge and had them painted in a custom charcoal paint I’ve been using as a good match and complement to the hues of the carbon fiber on other parts.
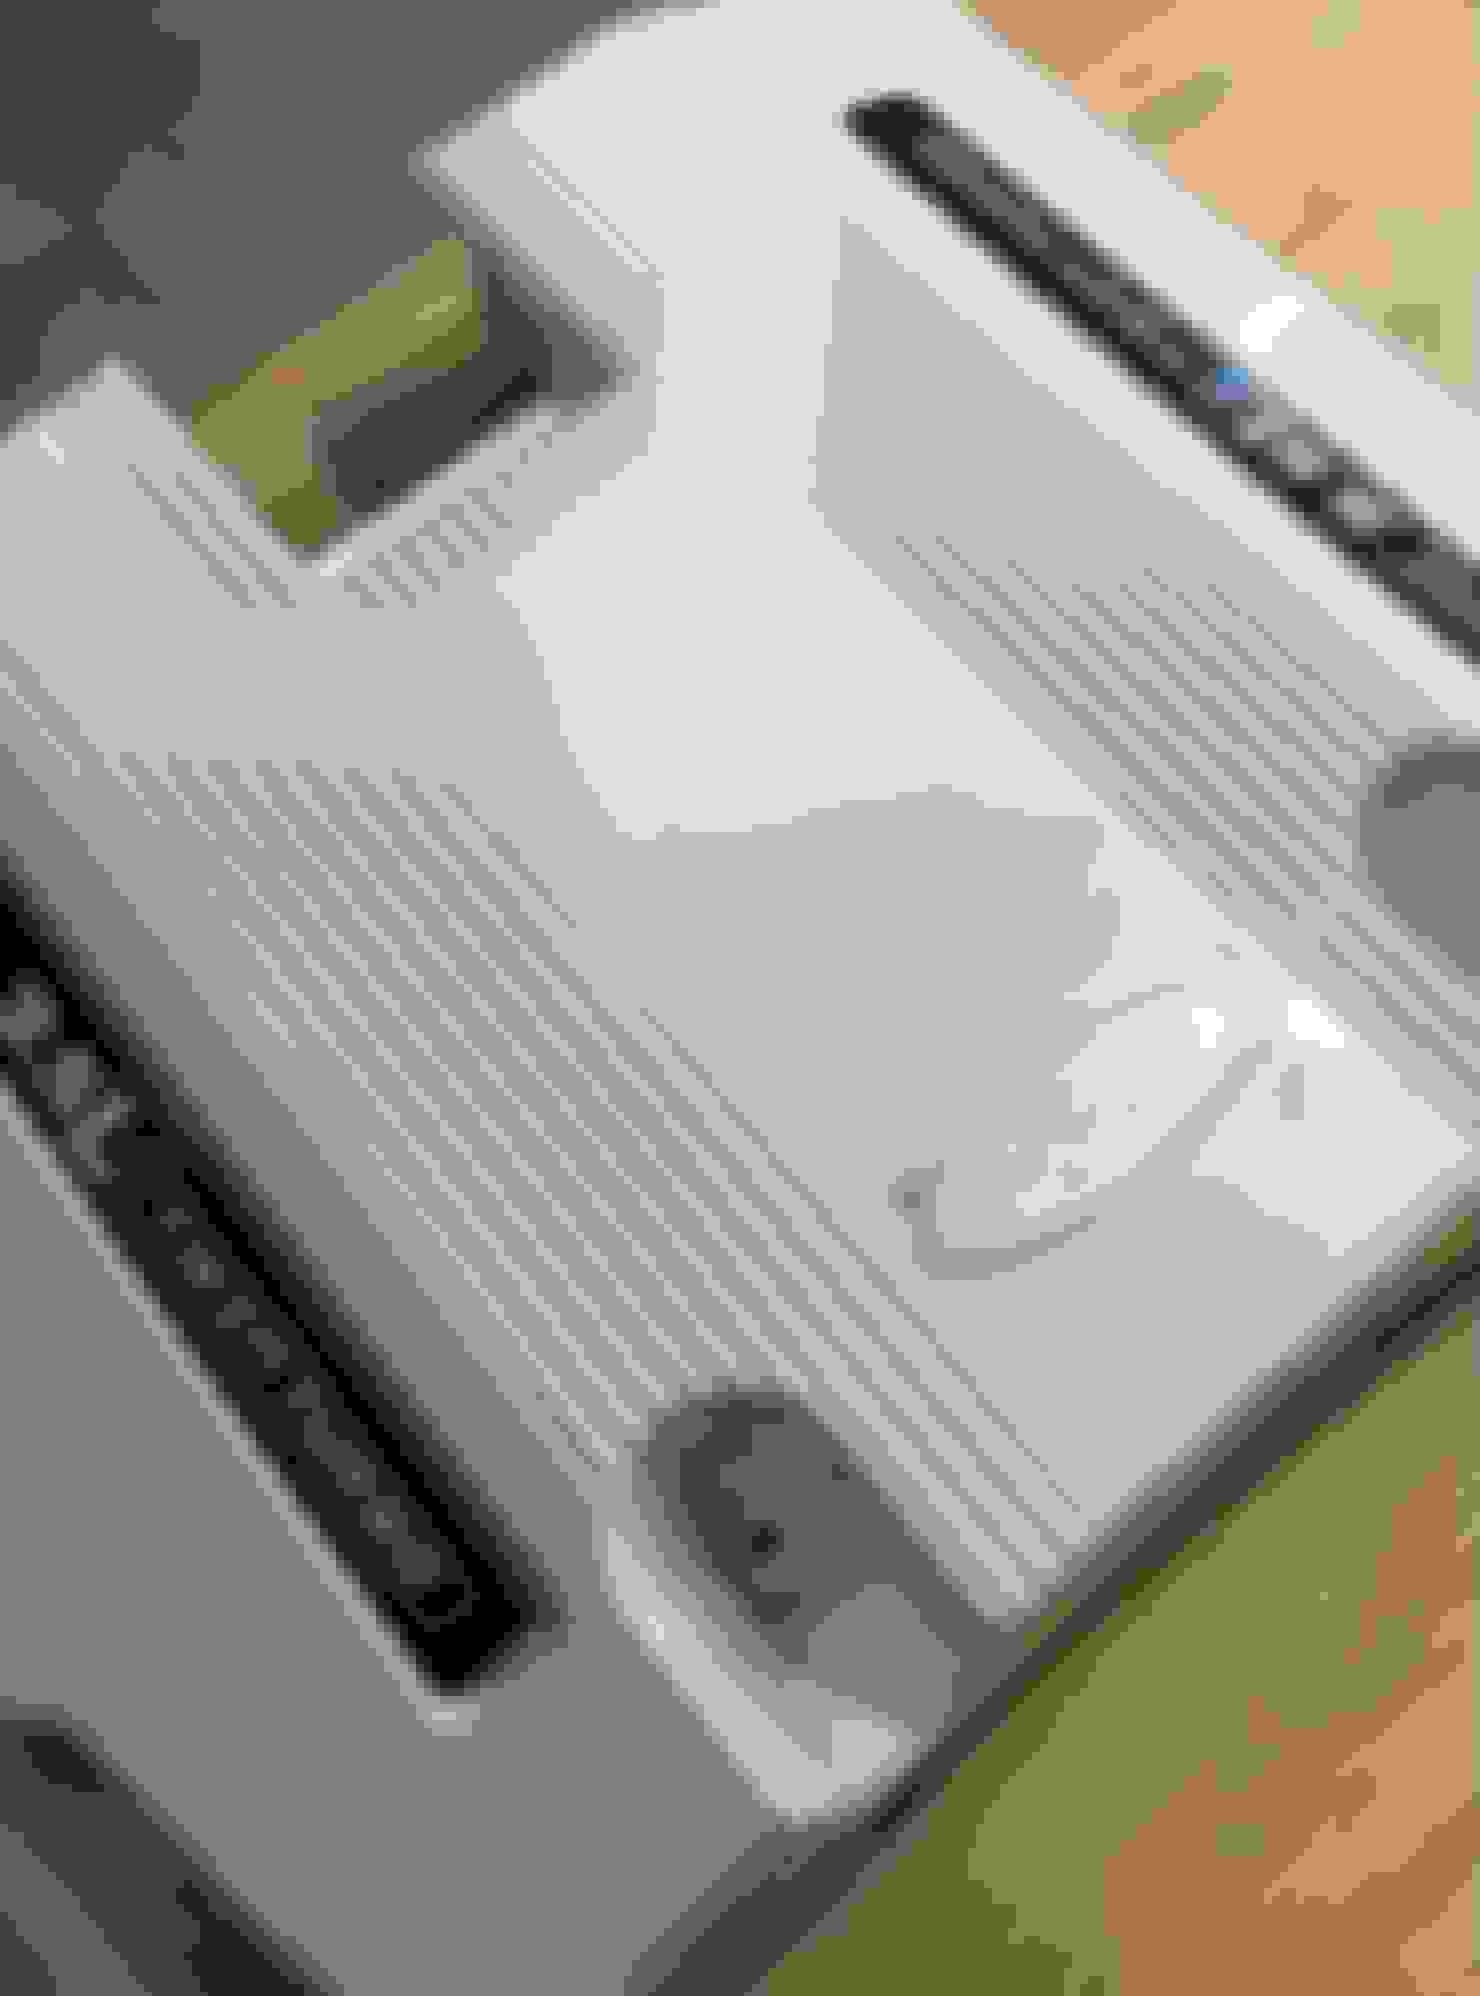
It looked better but still too subtle. So I had a pinstripes paint and fill in the lettering and graphics with Oxford white and silver metallic, it was extremely difficult to do and he had a tough time filling in the depression accurately. I know my lettering and some of them look distorted and all of them including the lines and framework need to be refined. I went in with an X-Acto blade and carefully scraped away excess paint to get it nearly perfect. The badge can be seen in various stages, some better than others, it’s subtle but it made a big difference. I finished the final scraping and adding paint where needed with a 000 brush and it looks about as good as it’s going to get. Unfortunately I don’t have a picture of the completed stage, my autobody guy has them to finish them in a flat clear. When I get them back next week I’ll shoot some pics to see what everyone thinks of the flat finish on the badges against the gloss engine cover.
Badge when first etched
Painted
My artwork
Filled In
Last edited by RockUF150; Nov 25, 2020 at 08:14 PM.
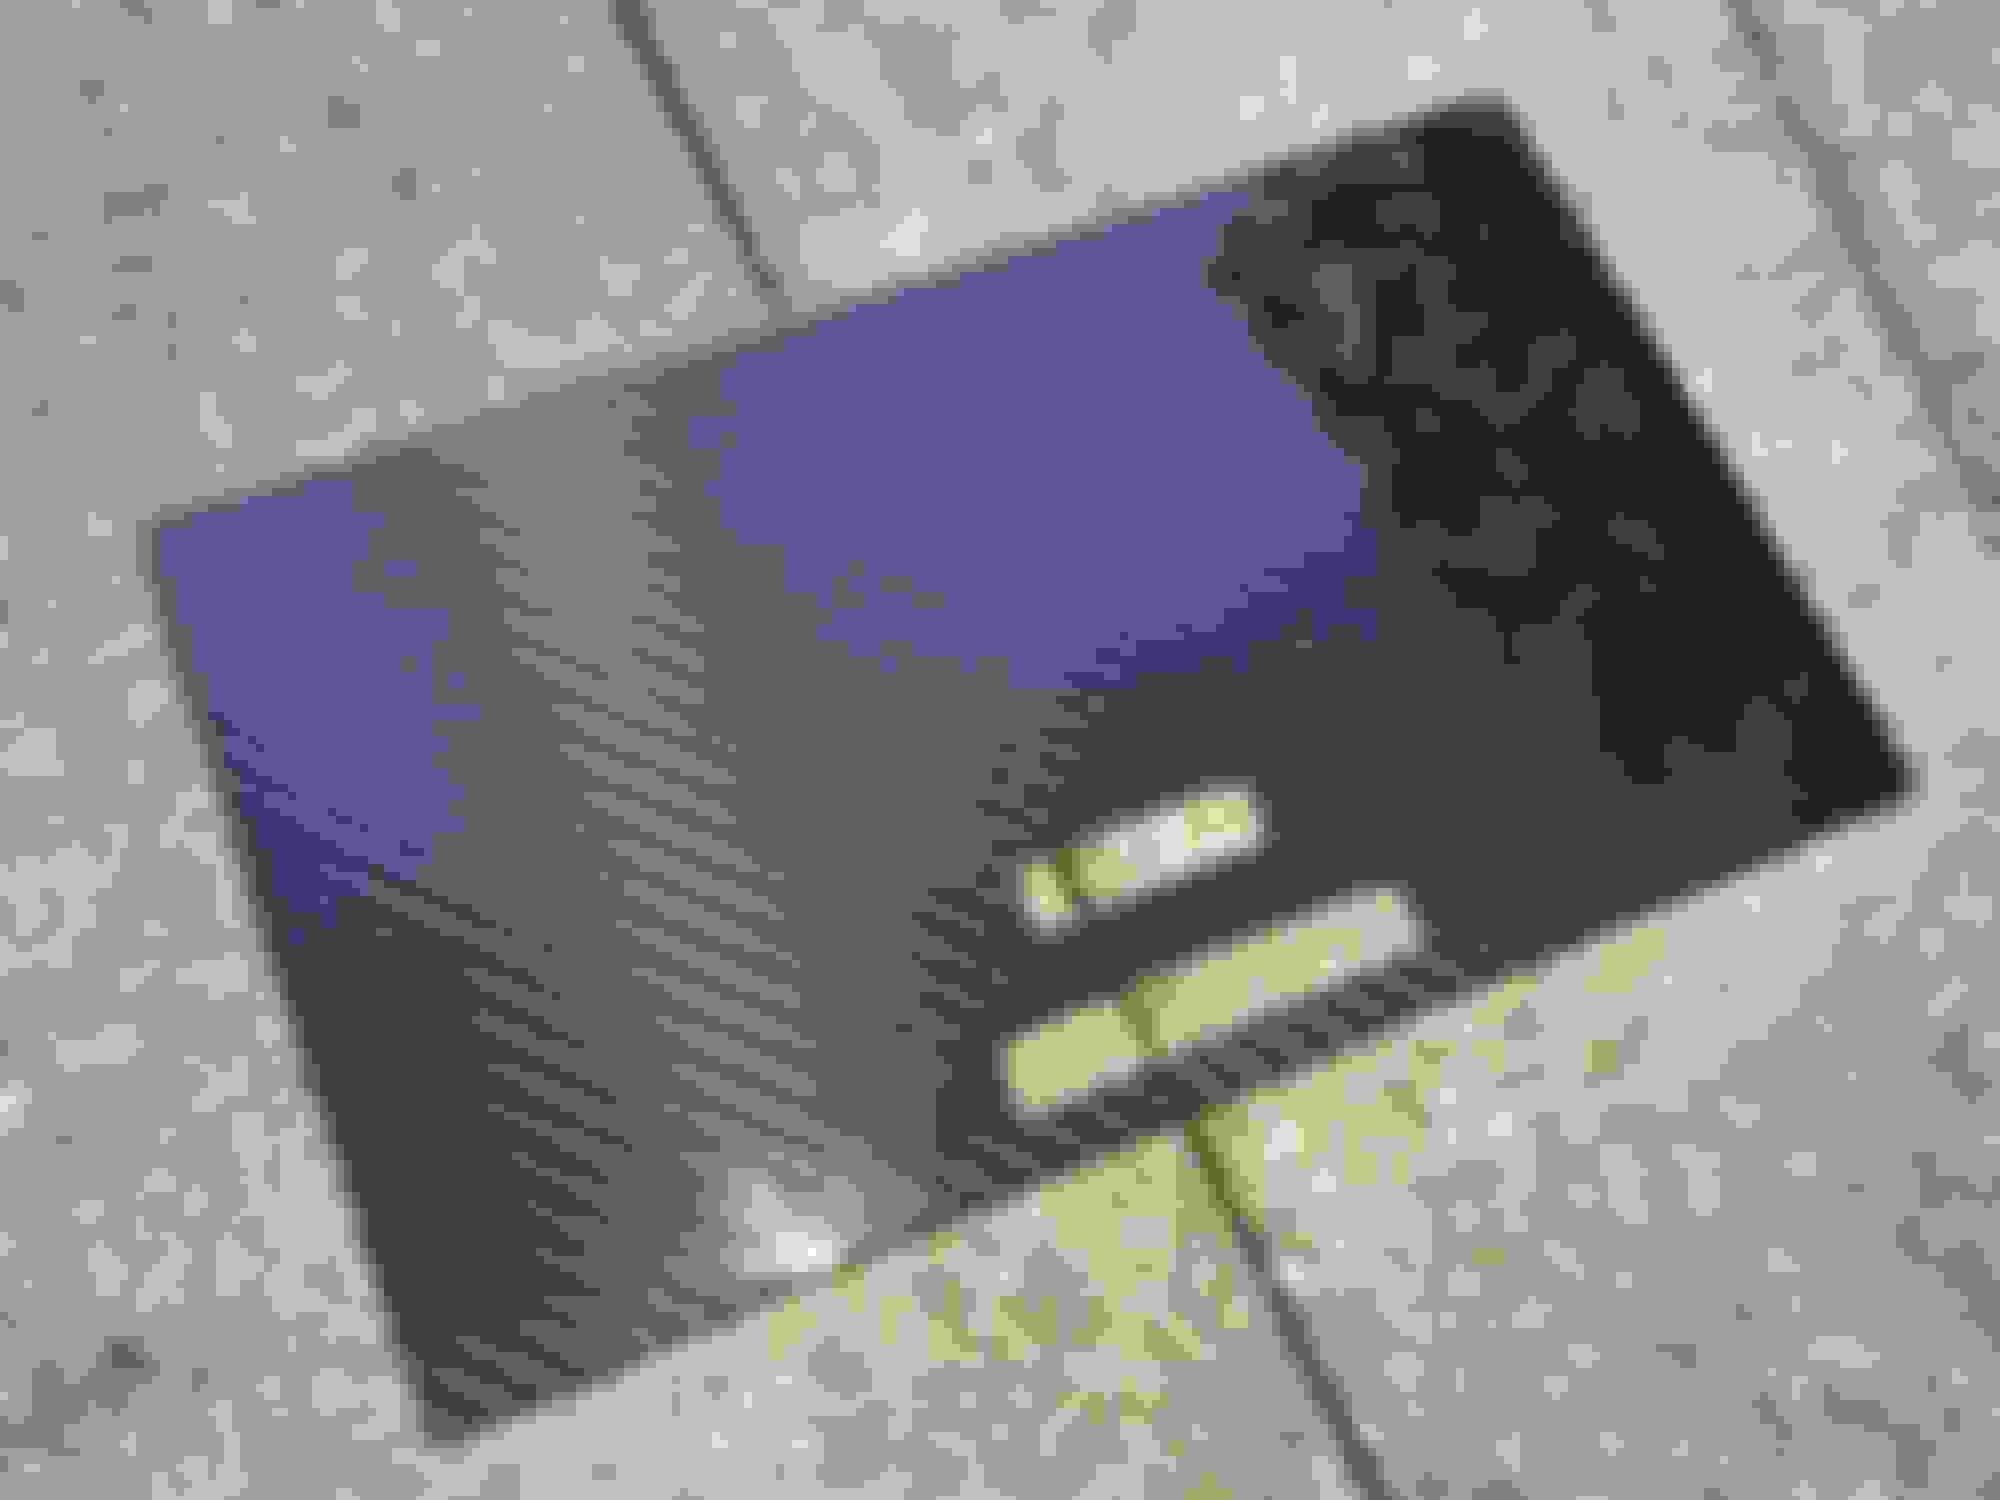
Some of three real weave carbon fiber pieces and the charcoal metallic paint I picked out. Some of the carbon fiber parts will be replacement parts, some will be overlays.
CF Cubby Overlay
Driver Seat Replacement Panel
CF Mirror Caps, Painted Rear Console and CF Handle Overlay
Last edited by RockUF150; Nov 25, 2020 at 08:45 PM.
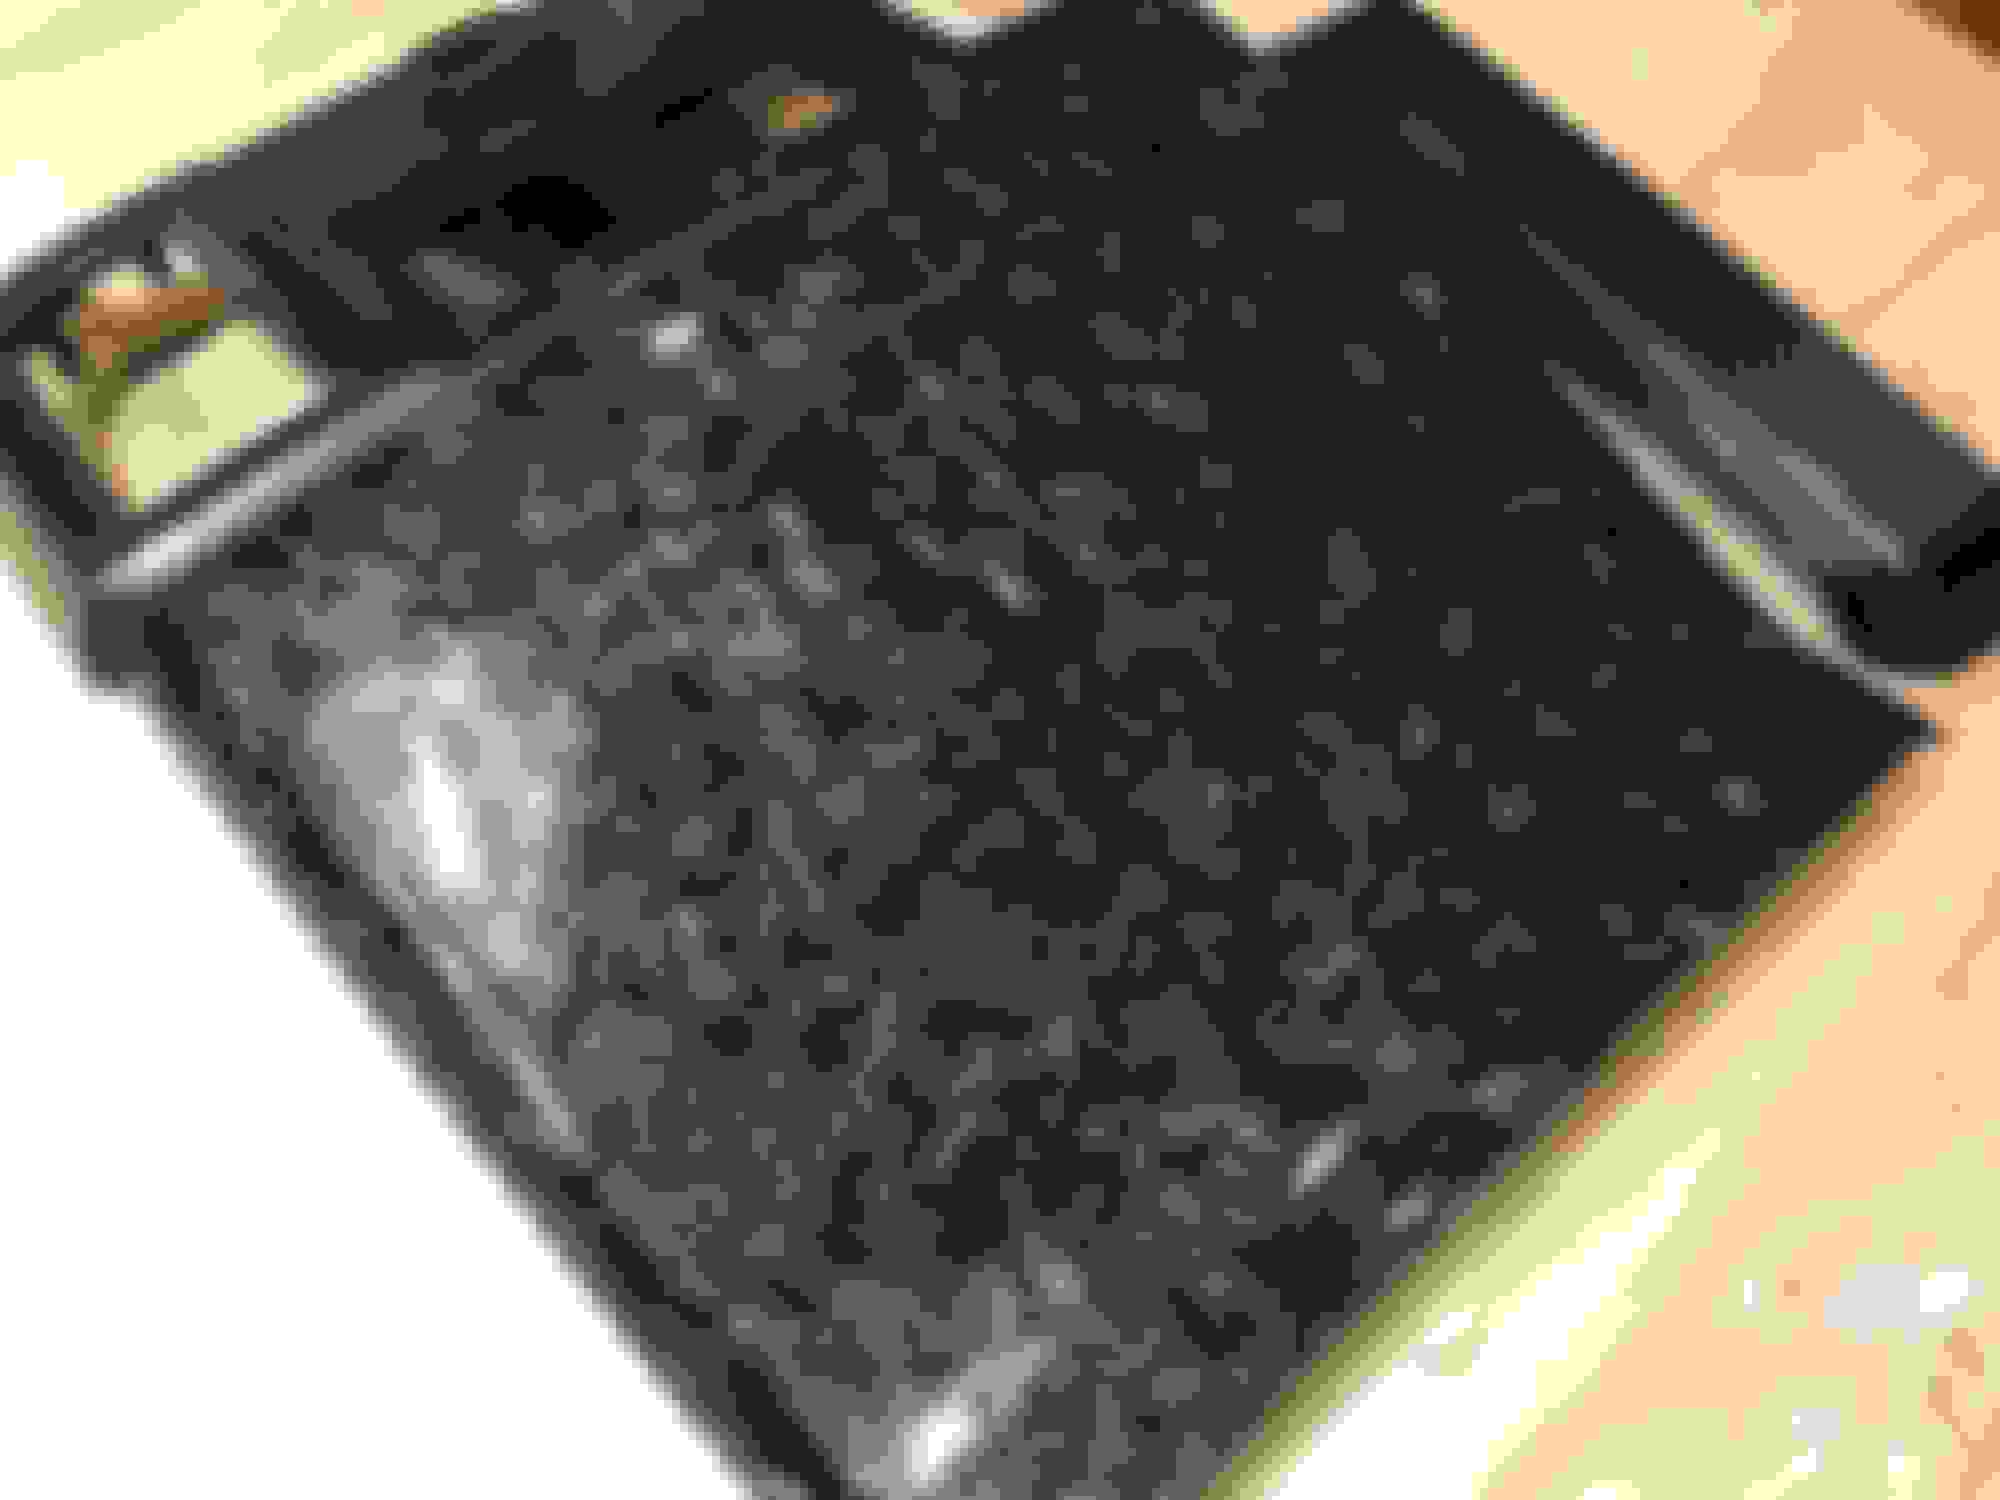
The rear kick panel skinned in real Forged Carbon Fiber with the console panel painted in a charcoal metallic.
I am going to hydrodip the upper console panel in which ever wood pattern I'm going with, the charcoal paint was an initial idea I had that has changed. Under natural light the charcoal is a perfect match to a color in both of the CF's, indoors it looks brown for some reason.
Finallzed the wood grain on for the hydro dipping several interior parts will be receiving. Also plan on dipping some smaller parts in a brushed metal I�m calling titanium. Both are multiple step processes using specific layers of black candy to darken the film after being dipped. The wood grain has a ceramic cerakote matter finish, the brushed titanium is flat clear.
Here are the latest speed shape samples just finished a few hours ago.
Any pictures of it installed? Love to see it come together. Is that carbon a wrap material? Can you put it over chrome pieces and it stick or do you have to rough up the chrome pieces?
Any pictures of it installed? Love to see it come together. Is that carbon a wrap material? Can you put it over chrome pieces and it stick or do you have to rough up the chrome pieces?
Thanks, probably won�t all be completed and installed until spring. It�s not a wrap, it�s real carbon fiber. The weave shown and forged carbon which is cut up pieces of carbon fiber are two different processes. The weave uses a vacuum bag the forged carbon is hand laid with a gloss resin.
The stick on wrap material doesn�t have the same iridescent effect and depth. When you put them side by side you can tell right away which one is real.