When you click on links to various merchants on this site and make a purchase, this can result in this site earning a commission. Affiliate programs and affiliations include, but are not limited to, the eBay Partner Network.
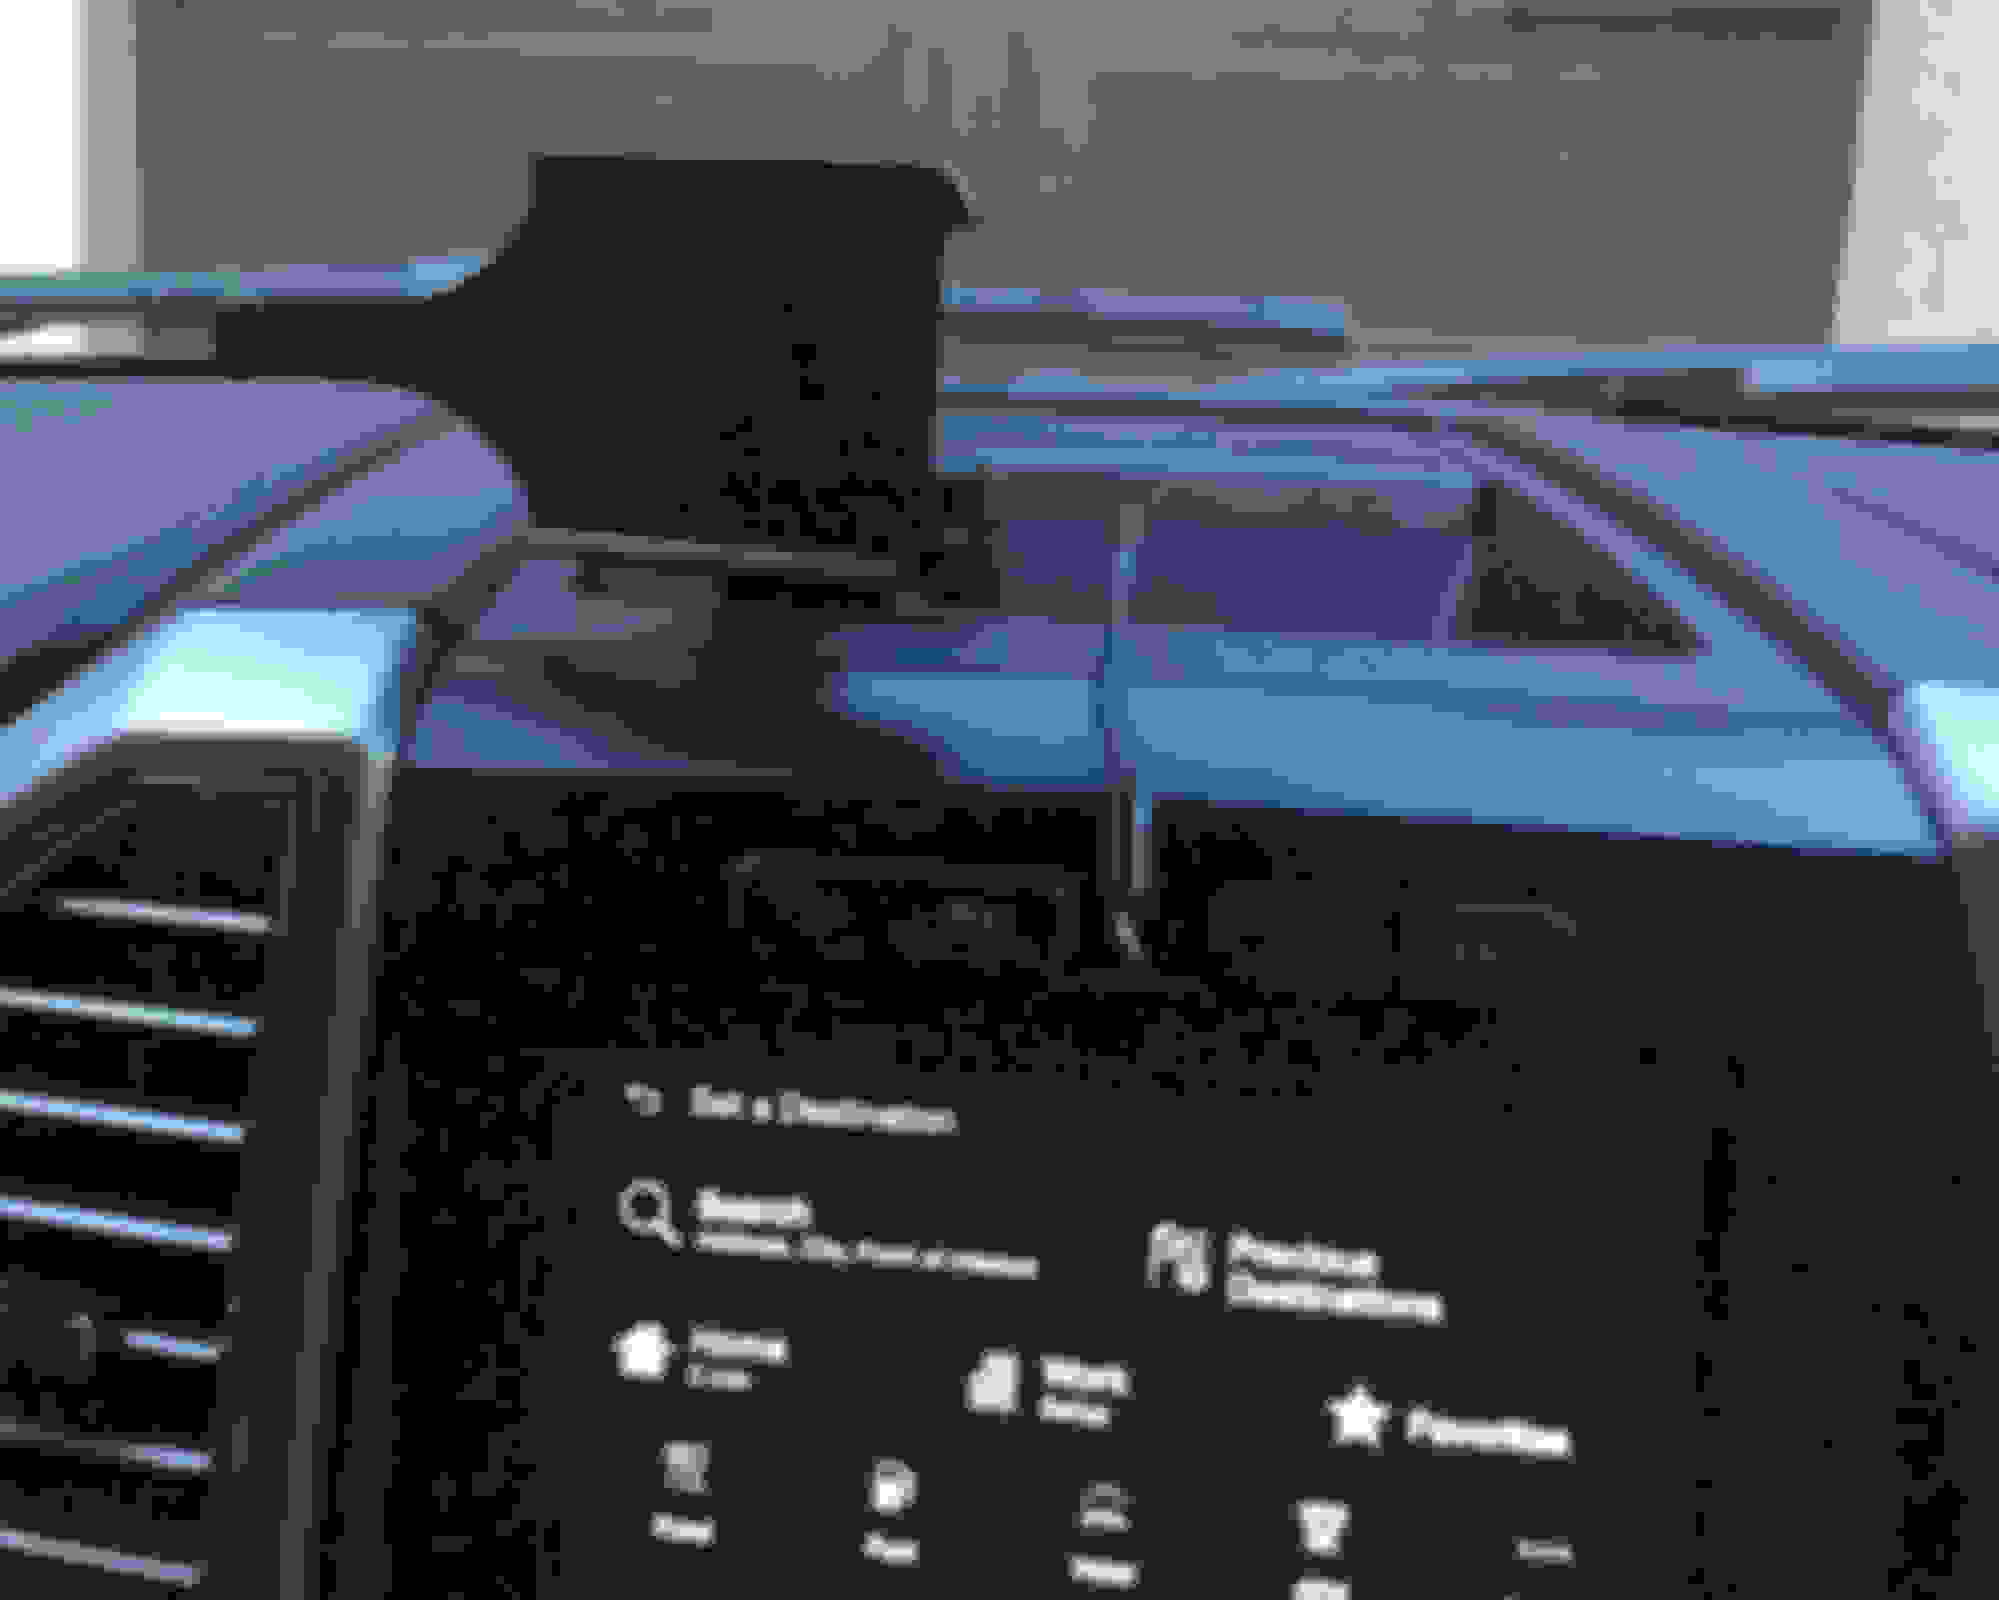
I ran a dedicated Lightning cable from the USB hub to the dash tray where my phone mount is. I only drilled one hole, in the top, because it's possible to get the cable to the USB hub by slipping it under the sliding lower cubby lid from behind.
I want to find a shorter cable (30"?) So I don't have so much slack in the lower cubby. I also have some grommets on the way to clean up that hole.
upper tray drill hole, 3/8", facing rearward from the windshield
I ran a power cable for my dash cam. I used an ATR add-a-circuit and tapped fuse # 36. I noticed after removing the A-pillar trim and fuse panel cover, while laying on my back on the passenger side floor, that I could see daylight up through to the windshield... so I threaded the cable from the top down without removing any other trim pieces. I used an existing ground lug down near there for my negative lead.
I removed the passenger-side FX4 sticker because I had a few minutes standing around in the driveway waiting for the buyer of my car. The most time-consuming part of the task was finding a hair dryer.
My brother and I, with some help from my son, installed the Decked storage system today. The only problems we ran into were that the driver side deck half was cracked, and there was one bag of fasteners missing. I've spoken with Decked and they're going to take care of both.
Tomorrow, we're headed up to a nearby wildlife management area that's supposed to have a pretty good trail system. I'll be able to give the 4WD a workout, and maybe have some photos and video to share.
I started off the day by pulling off the front air dam in preparation for hitting some woods trails... and I'm glad I did. I hit plenty of stuff that would have pulled it right off. I attempted 2WD a few times and quickly sank in sand... so 4WD was a requirement. Lots of little hills, deep ruts, and high shoulders to navigate. We had a great time today. My friend ran his 4Runner into a deep mud hole, and I pulled him out effortlessly with the F150... it's like he wasn't there. I have a ton of scratches from brush, but it's looking like most will come off with a light buffing. I'm hoping to get a wash and a good wax tomorrow.
I installed a Motofab 2" level today with the help of my younger brother. The passenger side took three hours... we didn't have the right wrenches when we started (metric?? Seriously??) and weren't sure about how to get the lower control arm to drop far enough to get the strut out. The spring compressor helped a little. The ball joint press proved absolutely useless.
The driver side took thirty minutes.
What we learned: loosening the lower control arm frame bolts actually helps a lot. I need a longer pry bar. You CAN rotate the strut 180 degrees by flipping the cant on the bottom strut pivot. A deep 18mm socket, had I purchased one, would have been indispensable. The best investment I've ever made remains to be my floor jack and jack stands.
The truck looks great. The CV angles weren't as extreme as I expected. On a test drive in 2H, 4A, and 4H, everything was quiet and smooth. I'm looking forward to getting it washed and waxed.
I'm not sure I like the look of the bare quarter panel. I'm thinking I should have left the factory FX4 sticker. I found a seller on eBay that has them in pairs for ~$20. I might put the passenger side sticker back on.
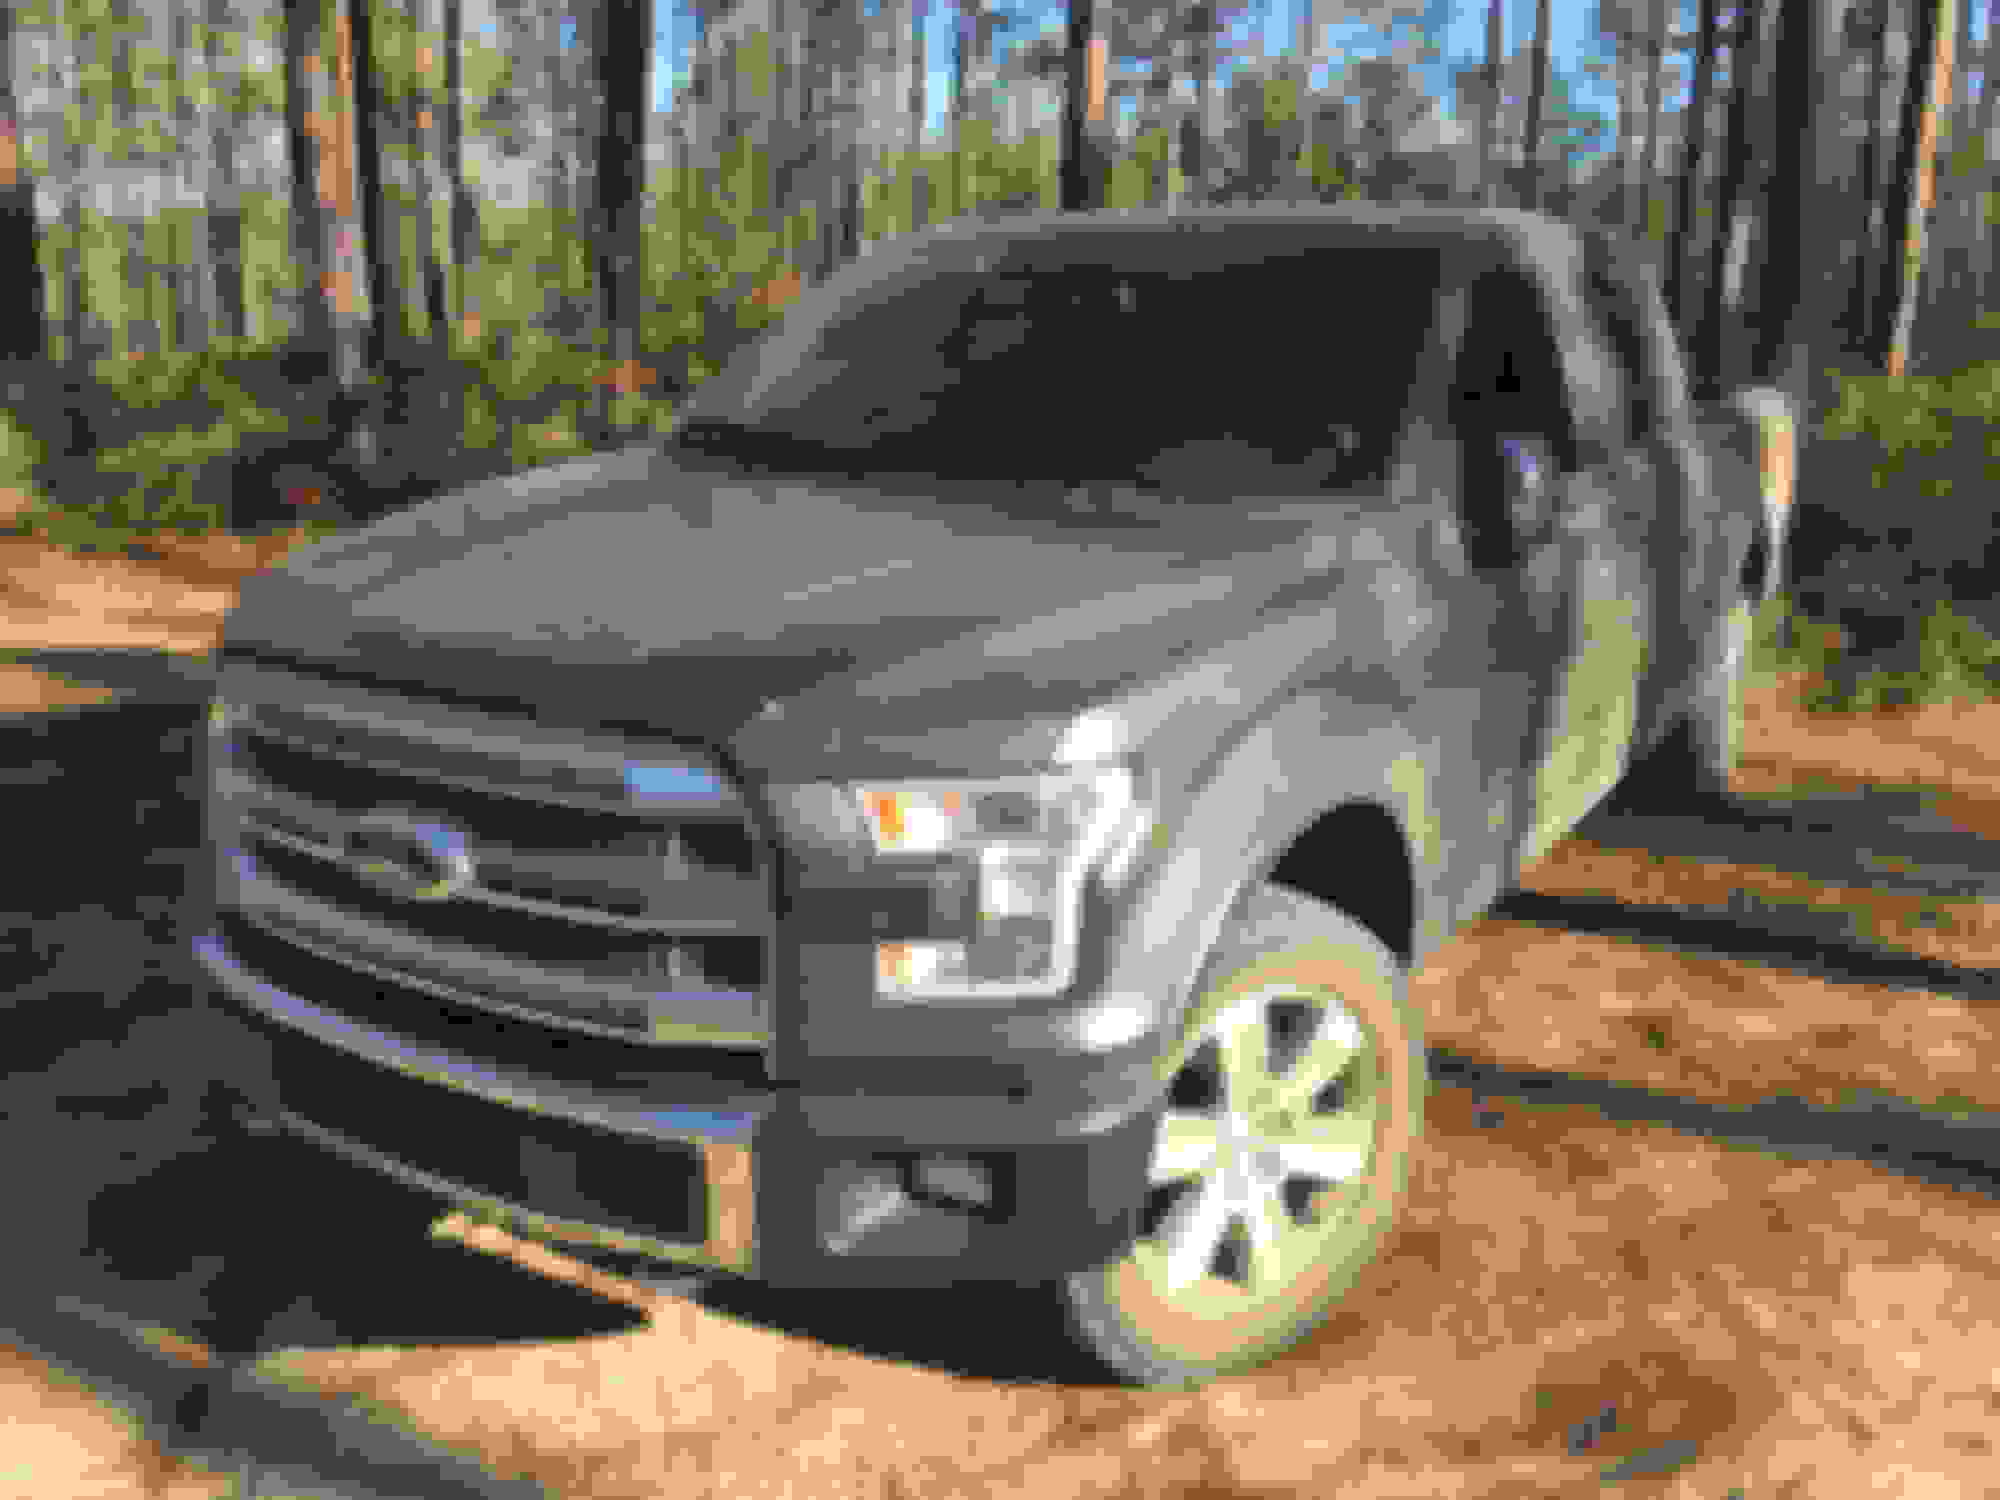
I got my first detail done--all of the scratches from our trip on Tuesday were in the clearcoat/dust and buffed right out. That earns me a license for more trail runs!
First photo with the level, too. I haven't measured on flat ground, but it looks like between the 2" additional up front plus the 200+ lbs now riding permanently in the bed, I might be a little nose high. I might look into a 2" rear block to replace the stock block.
Looks good! I put a 2" level on mine, and though by measurement it was almost perfectly level, it looked nose high. I bought the 3" ReadyLift rear block to add some rake. Perfect!
 11-02-2016, 02:21 PM