When you click on links to various merchants on this site and make a purchase, this can result in this site earning a commission. Affiliate programs and affiliations include, but are not limited to, the eBay Partner Network.
First of all, I want to thank everyone that has posted threads of their audio builds. They have helped me so much with how to install things and with different ideas for installation. It has made this build go very smoothly. I hope this thread helps others that are on the quest for a great sounding system.
Ever since I got my new 2018 F150 Lariat SCREW Sport with B&O factory audio back in February of this year, I have been planning and preparing to upgrade the audio system. I already had most of the components since I had this system in my last truck which was a 2014 GMC SLE. The only difference in the two is that for this build I added a dedicated sub amp for more power. The new system will utilize the stock Sync 3 Head unit and consist of a 3 way active front stage with two 10 inch subwoofers under the rear seat. Due to my limited spare time, I will be doing the is build in Phases as outlined below.
Phase 1 - Building the box for the subs, amp rack, and rack for dsp and axxess unit. Done see pics below.
Phase 2 � Installation of amp rack, dsp rack, and subwoofers. At this time the stock door speakers will be amped so I can have some sound. Done see pics below.
Phase 3 � Installation of mids and tweets in A pillars. I am using the A pillar pods from customspeakerpods.com. I will be installing the pods, sound treating them, and then covering with vinyl to match the dash. If all goes as planned, I should have some time during Christmas holidays to get this done. Wires were already run in Phase 2.
Phase 4 � Installation of sound deadening materials and speakers into the front doors.
Phase 5 � Installation of sound deadening materials and speakers into the rear doors.
Phase 6 � Gain settings and Tuning
So Below is the list of components and installation accessories that I am using for this build:
Axxess AX-DSP-A2B2 in order to interface with B&O system
Helix DSP Pro Mk II
JL Audio XD700/5v2 � not using the sub channel
JL Audio XD400/4v2
JL Audio XD600/1v2
Hertz Mille Pro MP165.3 in the front doors
Hertz Mille Pro MP70.3 in the front A Pillars
Hertz Mille Pro MP25.3 in the front A Pillars
JL Audio 10W1V3 Subs
2 AWG welding cable for power/ground 200 amp ANL Fuse and SMD Fuse Holder
AGU Fused power Distribution block
Stinger ground Distribution block Stinger 6000 series RCAs � 3 foot Stinger 4 AWG wire for power and ground for amps Stinger 16 AWG wire for mids and tweets Stinger 12 AWG wire for subs Noico sound deadening Closed cell foam Front speaker adapters Metra 82-6507 Rear speaker adapters Metra 82-5605 Speaker plugs Metra 72-5602 for front and rear door speakers Install bay silicone baffles front/rear
Hush Car Audio block off covers
Wire ferrules
XT60 plugs for speaker connections
EC5 plugs for subs connection
Male to Male RCA adapters Multiple sizes of TechFlex and heat shrink
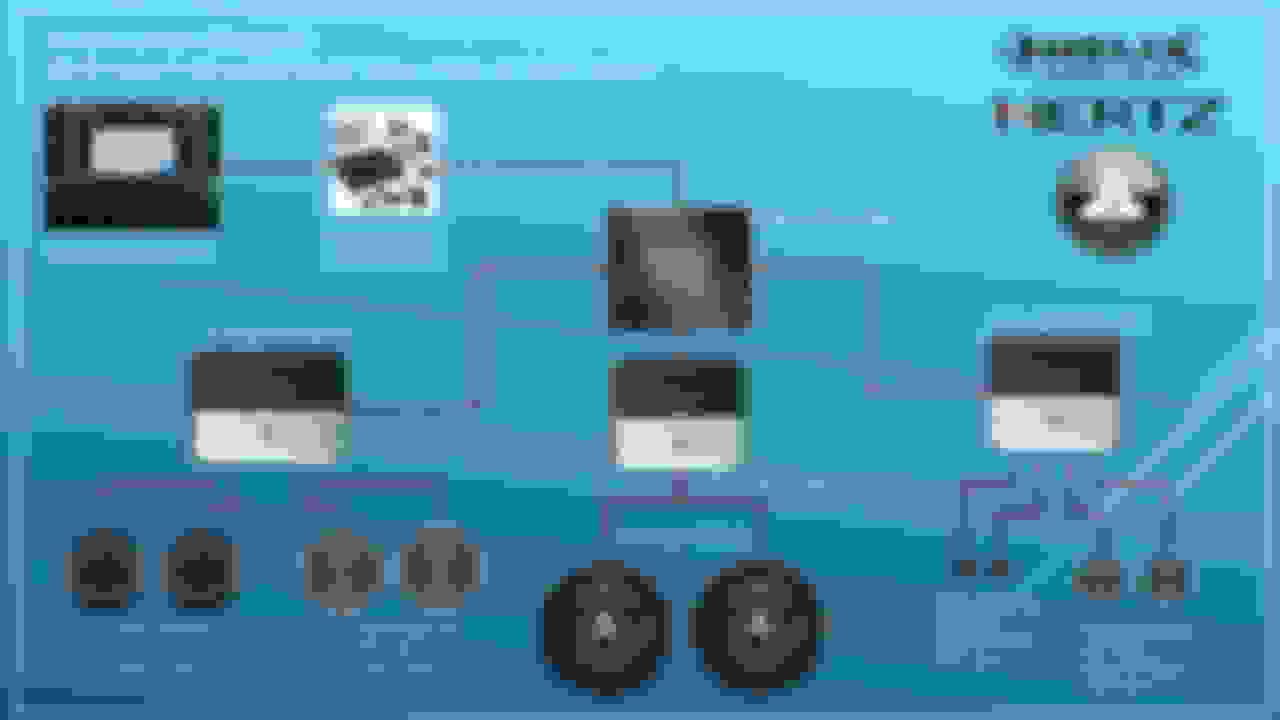
Here is a diagram showing the configuration:
Well this last Thanksgiving holiday, I finally had some time to work on the installation and was able to complete Phase 2 of my audio build. I decided early on for this build that I would try as much as possible to build things in plug and play modules so I would spend less time installing in the truck. This method has proved to work out very well. I also have been very surprised at how easy it has been to install stuff in this truck. I mean the panels came off easy, there was plenty of room in the wire ways, and the power wire fit perfectly utilizing the grommet in the front passenger floor.
Well enough of me rambling on, let�s get on to the pics.
2018 F150 Lariat Sport
Amp Rack and DSP Rack Mock up
Power wiring underneath amp rack
Amp Rack painted
DSP Rack painted
Amp rack and DSP rack ready to be installed
Power wiring with TechFlex ready to be installed
SMD Fuse holder and fuse installed
Power wiring entering the cab on front passenger floor
More power wiring
And more power wiring
Speaker wires for A pillars installed
Amp rack installed under rear seat in cubby
DSP rack installed behind back seat where stock B&O amp and subwoofer was mounted
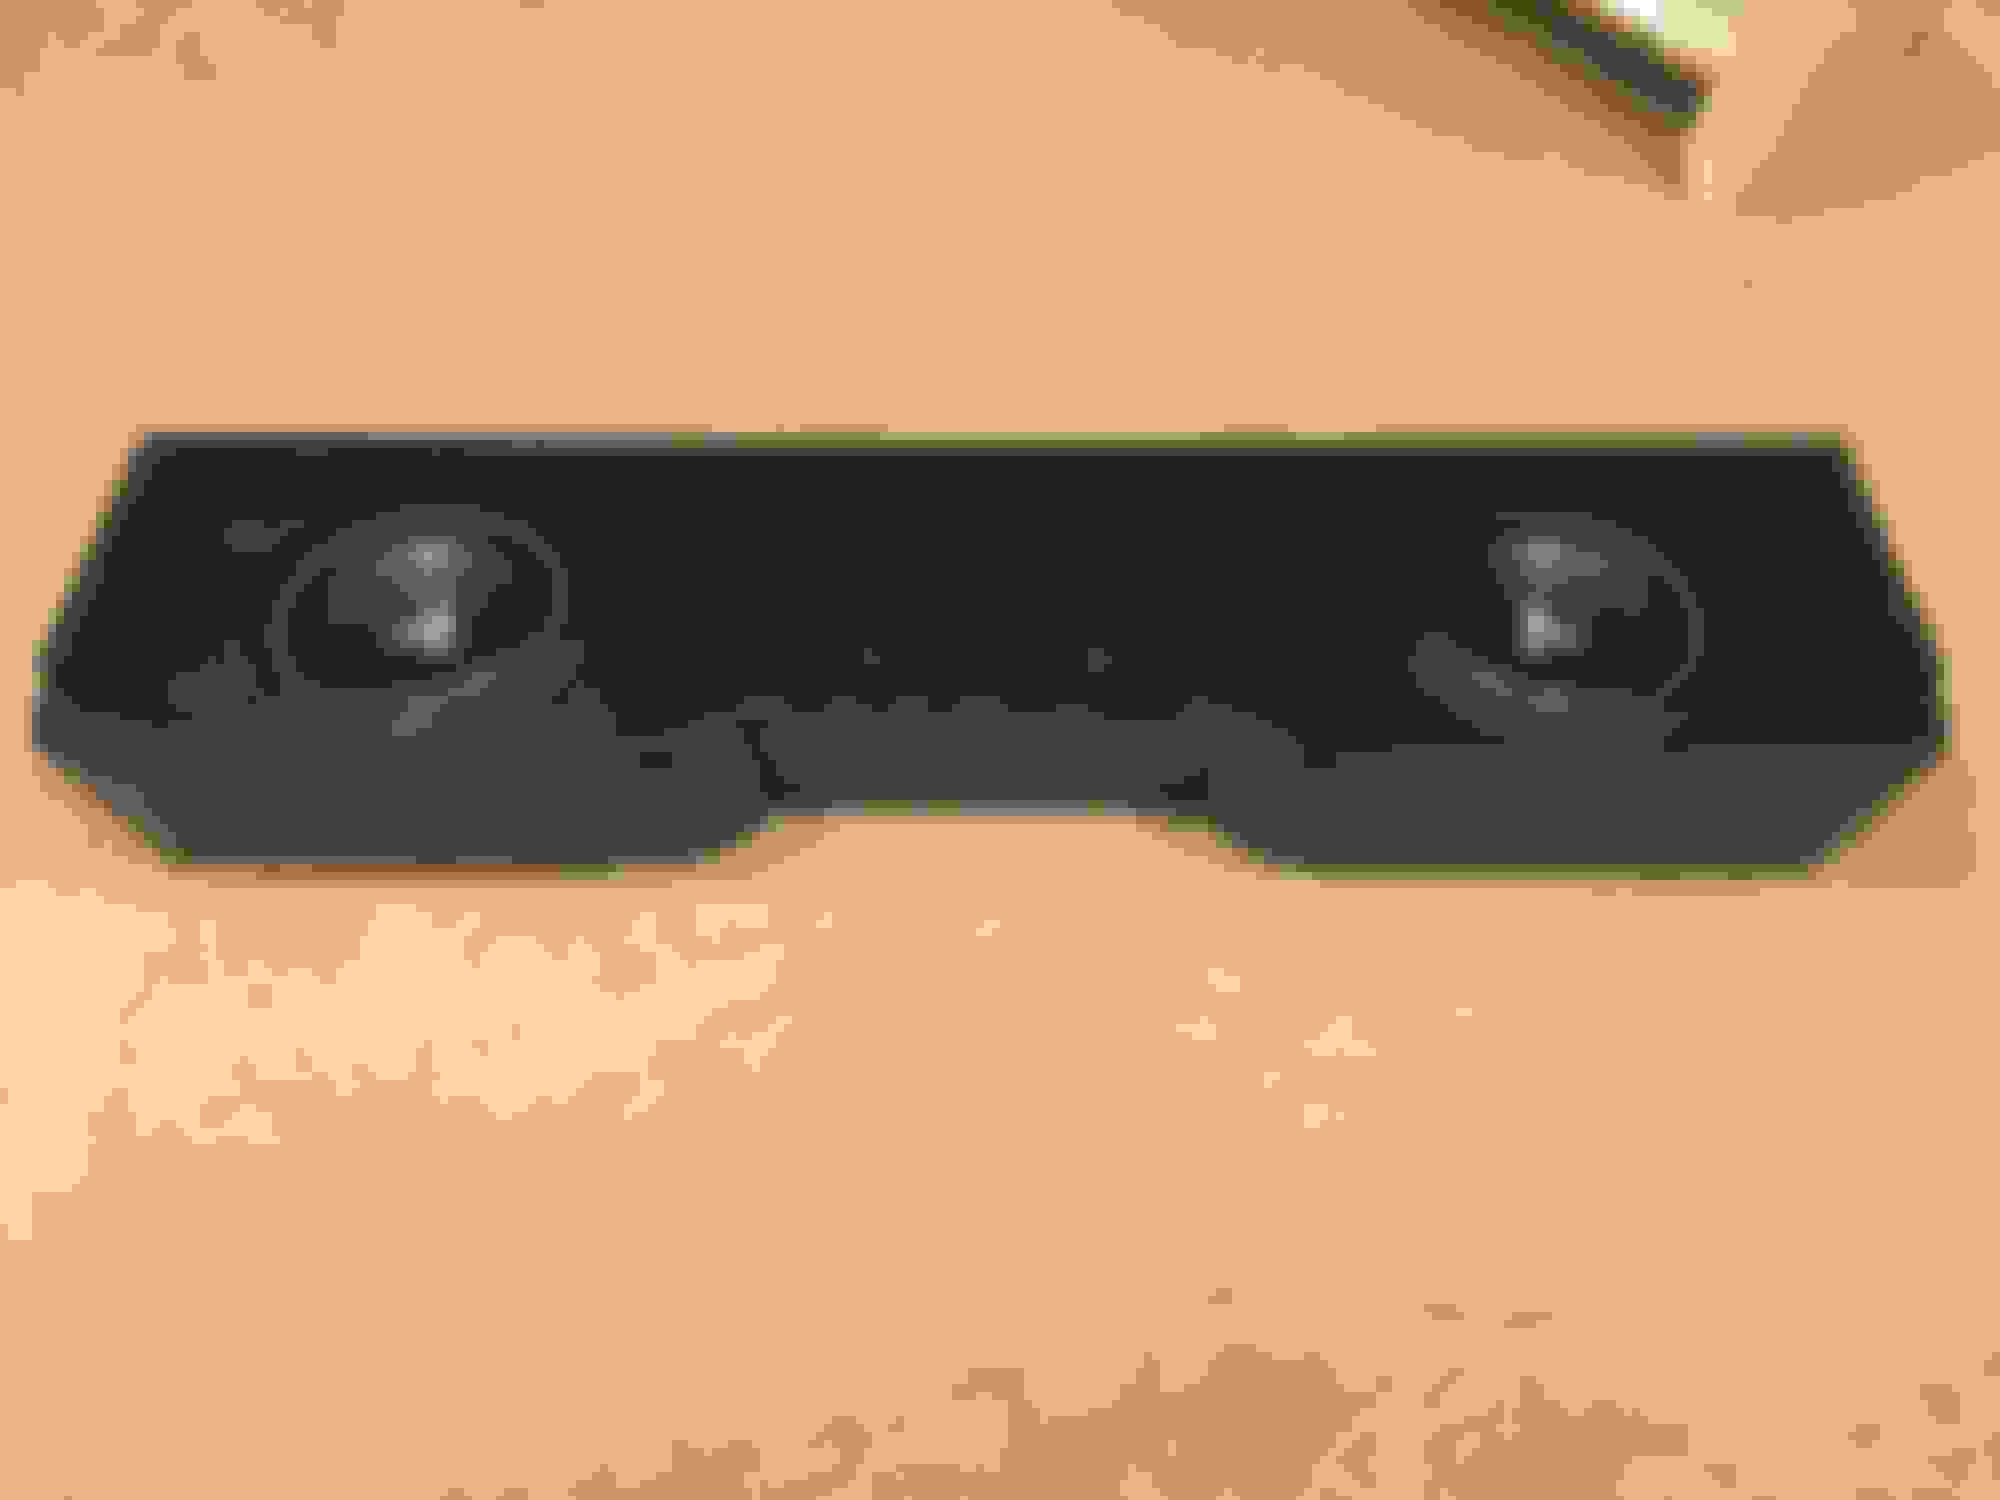
Subwoofer installed
Thanks everyone for looking. I will be updating this thread as more progress is made on the build. Please feel free to ask any questions you might have.
Looks great! Keep in mind, you only need front left and right from the axxess unit into your helix processor. Your helix processor will handle the signal accordingly. I wouldn't rely on that axxess unit for anything other than being a communication device for the truck.
Brands we sell include: Kicker,NavTV, PAC, CARiD, Dayton, Second Skin, Audio Control, Skar Audio, JL Audio, Focal and more.
PM me for special pricing as our contracts do not allow for posting prices publicly.
Thanks guys. Your are correct, I am just using the axxess unit to interface with the truck and give me a flat signal into the helix. I will do all tuning with the helix. When this system was in my old truck I tuned it with REW and a mic. As for the Axxess unit, it is working just fine. Absolutely no noise whatsoever. Just can�t wait to get the rest of the system installed. Thanks to Hush Car Audio for the deal on the Axxess unit.
Thanks for the comments. Here are a few more pics. One is the mounting of the Helix URC.3 remote. I just mounted it using heavy duty velcro right below the start/stop button. The others are from when I built the sub box several months ago. The sub box build was a little different since I used the boxes I had in my last truck (2014 GMC Sierra). In my last truck the boxes were separate and were up-firing. Well it turned out that the height and slope of the old boxes worked for the F150. All I did was modify them slightly and join then together. As the box is built now, it can work in both a down-firing and up-firing positions.
Wonderful craftsmanship..gives me motivation. And a few ideas on making my install a bit better. The tnuts...I saw those and went ... ah ha! I got some and used them last night to mount my amps to mdf. Perfect, and with 12mm bolts and 1/2 mdf .. no protrusion on the backside.
Wonderful craftsmanship..gives me motivation. And a few ideas on making my install a bit better. The tnuts...I saw those and went ... ah ha! I got some and used them last night to mount my amps to mdf. Perfect, and with 12mm bolts and 1/2 mdf .. no protrusion on the backside.
Thanks and glad I could help make your build a little better. Please post a pic when you finish your amp rack.

 12-13-2019, 10:15 PM