When you click on links to various merchants on this site and make a purchase, this can result in this site earning a commission. Affiliate programs and affiliations include, but are not limited to, the eBay Partner Network.
Welcome to my never-ending project!
Got this truck a little less than a year ago, it ran great until about a month ago. Driving home from school on the interstate, my engine (5.4 2v) blew, black smoke from the hood, loss of power and power steering etc. Based off of how brutally rough it was riding, I knew it was trashed and just rode it out to the nearest town, Mitchell SD. Got towed to the Ford dealership and got my awesome mom to come pick me up the next day 1000 miles from home. Was considering scrapping it but my family talked me out of it. Cost about its value in scrap to tow it home.
Now the fun begins! Hope that my information can help out anybody else pulling their engine from their 97-03 truck.
Have a good one!
-
-
-
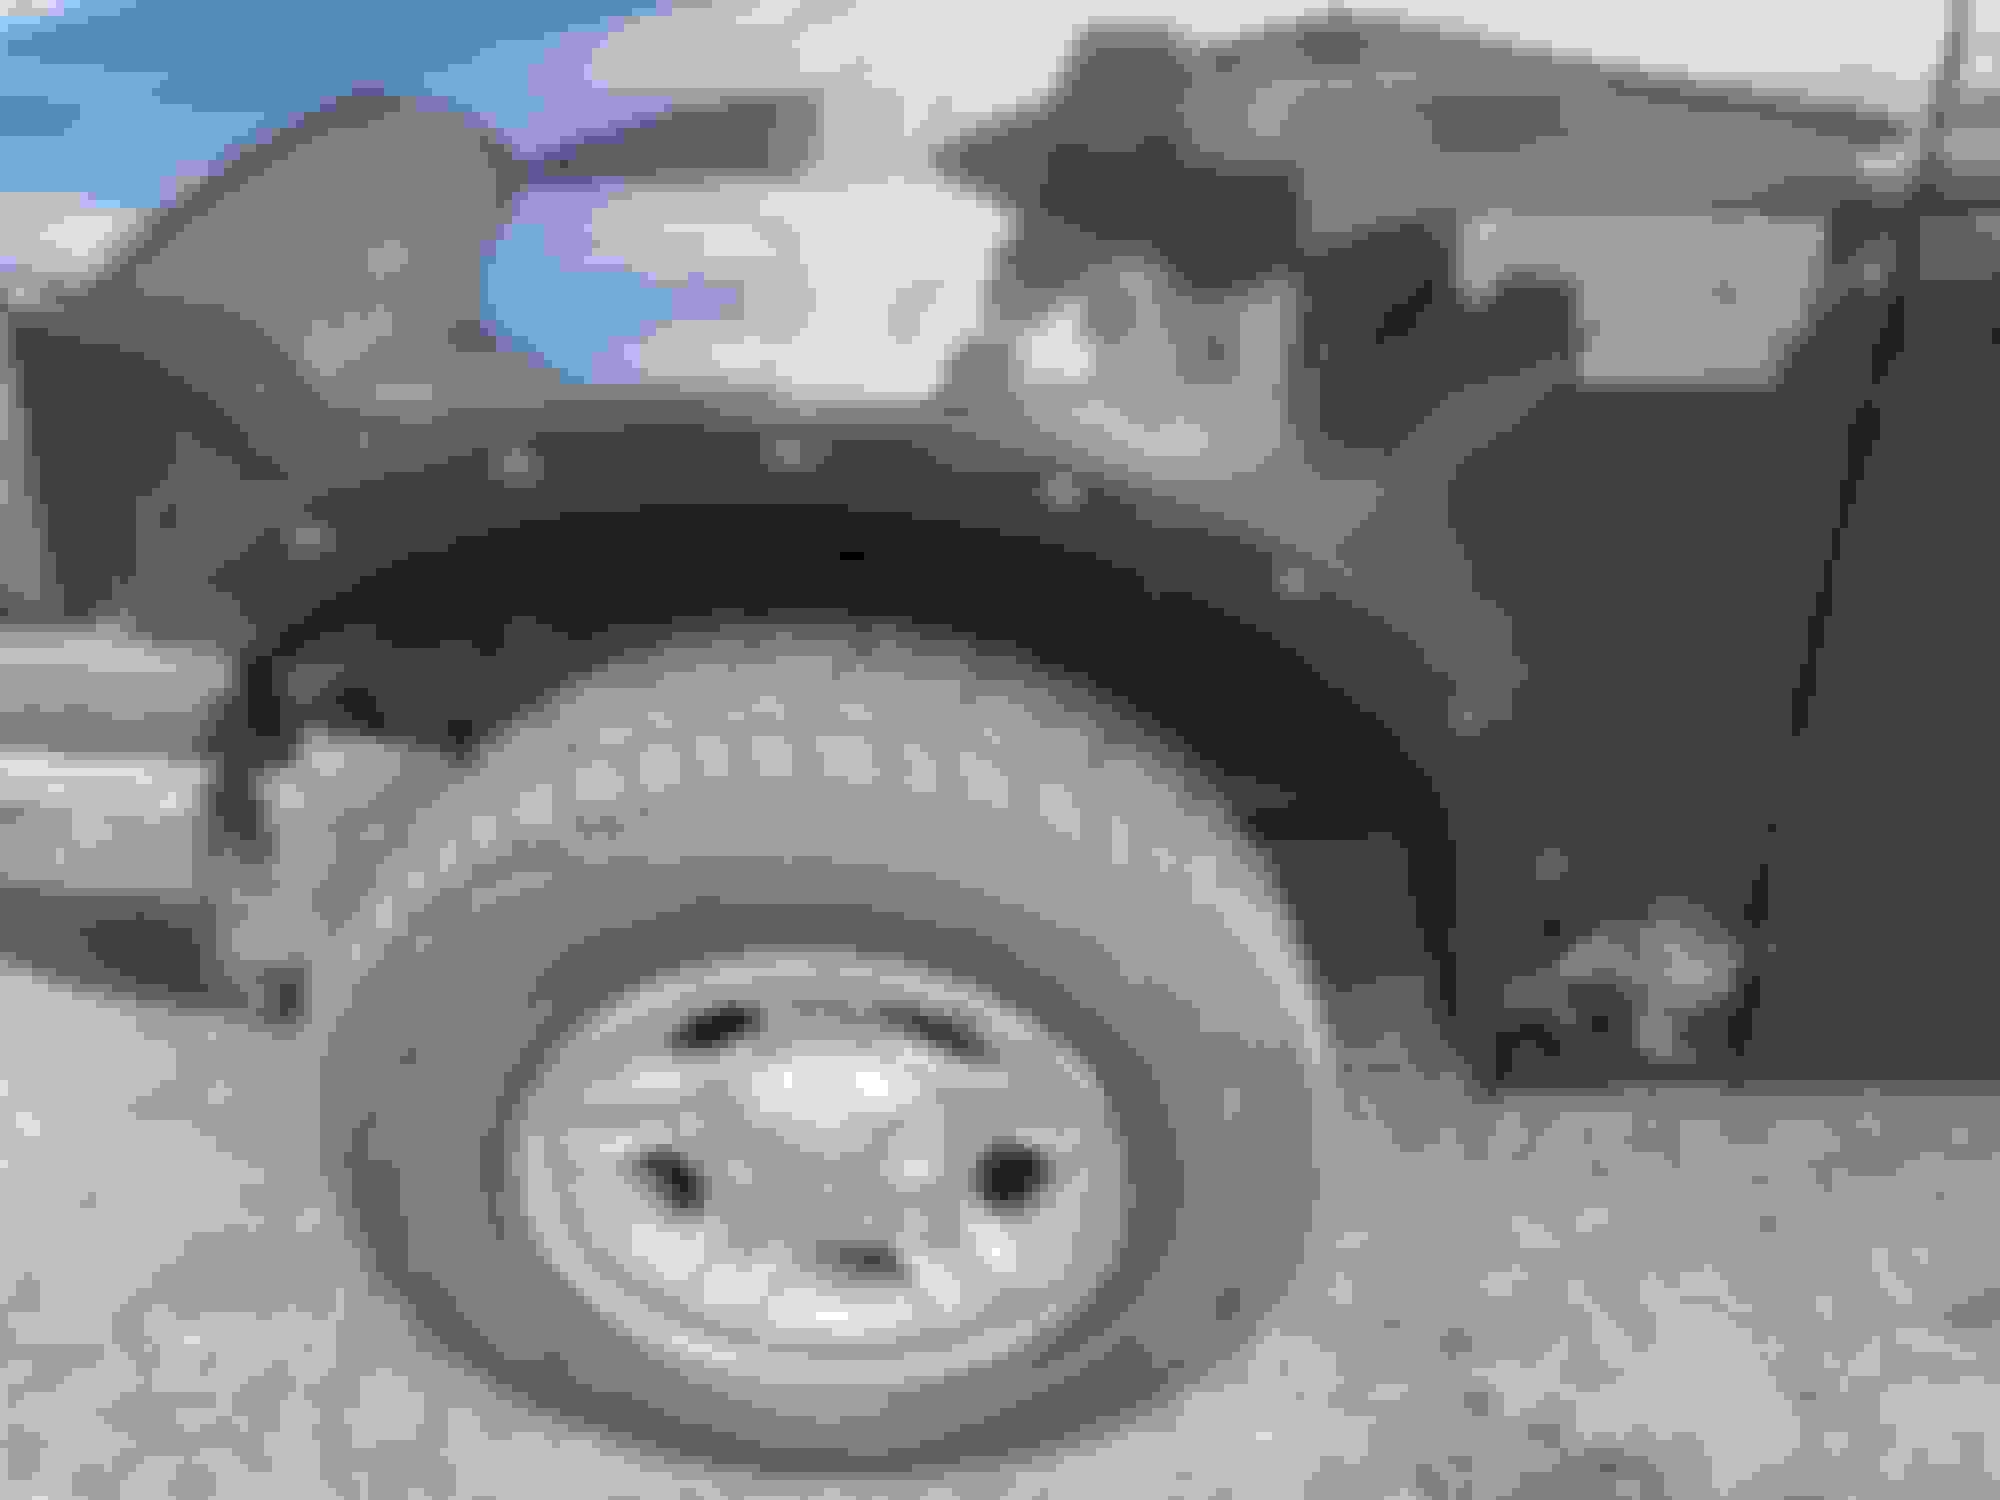
This is how it looked when I first bought it, 150k on the clock, not in bad shape.
-
-
-
First "mods" were to undo all of the previous owners additions. Pulled out the tailgate 3rd brake strip, removed the tacky roof led bar, and the plasti-dip crap on the hood and rockers. I decided to remove the mounding and fender flares while I was at it.
Don't really have pics, but I just rocked the fender holes all winter. 😂
Also the psycho previous owner drilled right through the roof and headliner to bolt on the led bar with galvanized fence brackets and shot some self tapping screws into the roof to stabilize it. Geez. Being that I couldn't afford/didn't want to deal with body work, I just put black gorilla tape over them. Hasn't leaked yet and doesn't look terrible from 15 ft away.
-
-
-
Next batch of "mods" were replacing the driver side window switch and plugging up the fender holes. I just used trim screw connector things with rubber washers. Looks alright I think. Had to use a little heat shrink on some of the shafts to get them to not spin around in the holes. Cost less than $20.
-
-
-
Of course things were going too well!
Engine hit the bricks ~1000 miles from home.
Time to start working!
-
-
-
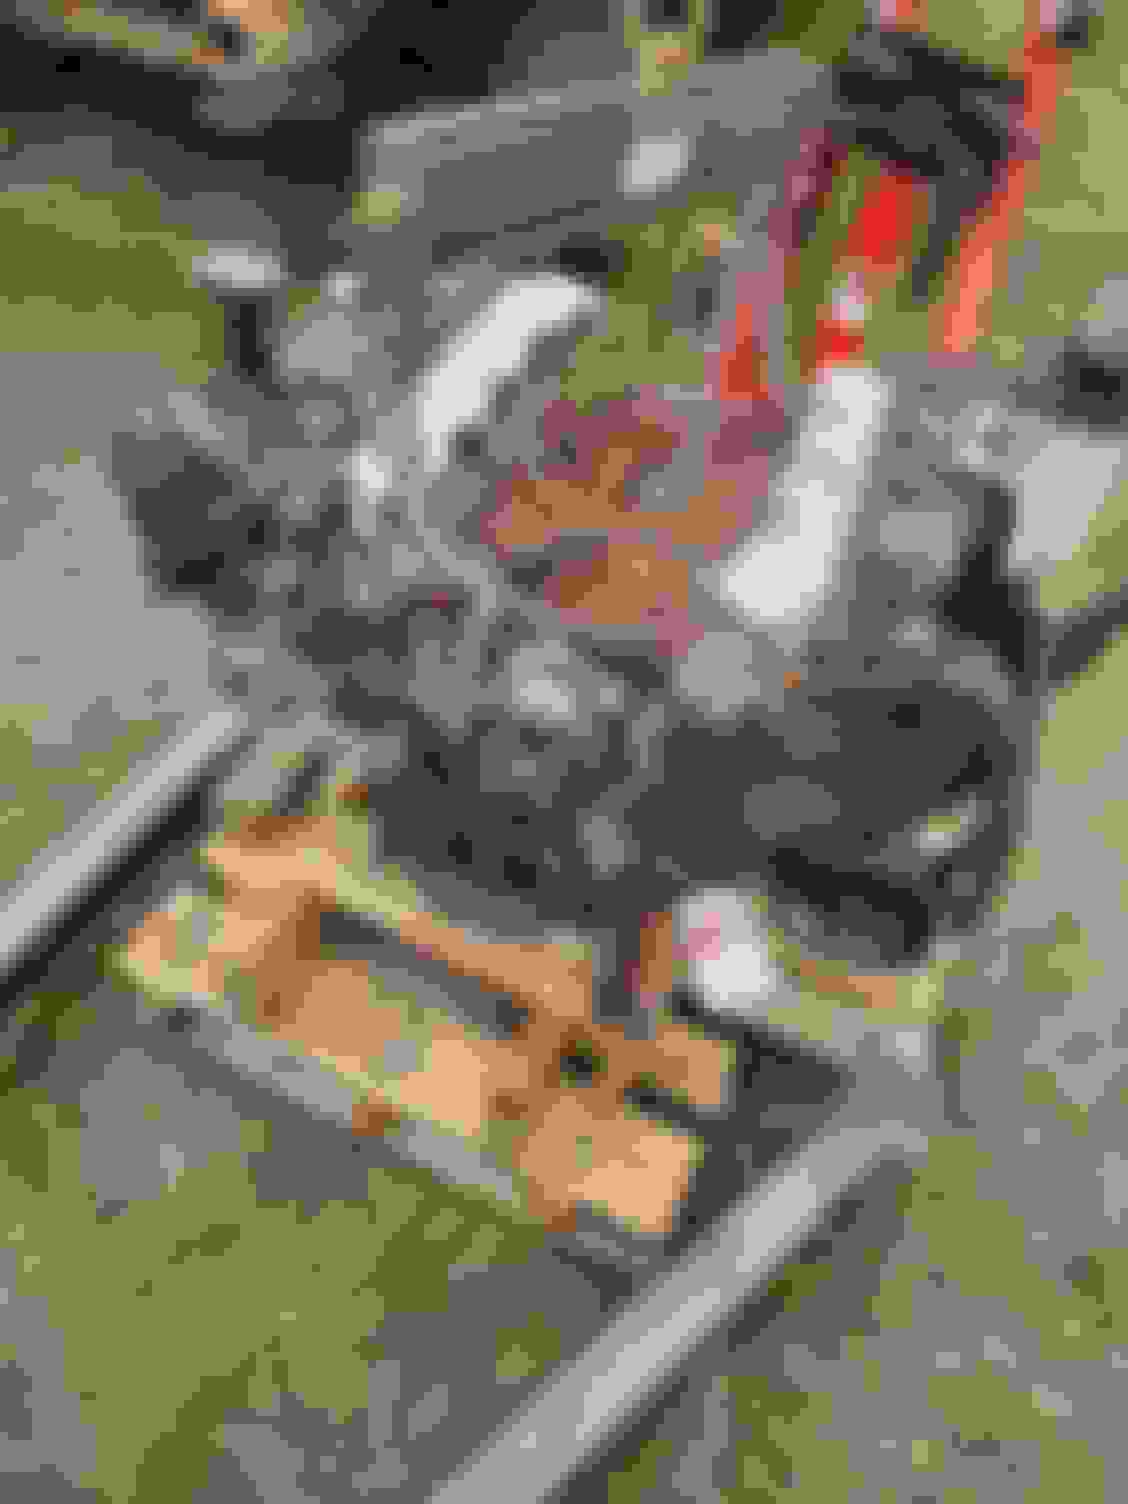
Since I really had no idea what I was doing (still don't lmao) aside from some minor forum reading and some YouTube videos, it took about 2 weeks for me to finally get the engine out.
In the removal process I scraped up my firewall with the leveler real good, broke the wiper cowl (I think that's what its called), bent my wiring harness box (?) And destroyed my AC condenser.
I had to remove the torque converter with the engine as the engine was seized.
Cant seem to get it off now though... anybody have any tips or tricks for removing the 4 nuts?
-
-
-
Which leaves us where I am now, waiting for truck parts and a junkyard engine with ~130k to arrive.
You will probably need an engine leveler to get it out; there is no way I could have pulled it without one.
Leave the power steering pump and resi on the engine, just disconnect it from the steering box and intercooler.
Don't be an idiot like me and chop your lower rad hose because it is difficult to get off. Replacements are like 100 bucks.
Have a jack under the transmission; if you dont you will be picking your tranny up off the ground. I also had to jack it up some to get the torque converter to pop off. Some people say to put a couple of bolts back into the tranny and rest it on a 2x4 across the fram rails. My bolts screwed into the block and there are no threads on the tranny, so I felt more comfortable just sticking a jack stand under it.
Have multiple drip pans and LOTS of kitty litter ready if you are disconnecting the torque converter, ATF is a pain to clean up.
Remove your AC condenser if possible, it's about 70 bucks to replace.
You can leave the AC compressor on the block, I unbolted mine as I had intended to just keep the loop closed. Doesn't really seem to matter now that the condenser is ripped open. 🤷♂️
Have at least one person help you guide it out, you will break less things.
The motor mount bolts are in funky places, at least on my truck. I ended up pulling two nuts on the passenger side and a long bolt on the drivers side.
Make sure everything is disconnected before hoisting, you don't want to have to keep putting it back down.
if you are planning to reuse your heater hoses, it will be tricky to remove one clamp off the block as it faces towards the fire wall, at least on mine. I'm lazy and plan to reroute them anyways so I just cut the hose.
Well, the new engine has arrived!
pulled the intake off as well as all of the extra crap on the block.
Went to put it up on the engine stand but the transmission bolts i had planned to use were too short ...
Had to put it back on the pallet.
Need to go get some longer grade 10.9 bolts at the hardware store.
As you can see the block is pretty rusty, so I will be cleaning it up with Evapo-rust, POR-15 and POR-15 engine enamel.
The flexplate bolts are pretty rusted on and I'm pretty much a noob at this so does anybody have a suggestion for removing the bolts? How do I lock up the crank? Should I do it before mounting the block?
I have a 4r100 trans so changing the flexplate is unavoidable (not to mention this one is so rusty)
-
-
-
-
-
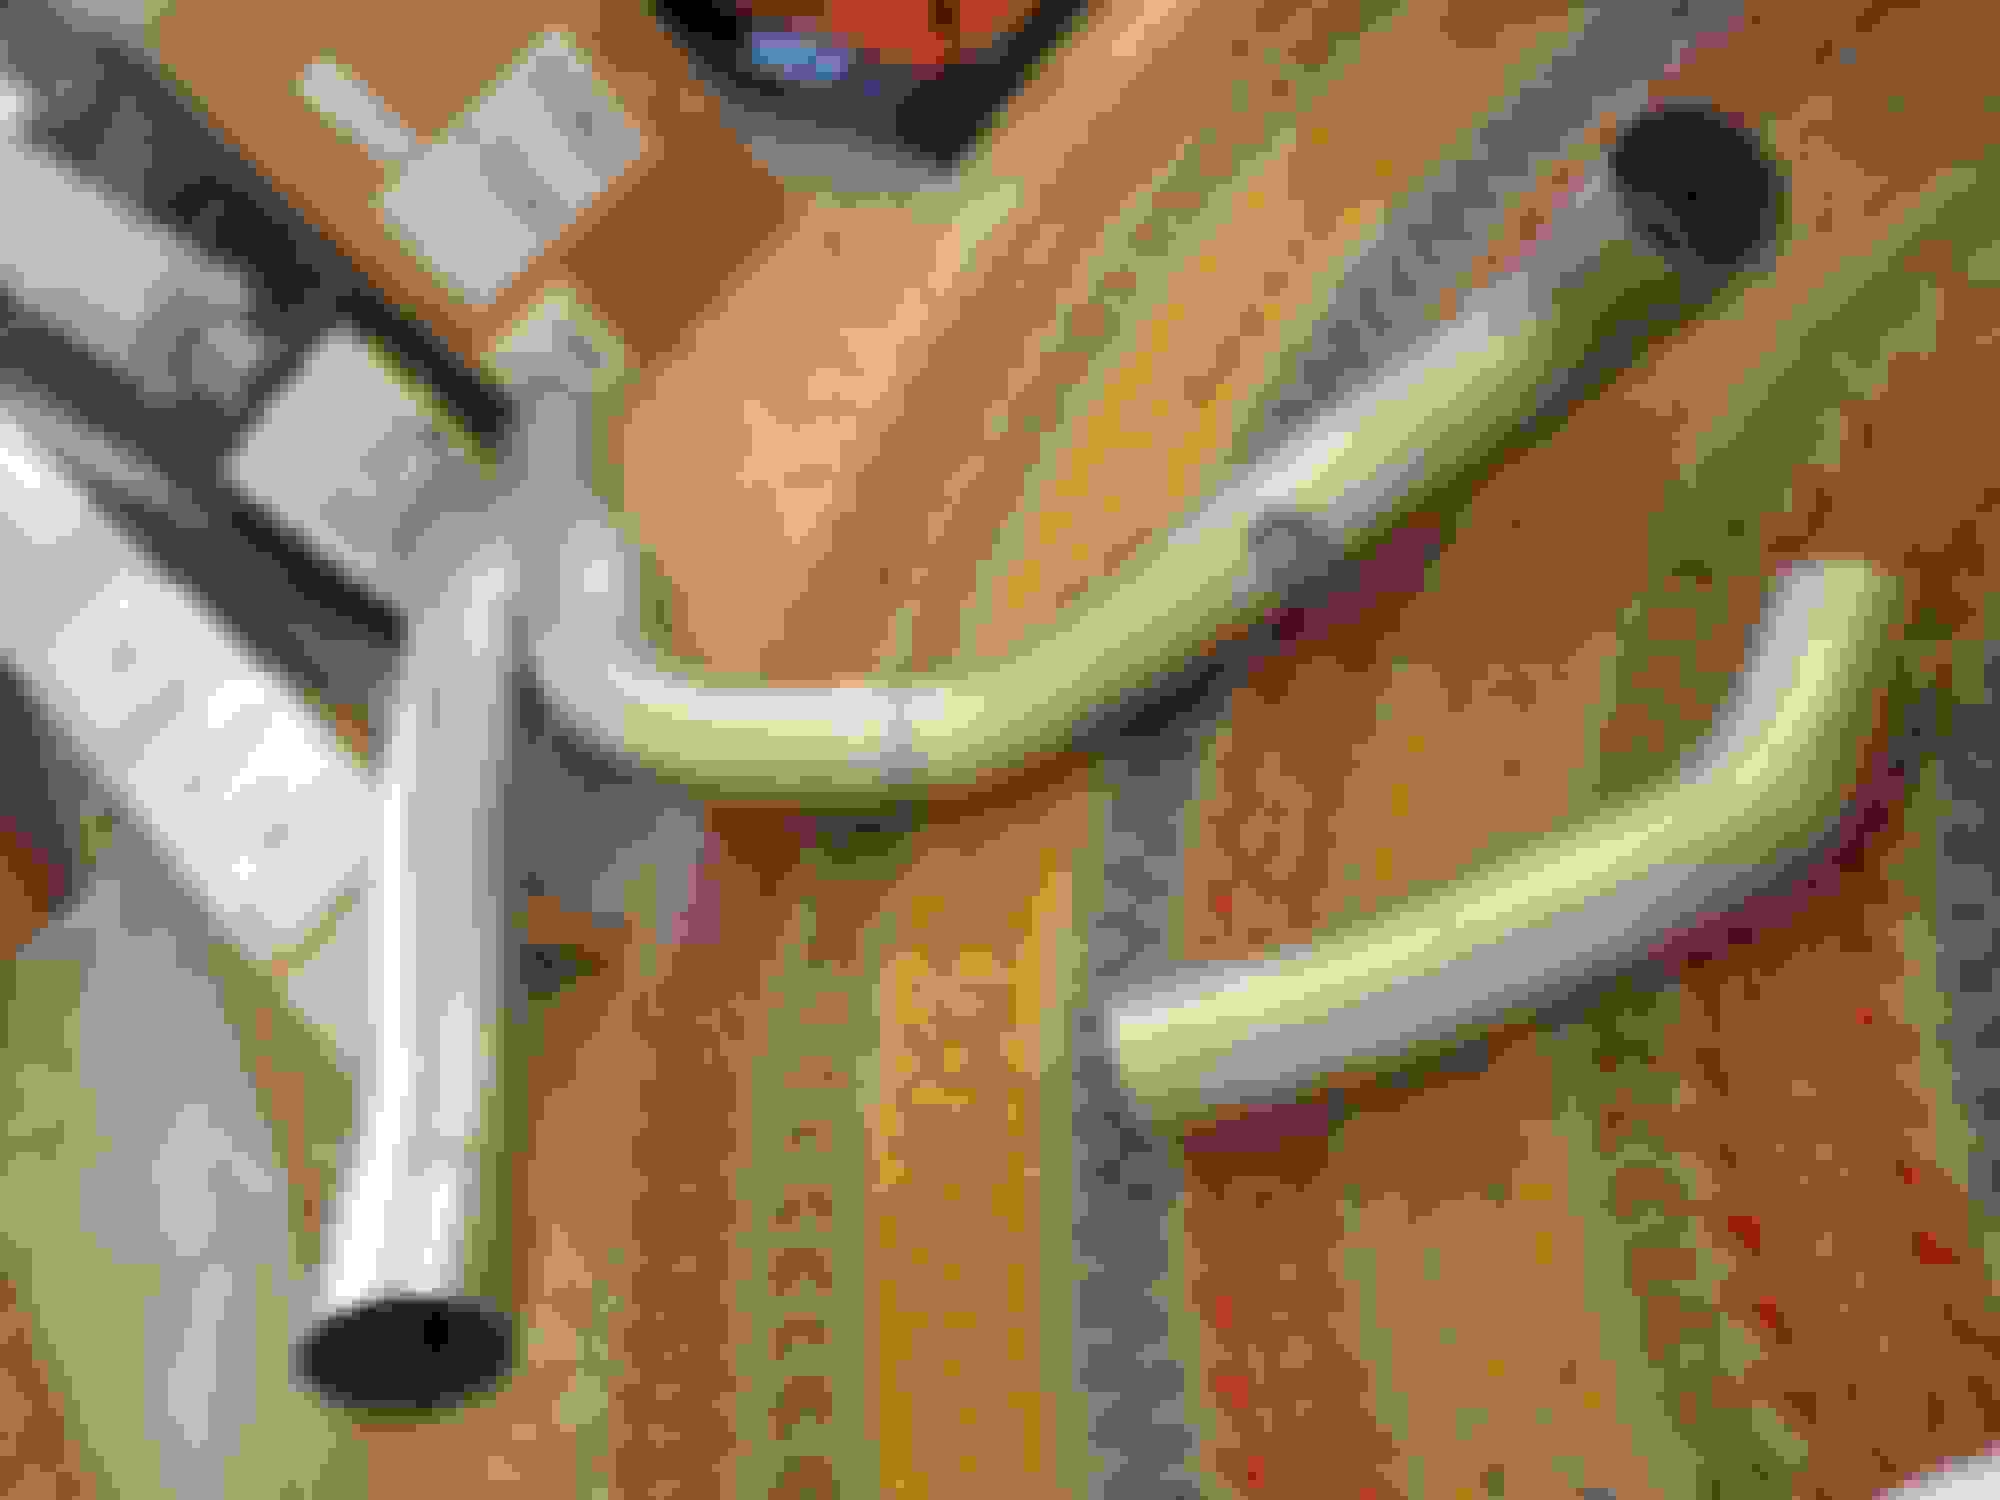
Most parts have shown up too, still waiting for A/C condenser, torque converter, flexplate, some exhaust components and a few other miscellaneous pieces.
Pacesetter 70 2227 headers, mishimoto rad. hoses, cheap Tekton torque wreches, I'll self calibrate. Don't have pics of everything cause its down in the basement now lol
Flex-a-lite 270 fan, got it for 3 bones, usually goes for 400+ on Summit
Also got a new radiator, 24 quarts of Mercon V (hopefully enough for my transmission and power steering), 10 qts of 5w30 oil, new fuel, oil, and air filters, new coils and boots, thermostat, serpentine belt, oil pump and pickup tube, and probably some other things that I am forgetting
Will update with more pics of parts when I get them out to install or paint.
Last edited by AJE; 05-22-2020 at 02:00 PM.
Reason: Build thread update
Well, it's late July now and I still don't have the engine in. I am really dragging my feet on this. Money is of course a factor
Have just about everything... at least, that's what I keep telling myself...
Engine is just about done, still struggling with this F***ing exhaust stud. POR15 and enamel on the block, it was a junkyard engine after all. My valve covers were in better condition, painted them Ford blue with 500� Rusto. Heads, timing cover, and intake will be bare because I think the raw aluminum looks good... and it's easier.
Internals look good. Ford Racing oil pump and pickup tube, new oil pan, Melling timing set, Fel-Pro gaskets all around (of course). Brass freeze plugs with Permatex #2 while I was at it. Motorcraft water pump and spark plugs.
For some reason I decided to stick with the 8-rib belt, and ran into the problem of the timing cover not having the idler pulley mount far out enough. Easy fix with a grade 10.9 washer. Also found out that nobody sells an 8-rib width tensioner, so I will have to make my own with another pulley
Another problem I ran into was the crank sensor interruptor. I wanted to use the beefy '99 one, but the timing cover wouldn't allow it! I wish I had taken better care of my timing cover... another mod for another time...
Also managed to get my hands on the last OEM Ford power steering pump (not remaned), at least that I could find online. I'm thinking of getting a RedHead steering gear sometime after this ordeal, so I think I will just get a cheap aftermarket one for now and save the OEM one for the new system later, in case there's any gunk circulating in the gear now.
Also turned 21 a week ago, its made working on the truck a bit less painful
Last edited by AJE; 07-22-2020 at 04:52 AM.
Reason: Thread update
Well the engine is finally back in. I put it off for way longer than I should have. It was much easier than removing the old one, but thats probably because the engine bay is now pretty bare-bones.
I stripped, degreased, acid etched and por-15'ed the whole front frame section in the engine bay. I didn't paint around the body mounts and in the wheel wells, as I couldn't properly prep them and will have better access when I rebuild the front end and replace the body bushings, maybe next summer...
Got the core support while I was at it because why not
I also used eastwoods internal frame coating inside the frame after scrubbing it with a chimney brush lol
I ended up getting a new timing cover, because the expy one wouldn't fit the power steering pump. Since I pretty much have to pull all the engine covers back off, I decided to paint the valve cover bolts, as they were already rusting, and use ARP stainless everywhere else (oil pan, rear main cover, intake, exhaust, accessories...)
I got ARP 12 point black oxide bolts for the flexplate and harmonic balancer. Almost had a cow when the harmonic balancer bolt wouldn't thread. Just cranked down the balancer with the old bolt and then replaced it with the ARP and torqued to spec.
-
I was debating on using my old torque converter or the new one, because I didn't see a drain plug on the new one. Just said F* it and used it, and upon installation saw a drain plug, so win-win.
-
Got Fords 10.9 modular bellhousing bolts to replace the 9.8 that comes stock. Probably didn't need them, but its peace of mind.
Some more pics lol
So thats pretty much where I'm at, still need to
- paint/install headers
- install intake
- clean/install wiring harness
- Install serpentine pulleys
- clean/paint drag link
- Replace/reinstall steering gear, tie rod ends, idler and pitman arm
- Install radiator, coolant tank, tranny and PS intercooler,
- Mock up/cut remote oil filter hoses
- And probably a bunch of other stuff I can't think of right now...
Last edited by AJE; 10-29-2020 at 05:43 PM.
Reason: Thread update
Today I cleaned up most of the hardware, removed all this excessive heat shield crap and removed 21 years of silt and dust from my rockers. I should have worn my respirator, but the dusting was kind of compulsive when a giant chunk of dirt broke off in my hand while crawling under the truck. Pulled out all these plug things and shot compressed air in them, and cleaned up the plugs.
Not sure why Ford put so many of these things on the truck. I understand the catalytic ones; and they have actual heat shielding material; but the rest are all just thin aluminum. There's enough here to make a little suit of armor or something. Suffice to say, none of this is going back on the truck because
1. I'm using Pacesetter long tubes and Y-pipe with a cat after the Y due to clearances. I couldn't find cats that would fit between the headers and the Y, which was what I was hoping to do. Without converters in that location, the shield is useless.
2. I'm lazy and there are a lot of these things
3. I had to bend and cut some to get them out. I removed the passenger cat shield when I cut out all the exhaust, but I remember it being fairly simple. Not so on the drivers side. There is a bolt on the top of the frame rail and has about an inch of clearance to the cab. A ratcheting flex head would have helped a lot but it was still a really tight fit to get my hand close enough. I can't imagine trying to put that bolt back in so the shields are staying off.
 05-01-2020, 04:01 PM


 ...
...


 Since I pretty much have to pull all the engine covers back off, I decided to paint the valve cover bolts, as they were already rusting, and use ARP stainless everywhere else (oil pan, rear main cover, intake, exhaust, accessories...)


