

2005 XLT Build Thread

Thread Starter
Senior Member
Joined: Sep 2010
Posts: 384
Likes: 12
From: Ann Arbor, Michigan
Decided to make a build thread for my truck. I previously owned a 2002 fx4 with a 6" lift on 35" BFG all terrains. I loved the truck and put a lot of time into it but wanted to sell it while I could still get some money out of it. I had it advertised locally on craigslist, the forum, and parked on a very busy road on the weekends. I did not get one offer over $6,000 on the truck in the 5 months i had it for sale. I put it in AutoRV magazine and sold it within 2 days for $500 less than my asking price.
http://www.flickr.com/photos/rossi445/6785607639/
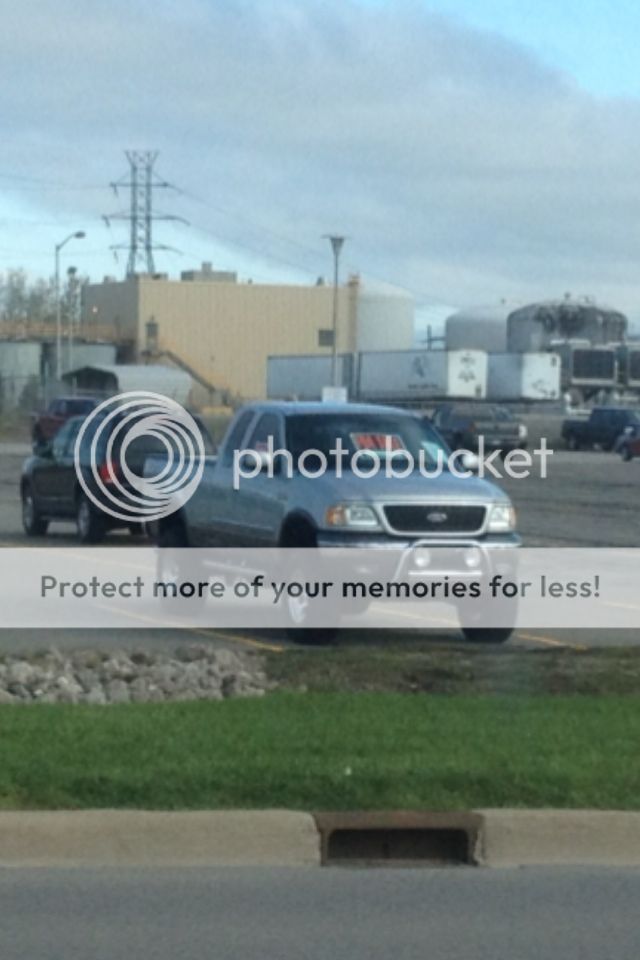
I had spent weeks looking for my next truck and finally found exactly what I was looking for. I wanted a 04-08 supercrew with low mileage. The 07-08 seemed to be the only ones I could find with the correct mileage, but they were a bit out of my price range. I was able to find a 2005 XLT with 58,000 miles on it for a great price. It was bone stock and owned by an older guy so I knew it had been taken care of. The only issue with the truck was a small dent on the passenger side by the fog light. I was able to use it to my advantage and saved a little money when negotiating the final price.
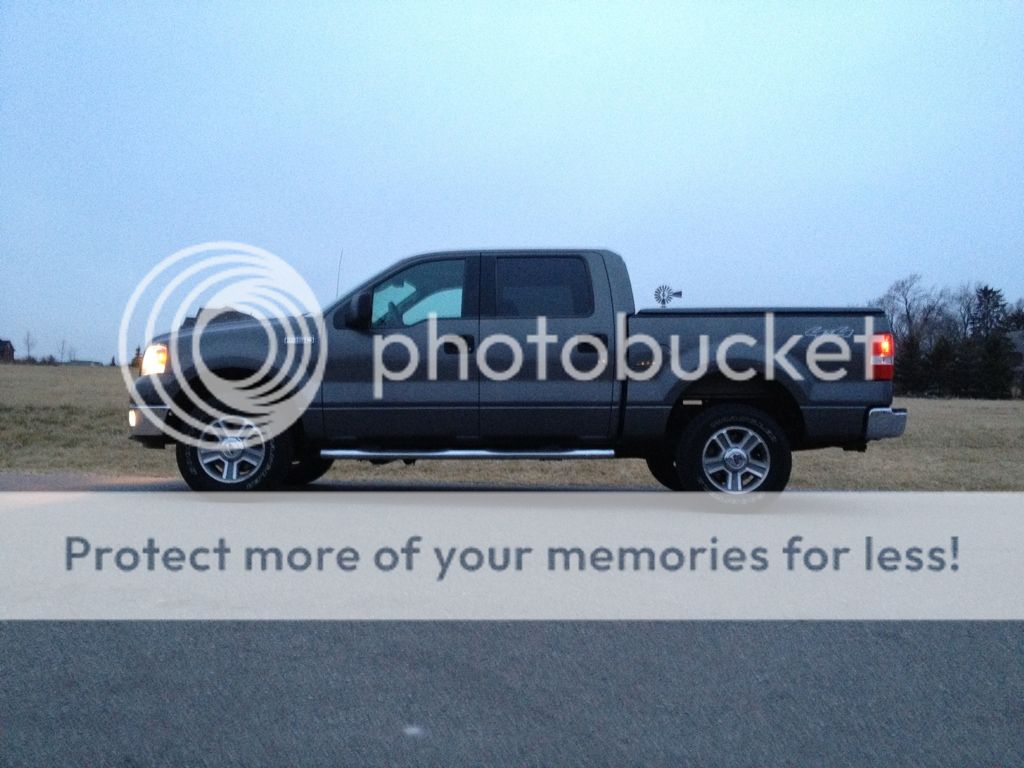
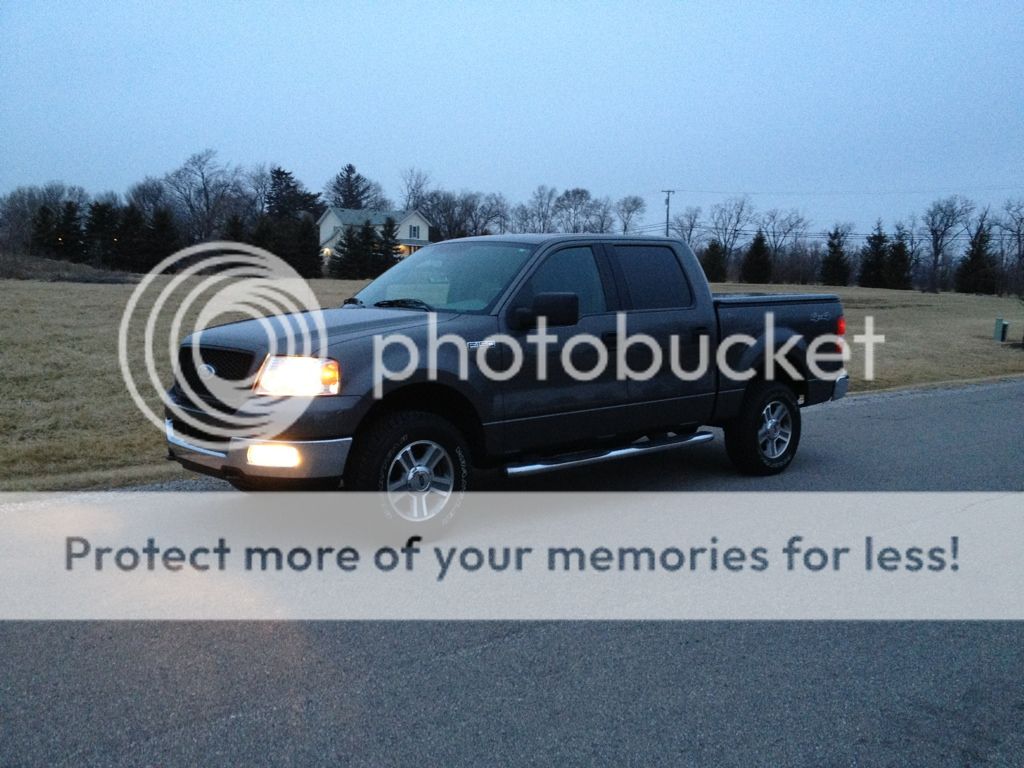
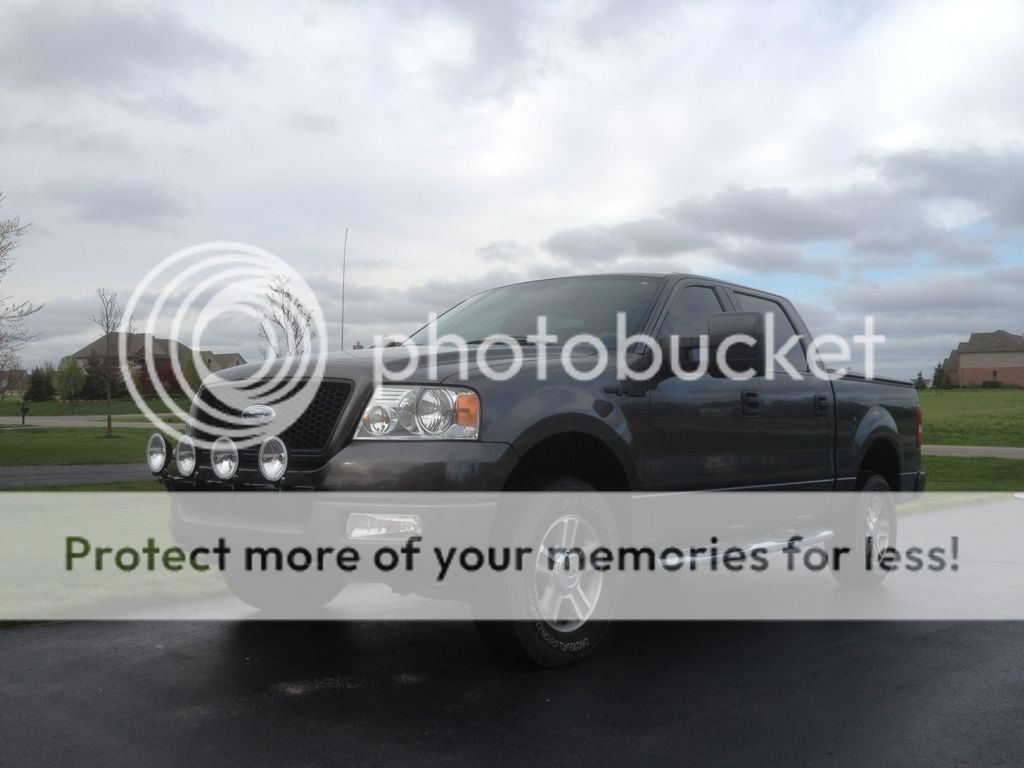
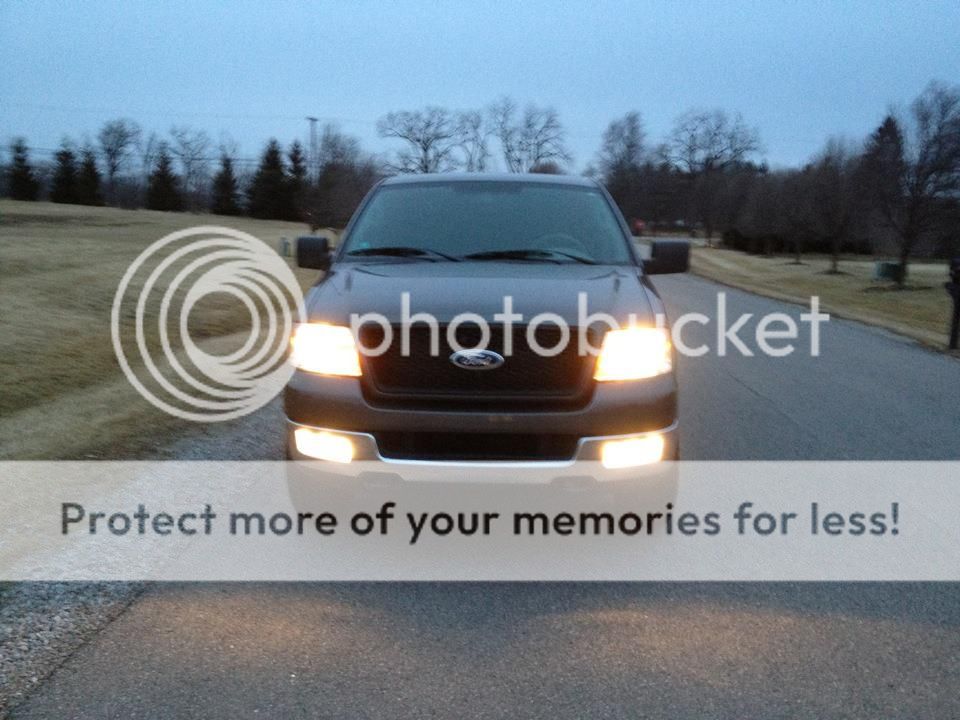
The day I came home with it from the bank I already had a Smittybilt light bar waiting for me at home along with my Hella 500ff lights from my 02. I made a custom harness for the 02 and was able to take it off and put it directly on my 05. The next day I had the windows tinted at 17% which I think matches perfectly.
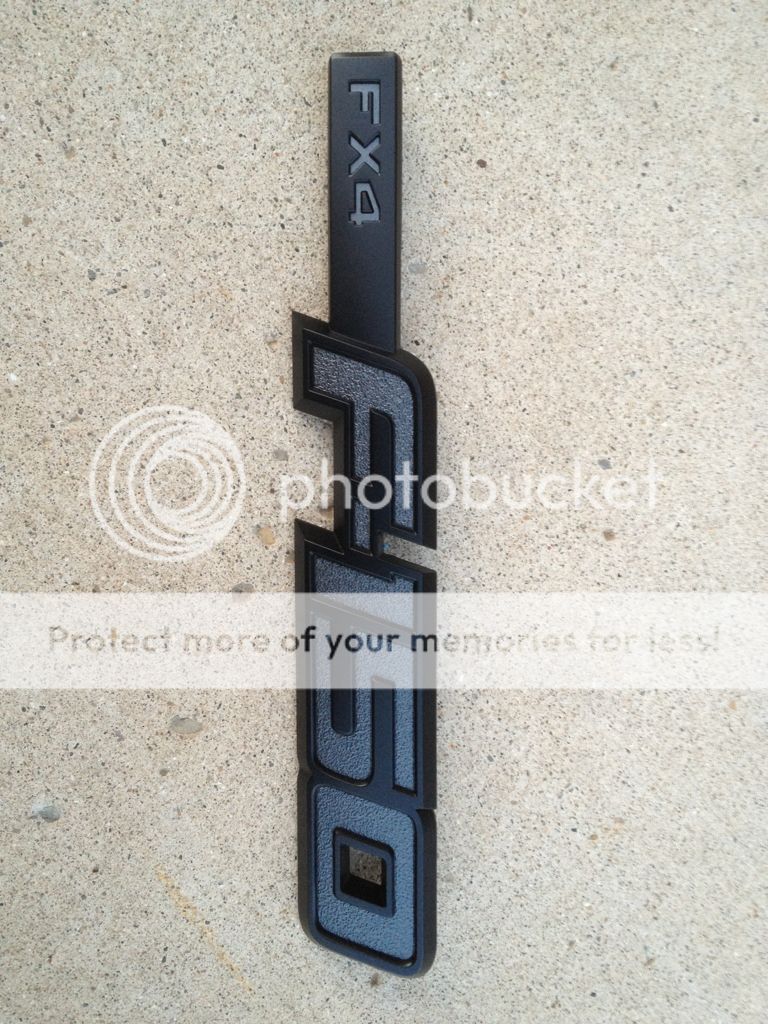
The next mod I did was adding new badges. I got a set of 09+ all black badges from a friend. They are the "FX4" badges, but for the price I got them for it did not bother me. I popped out the letters and painted them DSG to match the truck

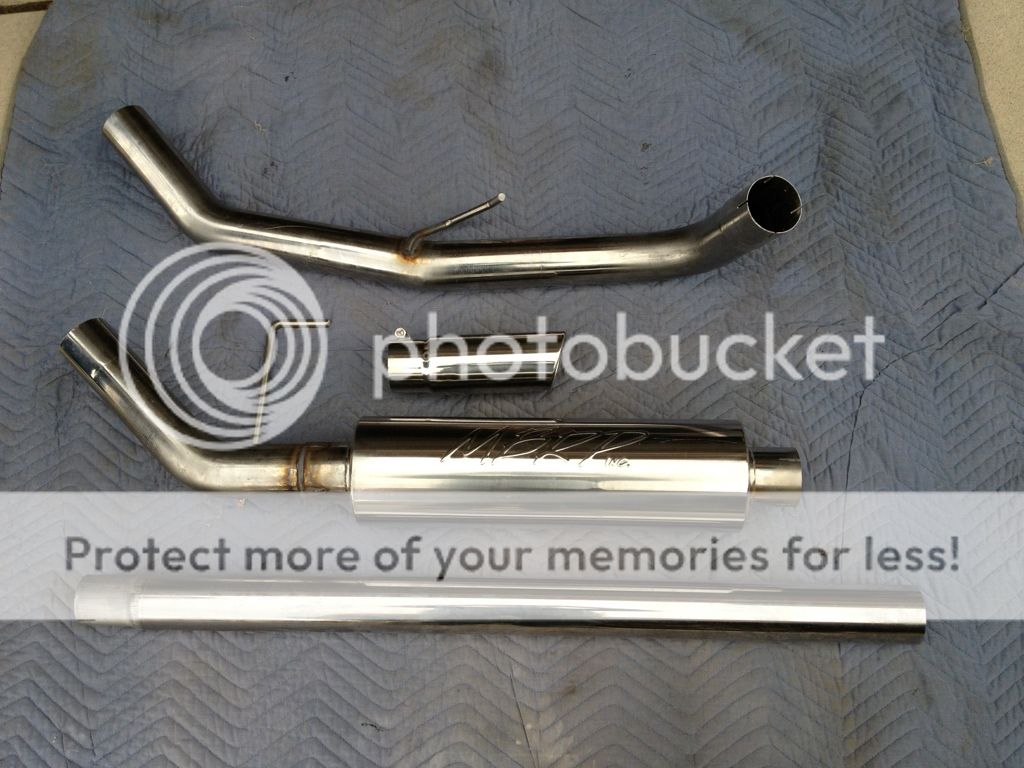
I was shopping around for an exhaust system and decided to go with a single exhaust on this truck. I ordered the MBRP single exhaust with the stainless steel finish for $400 from Amazon.com and paid 4 dollars for overnight shipping . Very simple install and this exhaust sounds great. I had no complaints at all with the sound of the system. I paid $100 more for the stainless version hoping it would not rust on the salty michigan roads. Within 1 week the exhaust had surface rust spots all over it. I was able to send it back to amazon and get a full refund. I purchased the $300 MBRP single exhaust but with the aluminized pipe this time. I had this type of pipe on my 02 for 2 years with no rust. The MBRP has been on my 05 for about 8 months now with no sign of rust. I also later added a 3 to 4" dynomax tip.
http://www.flickr.com/photos/rossi445/6785607639/
I had spent weeks looking for my next truck and finally found exactly what I was looking for. I wanted a 04-08 supercrew with low mileage. The 07-08 seemed to be the only ones I could find with the correct mileage, but they were a bit out of my price range. I was able to find a 2005 XLT with 58,000 miles on it for a great price. It was bone stock and owned by an older guy so I knew it had been taken care of. The only issue with the truck was a small dent on the passenger side by the fog light. I was able to use it to my advantage and saved a little money when negotiating the final price.
The day I came home with it from the bank I already had a Smittybilt light bar waiting for me at home along with my Hella 500ff lights from my 02. I made a custom harness for the 02 and was able to take it off and put it directly on my 05. The next day I had the windows tinted at 17% which I think matches perfectly.
The next mod I did was adding new badges. I got a set of 09+ all black badges from a friend. They are the "FX4" badges, but for the price I got them for it did not bother me. I popped out the letters and painted them DSG to match the truck
I was shopping around for an exhaust system and decided to go with a single exhaust on this truck. I ordered the MBRP single exhaust with the stainless steel finish for $400 from Amazon.com and paid 4 dollars for overnight shipping
. Very simple install and this exhaust sounds great. I had no complaints at all with the sound of the system. I paid $100 more for the stainless version hoping it would not rust on the salty michigan roads. Within 1 week the exhaust had surface rust spots all over it. I was able to send it back to amazon and get a full refund. I purchased the $300 MBRP single exhaust but with the aluminized pipe this time. I had this type of pipe on my 02 for 2 years with no rust. The MBRP has been on my 05 for about 8 months now with no sign of rust. I also later added a 3 to 4" dynomax tip.
Thread Starter
Senior Member
Joined: Sep 2010
Posts: 384
Likes: 12
From: Ann Arbor, Michigan
Next I added some gloss black 4x4 stickers I got off of ebay for around $12.
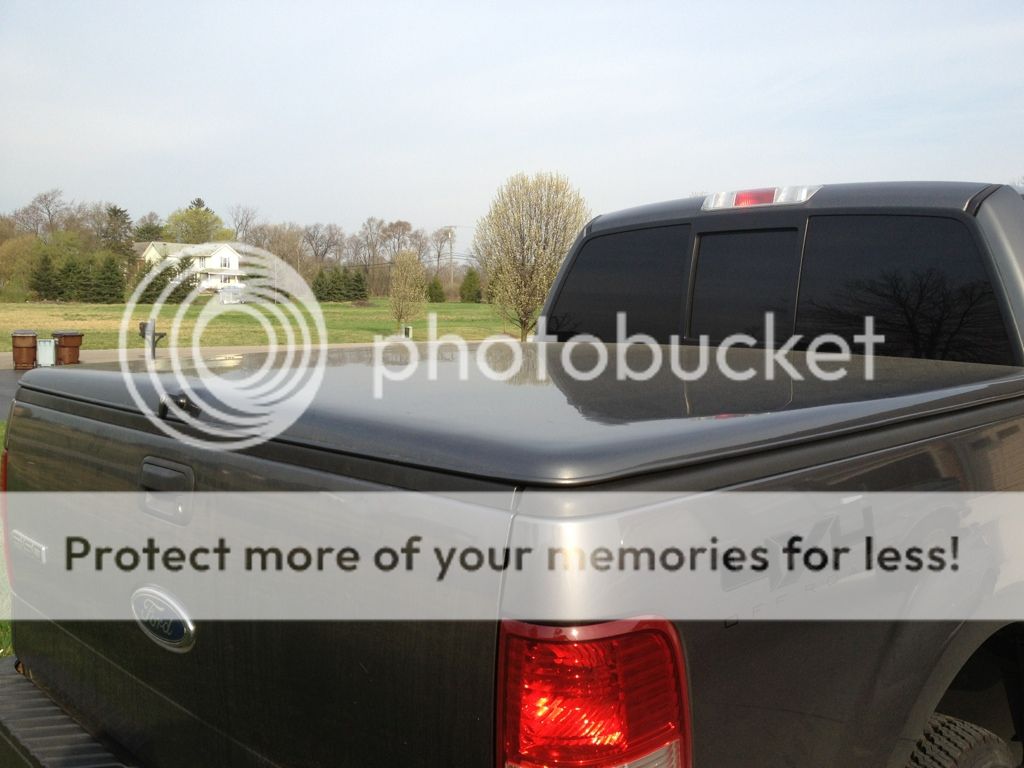
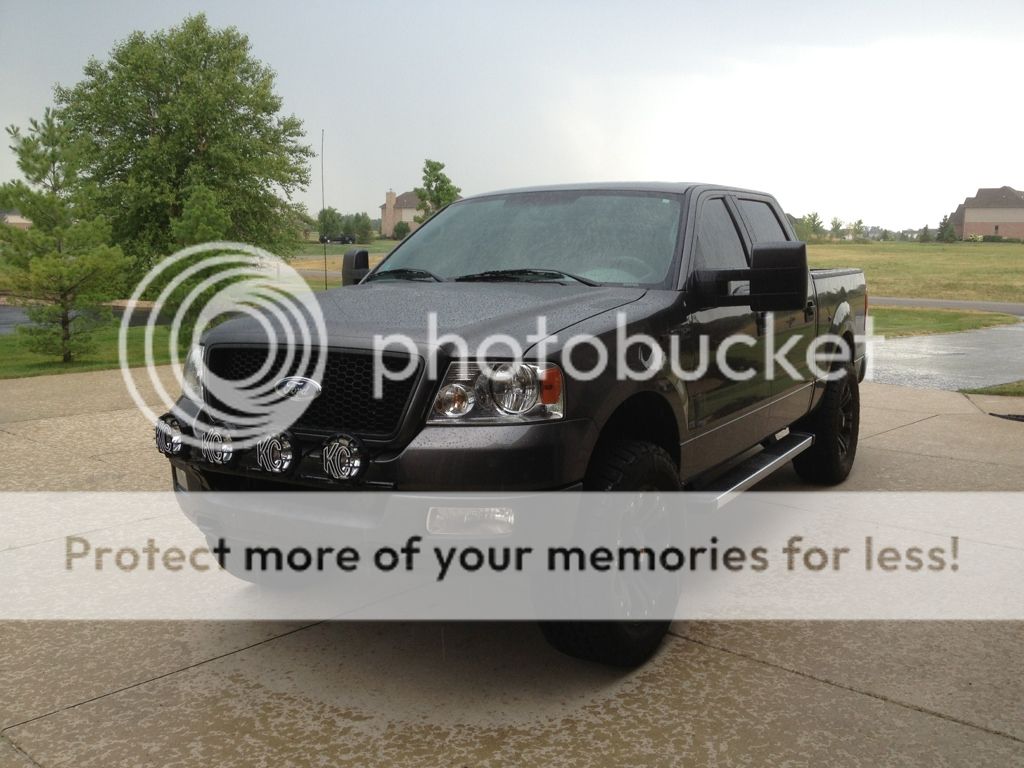
I replaced the stock mirrors with tow mirrors. I painted the mirror caps DSG to match the truck
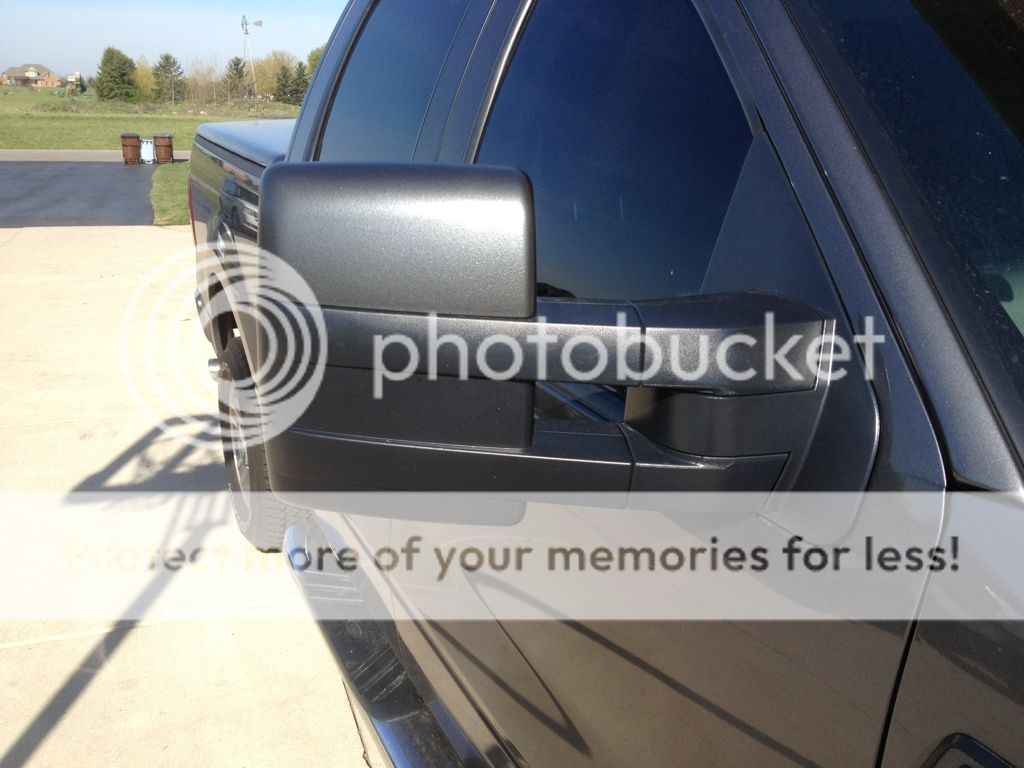
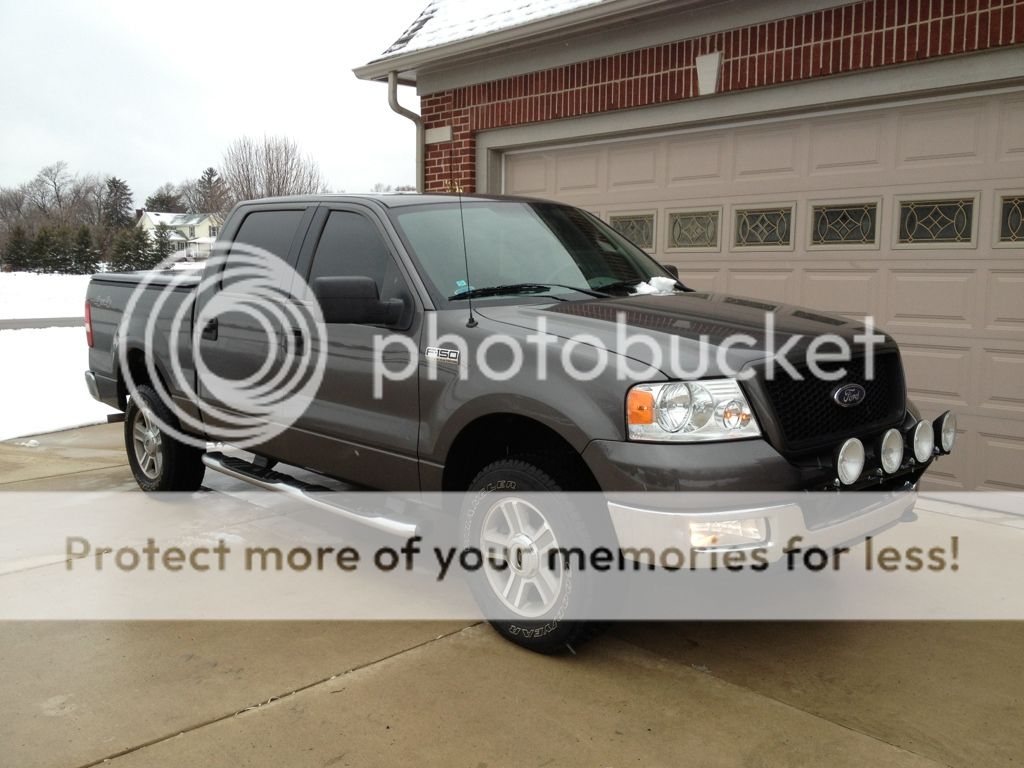
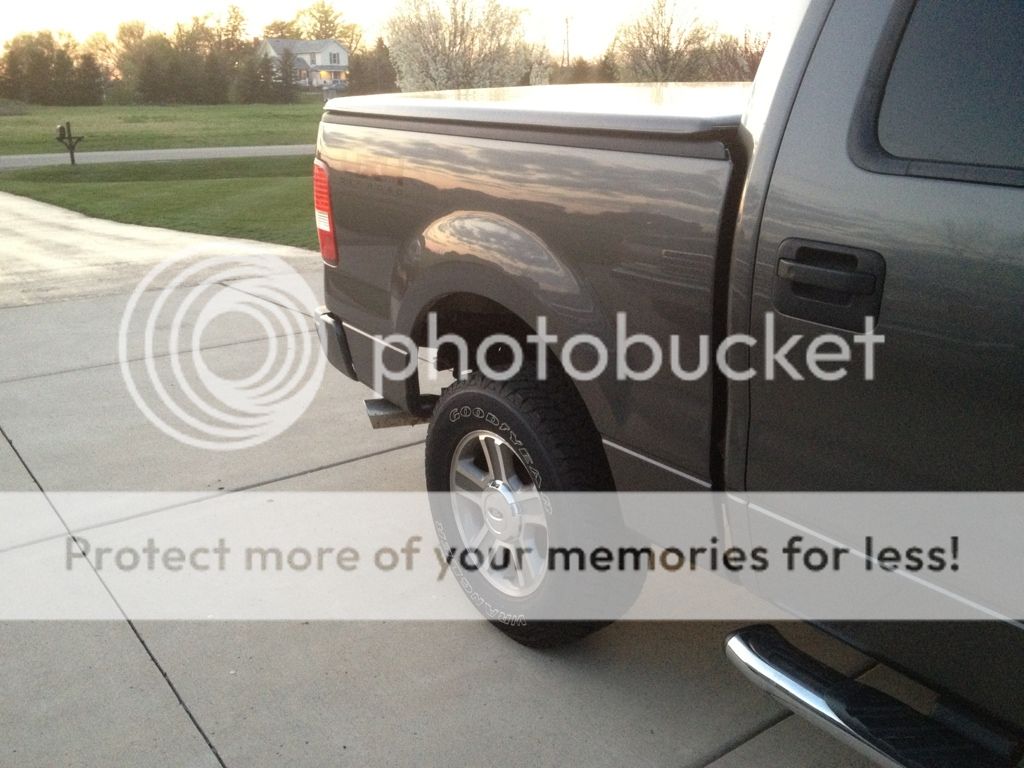
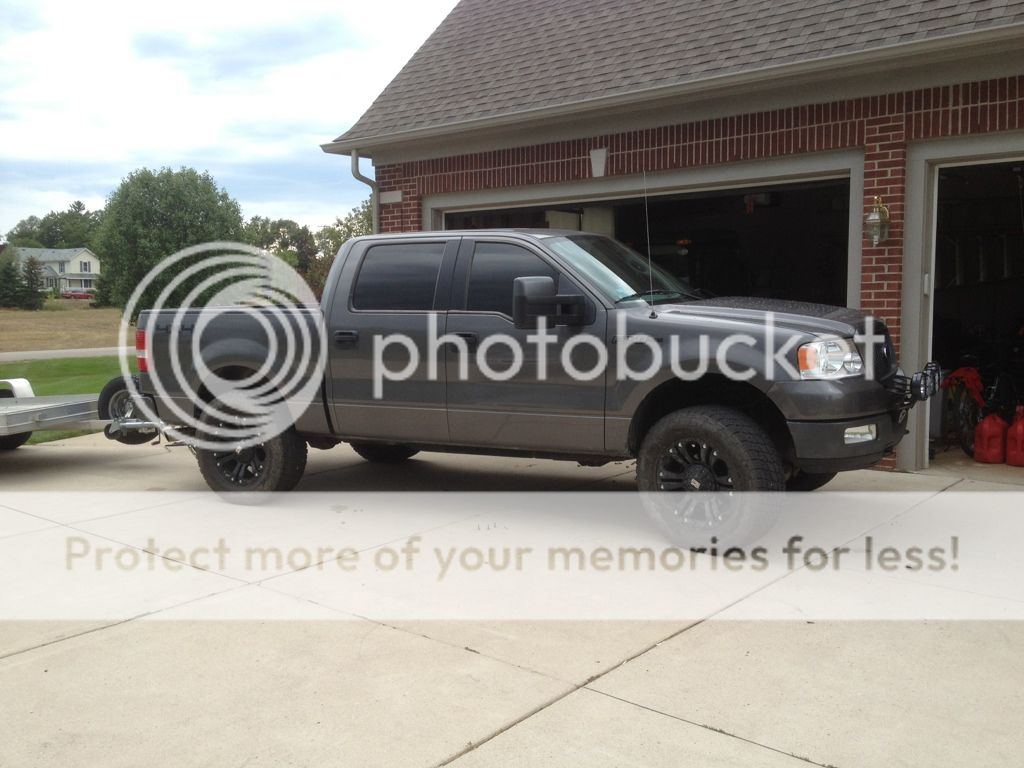
The next big mod I did was painting the bumpers. I wanted something permanent but did not want to shell out the cash to get them painted. I picked up several cans of plasti-dip and Duplicolor perfect match and went to work. I removed both bumpers and taped off the plastic parts and cleaned the rest with alcohol. I sprayed them with 3 coats of plasti-dip. I then painted over them with the duplicolor with 2-3 coats and then added 3 thick coats of clear.
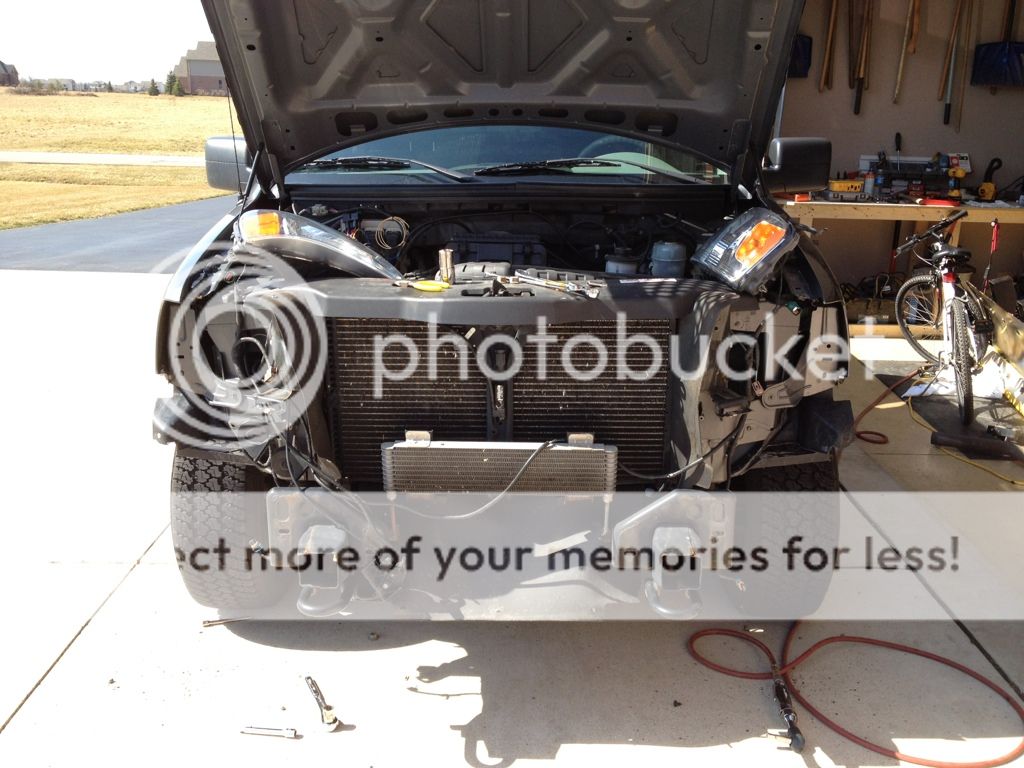
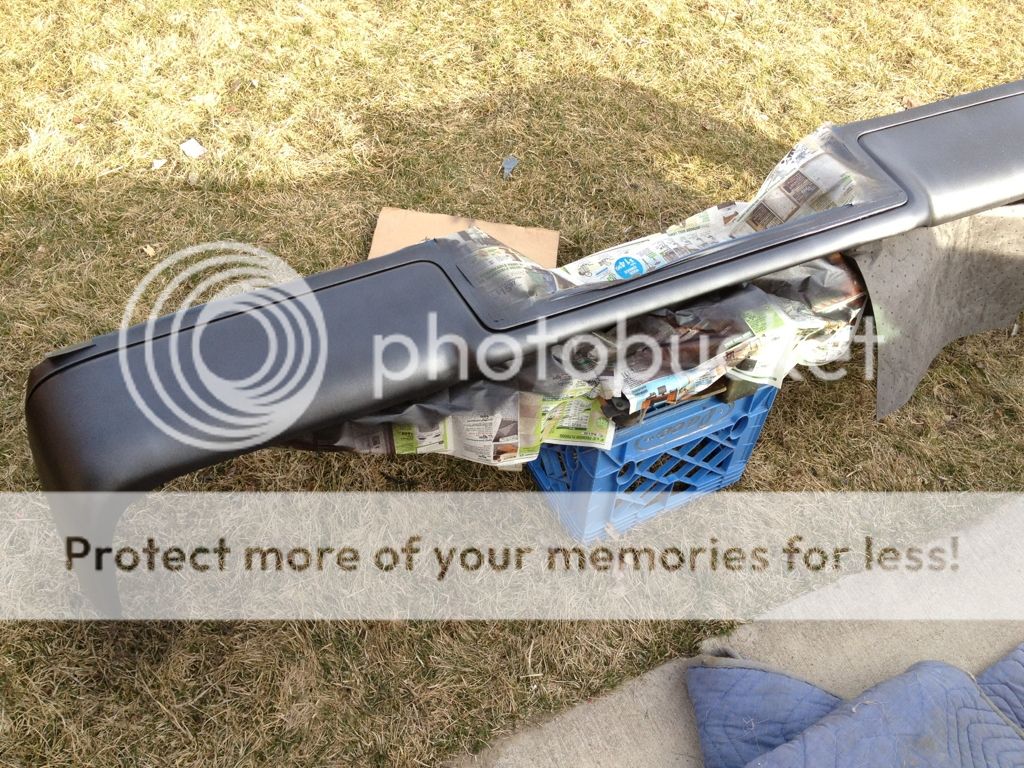
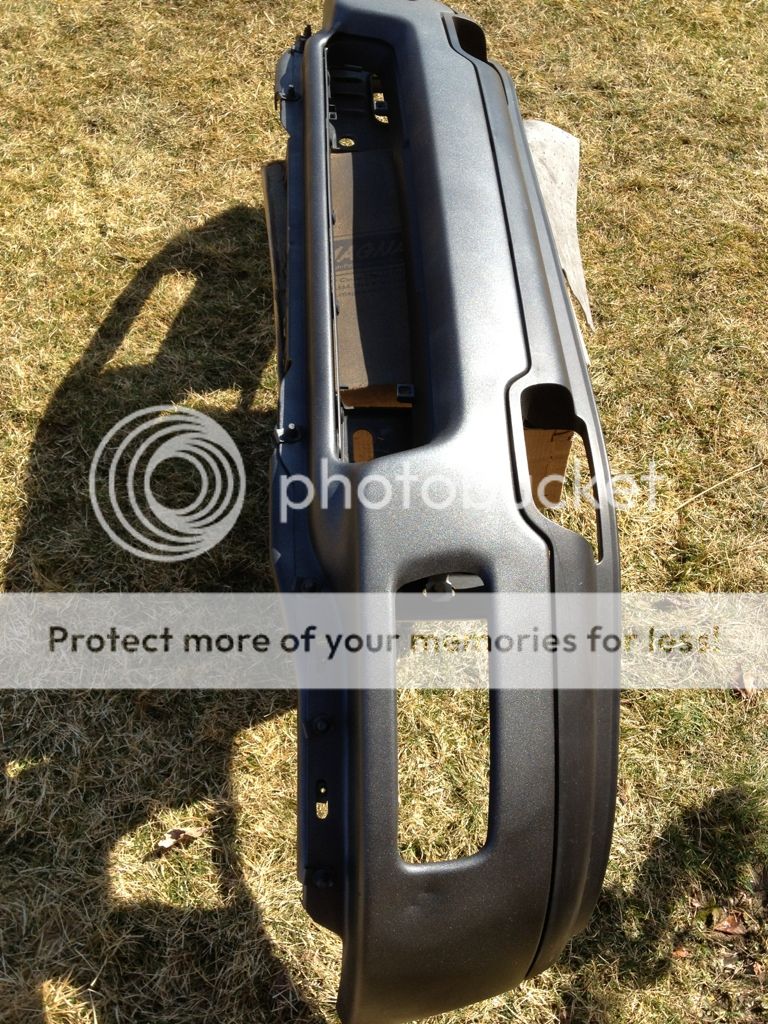
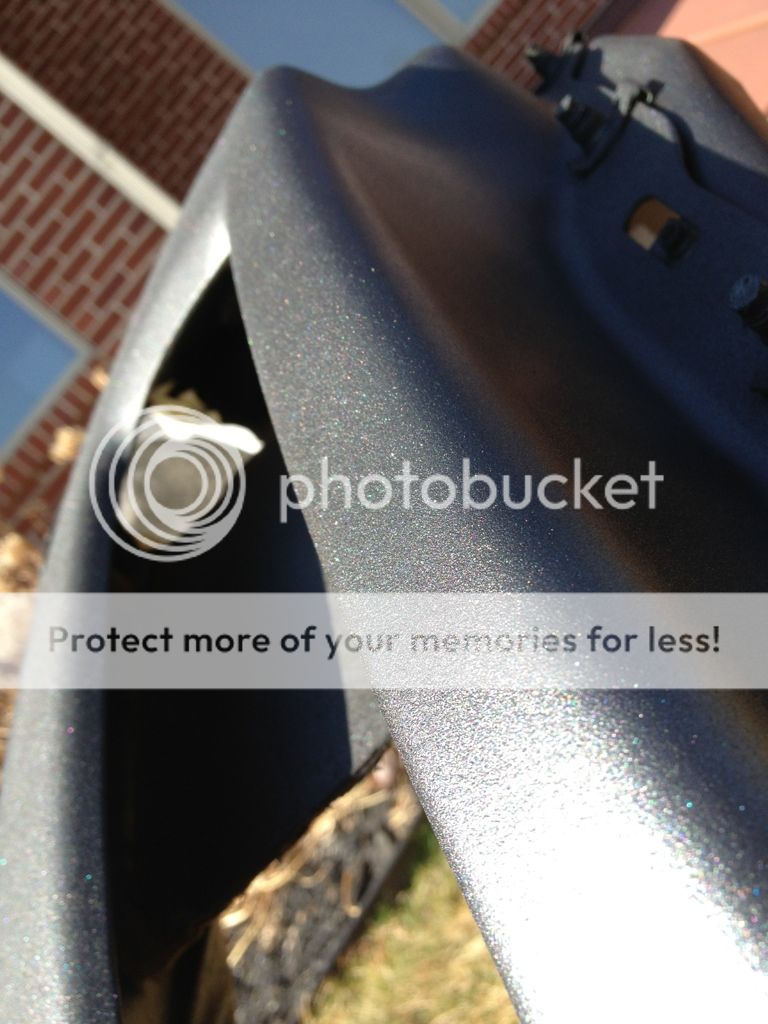
I understand a lot of people do not like plasti-dip and say that it looks cheap and it ruins an expensive truck. I disagree and it can be very useful in changing the looks of your truck when combined with paint and clear. i have had these bumpers painted for over 7 months now. They have been through snow, salt, and mud. I can use a power washer on them and it will not come off. By adding the paint and clear it creates a much more rigid finish making it more durable. I do have some very small places on the front bumper that have been hit with rocks and chipped, but they are very easy to touch up. It was a very cheap and effective alternative to getting them painted and I intend on leaving them this way until I can find a set of matching bumpers somewhere. The only way the plasti dip and paint can become damaged is by rock chips or hitting/scratching it with a sharp object.
I replaced the stock mirrors with tow mirrors. I painted the mirror caps DSG to match the truck
The next big mod I did was painting the bumpers. I wanted something permanent but did not want to shell out the cash to get them painted. I picked up several cans of plasti-dip and Duplicolor perfect match and went to work. I removed both bumpers and taped off the plastic parts and cleaned the rest with alcohol. I sprayed them with 3 coats of plasti-dip. I then painted over them with the duplicolor with 2-3 coats and then added 3 thick coats of clear.
I understand a lot of people do not like plasti-dip and say that it looks cheap and it ruins an expensive truck. I disagree and it can be very useful in changing the looks of your truck when combined with paint and clear. i have had these bumpers painted for over 7 months now. They have been through snow, salt, and mud. I can use a power washer on them and it will not come off. By adding the paint and clear it creates a much more rigid finish making it more durable. I do have some very small places on the front bumper that have been hit with rocks and chipped, but they are very easy to touch up. It was a very cheap and effective alternative to getting them painted and I intend on leaving them this way until I can find a set of matching bumpers somewhere. The only way the plasti dip and paint can become damaged is by rock chips or hitting/scratching it with a sharp object.
Thread Starter
Senior Member
Joined: Sep 2010
Posts: 384
Likes: 12
From: Ann Arbor, Michigan

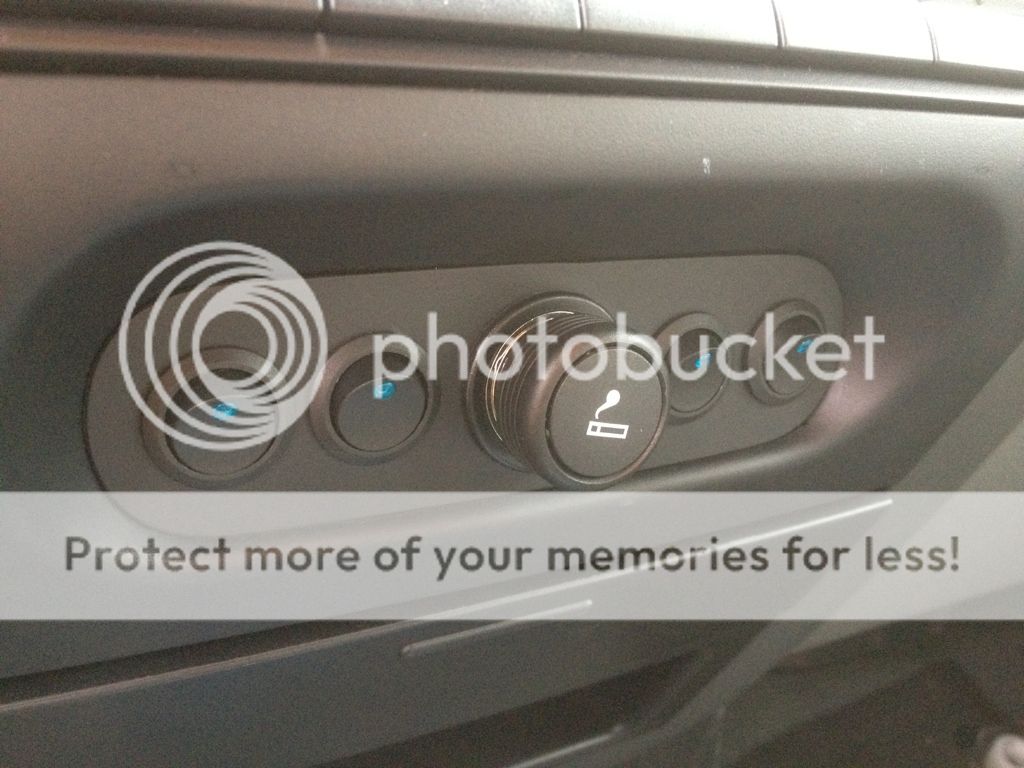
I forgot to include a picture of the switch panel I made for the light bar. I wanted it to look even so I added 2 to the other side as well. I have a set of Recon aux reverse lights I have yet to install. The switches were 3 bucks each at superbrightleds.com
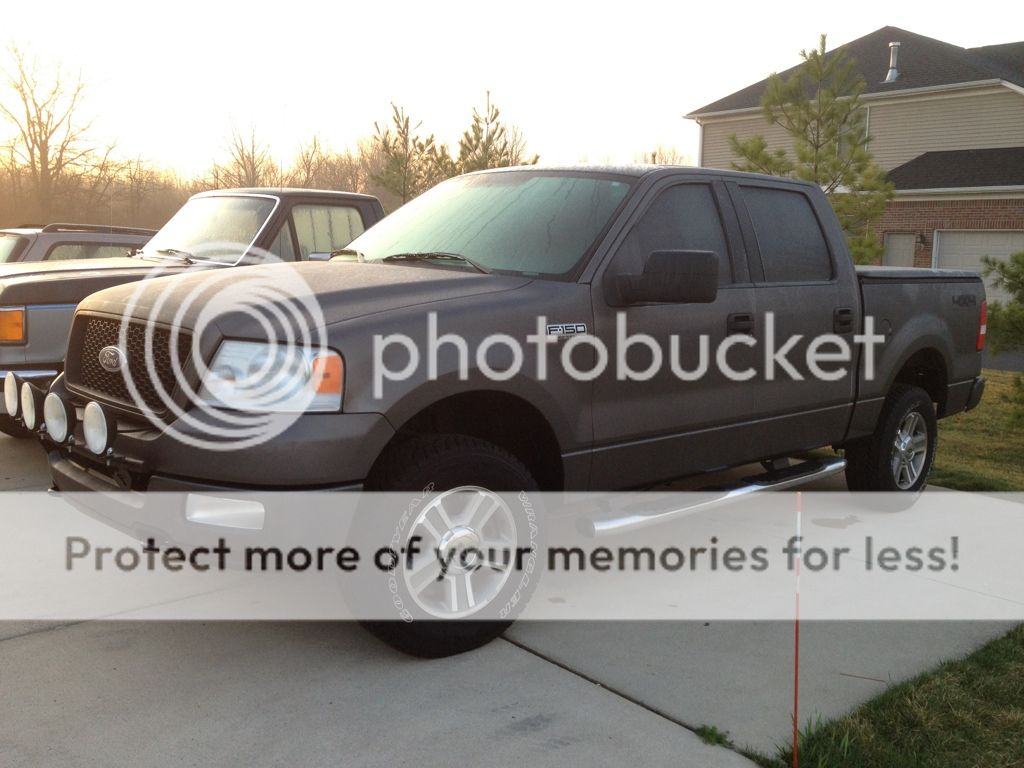
Next I swapped out the oval steps for the square 09+ steps I kept from my 02. I think they look a lot cleaner. I later removed the steps which looks even better I think. I am currently painting the steps grey to match the truck with black inserts and putting them back on. I do not have any type of fender flares on the truck and I get rock chips and scratches everywhere from driving down dirt roads.
http://s919.photobucket.com/albums/a...14B04D5C2C.jpg

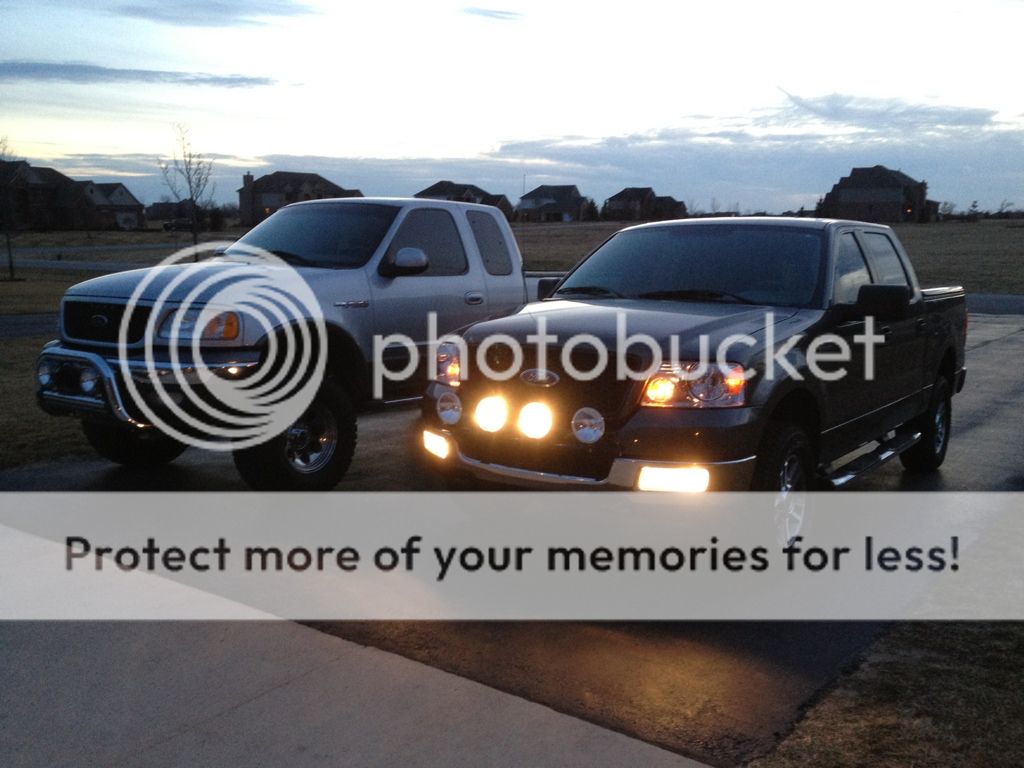
For a while I had both trucks at one time until I finally sold the 02. After it was sold I bought a few things for my new truck.
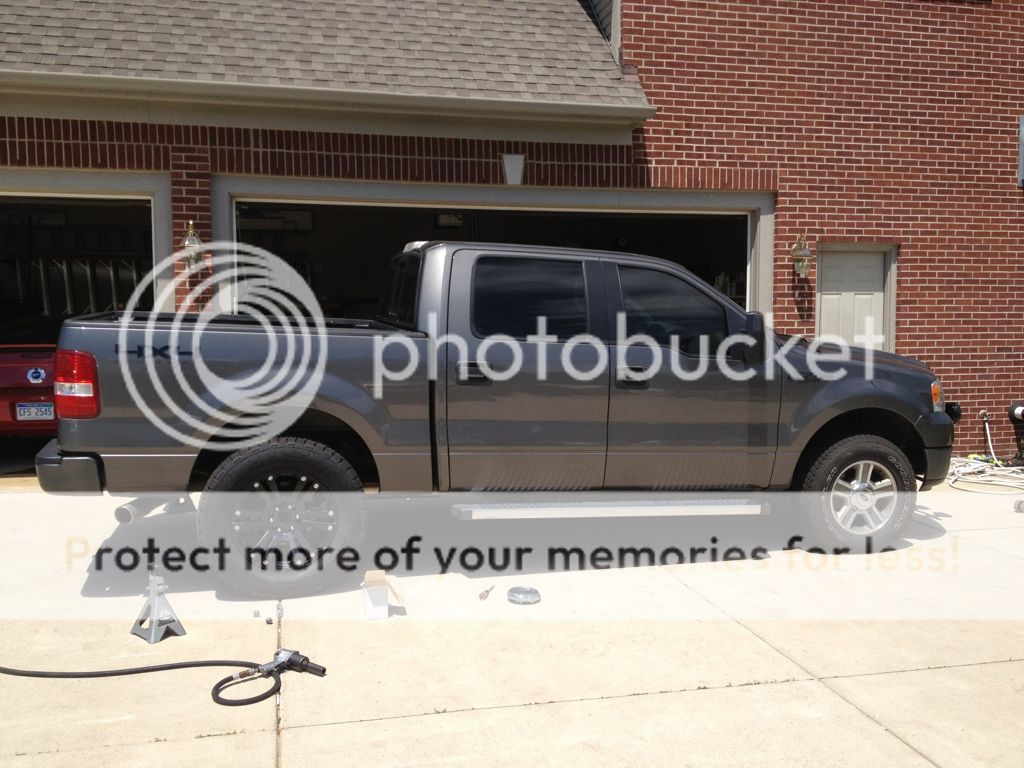
I decided to go with a 2.5" HBS level kit. I heard great things about it and for the price I couldn't find anything better. I ordered this about a week before Memorial day weekend and I was hoping to have everything installed so I could take the truck down to the lake and trails. I was expecting the kit to arrive in 3-4 days like HBS website said but it ended up taking almost 2 weeks to get here. Turns out USPS had missed it in one of their warehouses and it sat there on a shelf for over a week.
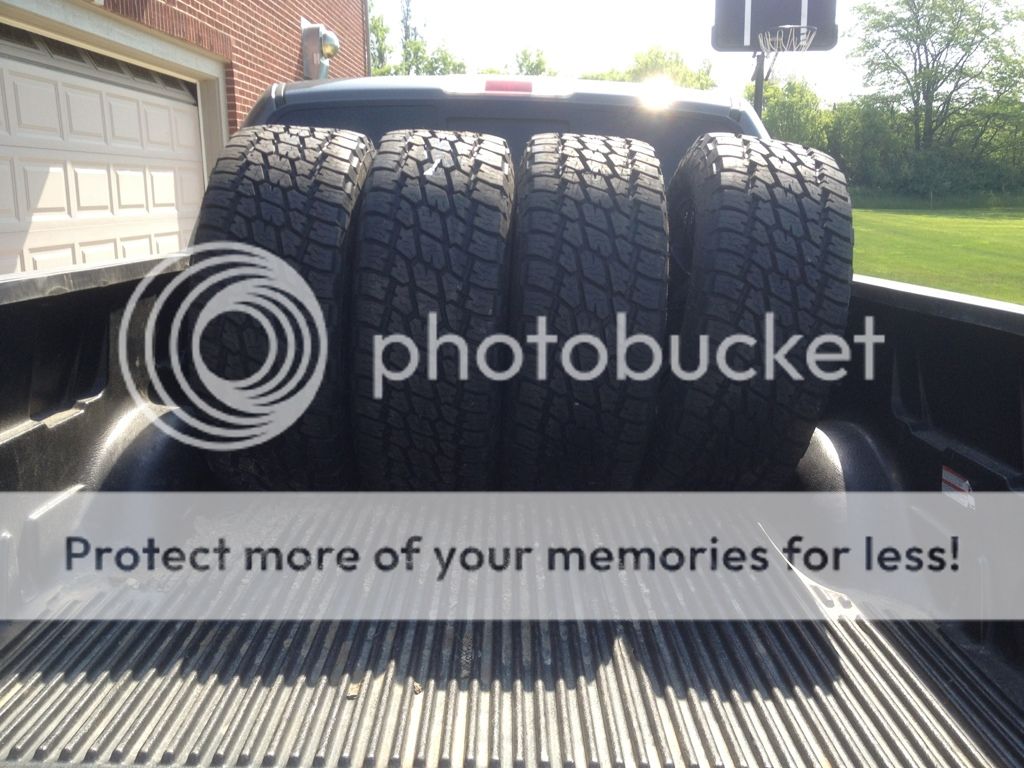
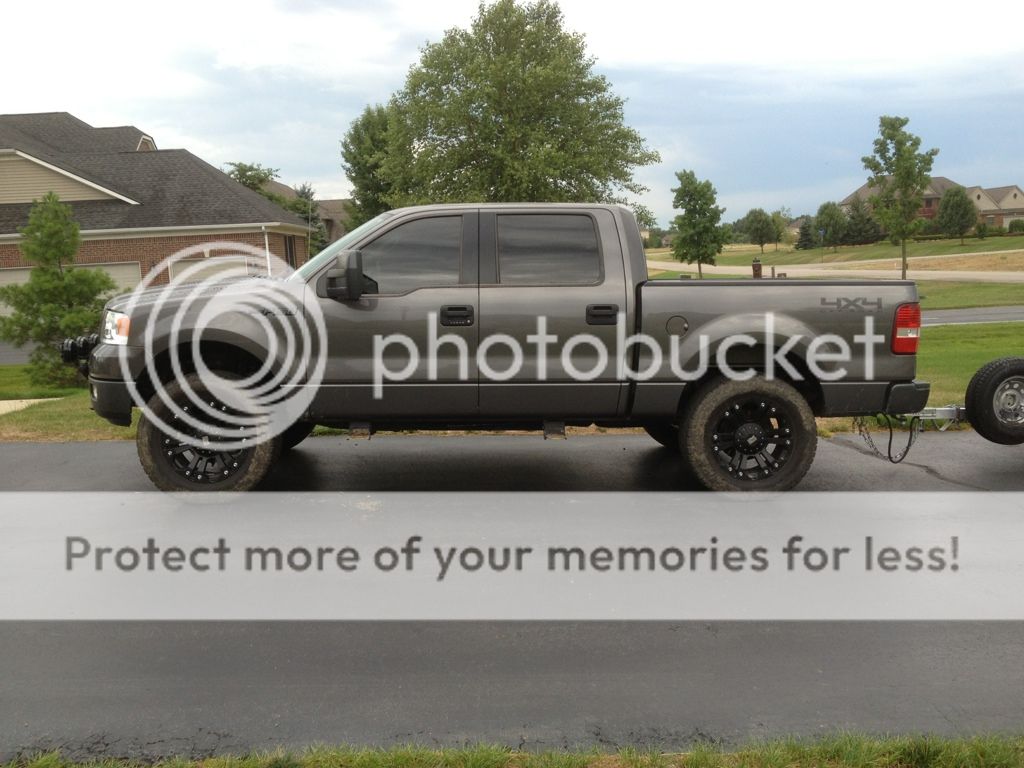
For my wheels I decided to go with 20" black rims. I wanted something with a -12 offset but thought that 33's were just a little bit too small looking. I went with a 295 60 20 Nitto terra grappler and 20x9 xd monster rims with a +18 offset. I know a lot of people have the monster rims but I think they look great on these trucks and I got an unbeatable deal on the set from discount tire. They were able to get the package in stock at their store overnight. I have only came across one other truck in person with these rims on them in my life.


Thread Starter
Senior Member
Joined: Sep 2010
Posts: 384
Likes: 12
From: Ann Arbor, Michigan
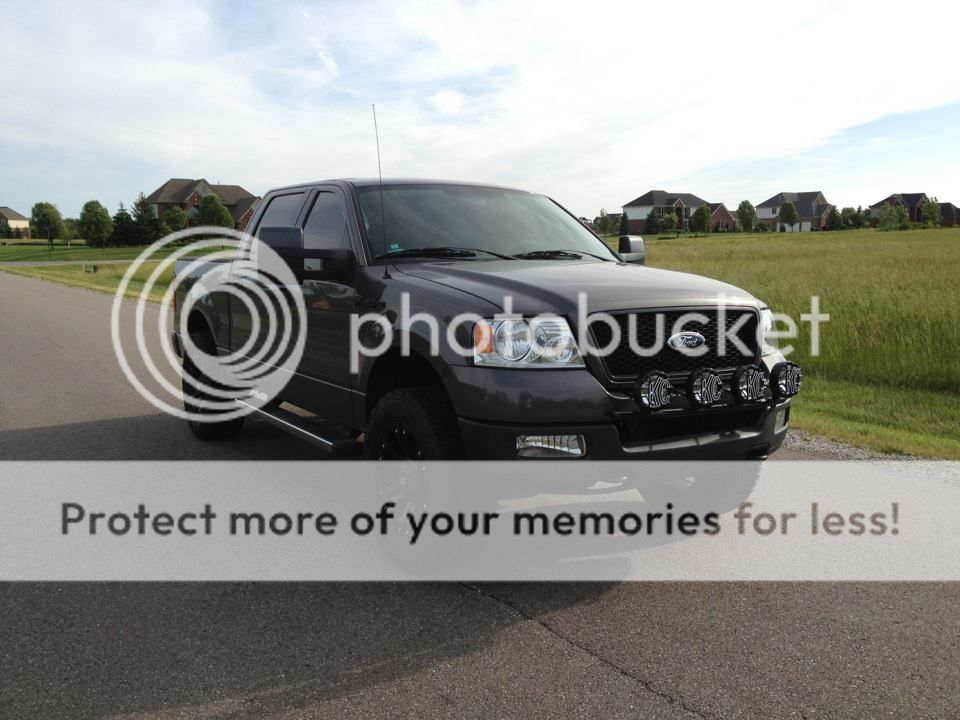
Somewhere during this time I replaced the Hellas with KC slimlights. I was very surprised with how much bigger the truck looked with just a level kit and wheels. The tire size measures out to roughly 34.6 x 12.3 and I think it looks perfect with a leveled truck. The +18 offset was spot on with minimal rubbing. I only had to trim a tiny piece off of the front valence. Even with the back axle fully flexed there is enough space for the tire to tuck under the fender and not hit the bed.

The next thing I did was remove the running boards
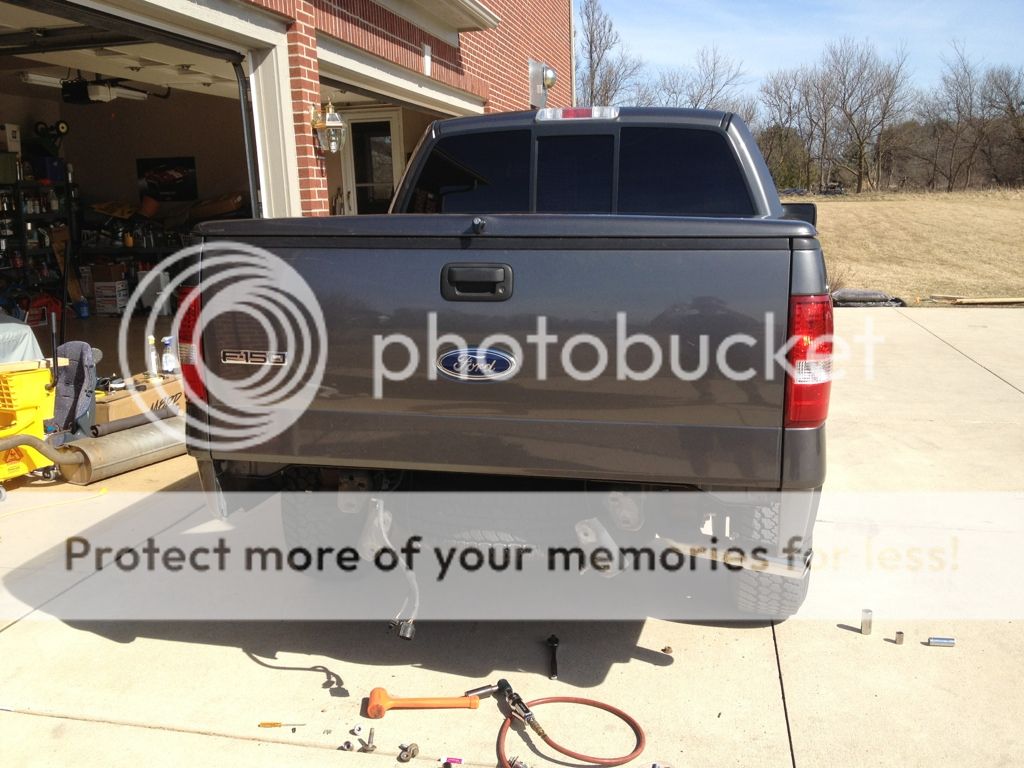
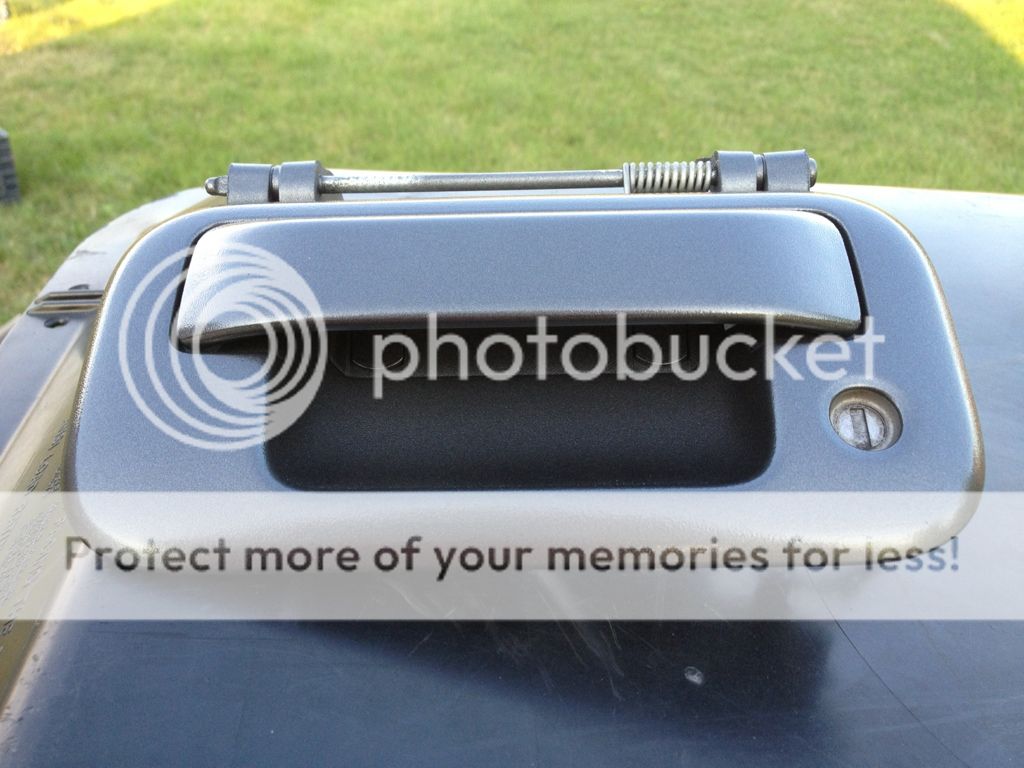
Next I took out the door handles and painted them. I removed all 4 and the tailgate handle. I sanded them, primered, and then painted. With a few coats of clear they felt like an OEM paintjob.

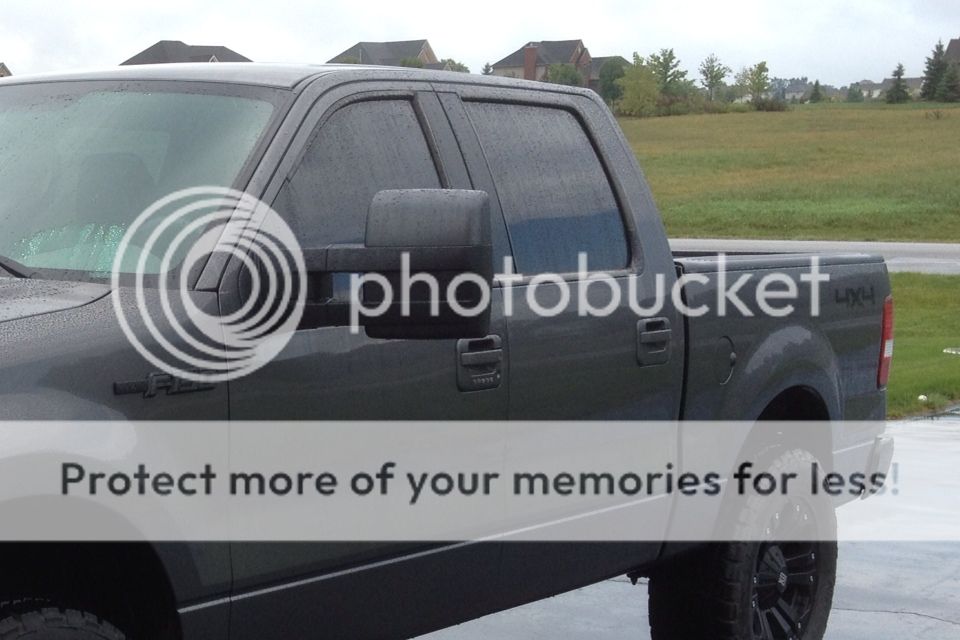

The next thing I did was remove the running boards
Next I took out the door handles and painted them. I removed all 4 and the tailgate handle. I sanded them, primered, and then painted. With a few coats of clear they felt like an OEM paintjob.


Thread Starter
Senior Member
Joined: Sep 2010
Posts: 384
Likes: 12
From: Ann Arbor, Michigan
Here are some shots of the truck from my photography website. A few of my pictures have been posted by Nitto on their facebook page.
http://www.flickr.com/photos/rossi445/7693691004/
http://www.flickr.com/photos/rossi445/7654396606/
http://www.flickr.com/photos/rossi445/7654390912/
http://www.flickr.com/photos/rossi445/7186523901/
http://www.flickr.com/photos/rossi445/7639197478/
http://www.flickr.com/photos/rossi445/7693691004/
http://www.flickr.com/photos/rossi445/7654396606/
http://www.flickr.com/photos/rossi445/7654390912/
http://www.flickr.com/photos/rossi445/7186523901/
http://www.flickr.com/photos/rossi445/7639197478/

Trending Topics
Thread Starter
Senior Member
Joined: Sep 2010
Posts: 384
Likes: 12
From: Ann Arbor, Michigan
I took the tape off the back and then you just push out the inlays. There are some small clips that hold them in. I am not sure if all of the new badges are like this though. They may have started doing it in 10 or 11
Batmobile
Joined: Jul 2011
Posts: 1,408
Likes: 36
From: Pennsylvania
Originally Posted by ROSSI
Thanks! I used 220 grit paper and one of those foam sanding blocks. Not exactly sure what the grit was on the block, I found it in the garage. I scuffed them up pretty good but not enough to remove the textured surface on the handles. I used valspar primer and rustoleum crystal clear. The duplicolor can be bought at any auto parts store.
One of my classes was cancelled yesterday so I had about 3 hours to kill, perfect time to make a build thread
I took the tape off the back and then you just push out the inlays. There are some small clips that hold them in. I am not sure if all of the new badges are like this though. They may have started doing it in 10 or 11