

Tinted tailights


Thread Starter
Senior Member

Joined: Oct 2006
Posts: 6,292
Likes: 123
From: Fort Worth
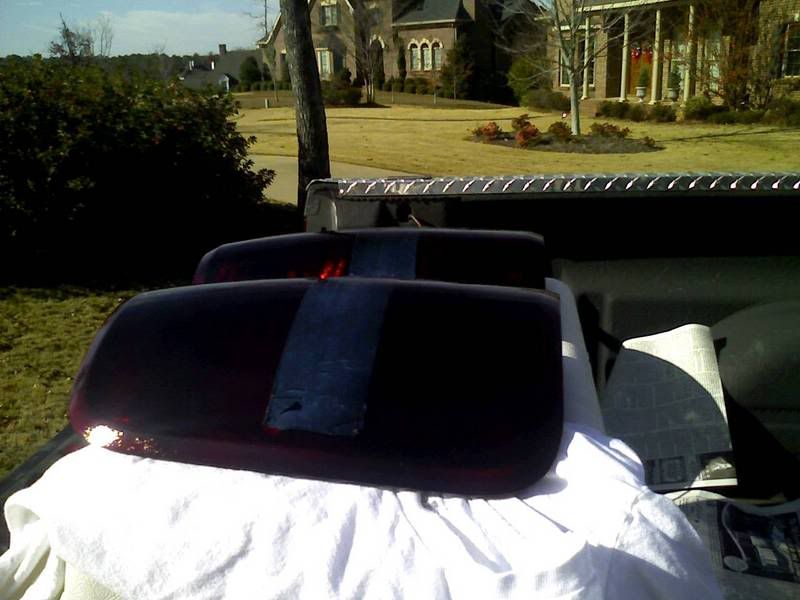
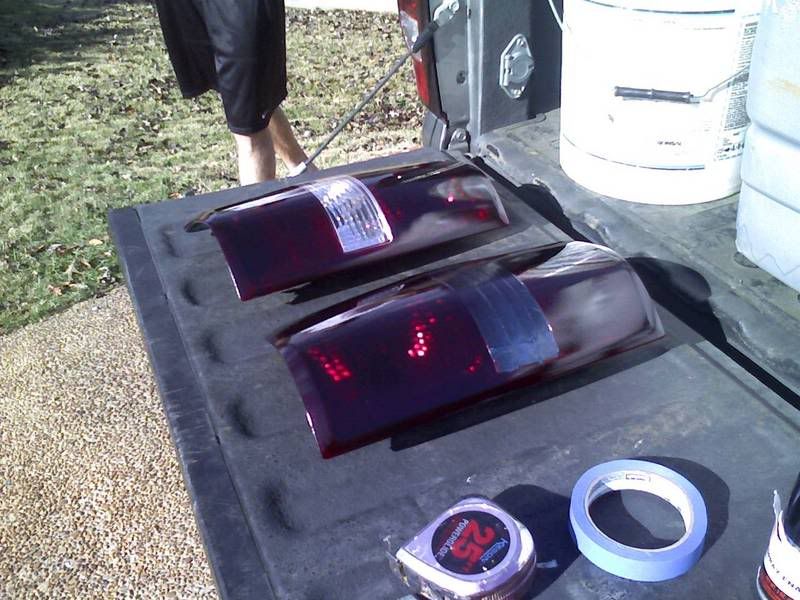
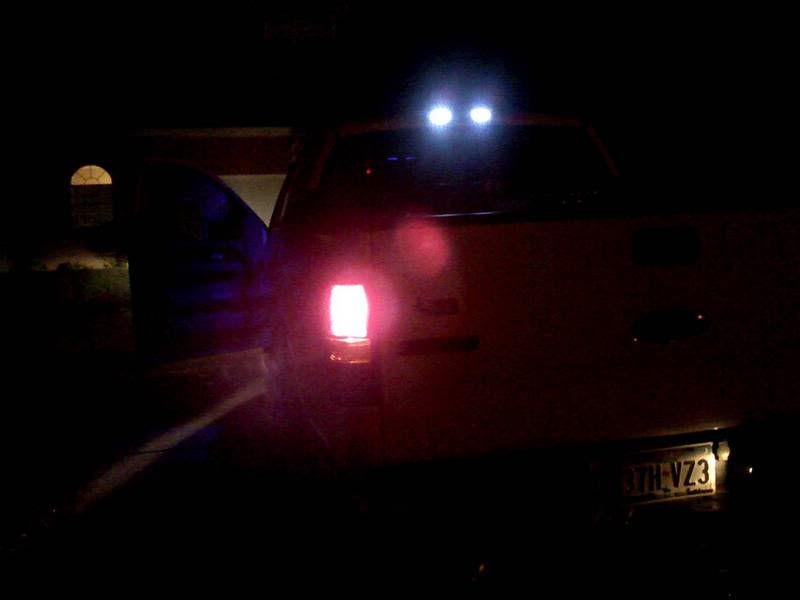
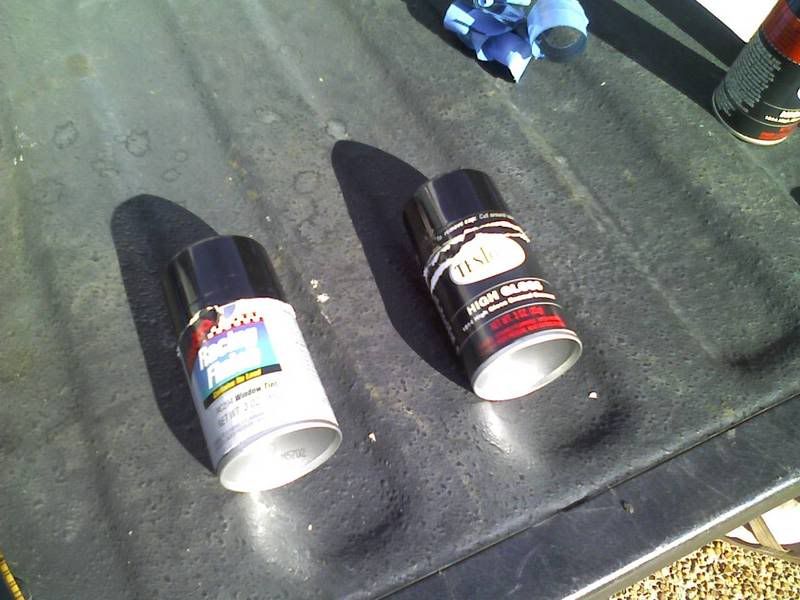
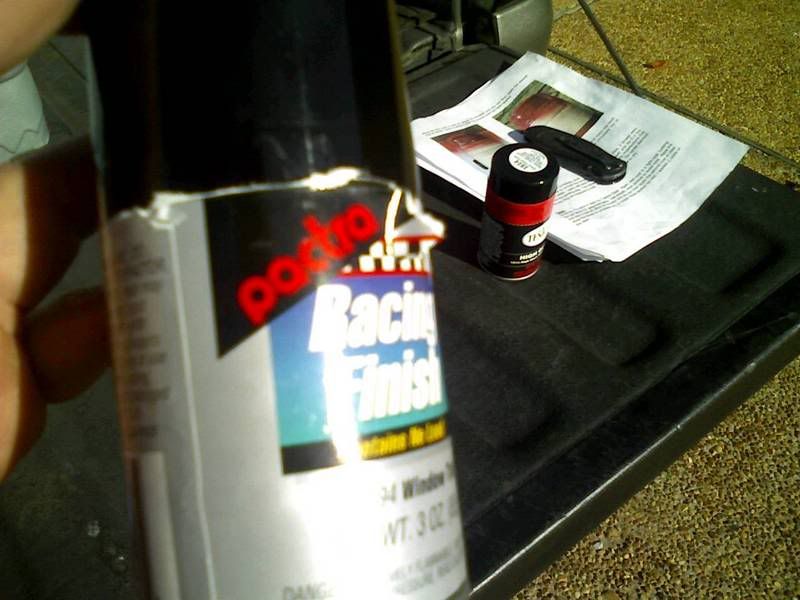
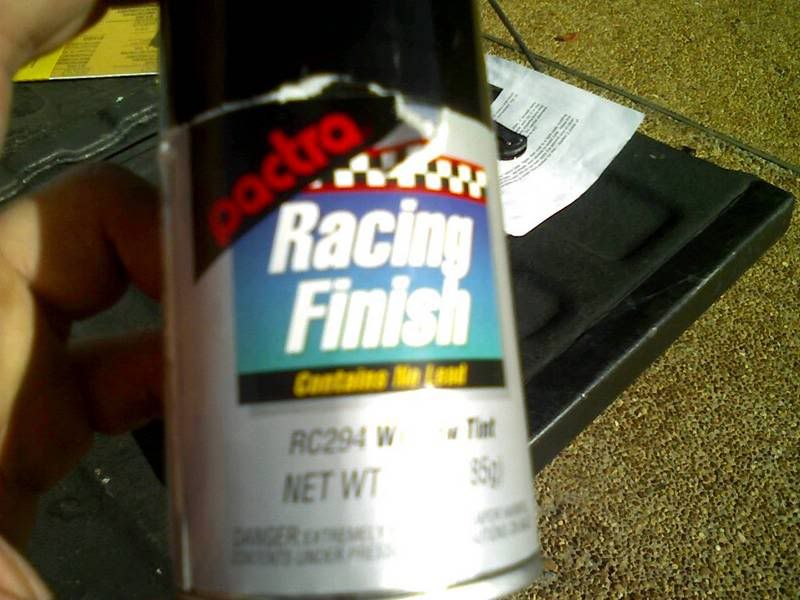
A buddy and I tinted our tailights today and they look great, I only have the pictures of them off the truck but will get some tmrw with them on. We didn't use VHT niteshade but something similar because he found this stuff that is suposed to be better so we gave it a try.
Process:
-Take off the truck
-Was with dish soap to remove any grease
-Tape off the backup light area
-Sand with 400 grit
-Wipe them down real good
-Spray with the tint X2
-Wetsand with 1500 grit
-Spray with the clear X2
-Wetsand
-Then a coat of wax
IMO they turned out great. I did get a couple smally runs because I was trying to compensate for the wind and got to close to the light and sprayed to much. You can't notice it unless you are real close to it so its fine by me.
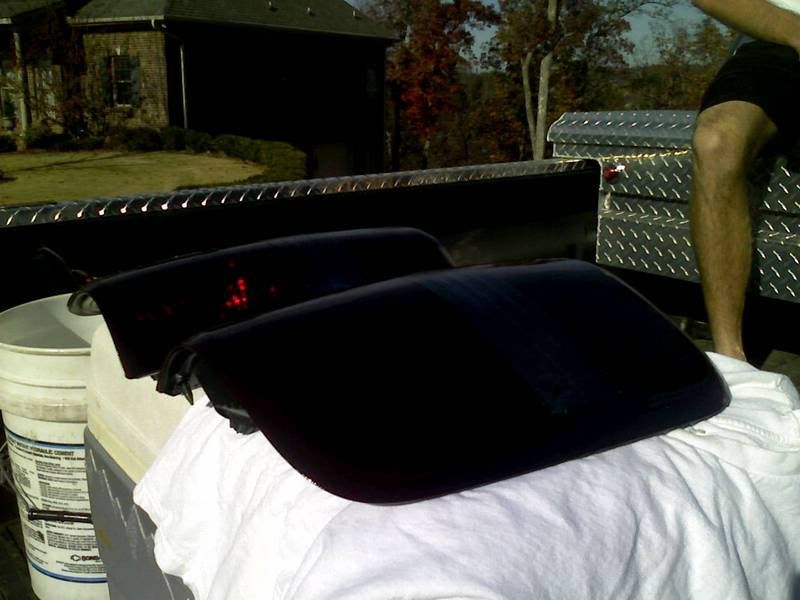
Taped off and sanded...
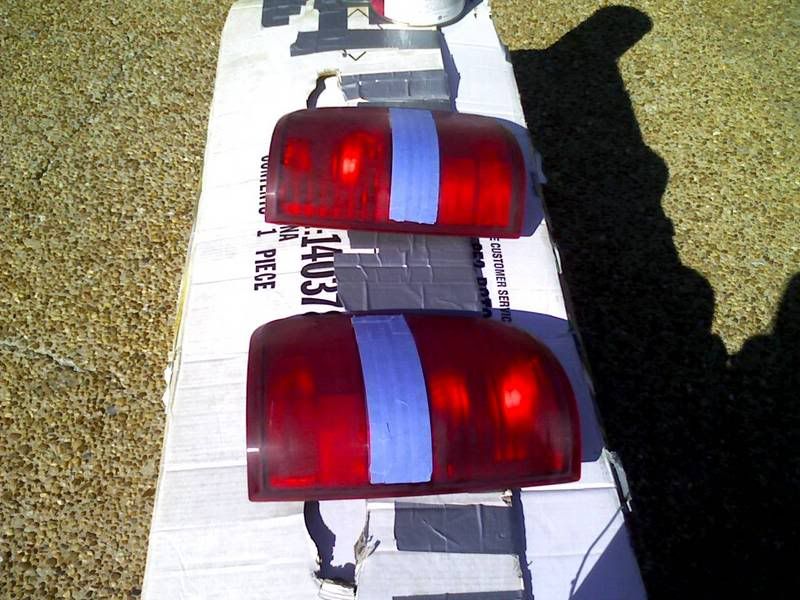
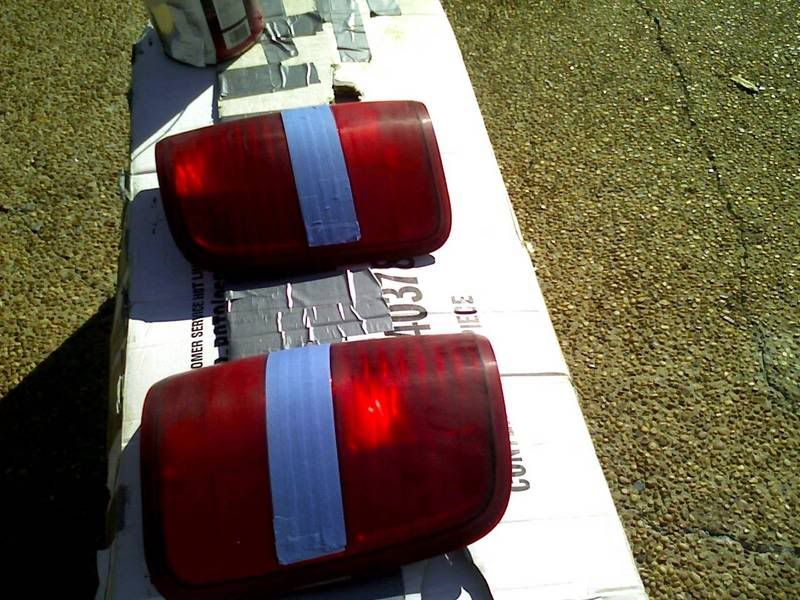
One coat of tint...
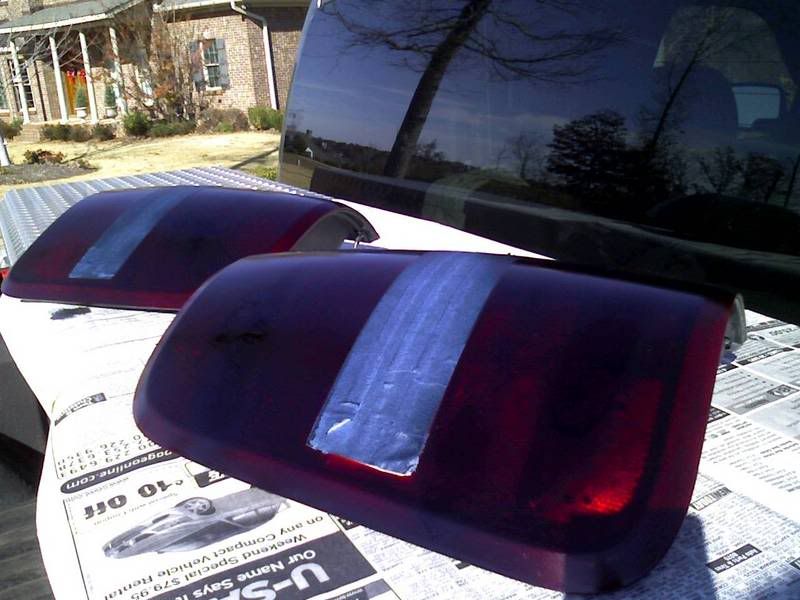
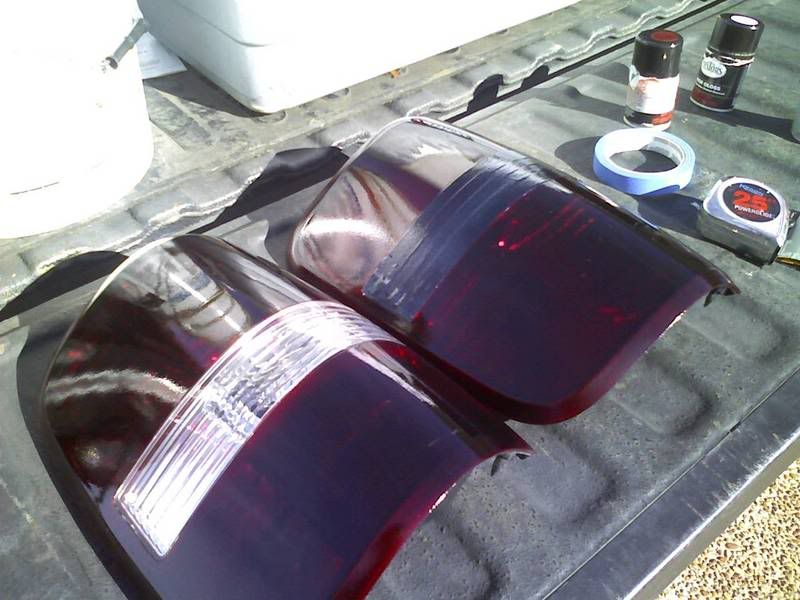
Cleared...
Process:
-Take off the truck
-Was with dish soap to remove any grease
-Tape off the backup light area
-Sand with 400 grit
-Wipe them down real good
-Spray with the tint X2
-Wetsand with 1500 grit
-Spray with the clear X2
-Wetsand
-Then a coat of wax
IMO they turned out great. I did get a couple smally runs because I was trying to compensate for the wind and got to close to the light and sprayed to much. You can't notice it unless you are real close to it so its fine by me.
Taped off and sanded...
One coat of tint...
Cleared...
Last edited by LovetheTide; Dec 2, 2007 at 12:45 AM.


Thread Starter
Senior Member
Joined: Oct 2006
Posts: 6,292
Likes: 123
From: Fort Worth
No it was extremely easy.
I'll snap some pictures in the morning, to go along with something else thats going to be painted.
A couple of things you need to remember:
-Don't get extremely close to the light, it will run trust me.
-When drying try to keep them in the sun so the will dry faster unless the wind is blowing becuase you will find random things sticking to the lights, again trust me.
-With the clear you might notice that you aren't getting enough shine, that's becuase you aren't using enough clear and it will look rough and not glossy, been there done that, go figure.
-Take your time when you are taping it off because in the end it will look like **** if there is a line of tint were it shouldn't be.
A couple more things, we waited aroung 25-30 minutes inbetween coats. You will be fine doing it more frequently, just make sure it is tacky to the touch. When you think they are completely dry let them sit even longer before you put the lights back on becuase you will leave finger prints in the clear by pressing them in, or just press the back up light area only so you won't mess up the clear coat.
Last edited by LovetheTide; Dec 2, 2007 at 01:06 AM.
Thread Starter
Senior Member
Joined: Oct 2006
Posts: 6,292
Likes: 123
From: Fort Worth
It took us about 4 hours to do everything, although most of it was sitting around and 1 and a half hours of actual work.
Trending Topics
Thread Starter
Senior Member
Joined: Oct 2006
Posts: 6,292
Likes: 123
From: Fort Worth
I hope it does! Both of us absolutely love it and its nice having done something that not many people at all do in our town, so thats a plus.
Oh and its also going to be nice ripping our friends off by making them pay like 75 bucks for us to do it to their trucks.
P.S. When you wetsand go in one direction and just take a couple light passes, just enough to actually see the fine scratches.
Oh and its also going to be nice ripping our friends off by making them pay like 75 bucks for us to do it to their trucks.
P.S. When you wetsand go in one direction and just take a couple light passes, just enough to actually see the fine scratches.
yes that is what I like being able to do something and pay a fraction of the price. Like things like this and other stuff. I got you on wetsanding in one smooth direction as not to mess up or it will look like crap.