When you click on links to various merchants on this site and make a purchase, this can result in this site earning a commission. Affiliate programs and affiliations include, but are not limited to, the eBay Partner Network.
Write-up on how to remove fender flares (wheelhouse lip moulding, in the manual) which you need to remove in order to remove the inner splash guard if you want to clean out the gunk behind: https://www.f150forum.com/f71/how-re...-flares-66806/
Good to see others are working on a fix.
I have several pictures I will post but will wait to see if Siliconing the windshield stop worked and if my modification to the 3rd brake light also worked.
I check my sunroof drain lines and they were clear. This can be accomplished by removing the 2"x3" plug on the passenger side behind the kick panel.
Where there was tape covering up holes, like under the passenger carpet....there is a dime size hole with tape covering it. I decided to silicone a piece of sheet metal there.
There are also holes with tape under the wire channel, underneath the vehicle. Some where flaking off and others had fallen off. So I taped those and if there is not water intrusion I will also use silicone and sheet metal on those holes.
The windshield cowling was pretty easy to remove once I figured I had to press down on the cowling right where the windshield glass meets the cowling. Then I found the one pesky screw that holds down the passenger side windshield cowling, 9/32. Prior to putting the seal plates back down I sprayed the whole channel with rust inhibitor.
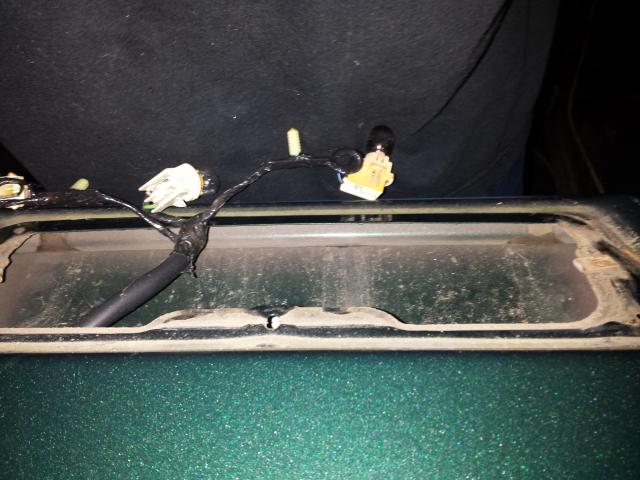
Here are some photos of the 3rd brake light gasket failure and what I did to fix it.
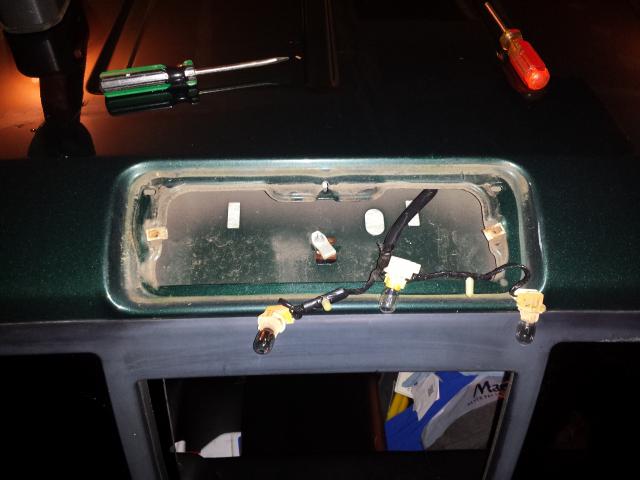
1. Removed two screws from brake light.
2. Disconnected 3 lights
3. Removed old gasket and glue residue with Goo be Gone.
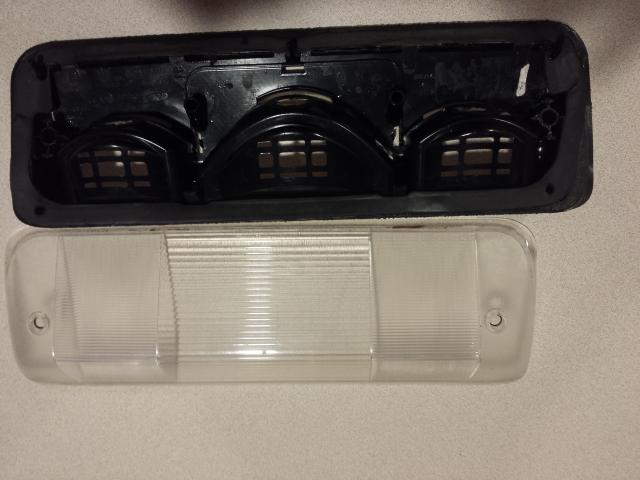
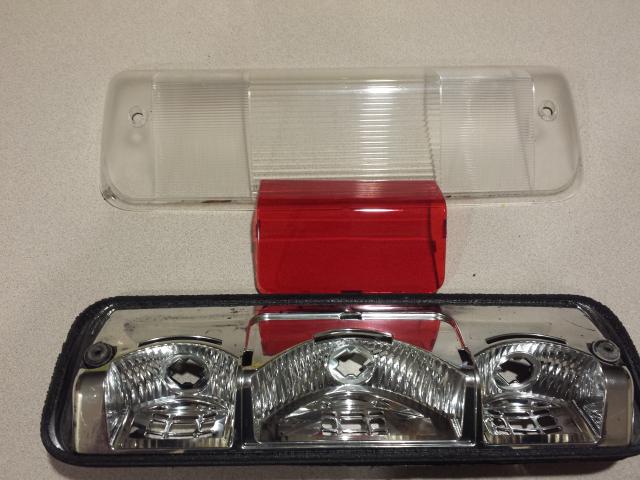
4. Separated the black housing from the clear lens
5. Cleaned and removed some silver paint
6. Applied silicone and reattached housings together
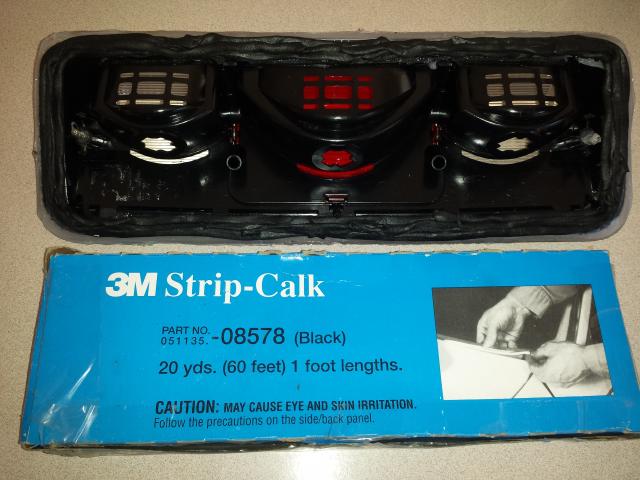
7. Applied 3M Strip Caulk
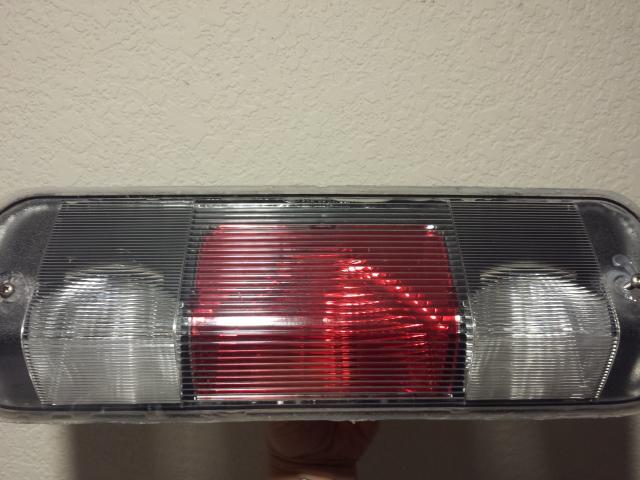
8. Installed 3rd brake light
9. Siliconed the screw heads so water wouldn't get in
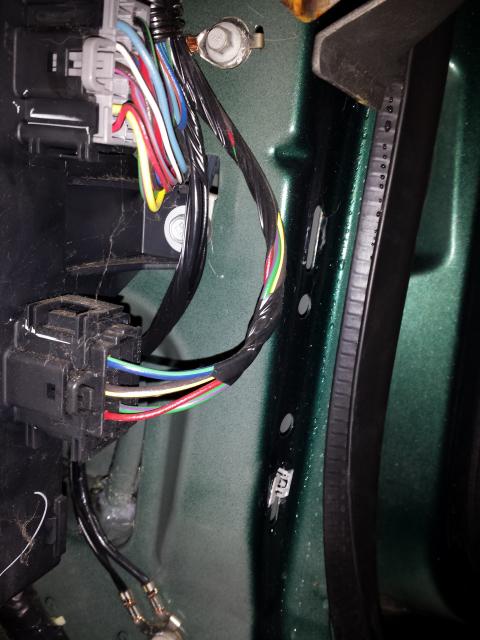
Results...no water in my wire channels after 2 days of rain in Bonney Lake WA.
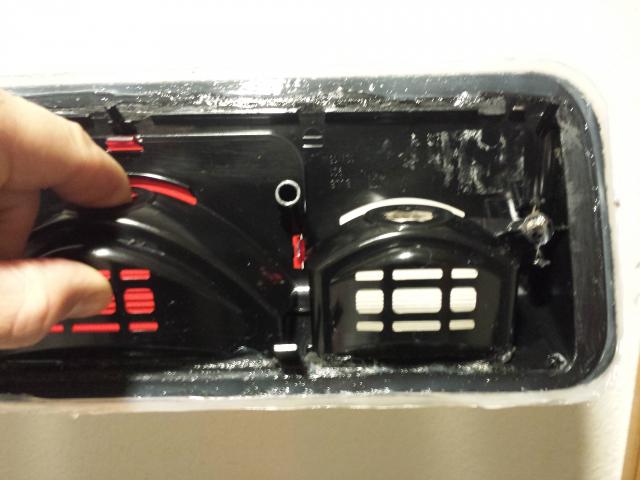
Look down into the 3rd brake light housing...you can see in the upper corners water residue.
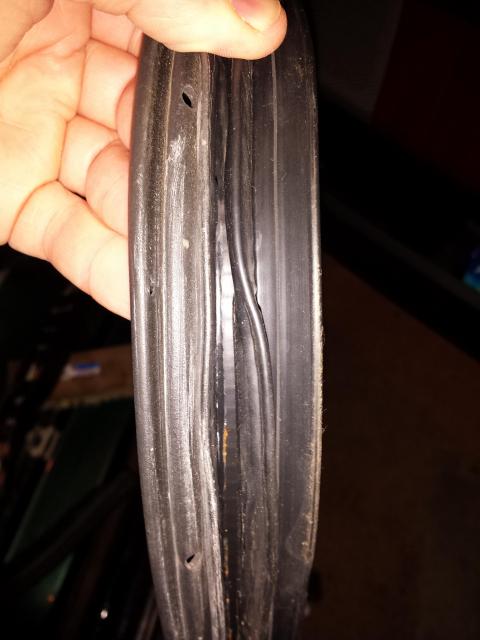
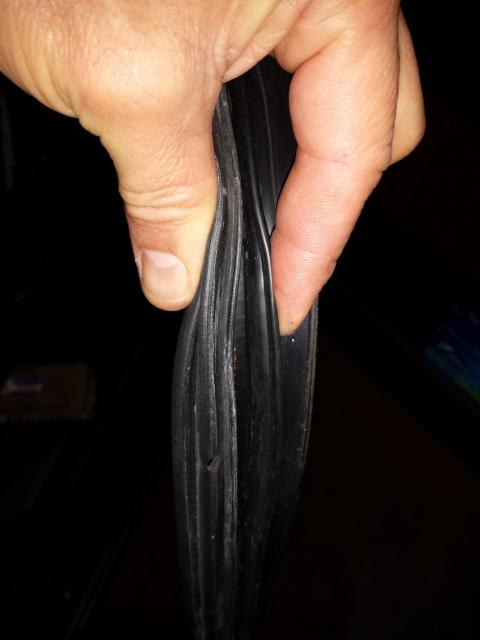
Gasket failure
Removed old gasket
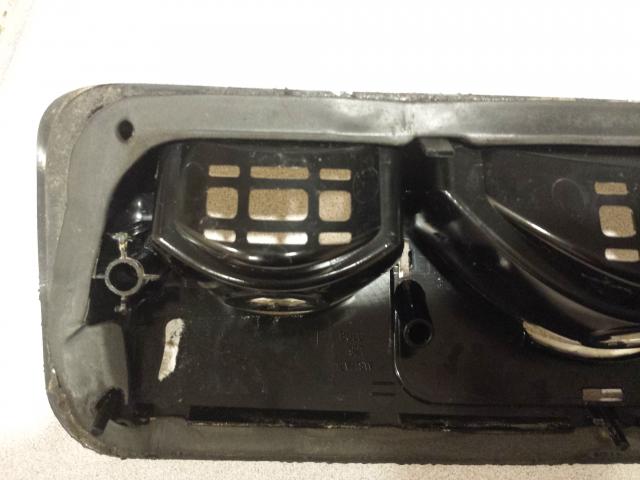
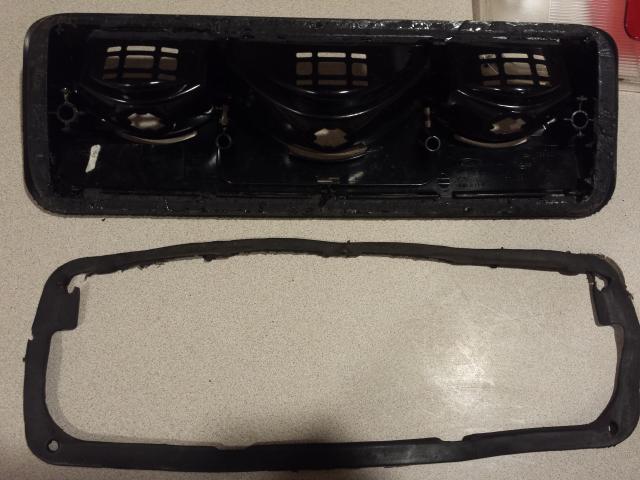
Seperated the housings:
Siliconed the housings back together
Notice there is only Chrome paint in the bulb area not on top.
Used 3M Strip Caulk as my new gasket
I will post other pictures of what I also did...siliconed Windshield blocks, tore off old tape and added sheet metal with silicone.
Last edited by Army Strong; 12-17-2014 at 01:30 PM.
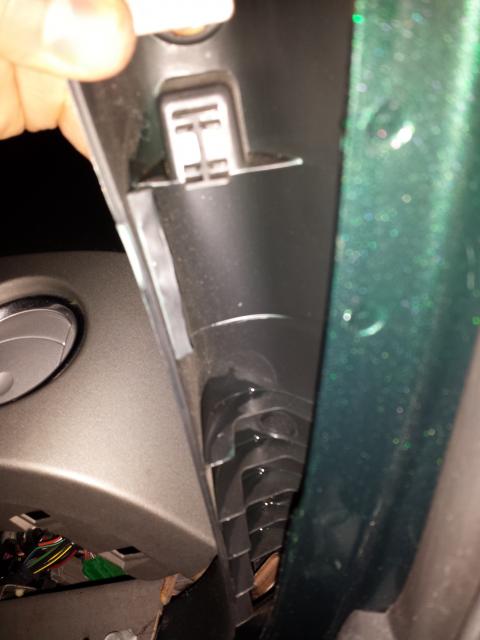
So disappointed. Went out this morning to find small drops of water in the wire channel. It appears the water is getting in or dripping on the top of the plastic oh **** handle/pillar cover and running down the side to the wire channel.
So I did the following:
1. Removed the door weather stripping and noticed some areas were spread wider apart then other areas. I pinched the weather stripping together to form a tighter fit.
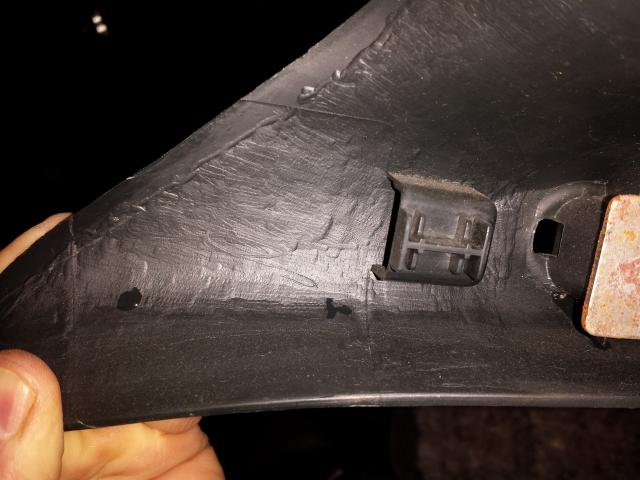
2. Removed the Pillar/"oh ****" handle cover. Inside the cover you can see a collection of water.
Here is the top of the cover
3. I removed the passenger visor so I could pull down the headliner cover. I didn't see any evidence of water drops. But since I had the headliner pulled down in that area I removed the Sunroof drain tube to make sure it wasn't clogged...blew some air in and it was not clogged.
Now I am waiting for the next rain fall...shouldn't be long see as that is the norm for Washington.
It hasn't rained an a week so I decided to wash my truck. All my silicone has dried nice and clear. I went to a drive thru automatic car wash and when I was done drying it(about an hour later) I checked for water under my sills and BONE DRY! I was pretty pumped.... I waited an hour because if any water leaked in it had time to get into the sills.
Rain and car washes would always mean water under my sill plates. It's a good feeling knowing I don't need to shop vac the water out after it rains or after I wash it! I hope this thread helps and gives everyone a heads up about those windshield clips leaking. I've become pretty familiar with this issue so if anyone has questions feel free to hit me up.
Did some digging in prep for working on this today: Part number for the A/C elbow:4M2Z-6A614-AA Factory service manual, costs $12, took 5 mins to download, it's not just one big file tho, it's a ton of little pdfs: Service Manual Possible leak in passenger door seal: Possible leak due to build up of gunk behind wheel liner: Fixing the third brake light leak: http://www.fordf150.net/articles/idx...ater-Leak.html Location of sunroof drain holes (not confirmed): I also read that you can just push a 14 gauge wire down the sunroof drain to unlcog it if you think that's your issue. Good post here, with this little tidbit: http://www.fordf150.net/forums/viewt...=453470#453470 I'm going to try the windshield leak first, as I think that the recent new windshield is pointing me in that direction...
Just downloaded the pdfs... It seems like its missing alot of the manual. It shows a listing of categorys in alphabetical order starting with "5.4l engine" and ending with "front disc brakes"... ?? Is yours missing a bunch of sections as well?
[MENTION=188490]beantown617[/MENTION]: Mine came in a zip and there are a bunch of folders there and another folder that starts with Frame and goes to Wiper washer, so I would guess that covers everything but I haven't figured out if it's missing a particular section yet
Armystrong, I think you and I may have the exact same problem. I also pulled the plastic handle trim off the A pillar and found a small creek had been travelling down it.
So I unscrewed the visor, unscrewed the B pillar trim, pulled down the center sunroof control cabin light thingy (it is just held in with two clips, reach in and pull it straight down:
And I saw water dripping off the headliner. Behind the cloth is some squishy foam and then harder foam that seems waterproof, so water getting on top of your headliner, you won't notice unless you can see the edges, which you can't :P
I read that it is VERY IMPORTANT that you don't bend the headliner, as that will ruin it, leaving a crease that won't come out. So I made sure it was free enough and took off the trim around the sunroof and pulled it down so I could see up at the underneath of the sunroof. From inside, you can see the drain tube for the sunroof which goes into the A Pillar (that was not my problem, it didn't leak):
When I looked from the outside up at the sunroof, I found my leak. Here you can see a drop collecting on the nut where the leak is:
You can also see tons of condensation all over the top of the roof, which I think probably has to do with the amount of water leaking into the truck since this problem started.
What it turned out to be was water getting into the sunroof water collection channel, which drains to the front of the truck, was hitting some skunge (technical term) in the channel which backed it up and caused it to overflow onto the headliner. I watched it for a while in the rain and you could see it drip, drip, drip onto the headliner during a heavy rain.
The fix for me was just to take a toothbrush and some paper towel and clean out the water collection area so water flows nicely to the drain.
It was pouring rain here all day in Vancouver and I left my headliner down for a few beers, er, hours during the rain to see if it was fixed. No more water going drip drip drip!
So glad it turned out to be a simple and easy fix! I was thinking I would have to remove the whole windshield, remove the headliner, and reseal the sunroof when I first saw that water on the nut. SO HAPPY I gave cleaning the channel a shot first!
I did the exact same thing once I lowered the headliner. I first started with a wash cloth then got an old toothbrush to make sure there weren't any pine needles or other rubish in the sunroof channels. For the past week I have had everything apart and haven't noticed any drips. So I will be reassembling everything tonight. If I get any sort of condensation in the cab I know where to look now.
I didn't really think cleaning the sunroof channels would do much but when I did there was alot of black stuff left on the wash cloth. 7 years worth of stuff and I took it for granted and didn't post that portion....So great job on posting that tid bit of information.
 12-15-2014, 01:55 PM