How to Remove & Paint Factory Fender Flares
 10-09-2010, 04:05 PM
#1
American Muscle
Thread Starter

A quick write up of hot to remove and paint factory fender flares.
Required:
Flat head screw driver.
10mm wrench/socket
Pliars
Wire Cutters (Optional but helpful)
Dog (Dog may be substituted for lazy friend, small child, or non nagging wife)
Cold adult beverage (beverage may be substituted for coke or water if Under 21)
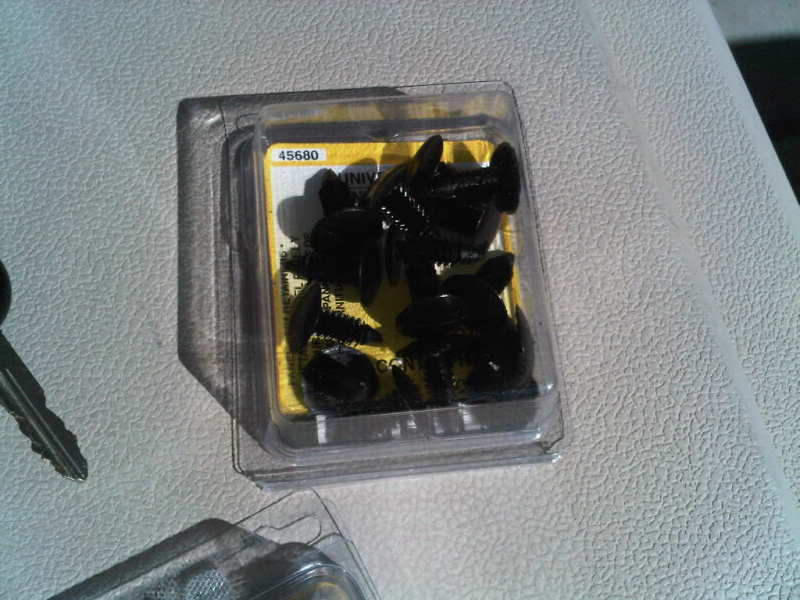
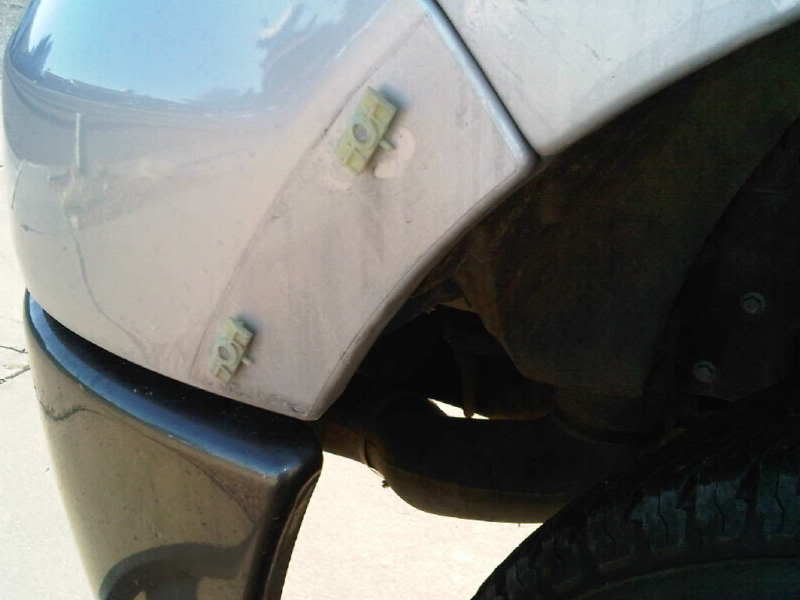
18 Replacement plastic...things (shown below) 5 per front, 4 per rear. Im going to call them "Push Plugs" If you have the correct name, let me know and Ill edit the post.


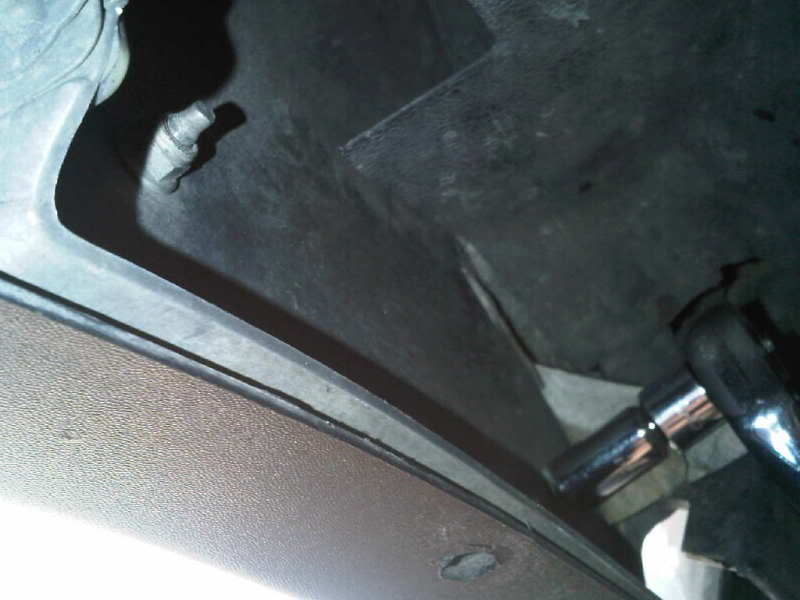
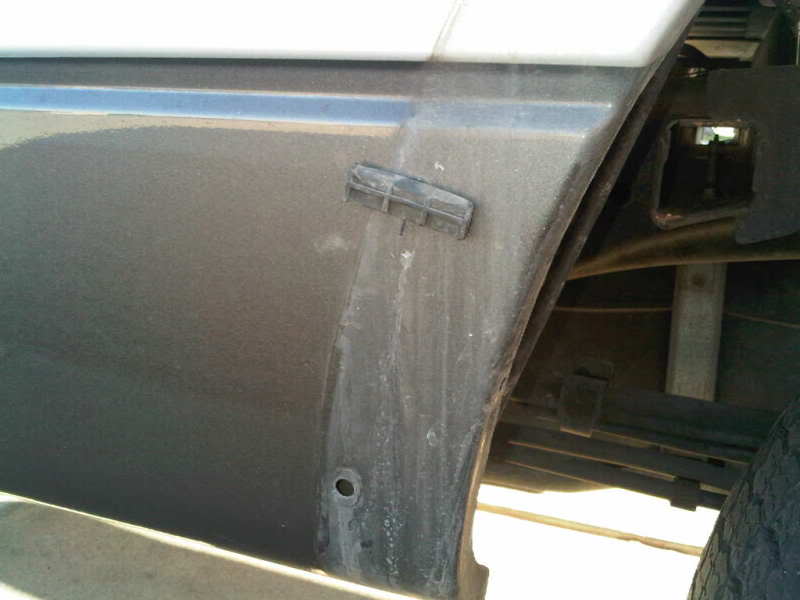
To begin, use the 10mm socket and remove the 4 screws located on each end of the wheel well. There are 2 per side in the rear.
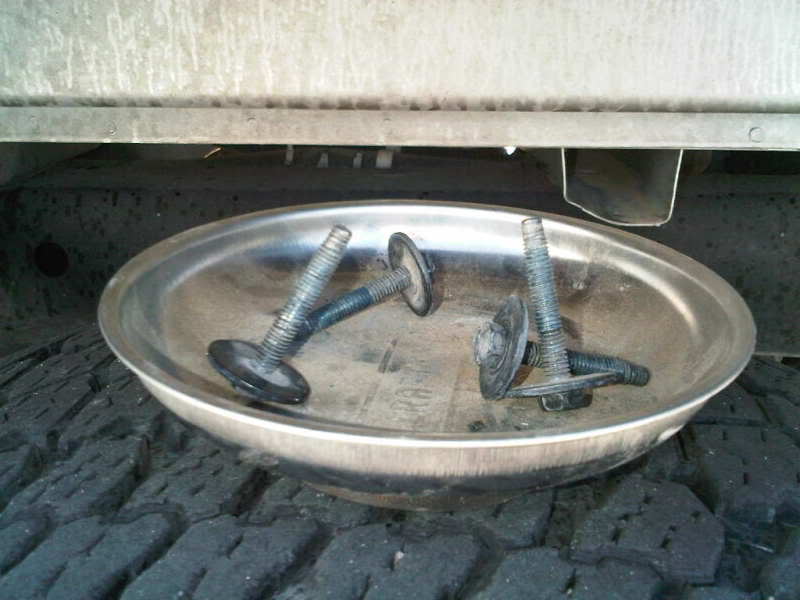
Then, move to the front, there are 4 nuts here that need to be removed. 2 per side as well. However, both of these are located on the front side of the wheel well.
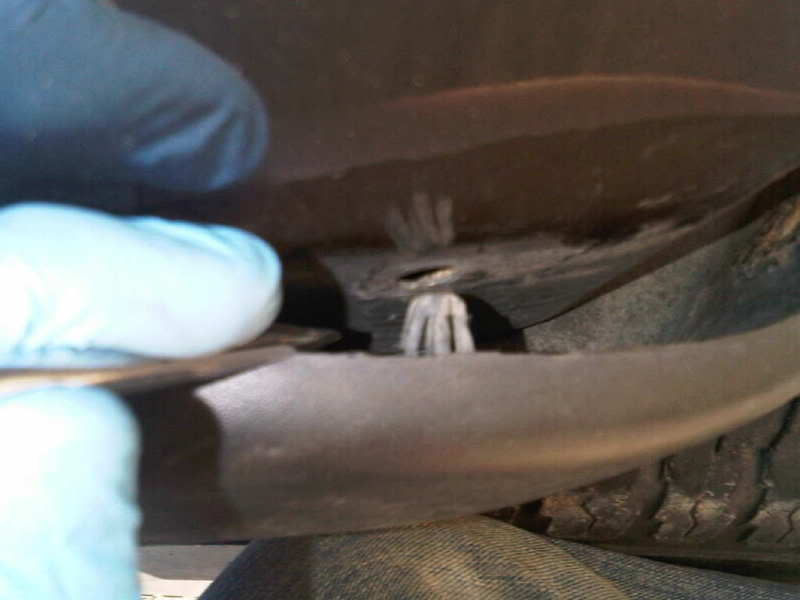
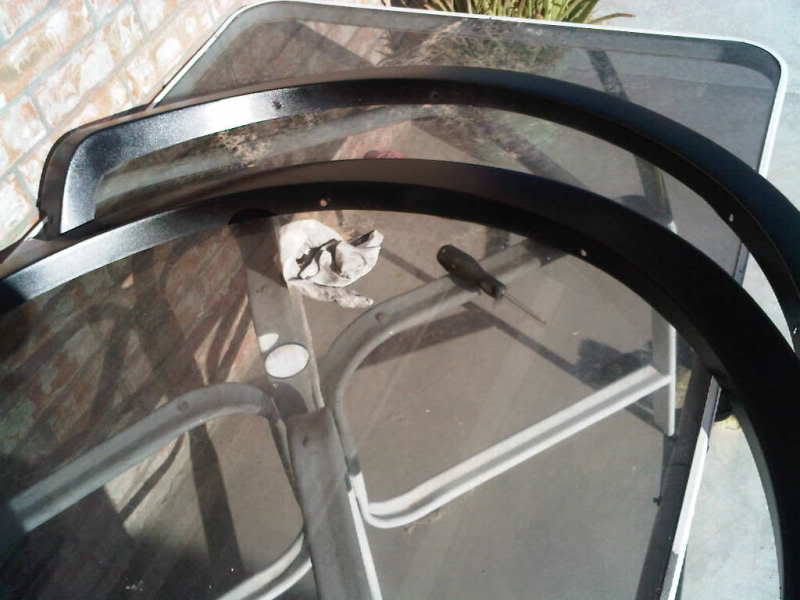
Then, use the flat head screw driver and pliars to remove the plastic "push plugs" I did this by first using the flat head to slightly bend out the flat part so that I could grab the edge with the pliars. In some cases i was able to easily pull the plugs out with the pliars. However, some were very stubborn. I then used the wire cutters to cut the flat piece off then then pushed the plug through the other side. (Not Shown)
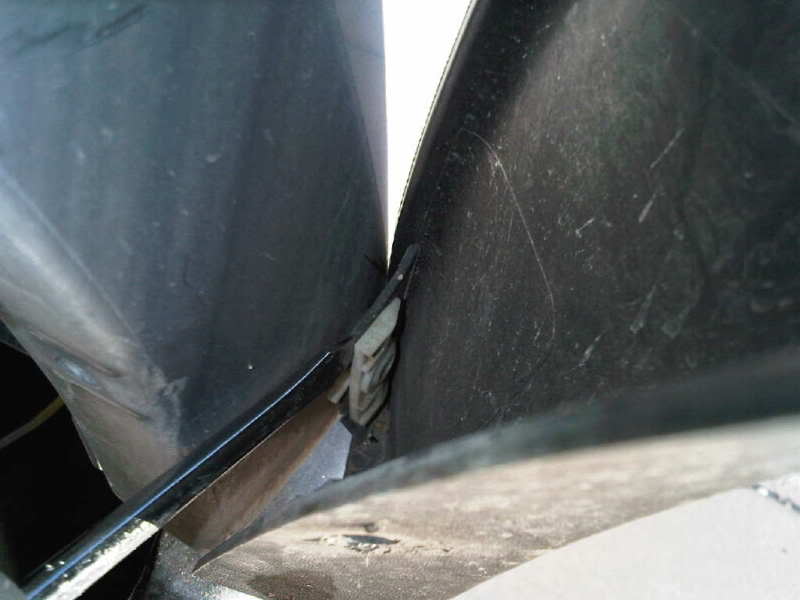
Once you have removed all of these (4 per rear, 5 per front) start with one side of the fender flare and slightly pull out. I was paranoid about breaking something so I used a flat head screw driver to assist me. (shown below)
There are multiple pins per side so go slow.
If one happens to stay in, dont worry, simply remove it and place it back on the flare.
If you failed to remove the front 2 10mm nuts (as I did) you will need to use a screw driver to pop them off the flare. This is why I highly suggest you remove the nuts. You have to remove them either way in order to put the flares back on.
Repeat the process for all 4 wheels and your done with the removal!
Required:
Flat head screw driver.
10mm wrench/socket
Pliars
Wire Cutters (Optional but helpful)
Dog (Dog may be substituted for lazy friend, small child, or non nagging wife)
Cold adult beverage (beverage may be substituted for coke or water if Under 21)
18 Replacement plastic...things (shown below) 5 per front, 4 per rear. Im going to call them "Push Plugs" If you have the correct name, let me know and Ill edit the post.
To begin, use the 10mm socket and remove the 4 screws located on each end of the wheel well. There are 2 per side in the rear.
Then, move to the front, there are 4 nuts here that need to be removed. 2 per side as well. However, both of these are located on the front side of the wheel well.
Then, use the flat head screw driver and pliars to remove the plastic "push plugs" I did this by first using the flat head to slightly bend out the flat part so that I could grab the edge with the pliars. In some cases i was able to easily pull the plugs out with the pliars. However, some were very stubborn. I then used the wire cutters to cut the flat piece off then then pushed the plug through the other side. (Not Shown)
Once you have removed all of these (4 per rear, 5 per front) start with one side of the fender flare and slightly pull out. I was paranoid about breaking something so I used a flat head screw driver to assist me. (shown below)
There are multiple pins per side so go slow.
If one happens to stay in, dont worry, simply remove it and place it back on the flare.
If you failed to remove the front 2 10mm nuts (as I did) you will need to use a screw driver to pop them off the flare. This is why I highly suggest you remove the nuts. You have to remove them either way in order to put the flares back on.
Repeat the process for all 4 wheels and your done with the removal!
 10-09-2010, 04:06 PM
#2
American Muscle
Thread Starter
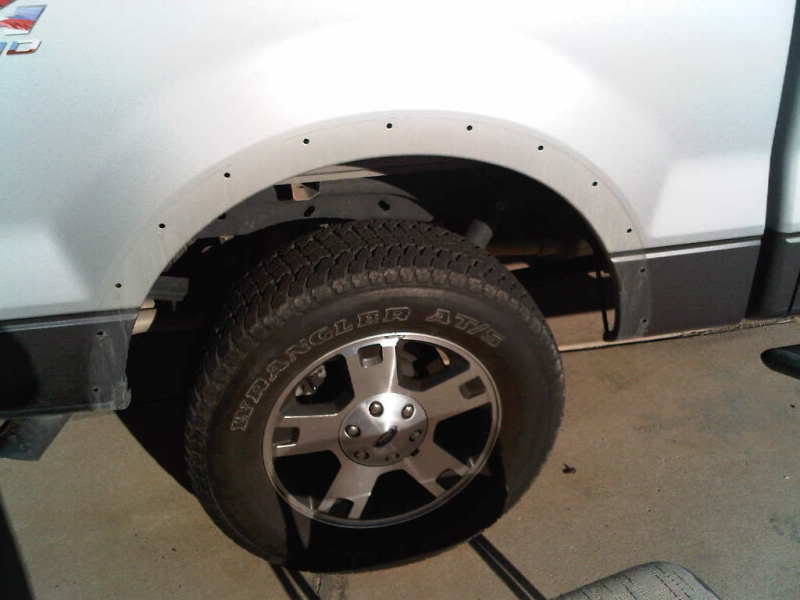
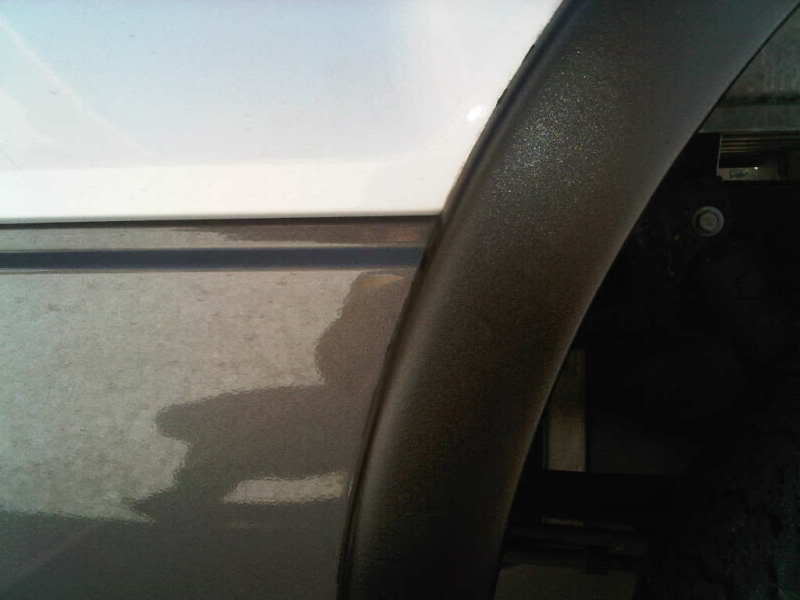
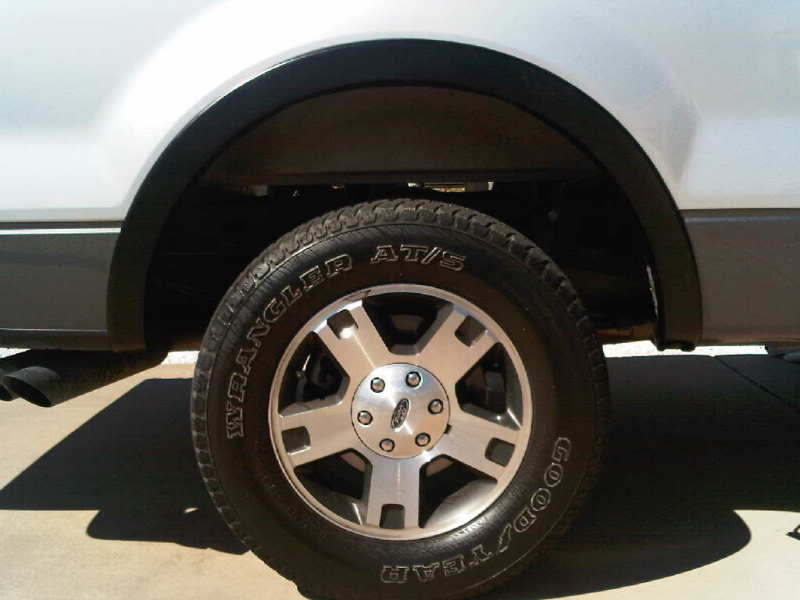
I then used valspar paint for plastic gloss black. (Lowes) No primer needed, and did 2 coats. I was worried it was to shiny at first however now that they are on the truck I am very happy with the results.
Reinstall them in reverse order. PLace the fender flares on the wheel well and "pop" all the plugs back in. I then installed the bolts in the rear and nuts in the front. After which i popped the replacement "push plugs" in.
Total time to remove was about 50 min.
Total time to re-install was 25 min.
I have 0 prior knowledge with removing or installing fender flares. I would rate this at a 3 out of 10 on the difficulty scale. I will do my best to post follow up pictures down the road.
The following users liked this post:
jetpuck73 (01-02-2014)

 11-07-2010, 11:54 AM
#7
Senior Member
what is just a valspar black spray can?? hows it all holdin up??
also how hard was it to replace your FX4 decals... i want to get some camo ones for my truck
also how hard was it to replace your FX4 decals... i want to get some camo ones for my truck
Trending Topics
11-07-2010, 05:24 PM
#9
American Muscle
Thread Starter
I got 1 box from pep boys (because they only had one) and the 2nd box from auto zone.
Last edited by dplummer87; 11-07-2010 at 05:26 PM.
 did you paint the outer ring on your tails or are they like that on the FX4?