2013 amp install - No cutting of factory harness
#211
Here are the pins needed for 70-5524/71-5524
LF+ = Pin 22 - WT
LF- = Pin 10 - WT/BK
RF+ = Pin 23 - GY
RF- = Pin 11 - GY/BK
LR+ = Pin 21 - GN
LR- = Pin 9 - GN/BK
RR+ = Pin 24 - VT
RR- = Pin 12 - VT/BLK
____________________
Batt = Pin 1
Start = Pin 3
ICAN+ = Pin 14
ICAN- = Pin 15
Gnd = Pin 13
LF+ = Pin 22 - WT
LF- = Pin 10 - WT/BK
RF+ = Pin 23 - GY
RF- = Pin 11 - GY/BK
LR+ = Pin 21 - GN
LR- = Pin 9 - GN/BK
RR+ = Pin 24 - VT
RR- = Pin 12 - VT/BLK
____________________
Batt = Pin 1
Start = Pin 3
ICAN+ = Pin 14
ICAN- = Pin 15
Gnd = Pin 13
Pin 1 - Yellow - leave it
Pin 2 - Blue - move it to 14
Pin 7 - Red - move it to 3
Pin 13 - Black - leave it
Pin 15 - Vacant - add a wire
Splice those 5 wires into to 71-5524
Run the 8 speaker wires from 71-5524 to the LOC (or amp)
Does that look right for this part?
#212
Senior Member
iTrader: (1)
So...on the 70-5524, besides the 8 speaker wires, it came with:
Pin 1 - Yellow - leave it
Pin 2 - Blue - move it to 14
Pin 7 - Red - move it to 3
Pin 13 - Black - leave it
Pin 15 - Vacant - add a wire
Splice those 5 wires into to 71-5524
Run the 8 speaker wires from 71-5524 to the LOC (or amp)
Does that look right for this part?
Pin 1 - Yellow - leave it
Pin 2 - Blue - move it to 14
Pin 7 - Red - move it to 3
Pin 13 - Black - leave it
Pin 15 - Vacant - add a wire
Splice those 5 wires into to 71-5524
Run the 8 speaker wires from 71-5524 to the LOC (or amp)
Does that look right for this part?
#214
I replaced the 3 amp fuse on the parrot harness with a 25 amp fuse and all is working now  thank you all for your help this is why I like the forum. Now I can help others or answer questions regarding this install.
One con is that I turned up the volume 3/4 max and the pillar tweeters are static-y now, I'll probably disconnect them when I replace my door speakers with the infinity kappas.
Also, the three 10mm screws that hold the air bag are a pain in the *** to screw back in, I haven't got them back in yet.
 thank you all for your help this is why I like the forum. Now I can help others or answer questions regarding this install.
 One con is that I turned up the volume 3/4 max and the pillar tweeters are static-y now, I'll probably disconnect them when I replace my door speakers with the infinity kappas.
Also, the three 10mm screws that hold the air bag are a pain in the *** to screw back in, I haven't got them back in yet.
This may help:
Suggested Fuse Sizes
Wire Gauge Recommended
Maximum Fuse Size
00 awg 400 amps
0 awg 325 amps
1 awg 250 amps
2 awg 200 amps
4 awg 125 amps
6 awg 80 amps
8 awg 50 amps
10 awg 30 amps
12 awg 20 amps
14 awg 15 amps
16 awg 7.5 amps
These are the recommended maximum fuse ratings for the corresponding wire size. Using a smaller fuse than what's recommended here will be perfectly safe.
http://www.bcae1.com/wire.htm
Last edited by Mr. Ford-Man; 03-10-2016 at 11:29 PM.
#215
I have been doing performance audio for years. Personally I think running the amplified power from the head unit into these small amplifiers is likely the reason people are experiencing amplifier failure. I recommend using a good quality line out converter from AudioControl to bring the signal down. Even if they say it is ok to run power into these small amps there is no way it can be good for them in the long run.
I actually think people are having problems when they don't run the proper gauge power and ground wires separately. You cannot power these from the Parriot harness, fuse or no fuse and expect the amp to work properly.
As you start to crank the amp, internally it is going to see voltage drop too low during transient peaks, even if the wire doesn't get hot. The harness came with a 3 amp fuse in the supplied power wire (for intended Parriot device) and now, we're going to pull 10 to 20 amps through the same power and ground wires in the harness? Recipe for failure - this is what causes amp failure.
Ground and power must be same or larger gauge as the leads on the amp and power side should run same or larger gauge all the way to the battery (fused at the battery to protect the wire if there is ever a short). Larger than the power lead on the amp is better if the run to the battery is long.
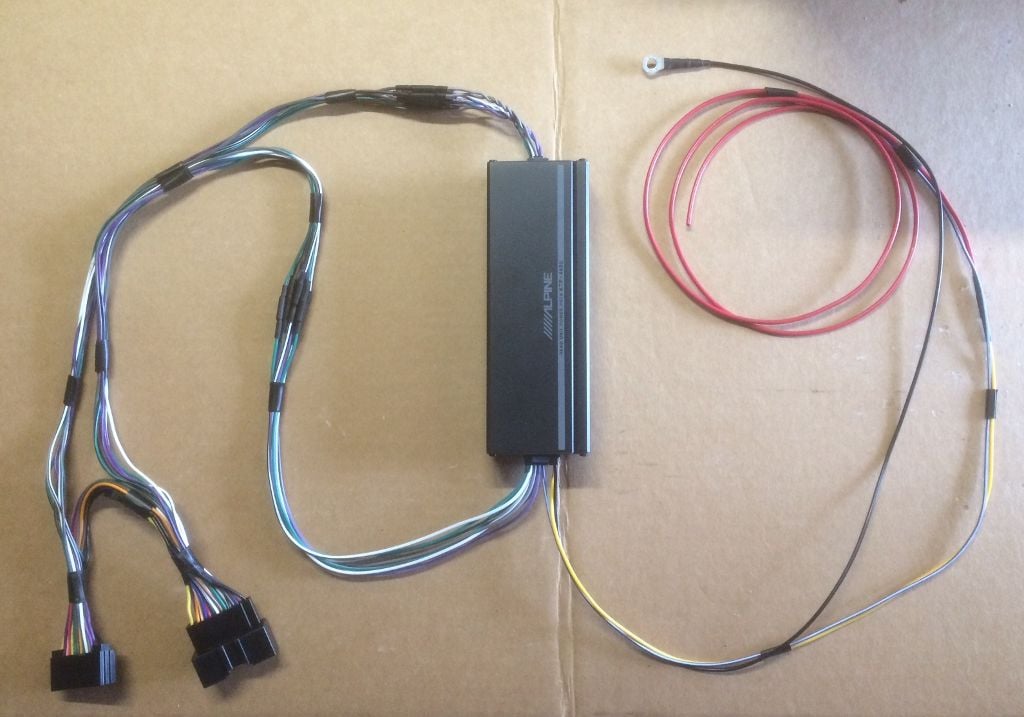
Here is my harness integration to the amp. All connections are sweat-soldered / heat shrink wrapped. Works fantastic - very satisfied.

Last edited by davemak; 04-09-2016 at 02:45 PM.
The following users liked this post:
ray318 (12-30-2016)
#216


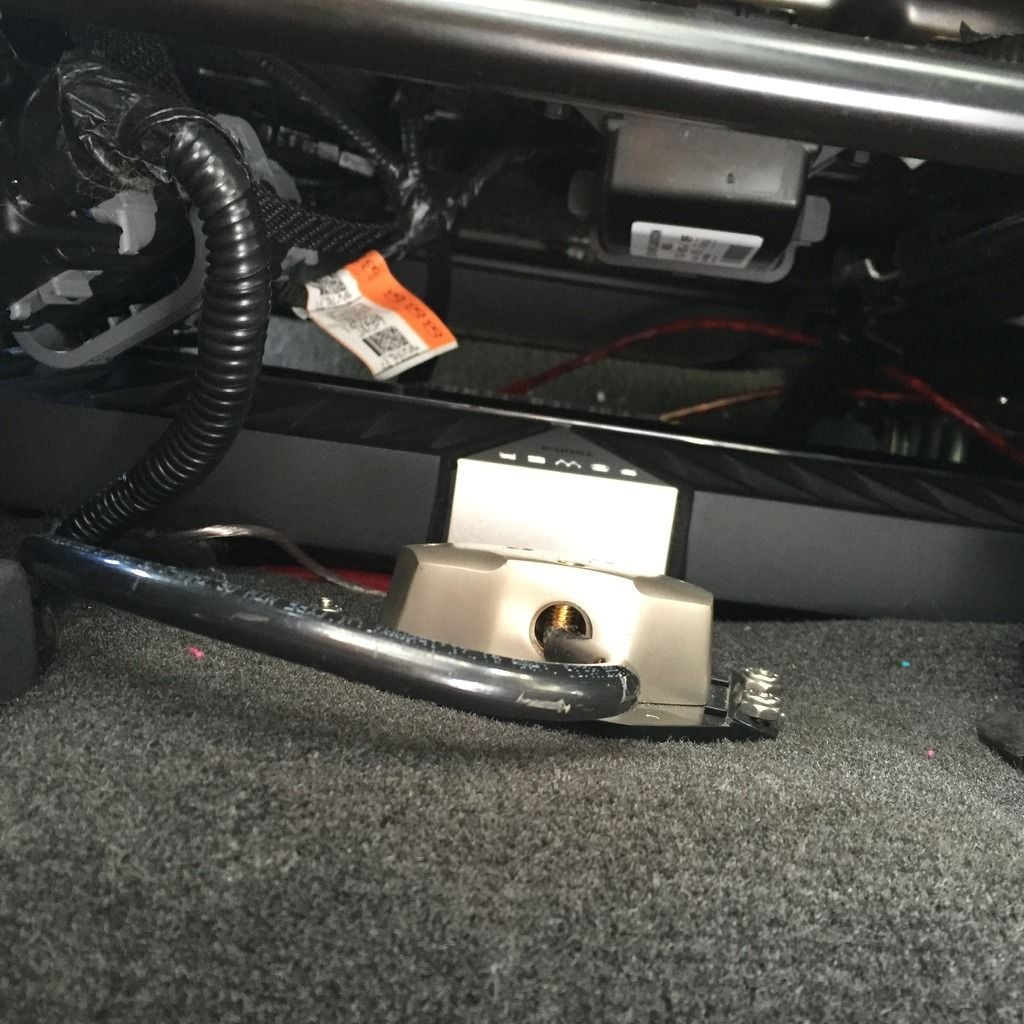
Lots of good info in this thread helped me tremendously during my install so the least I can do is post a few pics of my installation.
Followed the directions here and made a wiring harness, ran it to a 3sixty.3 mounted to the back of my center jump seat
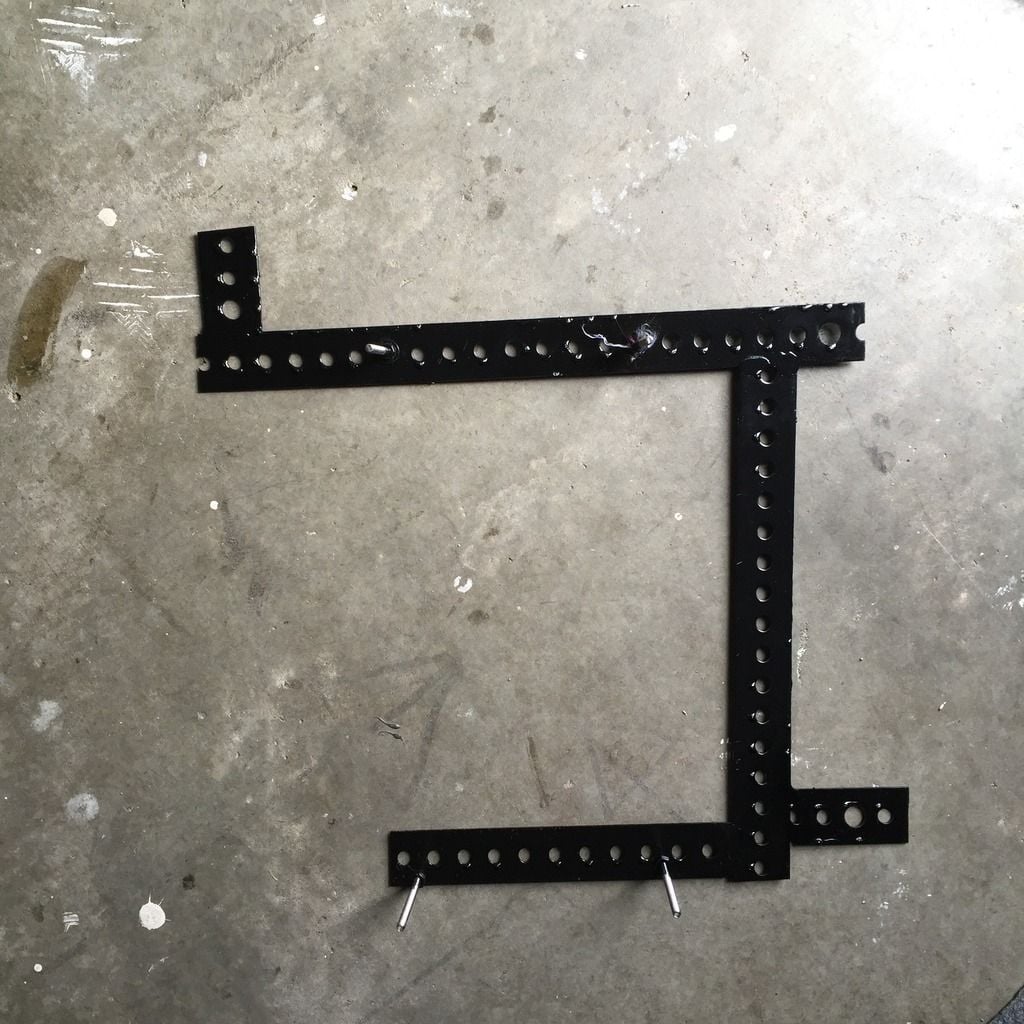
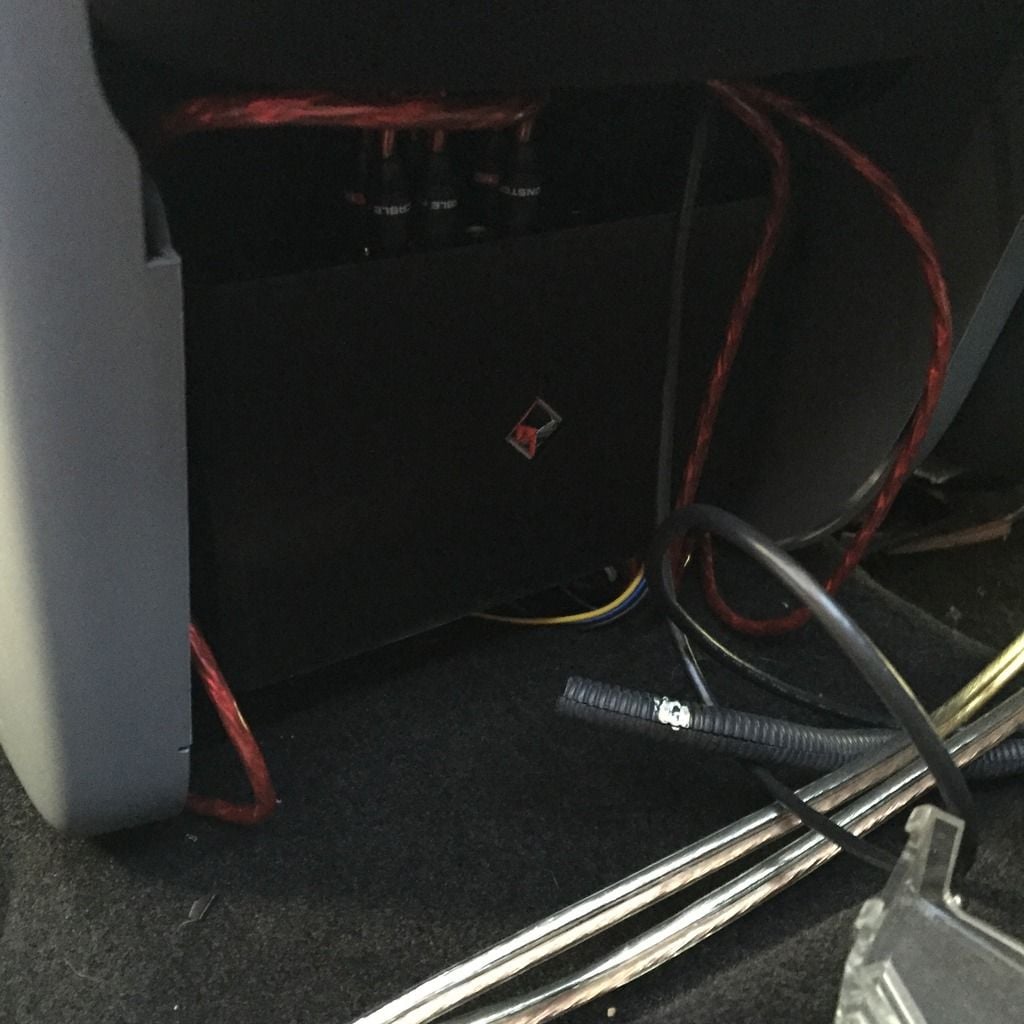
A reg cab leaves little room for amp mounting so I fabed a few brackets that mount between the body and seat, then bolt the amp to bracket,install seat, done. Plenty of room under the seats for a Rockford T600-4
One amp powers subs behind seats and the other powers the speakers in the factory locations
Last edited by 150ECO; 05-26-2016 at 07:23 PM.
#217
NH F-150
I could only guess the 14 to be the same, you would have to get a wiring diagram to be certain.
Soon as my connectors arrive I will be making a few prefab harnesses up for others so all they would have to do is wire amp accordingly and plug it in. I will make them look as oem as possible obviously and all connections soldered not crimped.
Once I prove this out on my truck I will then release to the public.
.
#218
Old thread, but one of the only ones that has had the info I needed. I have my harness and amp ordered for my 2013 XLT with the 4.2, I have seen on the 15+ that you can use forscan to edit the ACM into outputting 4V low level instead of feeding the amp with high level.
Anybody know if this can be done on the 13's as well?
Figured I would see if anyone else had tried yet, I am sure the signal would be much cleaner if I could change the ACM settings for low level and zero out any EQ settings.
Thanks!
Anybody know if this can be done on the 13's as well?
Figured I would see if anyone else had tried yet, I am sure the signal would be much cleaner if I could change the ACM settings for low level and zero out any EQ settings.
Thanks!
#219


