When you click on links to various merchants on this site and make a purchase, this can result in this site earning a commission. Affiliate programs and affiliations include, but are not limited to, the eBay Partner Network.
Performance, Tuning, and (LEGAL) RacingPost discussions about increasing performance, capabilities, and racing.
****WARNING**** Street racing or illegal activities will be removed and potential bans will
be handed out.
Fully loosen the six remaining manifold bolts, three on each bank. The bolts are captive and will stay in the manifold. MY WHIPPLE INSTRUCTION ARE WRONG. IT SAYS THERE ARE EIGHT.
The instructions also say it's not necessary to remove the fuel rail I found it's easier to get to the bolts if you do.
Fully loosen 6 bolts remaining manifold bolts, three on each bank. The bolts are captive and will stay in the manifold. MY WHIPPLE INSTRUCTION ARE WRONG. IT SAYS THERE ARE EIGHT.
The instructions also it's not necessary to remove the fuel rail I found it's easier to get to the bolts if you do.
My instructions said the same thing, I think they just copied and pasted from the older trucks instructions.
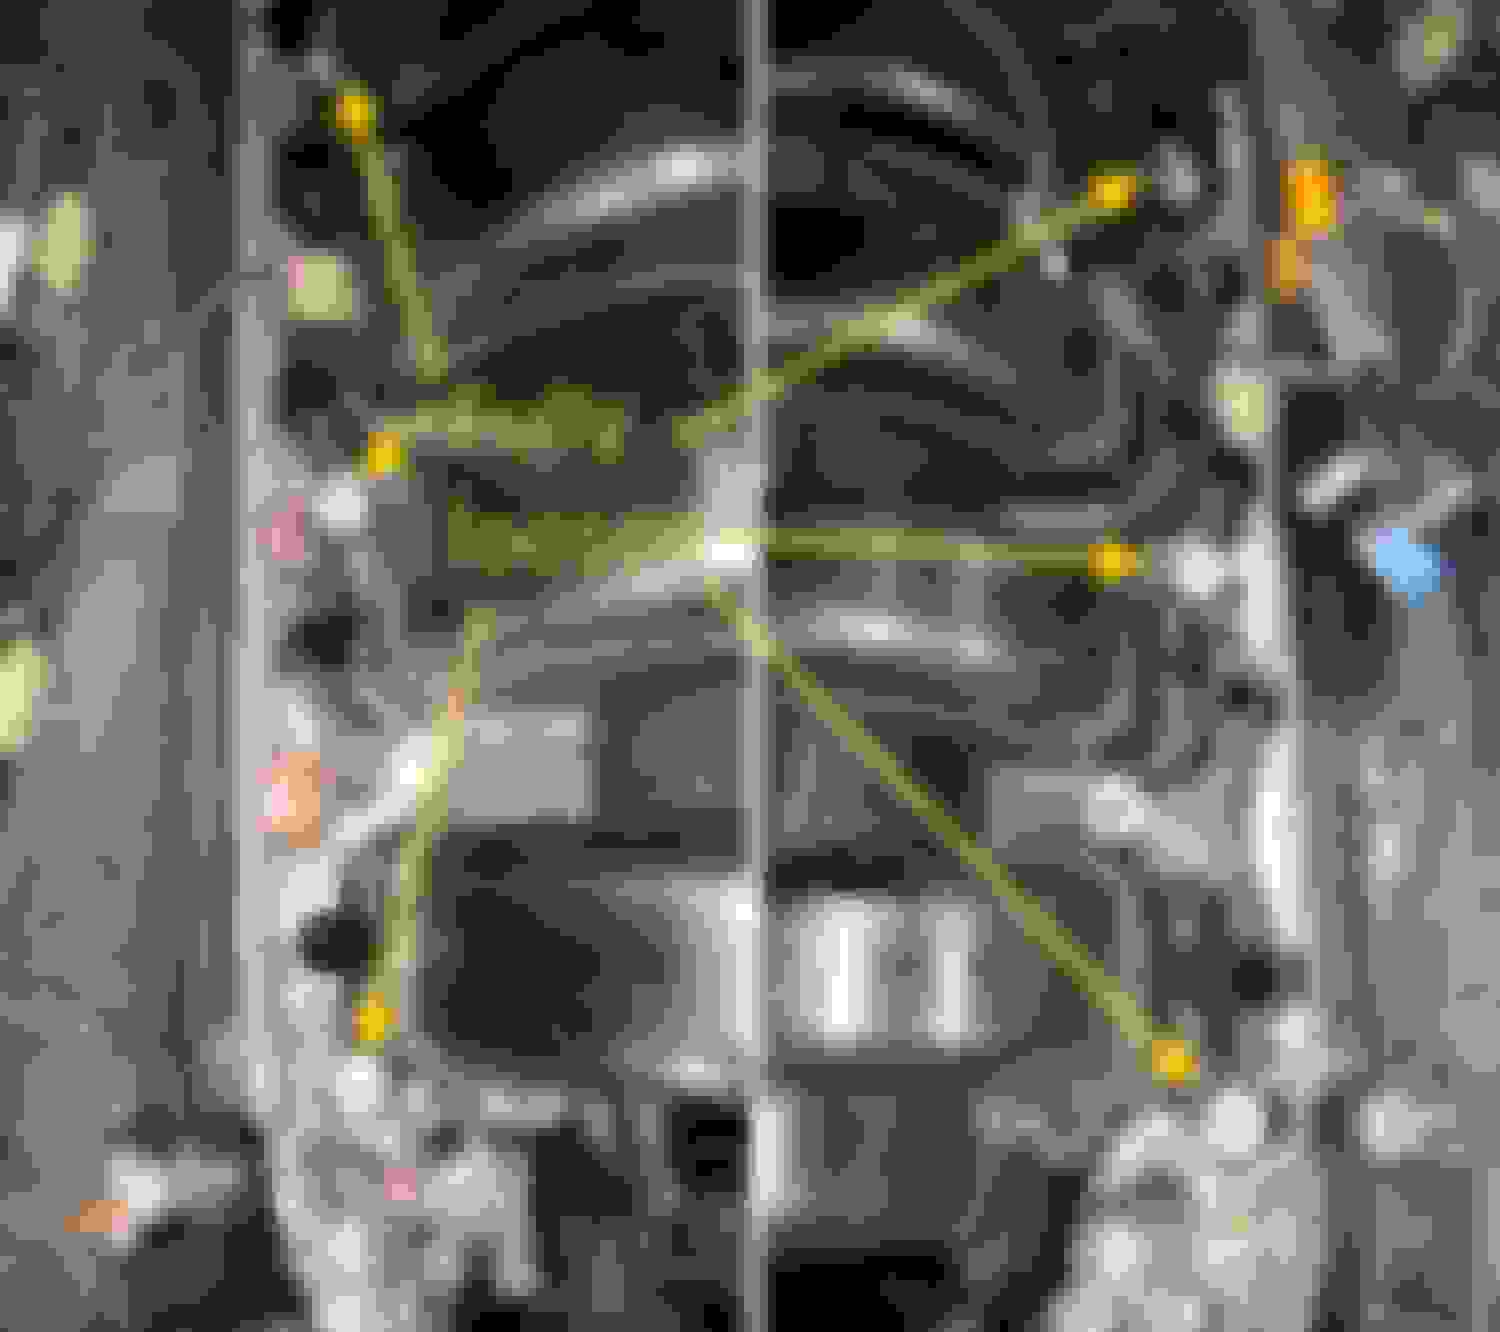
Getting all the connectors and wire harness loose from the back of the manifold has been the most difficult part of the job. There are a total of 4 connector on the back the one on the top is easy.
There are also several push pins that keep the wire harness in position. You can see two of them in this picture. The ones on the lower part of the manifold are really hard to get to.
Here are is the rear of the manifold after it was removed showing the 4 connectors. Note: The one on the top right was shown in the first photo of this post.
I kept looking at your build thread Mike, sorta just stumbled on this. Good writeup, will be watching, and waiting.
Thanks...I didn't want to drive people crazy with email notifications to my build thread so I put it over here for the few folks that might be interested. Also Tx-Ripper has been able to answer any question I have in almost real time. When it's done I'll reference it over here.
After I got the intake off yesterday I spend the rest of the day doing minor stuff. Removed the water pump pulley by removing the 3 bolts. Then using a 3/8" breaker bar (Whipple says 1/2") I removed the belt.
The instructions are a decent for moving the ground wire, so follow them. The butt splice has heat shrink on it, but put another laying over the top anyway. Make sure you remove the stud too, because the hole is used for the pulley system mounting we will install later.
Next on the Whipple instructions they tell you to relocate the ground to a stud on the front of the passenger side valve cover. The instructions call for a 5mm flanged nut, but I have not been able to locate it. It's check off on the bill of materials so perhaps I somehow lost it. For now I sandwiched the lug between two copper washer then a 5mm nut. I'll give Whipple a call and see if they can drop one in the mail and update the tread with the correct picture.
Last night I set the gap on the new plugs supplied with the kit to .028" per the Whipple instructions also applied anti-seize. This morning I started out fresh and replaced the plugs. The back two on the passenger side were a little tough. With the SC installed it's going to be even worse.
There is shipping tape on the front of the unit. You could just remove it but for now I took a razor blade and scored the tape between the manifold and the blower.
Tip the bad boy on its side and remove the 2 bolts located on the bottom of the manifold.
Tip it back upright and remove the 10 bolts, 5 on each side along the blower. Sorry you can't see the some of the bolt hole, you get the idea.
Separate the manifold from the blower. Set the blower on something soft, like the moving mat you see. You don't want to damage the intercooler on the bottom of the blower.

 07-01-2018, 02:22 PM