When you click on links to various merchants on this site and make a purchase, this can result in this site earning a commission. Affiliate programs and affiliations include, but are not limited to, the eBay Partner Network.
Performance, Tuning, and (LEGAL) RacingPost discussions about increasing performance, capabilities, and racing.
****WARNING**** Street racing or illegal activities will be removed and potential bans will
be handed out.
I got started today on the installation of the Whipple today on my 2018 RCSB. The Whipple the photos on the Whipple instructions are not terrible but could be better so you can you this as a supplement to the Whipple installation manual. I'm not a technical writer so expect some grammatical errors. I'll go back and try to edit those out as I find them.
First thing was to run the truck and release as much fuel pressure as possible by disconnecting the fuel pump according to Whipple.
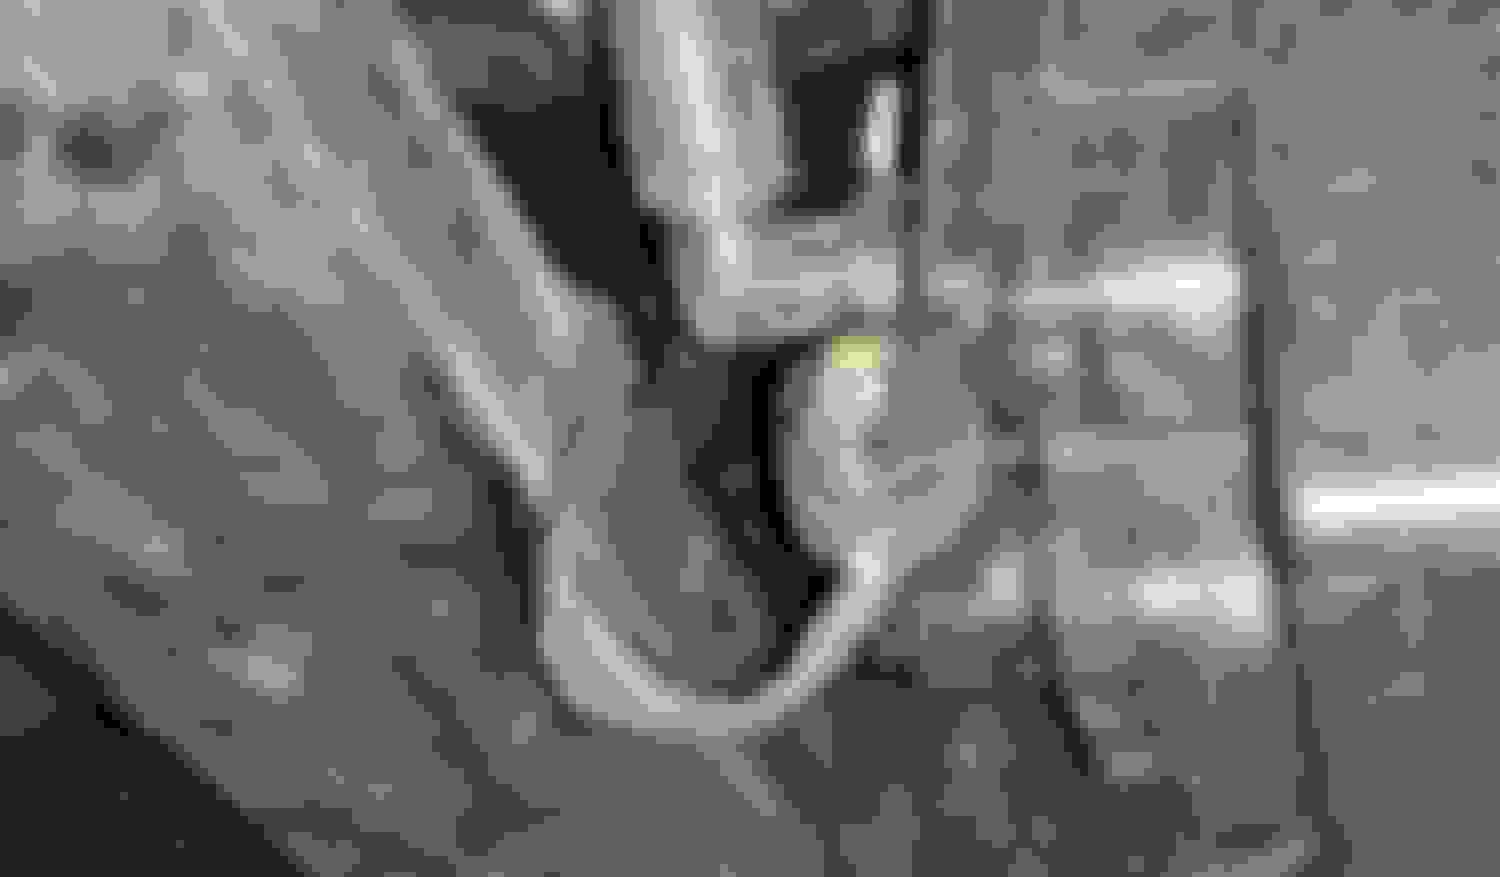
There are no photos in manual for this it only says it's near the fuel tank under the bed. These are the only wires I could see going to a box with fuel lines so I assume this was what they were talking about.
I ran the truck for a minute and it continued to run, Then I recalled another member (LTNBOLT) had a similar issue with the truck not shutting down so I found a post in the Whipple numbers thread and Tx-Ripper said to remove fuse 50 and it could take several minutes to die. Sure enough he was right. After it died the first time I restarted it several times until it wouldn't run or sputter at all.
Now the fuel pressure was released time to disconnect the negative battery terminal.
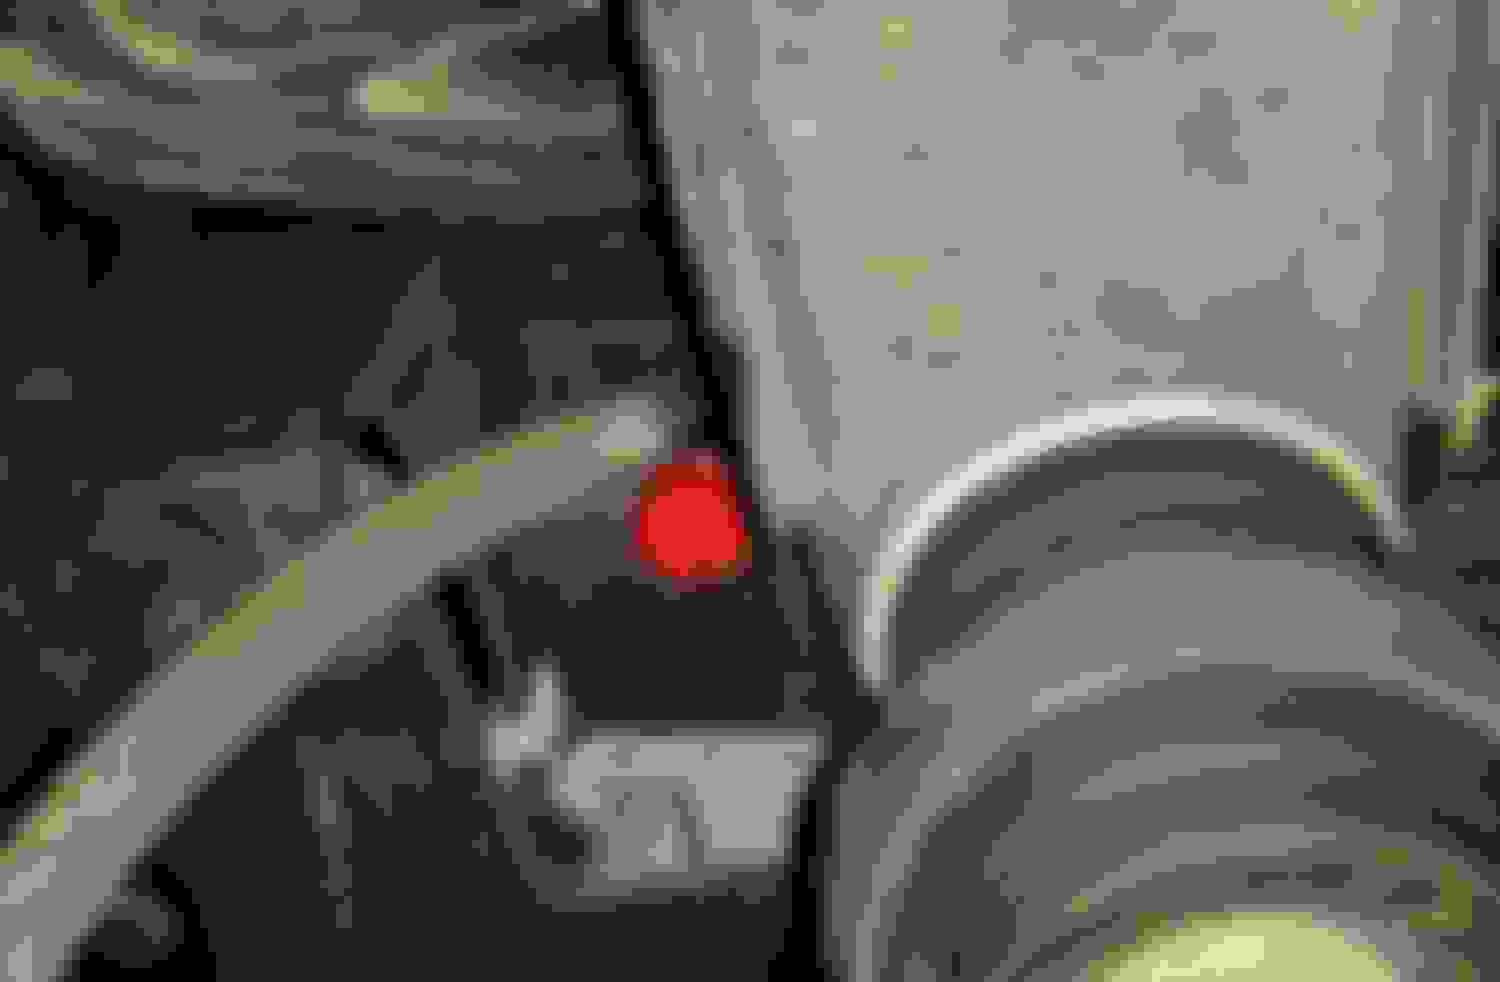
Drain the coolant by unscrewing the red drain valve.. There is place you can attach a 3/8" ID hose that will keep from making a big mess.
Removal of the grille is the next step, you can do this while the coolant is draining. I've already done this once to switch out my chrome grille for a Lariat SE grille so it was pretty easy. First remove the top plastic cover by removing a bunch of push pins.
Disconnect the grille shutter and camera, if equipped. Mine is an XLT so it does not have a front camera.
Next remove the four screws in front of the front tires (2 on both sides) that hold on the grille trim. Looks like I need to clean those wheel wells better.(Nasty)
Next remove the trim, it just snaps in place. I don't have factory wheel flairs so this was much easier. Then remove the two lower bolts that hold the the grille in.
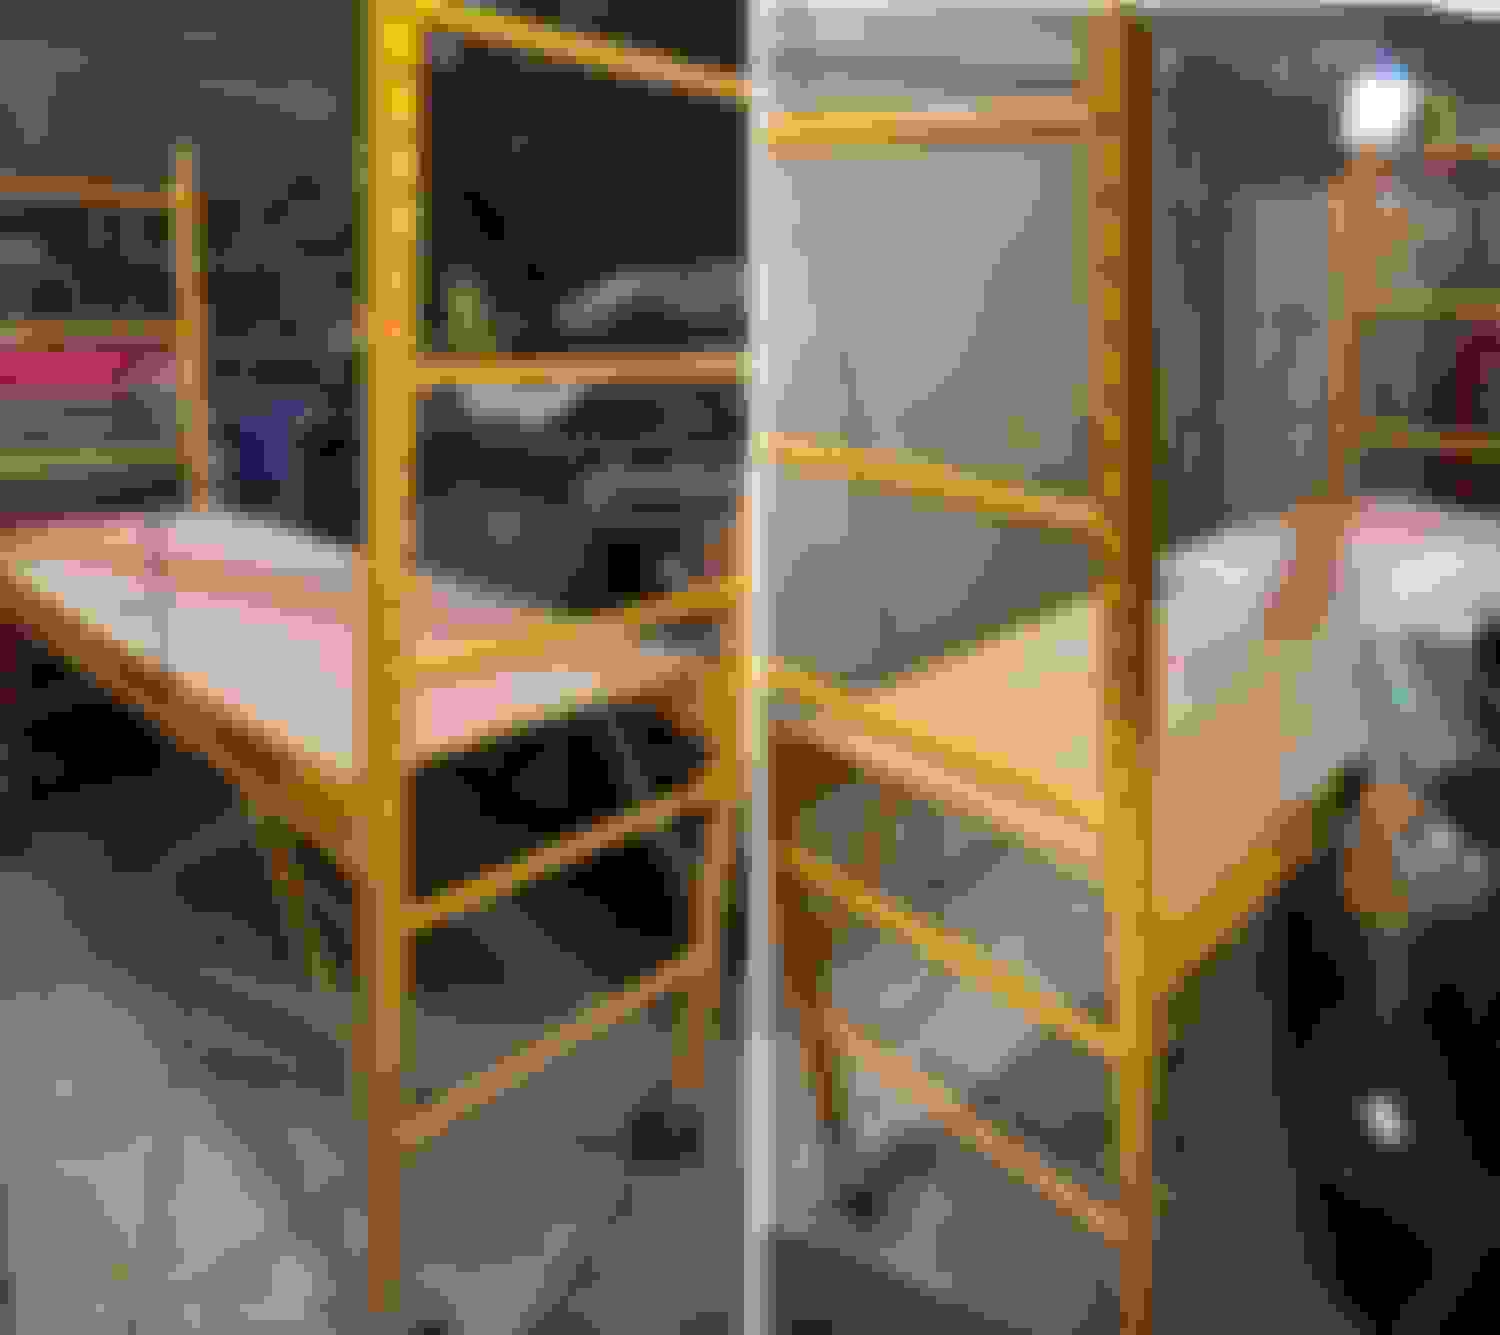
Here is where my installation might get a little unorthodox. My truck is leveled and is quite tall even if I were to lower it onto pads on the LCAs. It would still be very high. I'm also short so that doesn't help either. So I set up a scaffold I bought from Harbor Freight that I use to clean windows around the house. It took me up to a nice height where I could get to the engine without staining.
Pipe isolation over the braces to protect the truck.
Now were are going to really get into it. Remove the two quick disconnects on the cold air inlet tube. The Whipple manual show where they are. This is closeup of them removed.
Remove the PVC hose. I think here the Whipple manual is a little confusing because it says remove the drivers side PCV hose and the passenger side PVC hose on the valve cover. This description is correct, but everything is located on the passenger side bank of the engine.
IMO here the manual is a kind of vague. It tells you to take the top of the air box off, remove the filter, loosen the clamp and remove the bolt that holds the air box to the body.
It doesn't really say to remove the air box I did because I wanted to get it out of the way.
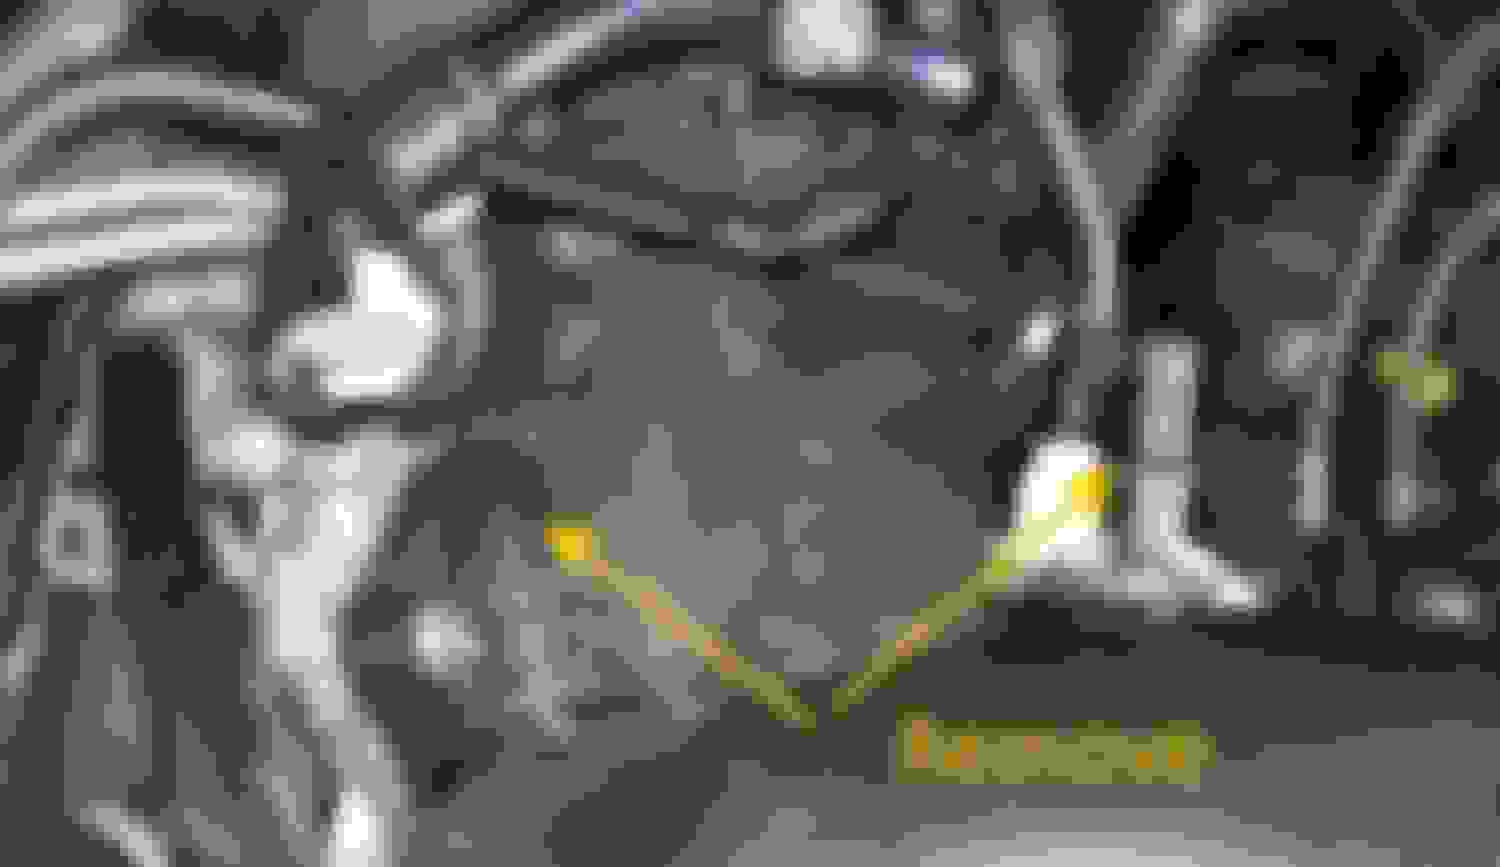
Now the manual seems a little vague again. When dealing with the booster check valve. I removed it at the booster for now, so I could disconnect the correct section off the truck.
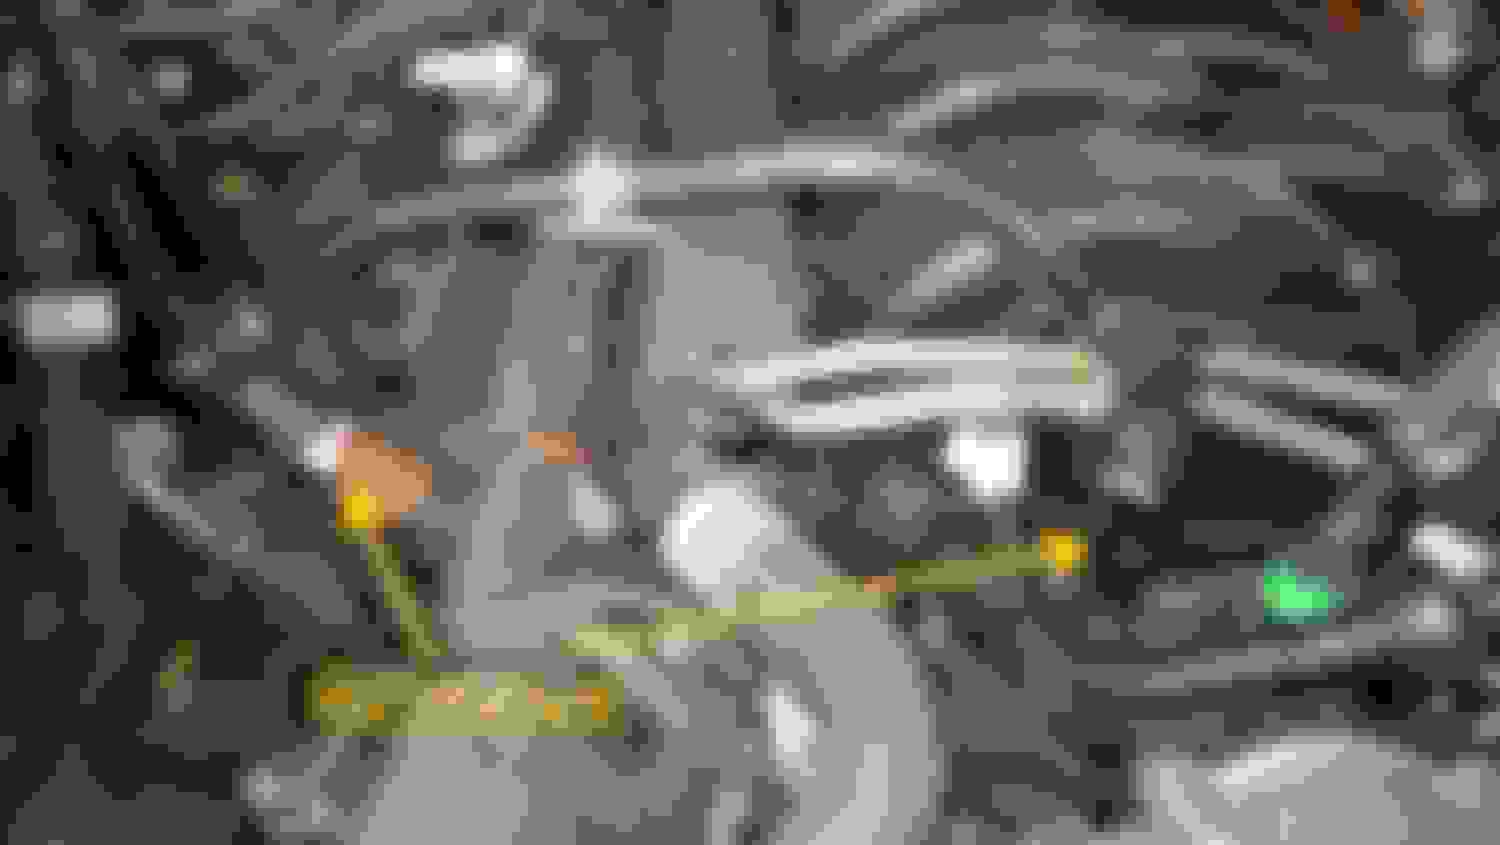
Here I need some help. The manual says to split apart where the arrow points. Its point as shown below. What do they mean by split? It may be self be explained later in the manual, so for now I removed the entire hose.

 06-30-2018, 11:31 PM