When you click on links to various merchants on this site and make a purchase, this can result in this site earning a commission. Affiliate programs and affiliations include, but are not limited to, the eBay Partner Network.
I've been planning to add a set of aux reverse lights for a while, but couldn't decide what to get. The cheaper amazon LED cubes were pretty tempting, but I held out and waited for a sale on eBay. A few weeks ago I spotted these for a fantastic deal and snagged them up, they're the Rigid Marine SR-Q2. 6 LED's, diffused, and they're even white to match the truck. I also picked up some switches and parts from OTRATTW for the install.
Here's the lights unboxed, with hardware, covers, and everything.
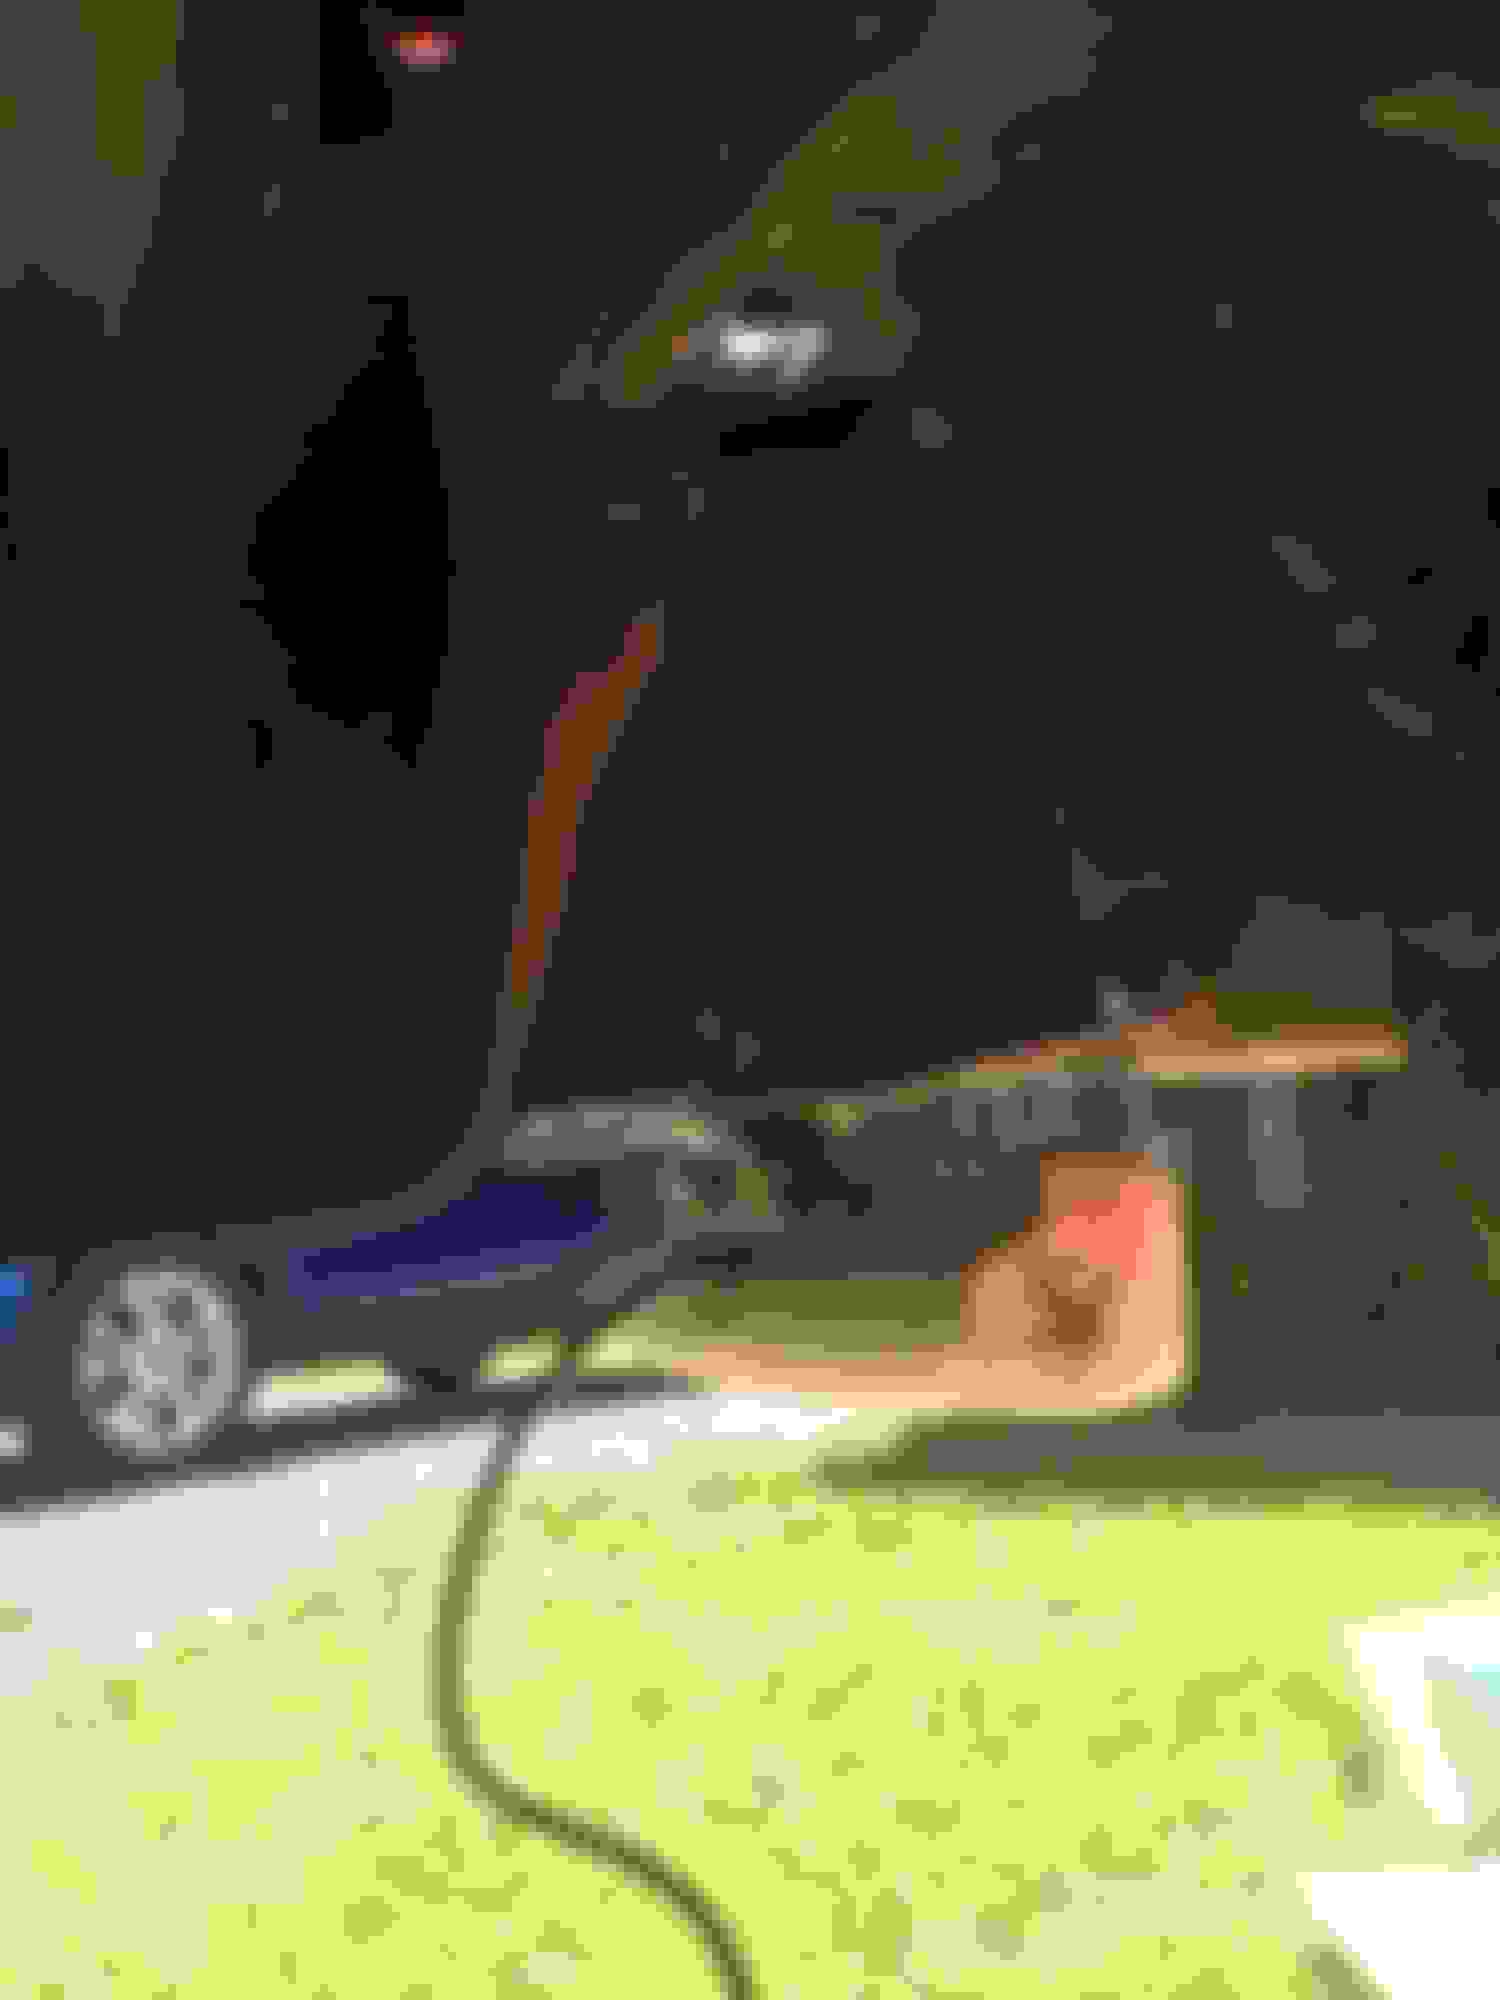
I looked under the truck to see where I wanted them, I've seen a lot of installs where they attached their lights to the rear leaf spring shackles, but they seemed a little too far back for my liking there. There was a perfect spot where the bumper supports bolted to the bottom of the bumper, so I decided to use that and made a set of custom brackets out of some 1/8" aluminum stock I had kicking around to keep them a little more hidden.
From there, I used heat-shrink ring terminals to ground each light individually, then tied the power wires together using weatherproof connectors and ran it up the driver's side frame rail to the engine bay.
Please excuse the filthy truck, this is the first day in a while we haven't had rain and I drive through two road construction sites on my way to work, haven't had the chance to wash it yet!
The lights are positioned to throw a ton of light behind and out to the sides, without shining up too high. They're also pretty hidden to anyone just walking by.
Once the outside install was done, I moved into the cab. I planned on installing a DPST switch to have the lights come on automatically in reverse, or override them with battery power in case I'm working behind the truck after dark. I don't have any plans to install the OEM trailer brake controller, since I rarely tow anything with brakes, so I wanted to try and install my switch there. I also plan on adding a bull bar with a Rigid lightbar to the front of the truck in the future, so I pre-wired everything for that as well. I followed some youtube videos to tear apart the dash and remove the trim panel that holds the 4WD switch and Trailer Brake Controller.
I bought the OTRATTW L-series switches and holders, and to my surprise they fit almost perfectly into this opening and snapped right into place! I thought about trying for a third switch, but I really don't think it would be possible due to the weird shape of the cubby opening. The switch holders had very little side-to side play, so I just had to fabricate something to cover the rest of the opening.
I made a filler plate out of a piece of black plastic I had kicking around. I just cut it to size with a utility knife, traced the switch holders, then cut the opening out.
Since there wasn't going to be any pressure on the plastic, I chose to just hold it in place with 3M mounting tape in case I pull everything out to sell the truck someday.
A little help from the heat gun and this thing isn't going anywhere. I trimmed the excess tape after this photo.
And... voila! ready for switches.
The blank filler plates were cheap so I chose to cover the other opening until I get the lightbar situation figured out.
Now, the fun part; wiring! I already had wires run into the cab from my mobile radio install, so I ran six more wires in through the firewall (Bat power, ground, reverse signal, high beam signal, reverse out, high beam out).
I also tapped the backlight circuit from my unused power-adjust pedal connector behind the dash (purple wire w/ gray stripe). When tapping factory wiring, even inside the cab, I prefer to use heat-shrink connectors for a solid connection. I hate t-tap connectors, vampire splices, etc. I cleaned everything up and wrapped it in loom, then pulled the wires out through the cubby and secured everything. I later decided to change how I backlit the switches, so this wire ended up going unused (at least for now).
I chose to use the OTRATTW plugs and connectors for my install, since they're way cleaner and any techs who work on my truck in the future will thank me for it. They also provide a nice, insulated connection that should outlast the truck. For the backlighting, I chose to have "AUTO" illuminated when the truck is in reverse, and then "ON" illuminated when the reverse lights are on, either in Auto mode or in the battery override. I can explain this in more depth down below, but it's pretty simple. As I said earlier, I also wired for a second switch when I get a front LED bar. This will function in the same way, although it will use the high beams as a trigger rather than the reverse lights.
I ended up having to trim the plastic behind the trim panel, as the angle of the switches wouldn't let the panel go back into place. (I had a minor heart attack after doing all that work to find that they may not fit after all) I just took a dremel to the crossbar and took material a little at a time until the panel went back into place easily. I really like how the switches came out- they're in a great place to reach, and the downward angle keeps the light out of my eyes at night. When they're in the upward, "ON" position, the light catches your eye just enough to remind you that they're on.
Under the hood, I tapped into the factory reverse wire that goes to the rear of the truck (green with brown stripe) with another heat shrink connector and closed everything back up.
I used a set of micro relays I had kicking around from another project. They have a base that locks together and mounts easily, along with pigtail wiring harness to make connections easy. Again, I used all weatherproof connectors to wire them together with fused power from the battery, and individually fused power out to the accessories. The relays and switches were grounded directly next to the relays under the hood. The relay triggers come from the switches. I cleaned everything up with some loom, and I'm ready to rock! When I add my LED bar in the future, all I have to do is make two wire connections, put the fuse in, and plug in my switch.
Thanks for looking and I hope this helps somebody out. The lights work phenomenally! Now I just need to decide on a set of LED reverse bulbs to match, they look a little silly with the incandescents. Some night that I think of it, I'll try to get some output photos. I would be glad to answer any questions down below.
I would also love to find out if anyone knows where the high beam wire is in those connectors so I can tap into it, I don't have access to a schematic to see what the color is and would like to have an idea before I go looking.

 07-25-2018, 01:42 PM