When you click on links to various merchants on this site and make a purchase, this can result in this site earning a commission. Affiliate programs and affiliations include, but are not limited to, the eBay Partner Network.
How To: Opening Headlights/LED Switchback Install/BHLM
So I figured I would attempt to make a little how to on opening the 2015+ headlights. I was planning on installing some Diode Dynamics switchback LED boards as well as blacking out the chrome (BHLM). In the end I only installed the switchbacks. The chrome shrouds inside the housing were all one piece. Normally in the vehicles I've blacked out in the past I was able to remove the clear lens pieces to avoid painting them. Because these were all one piece I would have had to tape them off, as well as tape of the LED headlight lenses because I couldn't remove them from the back side of the housing. I tried prying on them, but didnt want to break anything. I was worried about some over spray getting under the tape so I didn't bother.
I like to remove as much hardware as possible, not only do metal parts get really hot and burn you when you take the headlight out of the oven, they also tend to melt into the plastic. Also I cant imagine the LDM is cheap to replace so not heating it up is worth the 6 screws and two harnesses to get it out. Once the LDM is removed it gives the headlight an opening to let hot air in to help loosen the seal as well.
Unscrew three Torx Screws from metal bracket on bottom of the light
Unscrew three 7mm Screws attaching the LDM
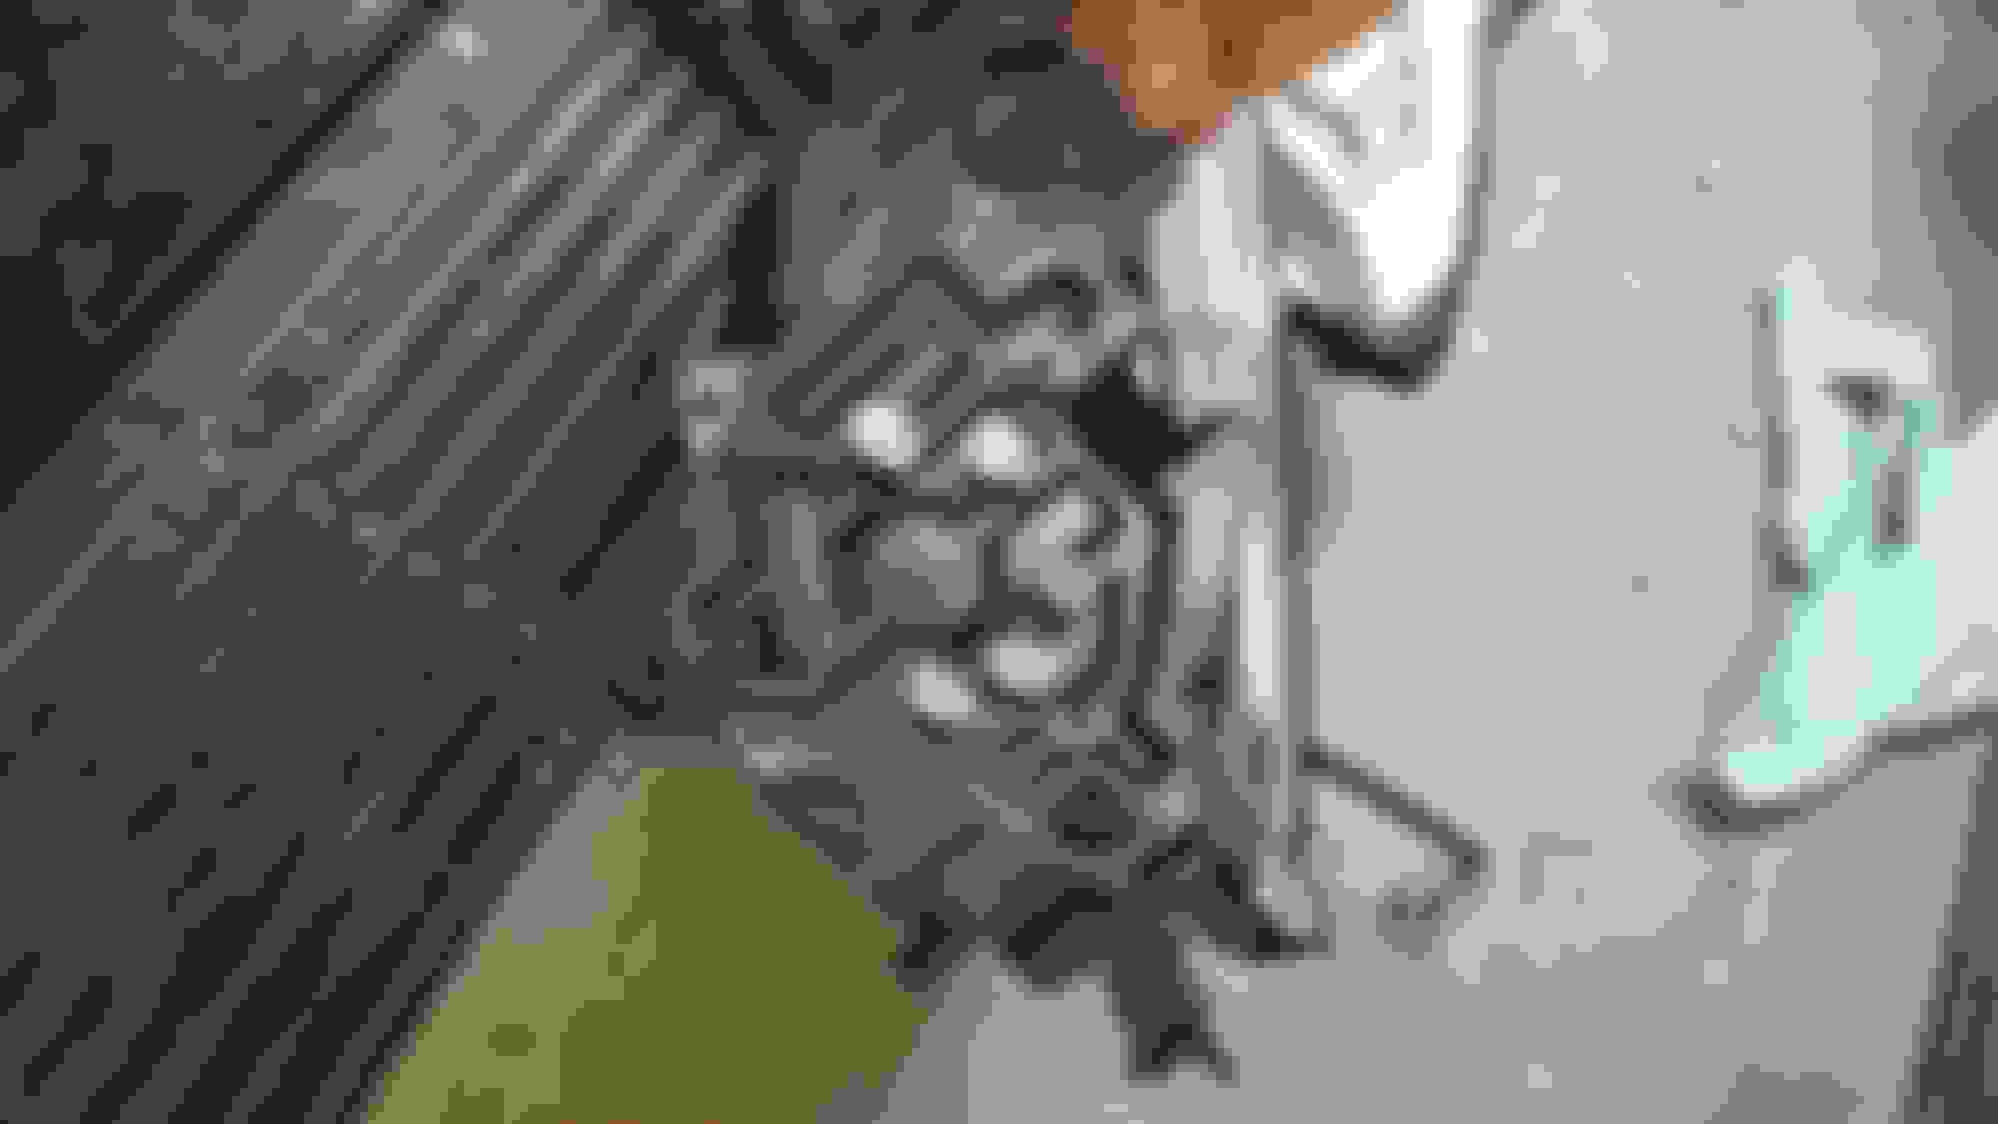
Pull LDM out of the light housing and disconnect two wire harnesses
Now this part was frustrating and you have to act quick so I didn't get any pictures of the prying process. I was happy to see that the Ford permaseal gets quite soft with heat. The last truck I did was my 2014 Sierra and that permaseal was rock hard no matter what temperature.
Start by preheating your oven to 250f. You will need a larger sized oven for this because these headlights are huge. They barely fit in my smaller oven.
Place them in the oven clear side up making sure that it is not touching any of the sides and set the timer to 15 Min.
Once the timer goes off you will need some prying tools aka flat screw drivers.
Start by trying to break the outside seal all the way around the headlight, usually by the time your done this it's cooled down and needs to go back in the oven. If its still pretty warm start trying to dig the screw driver through the seal deep enough that you can catch it on the lip of the clear plastic. If you can get it in there deep enough pry up as much as you can. Starting in one spot pry up and break the seal and work your way around the headlight (I started on the bottom side of the headlight, this way the big gouges are seen when the hood is popped.).
BE CAREFUL! IT'S EASY TO PUSH THE SCREW DRIVER RIGHT THROUGH THE BLACK PLASTIC HOUSING!
By this time you may need to throw it back in the oven. I did 7 Min at a time after the initial 15 Min.
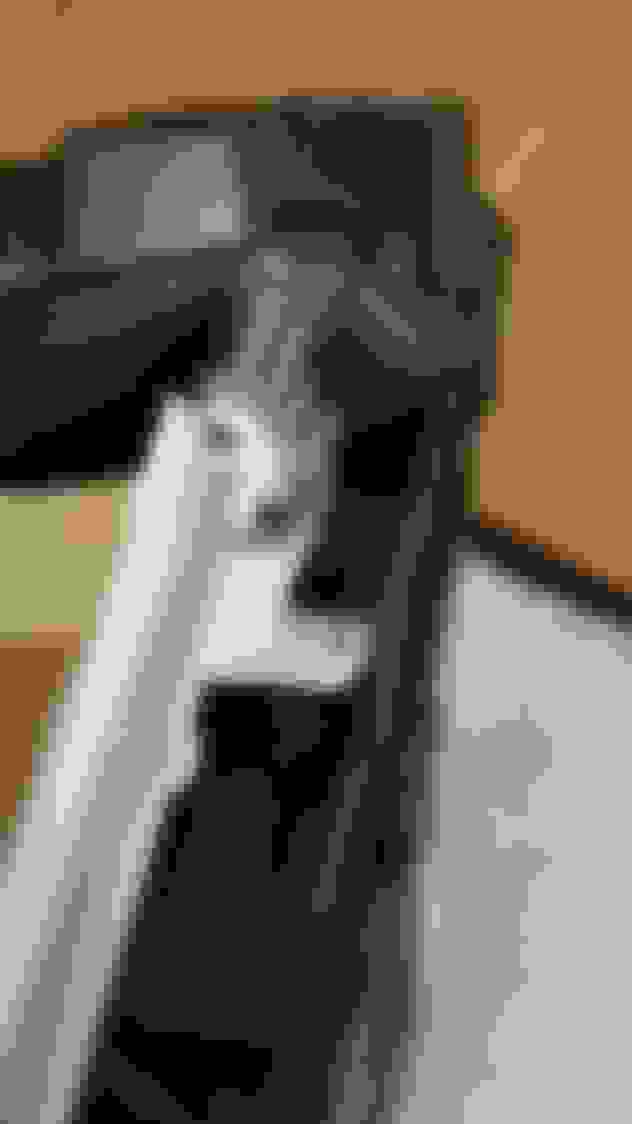
Once you get a corner of the clear lens to separate try to get your fingers in between the clear lens and the black housing, this way you can pull and hopefully get it to come loose. This part takes a lot of patience. It took me over an hour to open both headlights. Including lots of swearing. When I got them open I was drenched in sweat from holding onto a roasting hot headlight and using so much force to open them. This is not easy, but they will eventually come apart!
Once open you should end up with two pieces like this.
Step 4 - Removing Permaseal
While the headlights are still warm you can use a flat screw driver to remove the permaseal, similar to this video below. If they've cooled down place each of the two pieces in the oven again at 250f for 7min to soften the seal.
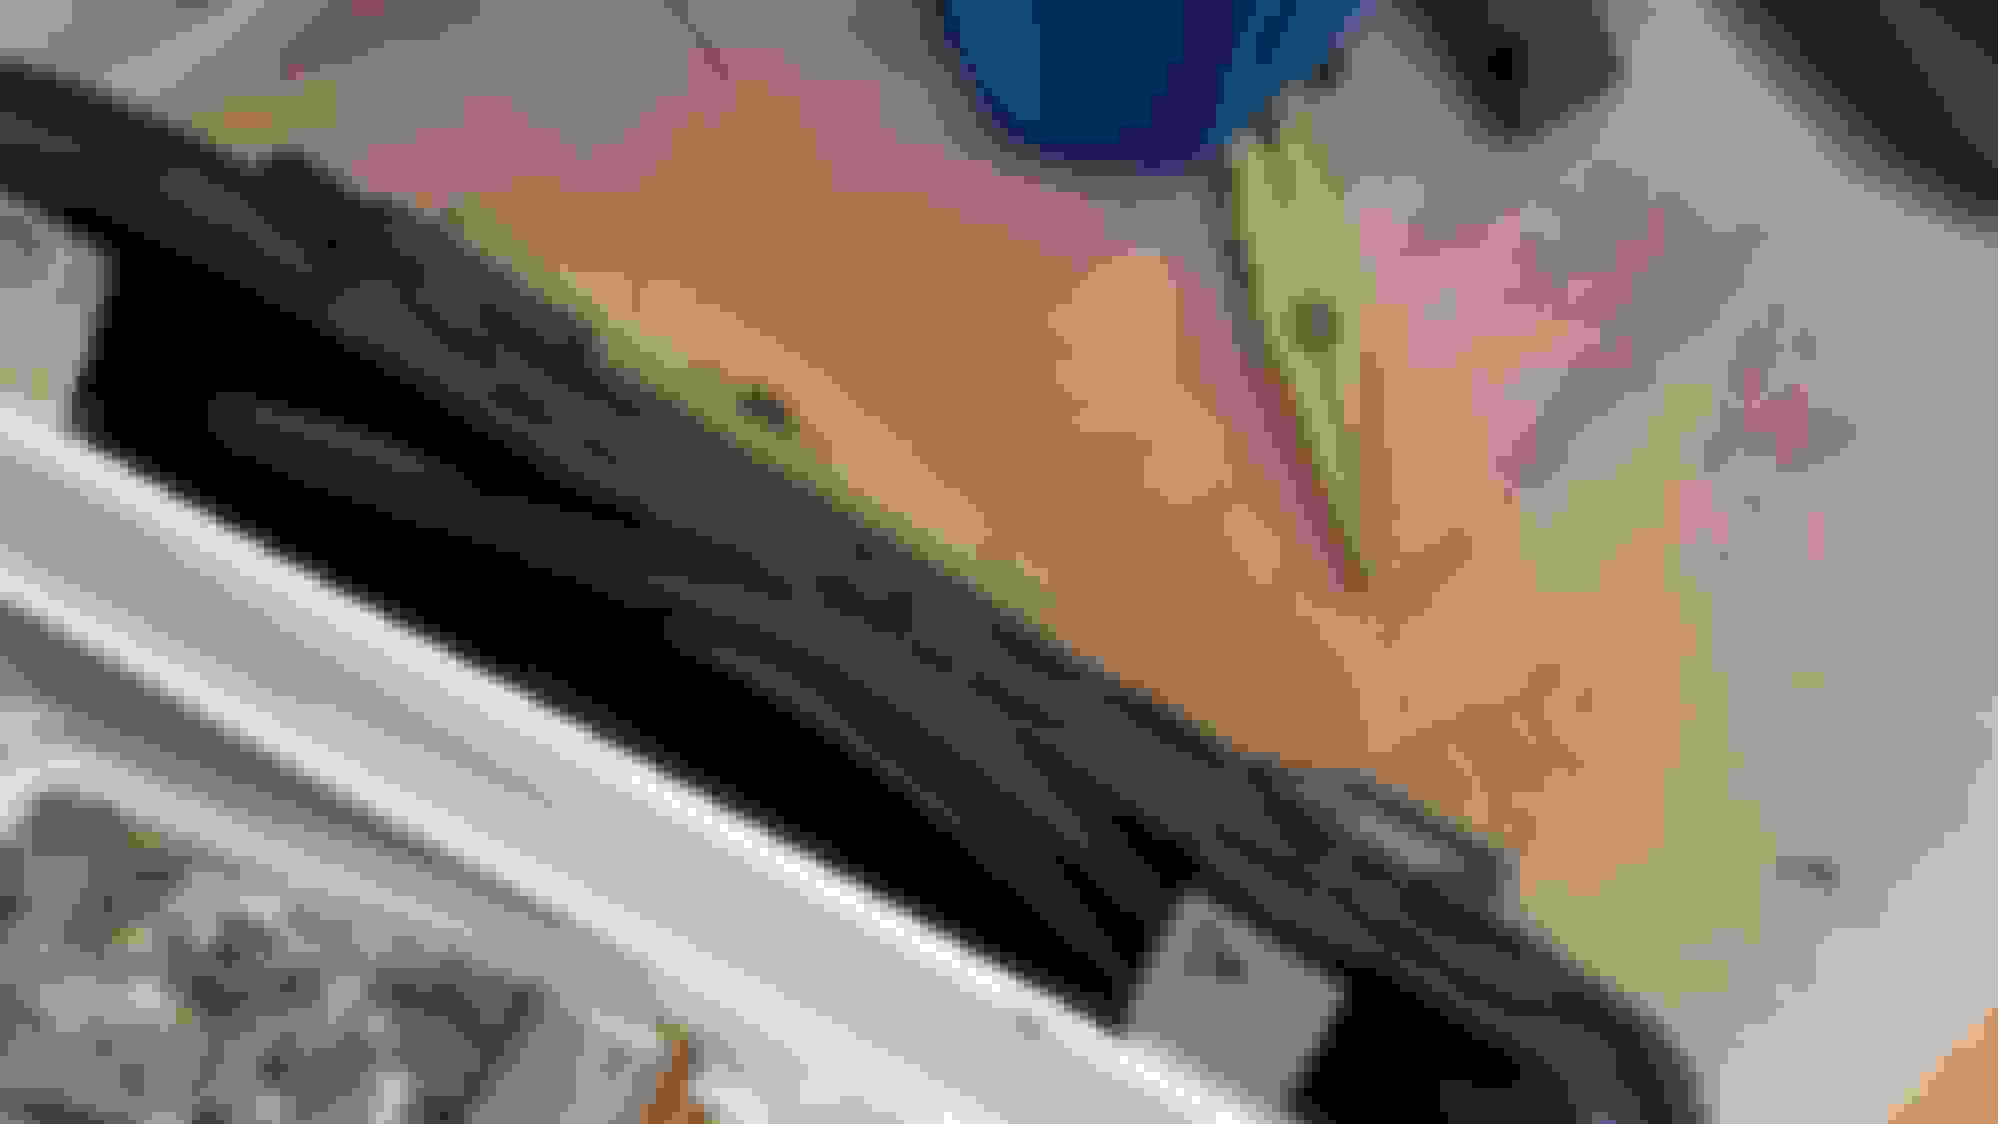
I also used a razor blade and a flat screw driver to get as much off of the clear lens piece as well. By the time I was done this on both headlights my finger tips were throbbing.
Again this part I didn't get many pictures, by this time my fingers were so sore and I wanted to be done sitting on the couch drinking a beer. Luckily for anyone buying diode dynamics boards, they provide a step by step on how to install the boards.... MINUS THE MOST IMPORTANT PART!! WIRING THEM!
Start by removing 8 torx screws.
Remove the lightpipe.
Next remove the Marker/Turn signal control board and disconnect 4 pin wire harness as well as disconnect the 2 x 2 Pin wire harnesses that connect the stock LED amber marker boards. These will remain disconnected and nothing will be plugged into the connectors.
The 4 Pin wire harness is where we are going to tap into.
The Black wire is our ground
Yellow is turn signal
Blue/Grey is our Marker wire
The kit from Diode Dynamics comes with some tap connectors, but the didnt work for me, they didnt cut into the wire enough to get through the rubber shielding. I ended up soldering them in.
The LED switchbacks module has 4 wires.
Black - Ground
Red - High Power White LED
White - Low Power White LED (Not used)
Yellow - Turn Signal Amber LED
So to wire these bad boys up we want to go:
DD SB Red - Stock headlight Blue/Grey
DD SB Yellow - Stock Headlight Yellow
DD SB Black - Stock Headlight Black
I tapped into the lines, soldered and taped them like so.
The LED Switchback boards are pretty straight foward to install and I forgot to take pictures. The stock boards are held in with three torx screws and two little plastic tabs that need to be cut off to make installation much easier.
Once you remove all them you will need to use a flat screw driver to pry the stock LED boards off of the heatsinks. Try to keep the two sided heat tape in tact to use for the new boards. It's as simple as swapping them and screwing them on.
When you're finished it should look like this. I taped up the white/yellow/black wires to keep them from going all over the place.
Now that you've, got them tapped in and screwed onto the light pipe and you reverse these steps to putting all the pieces back inside the headlight.
I used some 3/8" square automotive wind shield butyl that I bought on Amazon. Many retrofit sites sell the same thing, but in Canada this was the best priced option for me.
Make sure it fills at least the majority of the well where the old sealant was.
Once again we're back to the kitchen. Preheat the oven to 250f again and place the headlights in for 7 min. When the timer goes off remove them and try to use as much pressure possible to squeeze them back together. I set mine on the floor and applied most of my body weight to the top lens. I don't recommend doing this if you're a big boy.
Then I placed them back in the oven for another 4 minutes and repeated trying to squeeze the two pieces together.
Now you can go ahead and reinstall all the hardware removed in the reverse order and install the headlights back into your truck.
This tutorial can be used for blacking out the headlights as well, I just didnt risk doing it myself. If you believe in your painting ability then I say go for it.
In order to paint the shroud you will need to:
A: tape off the LED low beam and high beam lenses
B: Remove 5 torx screw from the clear part of the separated headlight.
C: Tape/ Remove reflectors
D: Tape off Clear Marker Lens, Here's some pictures of the lens and how the entire chrome piece and clear lens are all one piece.
I may grow the ***** to do this in the summer time when its not so cold out. That's the great part about using Windshield butyl to reseal the headlights. It allows for easy re-opening.
Once everything is all put back together here's the outcome. The Lights are still pretty dim during the day, I would say about 50% brighter than stock. At night they look amazing.
Hey nad, great post, do you have a before/after comparison ? This only works for the trucks with the LED headlights, right? I have the halogen lights and I recently purchased a xenon depot LED kit for all my lights (high/low/fog) so it won't work for my truck?
Hey nad, great post, do you have a before/after comparison ? This only works for the trucks with the LED headlights, right? I have the halogen lights and I recently purchased a xenon depot LED kit for all my lights (high/low/fog) so it won't work for my truck?
For your truck you will not need to open the headlights because they're all halogen bulbs, they should all be accessible from the back of the headlight housing.
Thanks a ton for this post... I want the black housings so bad but this is a ton of work, not to mention risky once apart with overspray on the lens.
I've emailed and face booked raptor retrofit trying to get a price on sending them my oem's as a core for a set of black housed oem's but nothing back yet.
Might be using this sooner than later! Thanks again!

 01-04-2016, 04:01 PM