When you click on links to various merchants on this site and make a purchase, this can result in this site earning a commission. Affiliate programs and affiliations include, but are not limited to, the eBay Partner Network.
The fit is perfect! And it lays nice and flat and wont blow out! lol I got mine from amazon (Im a closet amazon Prime addict... its terrible ) it was 80 with free shipping. keep an eye on it, its fluctuates in price.
here is a link https://www.amazon.com/gp/product/B0...?ie=UTF8&psc=1
Good to know man! I have had my eye on that exact kit because of all the positive feed back. I might bug you about more info on it later! But part of me wants to keep it REAL simple and just do a 2" AS spacer. Decisions decisions....
Another option is the Eibach Pro Truck shocks that allow for adjustments in the spring perch height. I have them on mine and so far I'm liking them. They aren't as hard on the ball joints as a spacer kit. They also provide a huge upgrade in ride and controllability from the craptacular OEM shocks. Install can be a PITA though.
Also, here are some pictures of the Clamp mount used with an iPad mini. It works great but you will need to make sure to put a little rubber between the clamps and the ipad mini (or a thin case), if not it would probably wiggle out on dirt roads. It blocks a little visibility (depending on seat height and driver height) but nothing terrible and not a safety hazard.
Universal Spring Loaded Cell Phone Cradle Holder - RAM-HOL-PD3U
Spring mount
Ipad Mini in Spring Mount
I used Hex head hardware and a nylon lock nut with washer to mount the base. Its solid.
Well along with a build thread I figured I'd post some trip reports sprinkled in to give real-world updates on how things are working and how the truck is performing.
Young to Payson AZ Day Trip:
Parker Canyon looking down on Roosevelt Lake
This was a spontaneous day trip to the high country from the Mesa area. I wanted to explore some back roads and check on a project that the company I work for was doing along the 288 heading to Young Arizona. This was the first offroad action the truck had gotten, and it really wasn't much more than some dirt roads. But never the less, it felt good to get some dirt on the girl and see some pretty country. We went up through Globe, to Young, then to Payson and back down for a complete loop.
Only went off on one side road that had some small sections of rock and other sections of irregular rutted out lines. Going down was fine and on the way back tried out the electric locker and kept it in 2wd. Although I didn't really need it, it felt good to climb through it up hill with no tire spin. Although I never scrapped it, I was still concerned with the front air dam and the low ground clearance, so taking that off is defiantly on the to do list.
The Ram mount holding the iphone for navigation worked flawlessly and had minimal shake to it. I think when I go to using the ipad mini, it might shake a little more. The cord hanging down to keep it plugged in was a little distracting and I think I will work on installing a 12v USB port into the cubby on the dash so the devices can plug in up there.
All in all, love the truck so far and ready for some more modifications!
Knowing I wanted some auxiliary lighting for off-road travels, I threw around some options on what route to take. After looking at mounting options, light output and invasiveness to the factory system, I settled on some Baja Design XL80's mounted in the fog light locations.
Granted this does mean I loose my standard fog lights, but this was just too clean of a setup to pass up.
The lights are rated at 9,500 lumens a piece for a total of 19,000 lumens. These were hard numbers to argue with when you consider their compact size.
To mount them, I decided to coin up the money and save the time and headache of fabricating my own brackets and purchased Baja Designs vehicle specific mounting buckets. The kit was great and came with the weather proof adapters to plug into the factory wiring harness for the fog lights. So no extra wiring or added switches inside the cab. The buckets themselves were very stout and mounted up perfectly.
Overall I'm very happy with the setup and think it came out clean.
Baja Design XL80
Amber Lenses Cover
Also, I got a clear bra professionally installed a couple weeks ago to help with rock chips on this full painted front end.
Well, I finally got around to installing the the Icon Stage 3 suspension system that I bought on Black Friday last year. Overall the install went smoothly and I had no issues. It is amazing working on new trucks, everything just goes the ways its suppose to. I ended up stetting the front end to about 1.75" of lift. Which still allows for plenty of down travel. I might go to a full 2" in the future.
I also added some daystar boots to the rear shocks to help with the flying rocks from the front tires. I wouldn't have even thought about it, but when I pulled the factory shocks off and with only 2,000 miles on the clock, I couldn't believe some of the rock hits the shocks had taken already. I cut the bottom off the boots so that water and debris will fall out and not get trapped in there.
Overall I'm impressed with the suspension. there is no doubt the factory ride is gone, and there is a noticeable difference in the plush pillow like ride from the factory. Not bad, just a lot more firm. Handling is better and it really does shine off road. You can tell the quality of the system when you come up on something too fast and cringe waiting for the impact and then float over the top of it.
Icon Stage 3
Icon Stage 3
Icon Stage 3
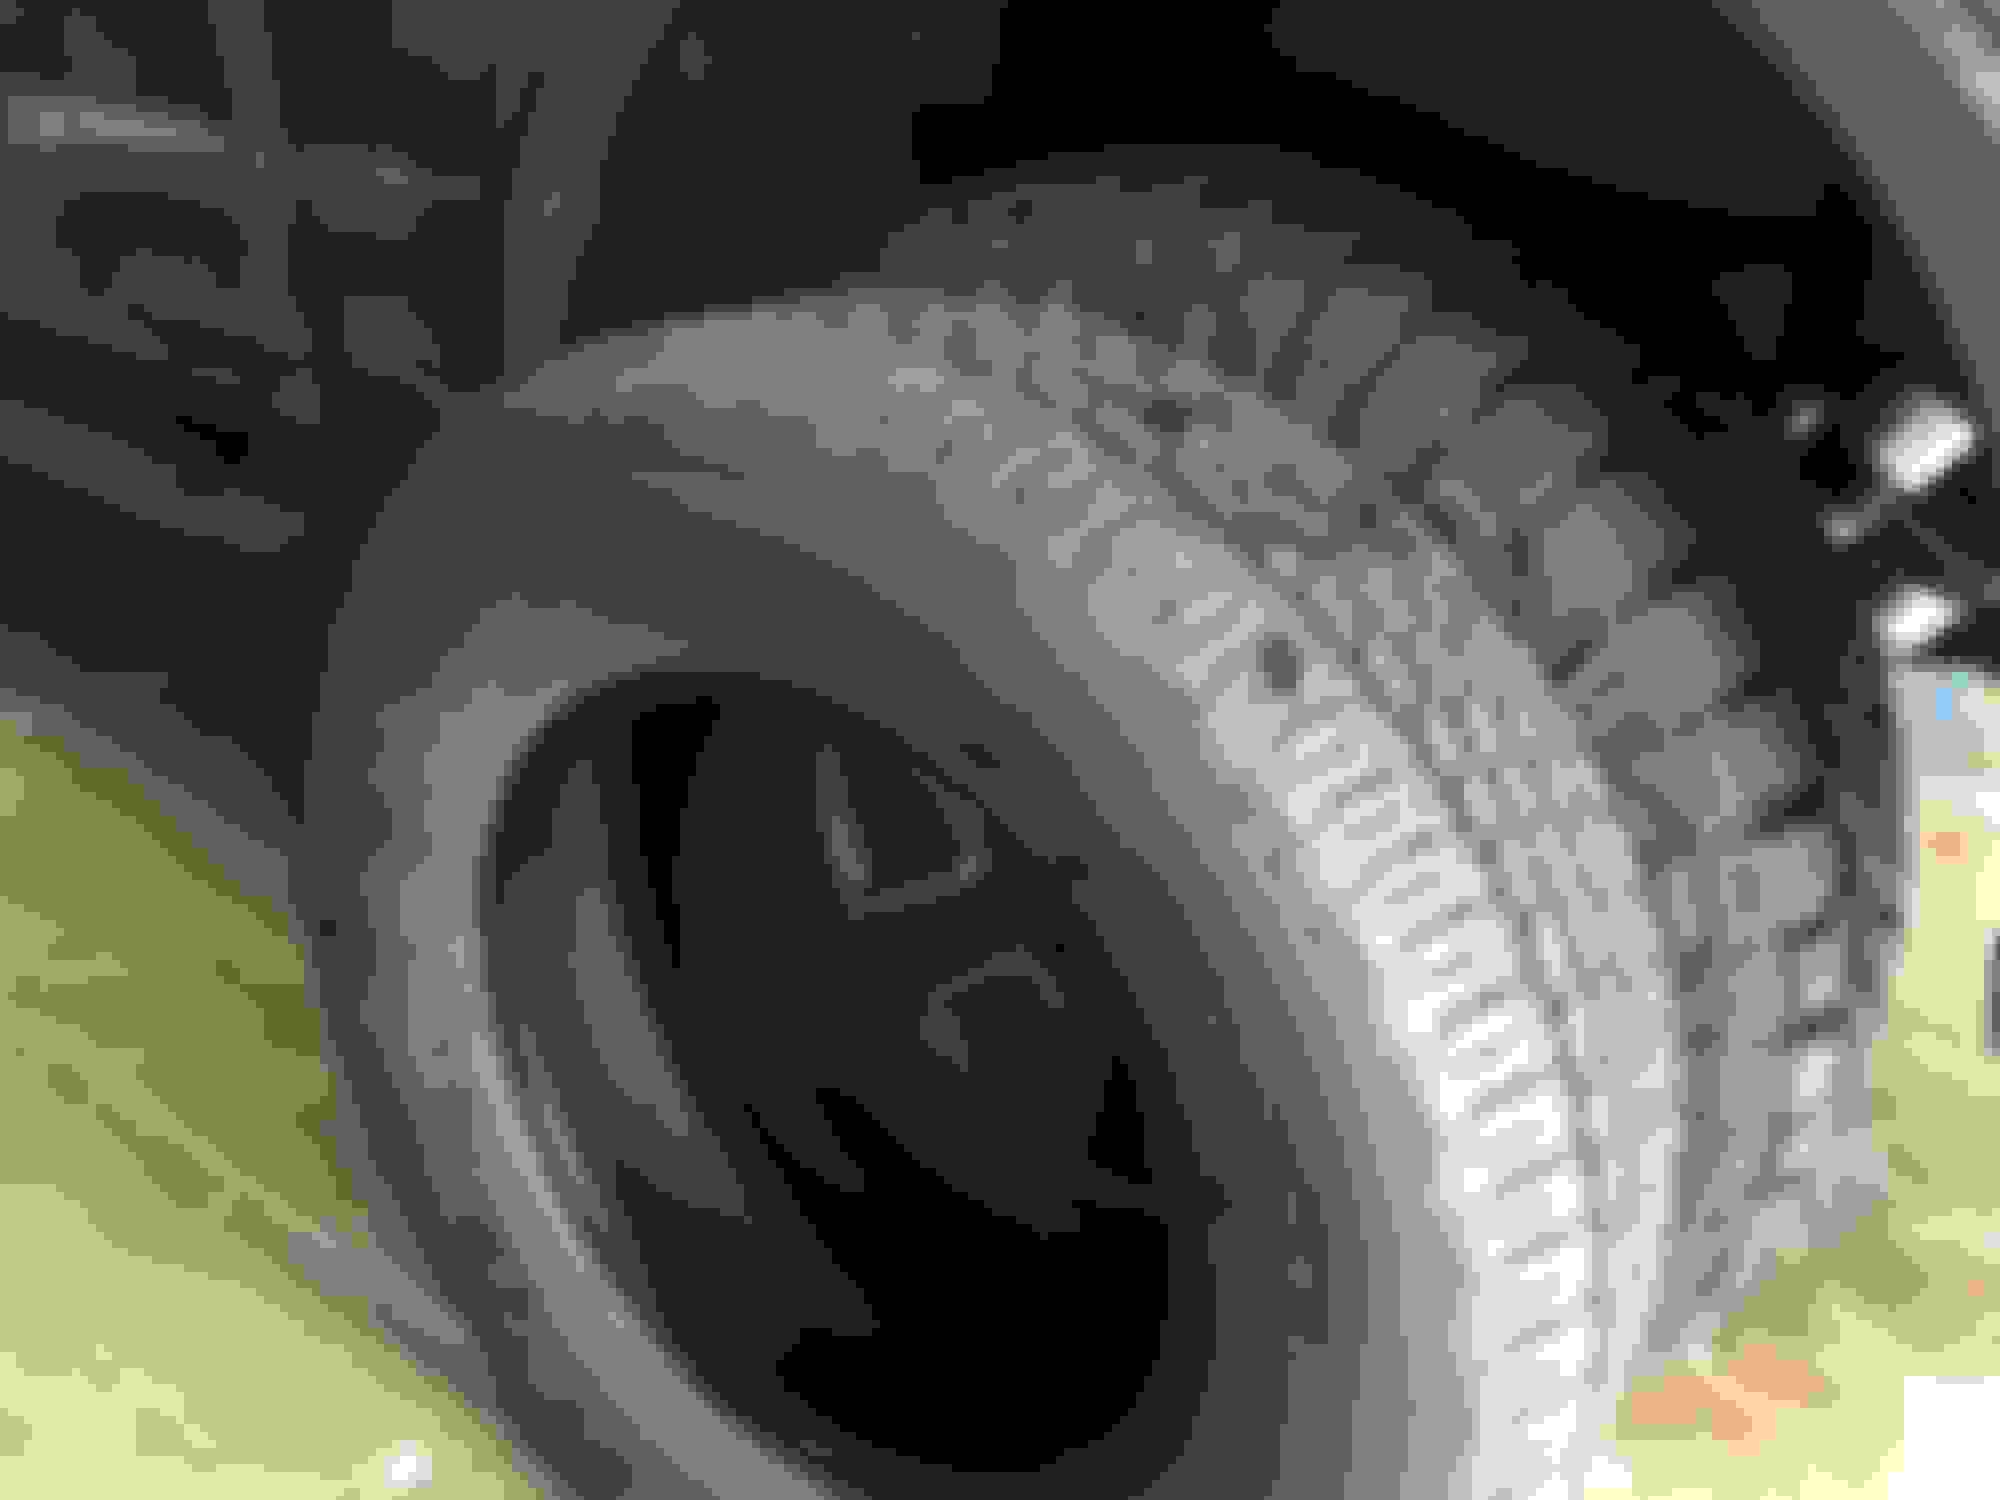
Nitto Ridge Grapplers 295/70r18 (34"x11.5")
For tires, I wanted something that looked aggressive, performed aggressively off road but still had great road manners for the pavement miles. The Nitto Ridge Grapplers filled all those check boxes and and I couldn't be happier with them. Not the cheapest, but they seem like they are going to be perfect for the rig. I ended up with 295/70r18 size tires, which fit perfectly with the 1.75" of lift and no modifications necessary to the crash bars, or plastic trimming. I have taken it off road a couple times and there has been no issues through the entire suspension travel.
I love the top shelf quality mods you are putting together.
Well thought out and purposeful. Keep us updated. Must be nice to live out west with access to awesome trails!

 10-25-2016, 01:41 PM

 ) it was 80 with free shipping. keep an eye on it, its fluctuates in price.