When you click on links to various merchants on this site and make a purchase, this can result in this site earning a commission. Affiliate programs and affiliations include, but are not limited to, the eBay Partner Network.
Bilstein is true to their word, ask and ye shall receive. Now it looks like I have no excuse to not spruce up the shocks after this past Winter, now just have to wait for no rain and warmer weather.
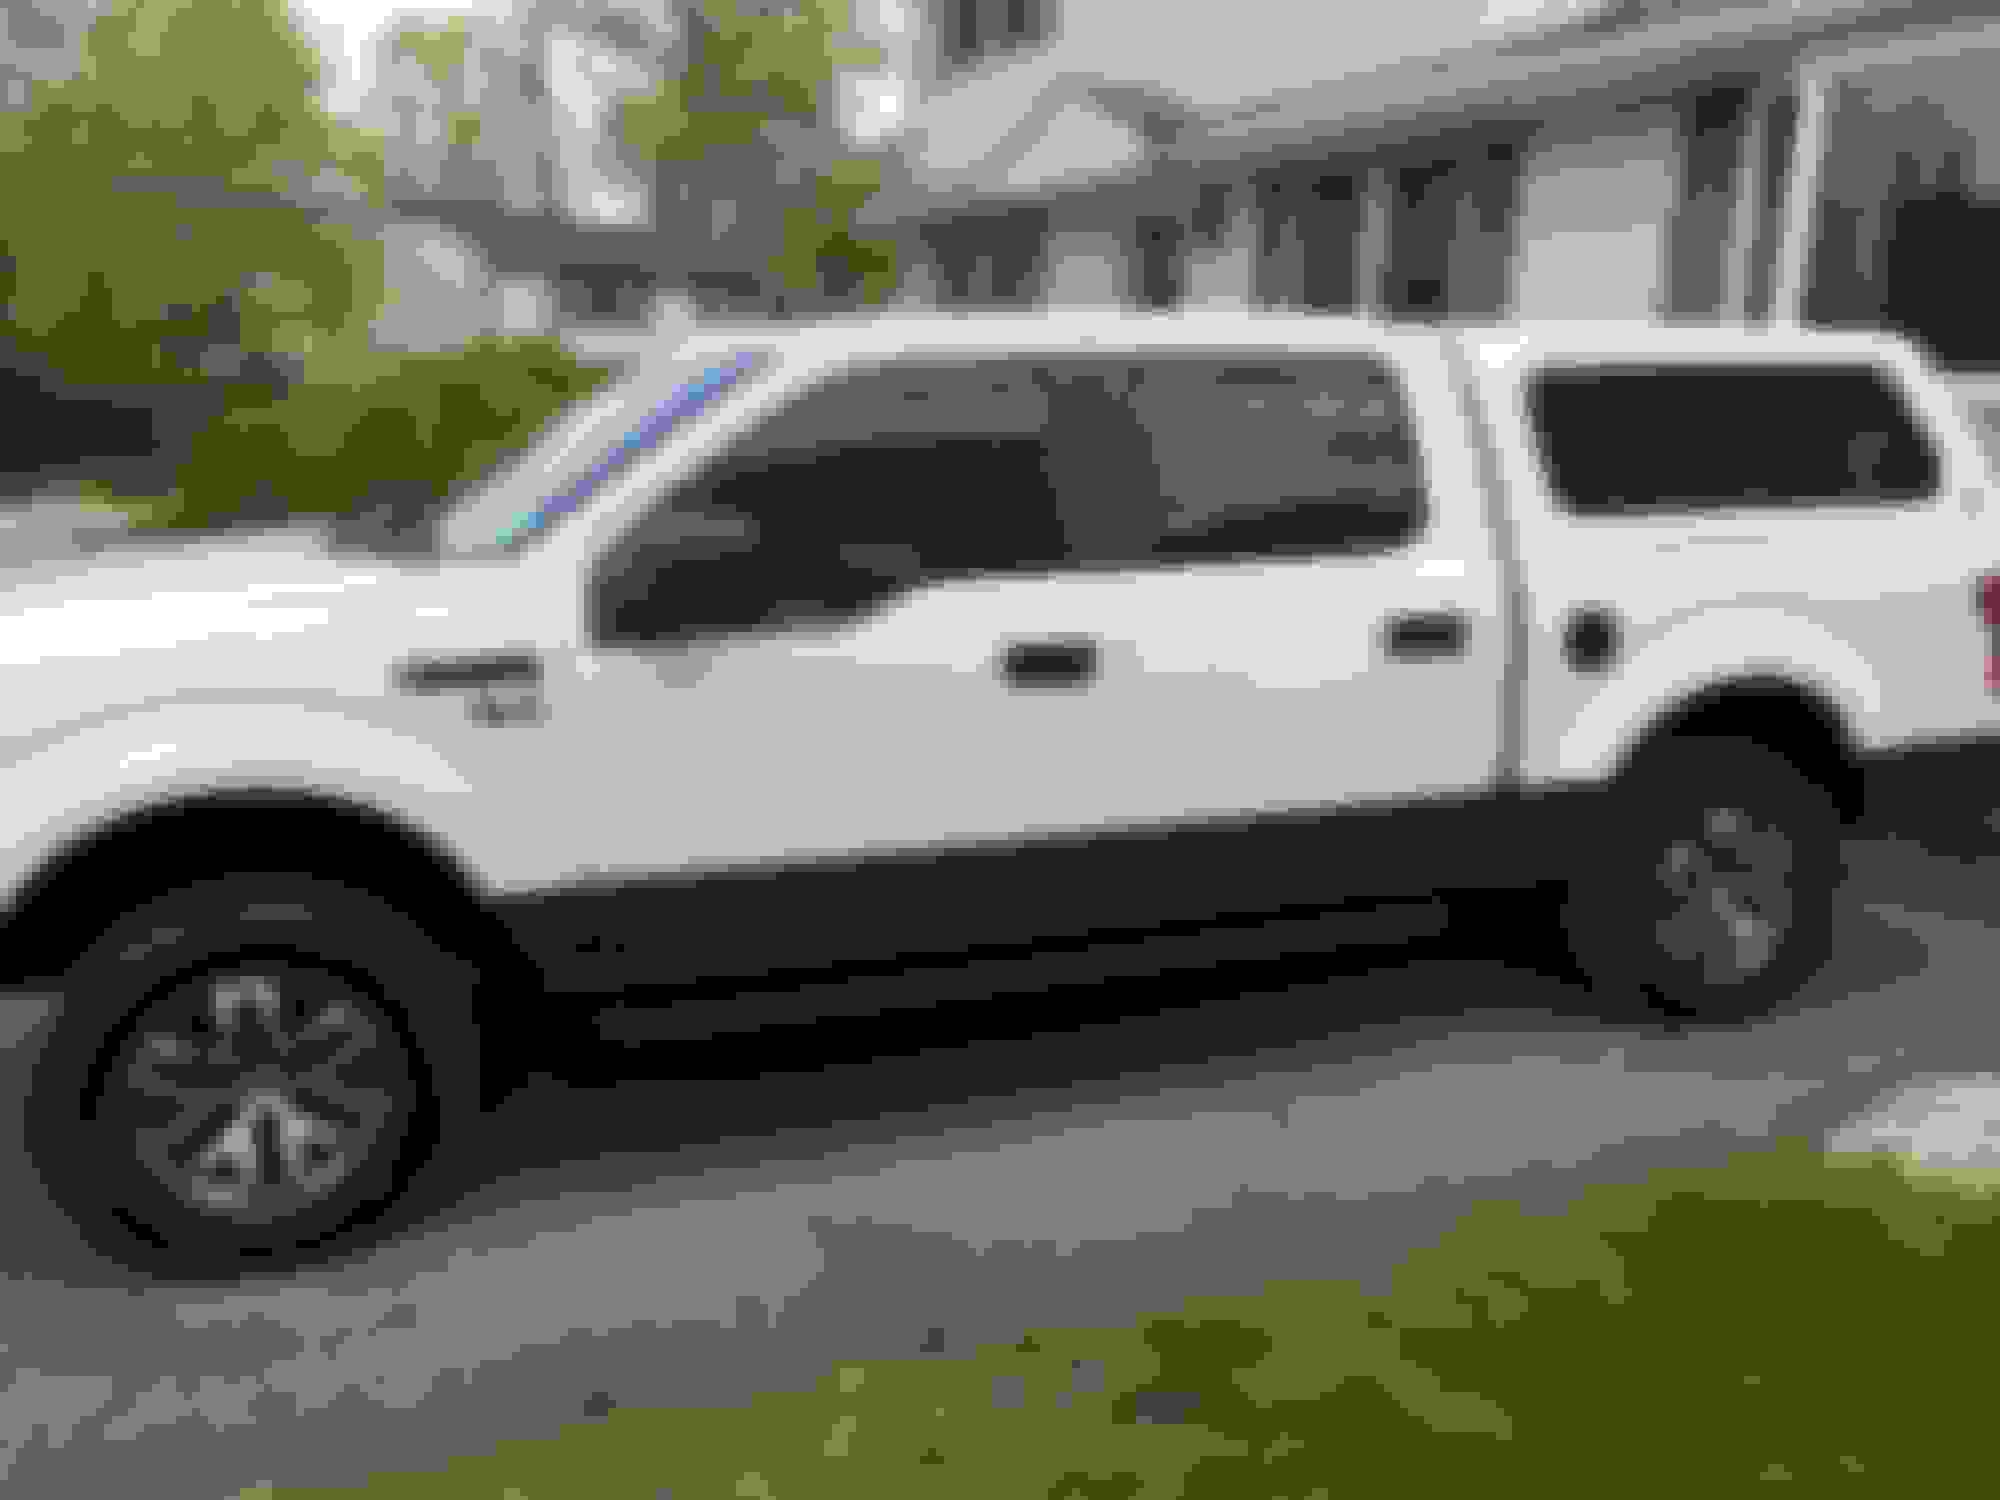
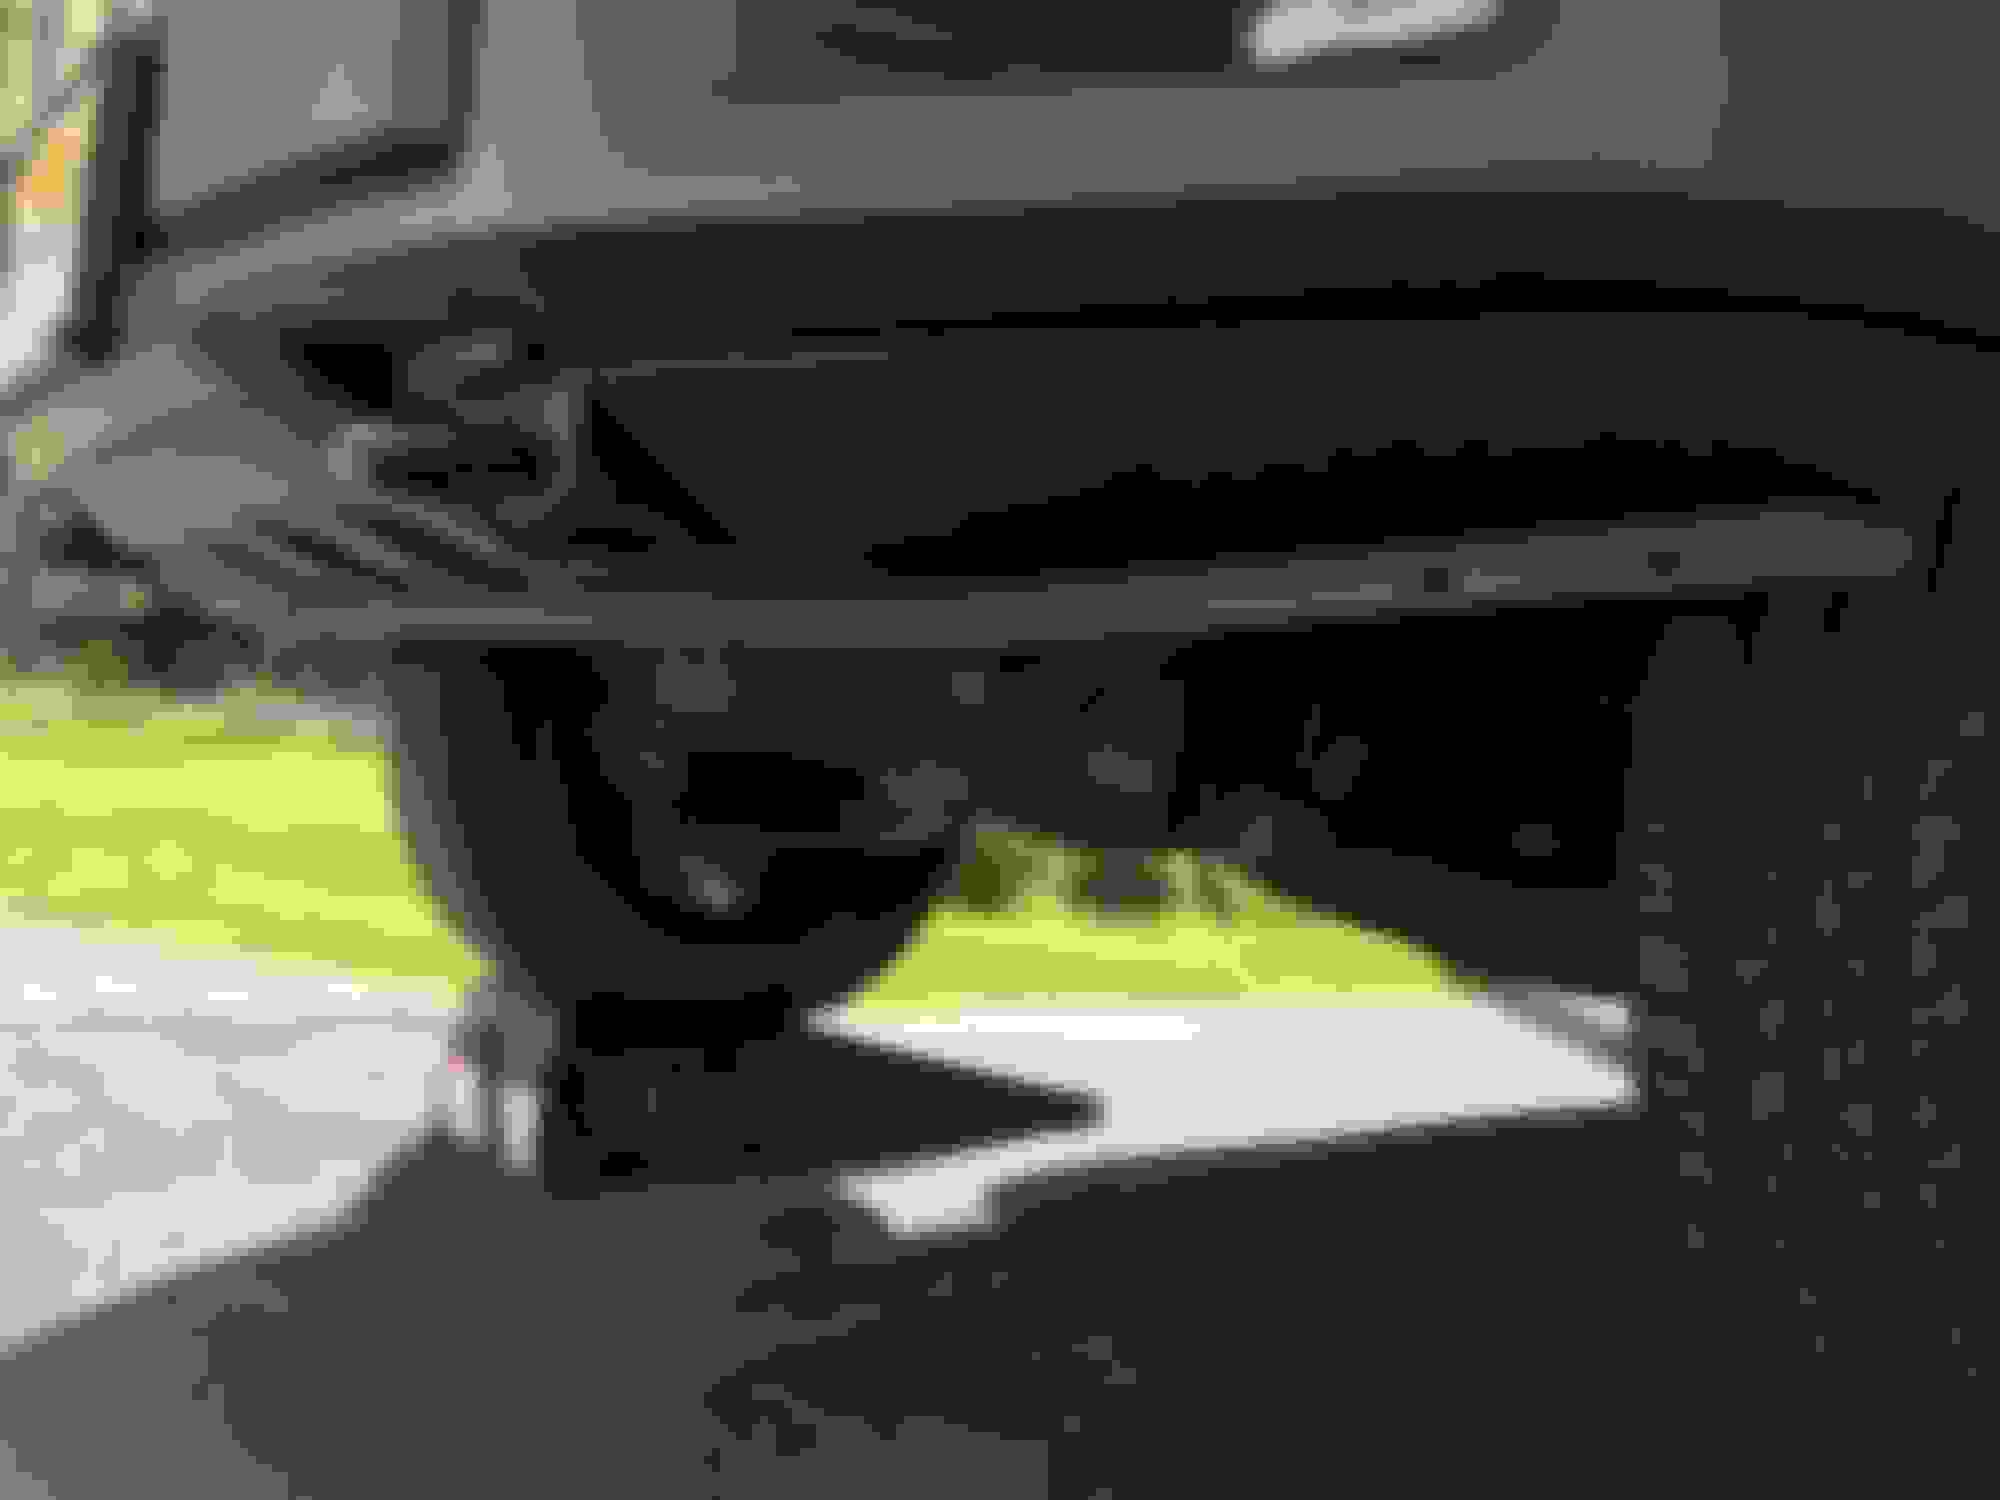
I'm in the middle of an OE tow hooks install right now and was contemplating a similar shave... but I'm going to keep the air dam and then trim it 1/2 way up, following the midline as others here on the F150forum have done.
Meanwhile, I've opened a can of worms. Anyone who has had their front bumper off will know that plastic sheet/shelf that runs from the bottom of the radiator forward to the bumper... mine was either never installed correctly, or it did not stay put. I put it back, once, but it never stayed... so now I'm whittlin' up a little triangle of aluminum angle stock to support that thin flap. Then, back to the tow hooks install...
Thanks, yes I have had the pleasure with having the chrome bumper removed and replacing it with the powder coated one. I just so happened to sell the front bumper when I was at the Englishtown show a few weeks ago.
Adding it to the ever growing list of stuff to do to this thing. Lol
What kind of saw do you use to shave it?
Milwaukee reciprocating saw with the metal blade. Just go slow and cleaned it up with hand files to remove the small filings that stuck from the heat generated.
 04-25-2019, 09:09 PM