My '99 build
 02-03-2014, 11:04 PM
#11

Called and talked to the junkyard this morning. They're holding a ZF5 from a '00 F350 till next Monday. I can't make the 3.5 hour trip till then. I took a weeks vacation at work next week, so I'm hoping to maybe get this thing driving again.
 02-04-2014, 01:32 PM
#13
I'm sick to my stomach. I just realized that the flywheels are different. Even though they're both 8 bolt, the SD flywheels are heavier and cupped. So I had the one I already had turned for nothing. I guess I'll post it up on the Mustang sites I frequent for the forged guys. I ordered a new, correct one from RockAuto.
02-09-2014, 12:33 PM
#14
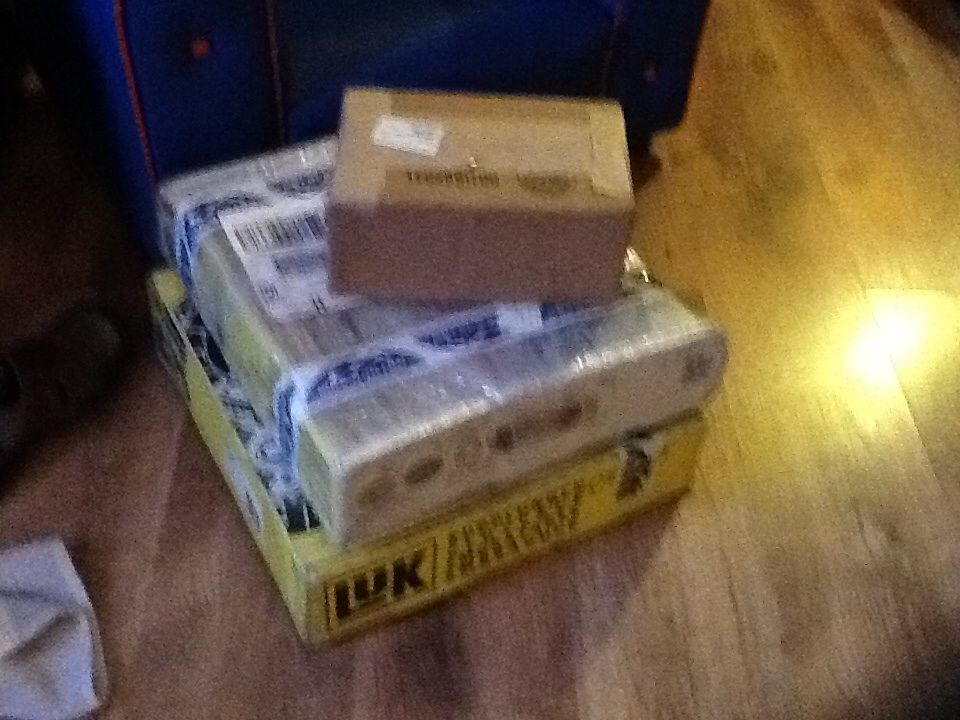
Got a suprise yesterday. My clutch, flywheel, and slave cylinder came in. Was going to bolt the flywheel and clutch up, but my new rear main seal hasn't come in yet. I also got my new brake and clutch pedal pads in and on yesterday, but didn't figure that was too picture worthy.
02-10-2014, 09:32 PM
#15
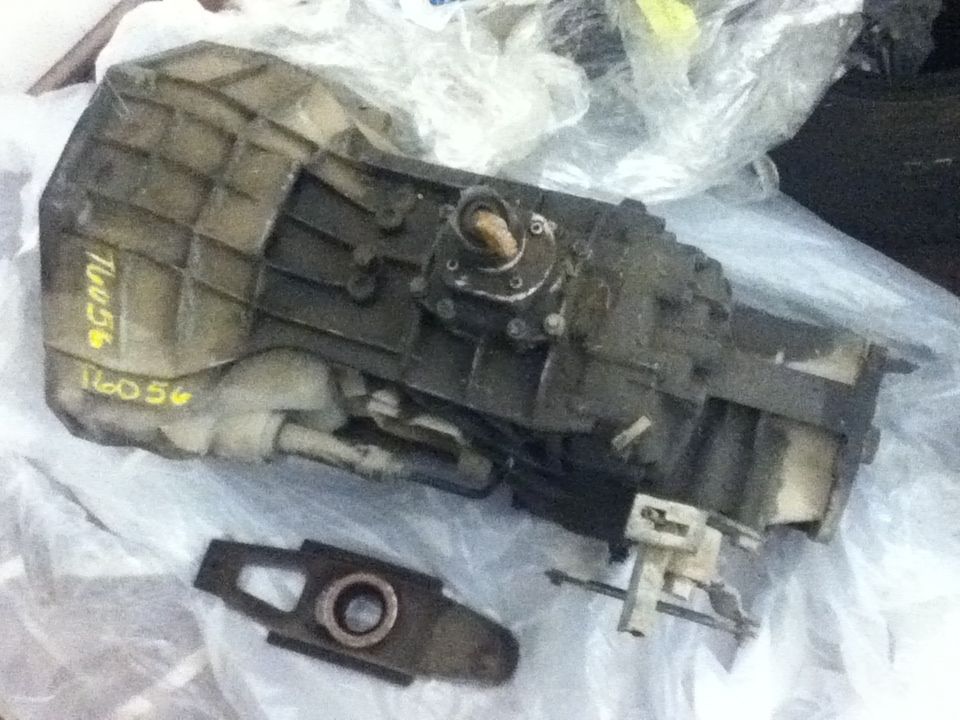
Well after 7 hours of driving I have this chilling in the garage.
After I got home I also got the seats and carpet out. There was tons of wet mud on top. I was expecting a bunch of rot under it. I was suprised to see an equal amount of mud under the carpet, but.....I see absolutely no signs of rust, even surface.
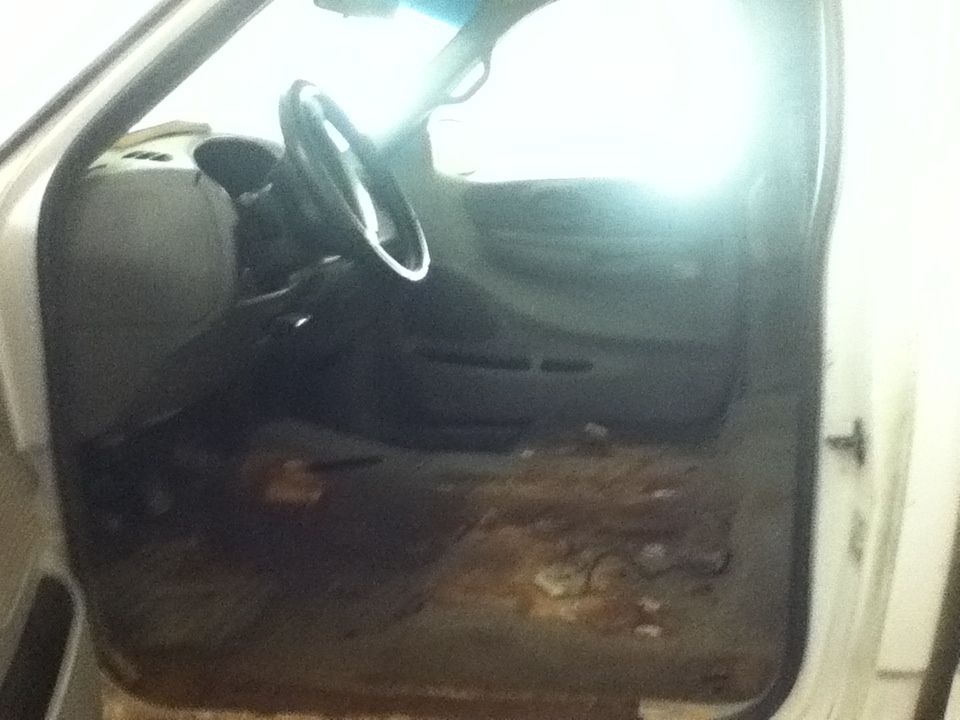
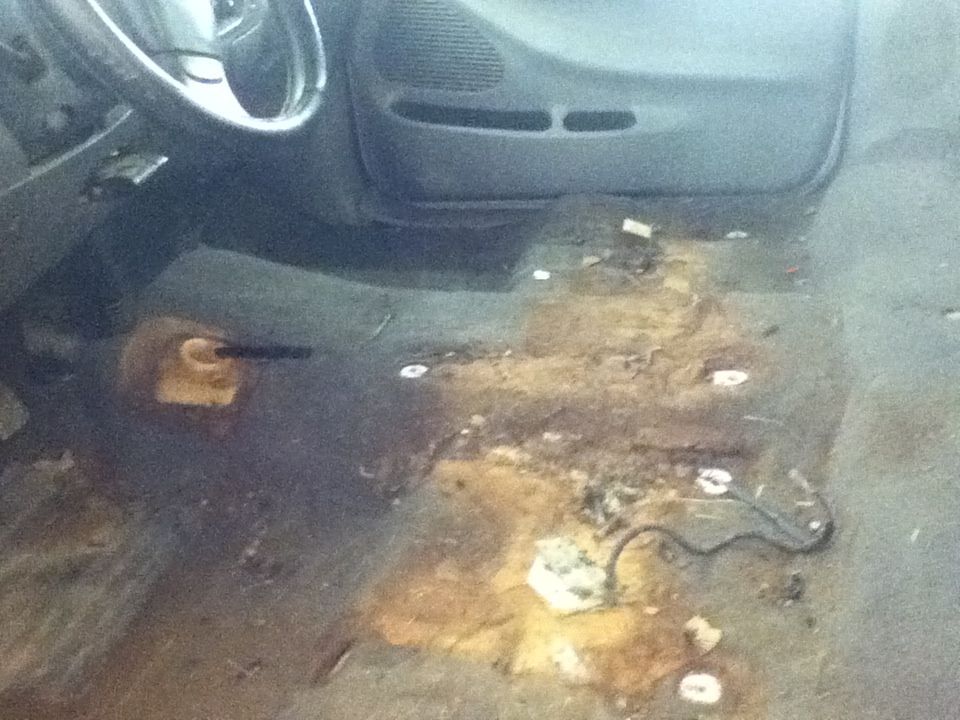
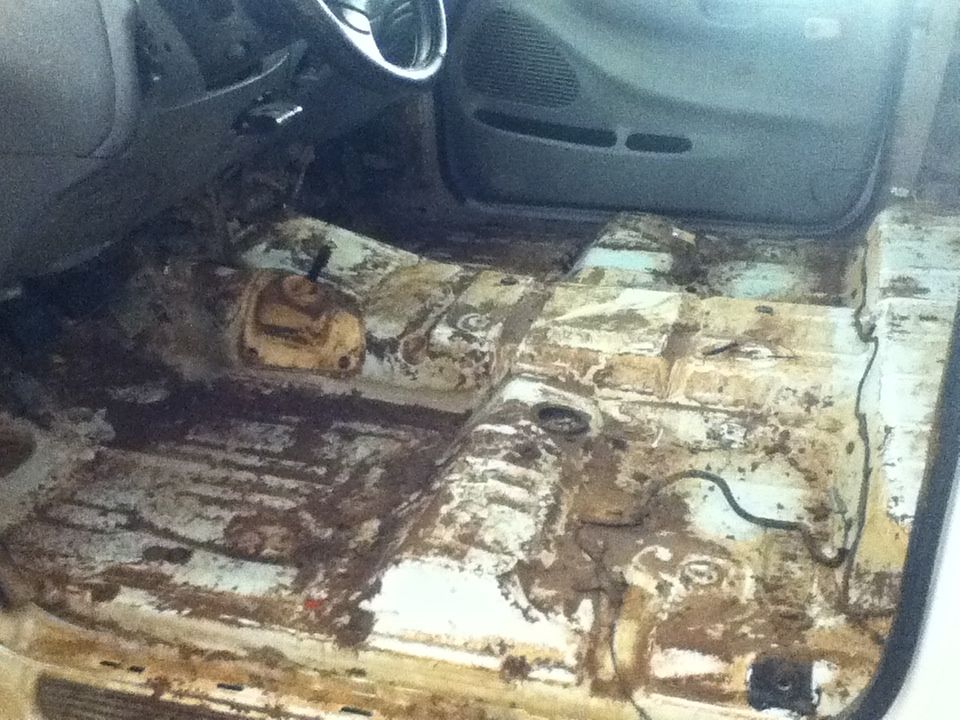
I'm about to head back out and cut a hole for the shifter, then massage the tranny on up and see what my clearance is like.
After I got home I also got the seats and carpet out. There was tons of wet mud on top. I was expecting a bunch of rot under it. I was suprised to see an equal amount of mud under the carpet, but.....I see absolutely no signs of rust, even surface.
I'm about to head back out and cut a hole for the shifter, then massage the tranny on up and see what my clearance is like.
02-11-2014, 04:08 PM
#16
Went to the junkyard today and found a bunch of small stuff. *Got a tranny shifter (from a '99+ F250, but it's different than my shifter, so I'll have to modify it), Tcase shift ****, clutch hose, clutch reservoir, manual steering column cover, inner shifter boot, and shifter trim piece. *Not bad for $25. 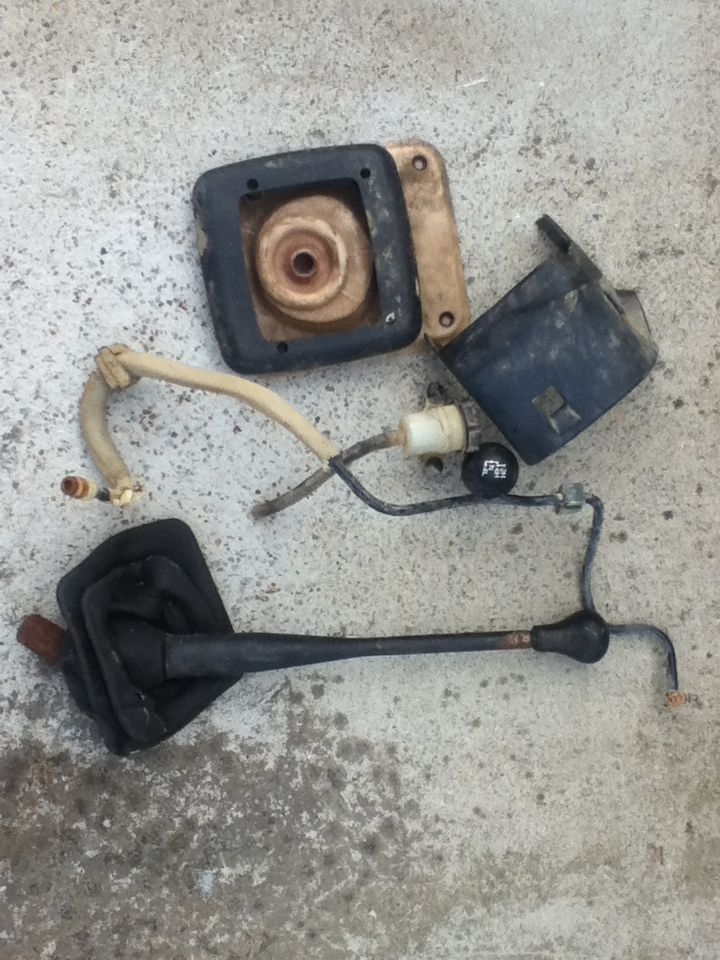
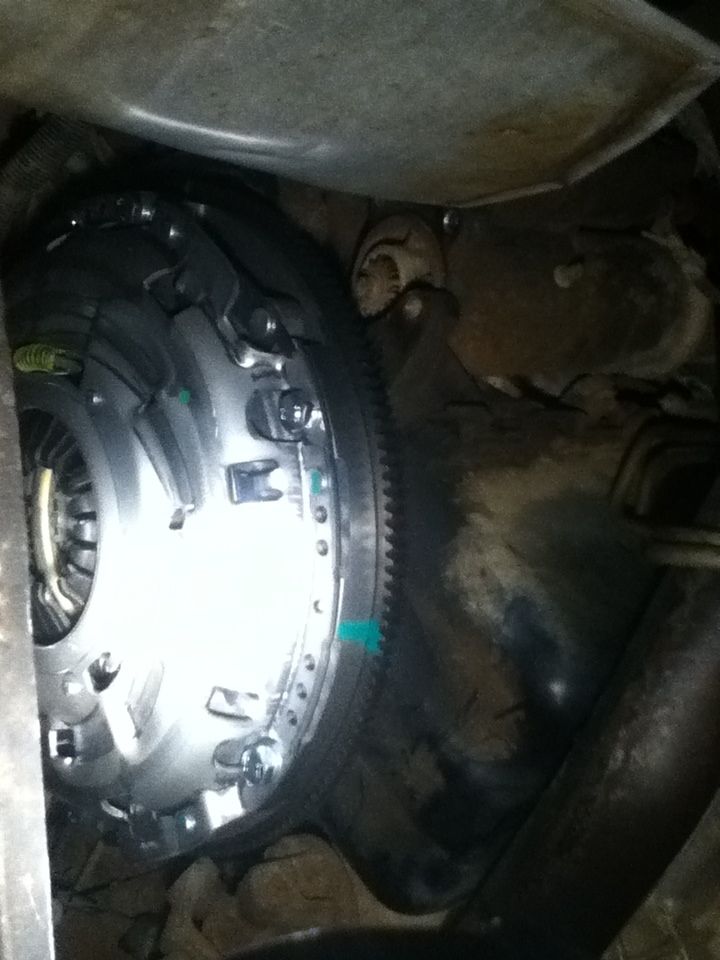
Then I got my clutch mounted up.
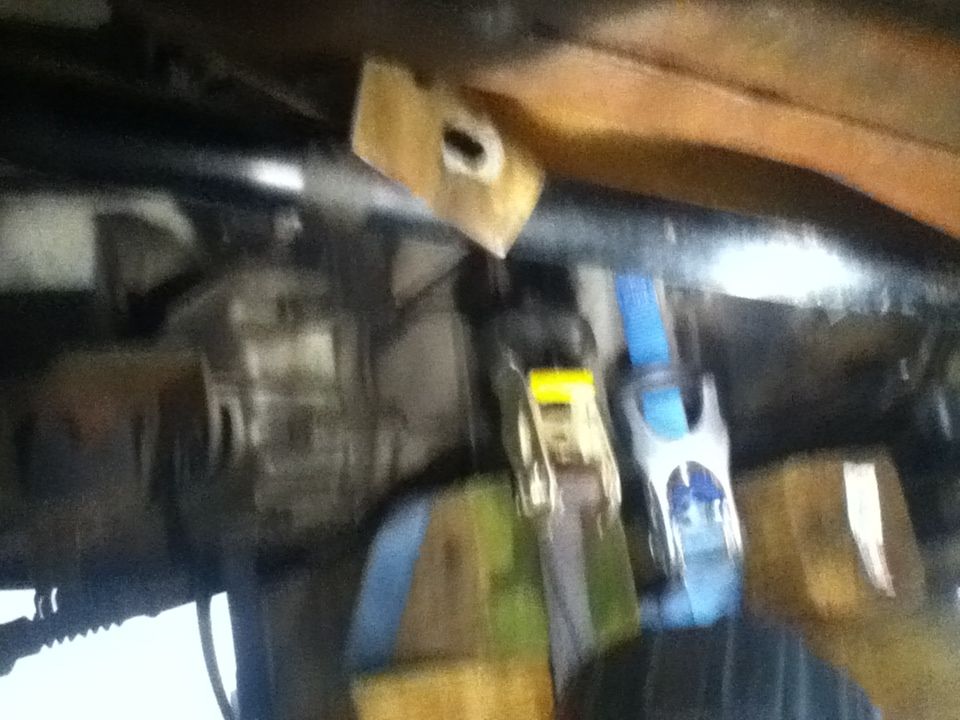
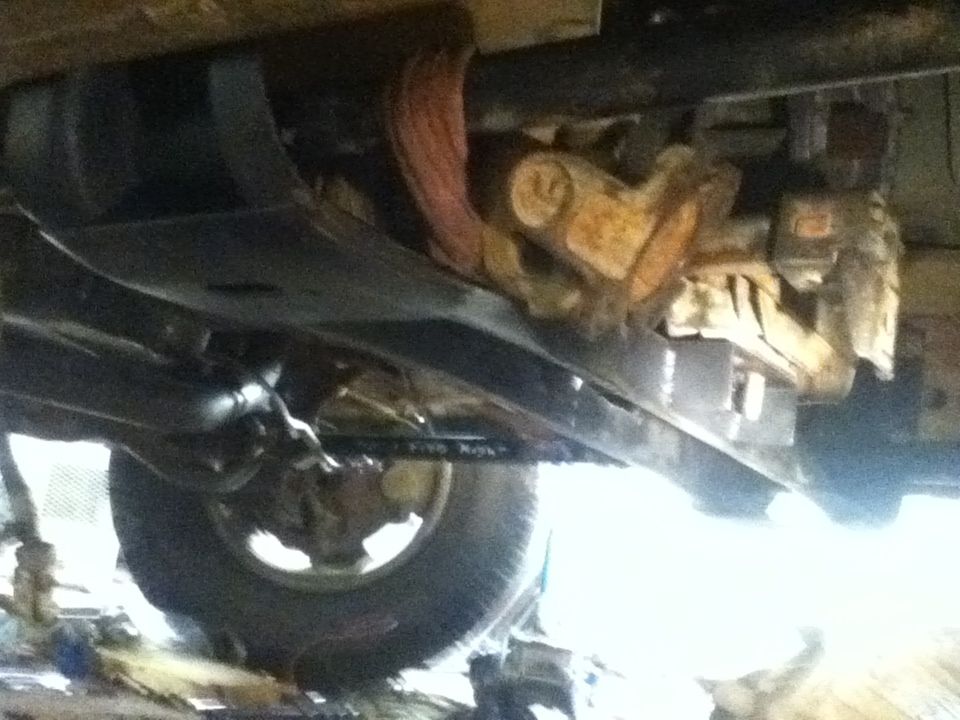
Got the tranny slid in place and bolted in, sorry for pic quality (hard to get a good one under the truck).
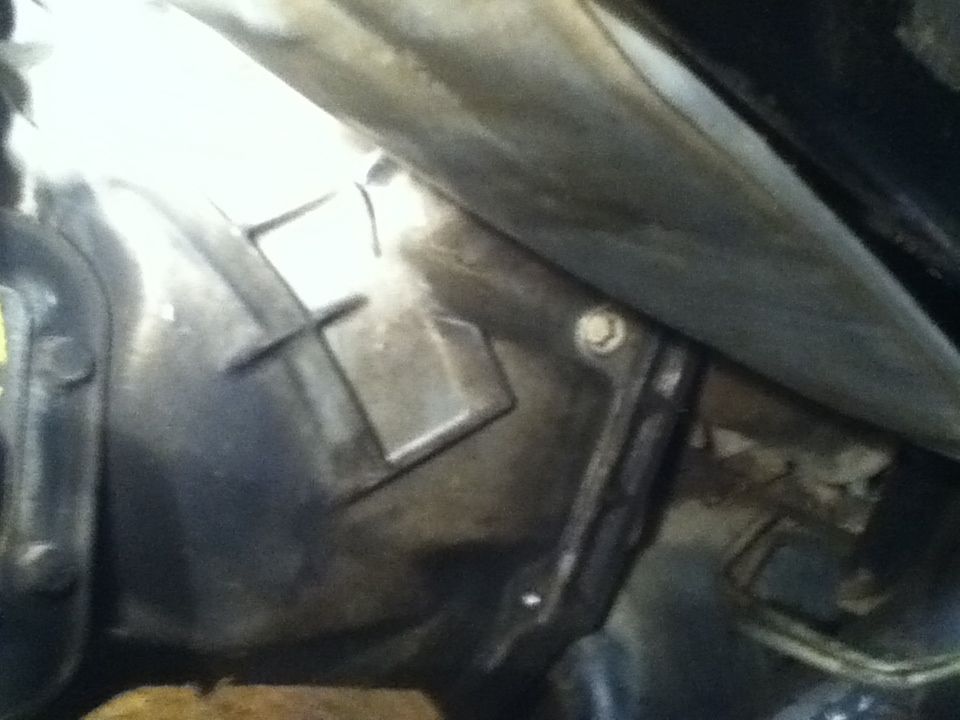
At this point I realized the tranny mount position is about 1.5" further back than the auto. *So I took the plasma cutter and extended the slot a bit. *
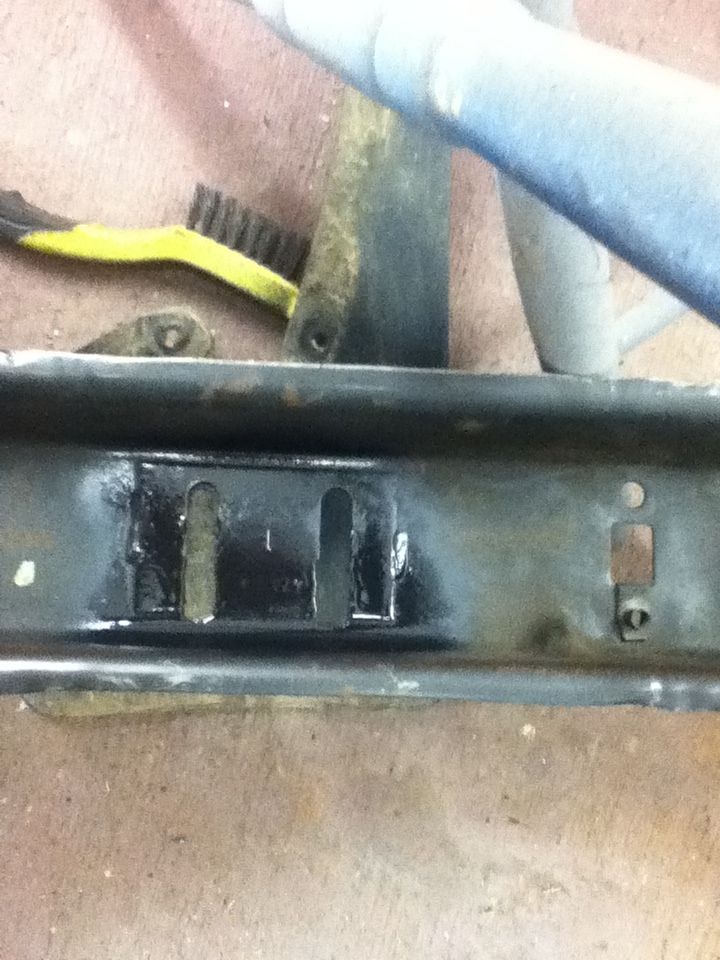
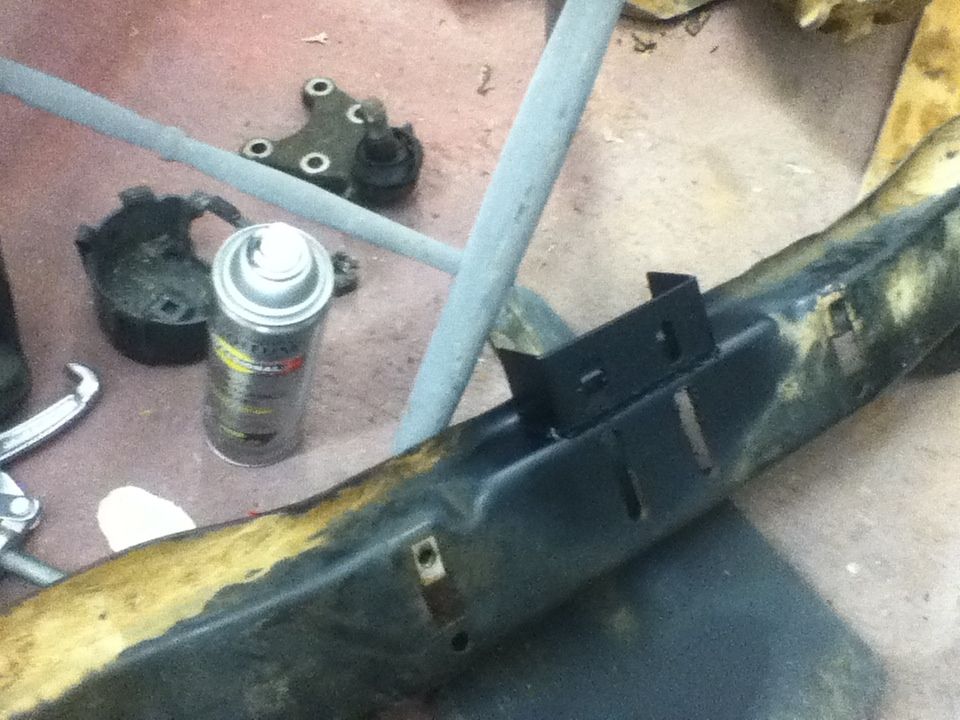
Went to mount it and realized the slots wouldn't cut it, so I welded on a bracket to the crossmember. *I also had to clearance the front of the crossmember to clear the tranny.
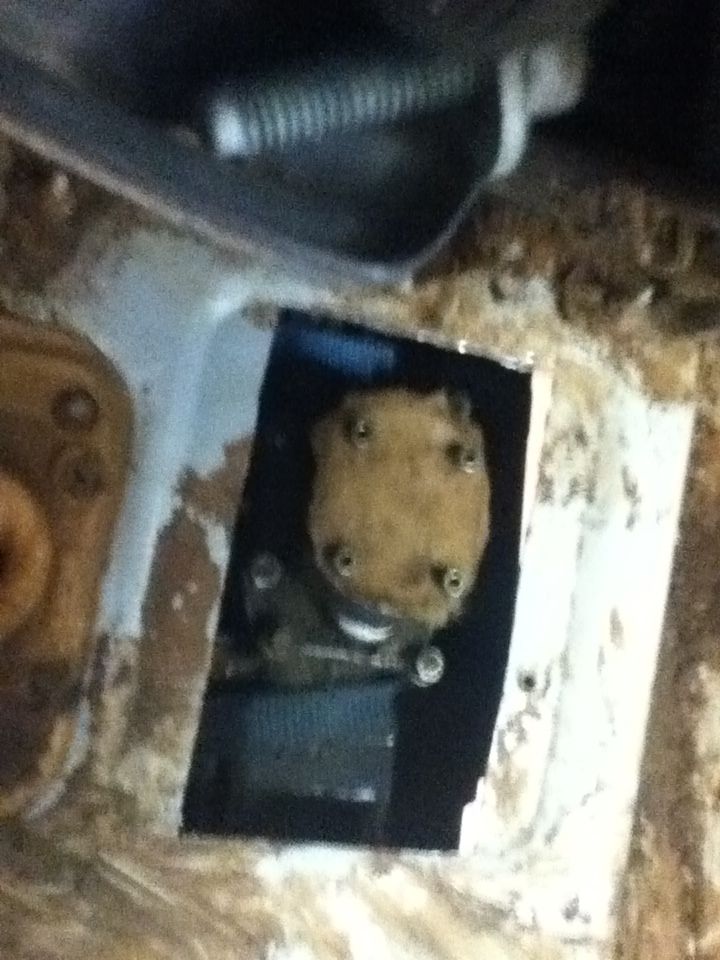
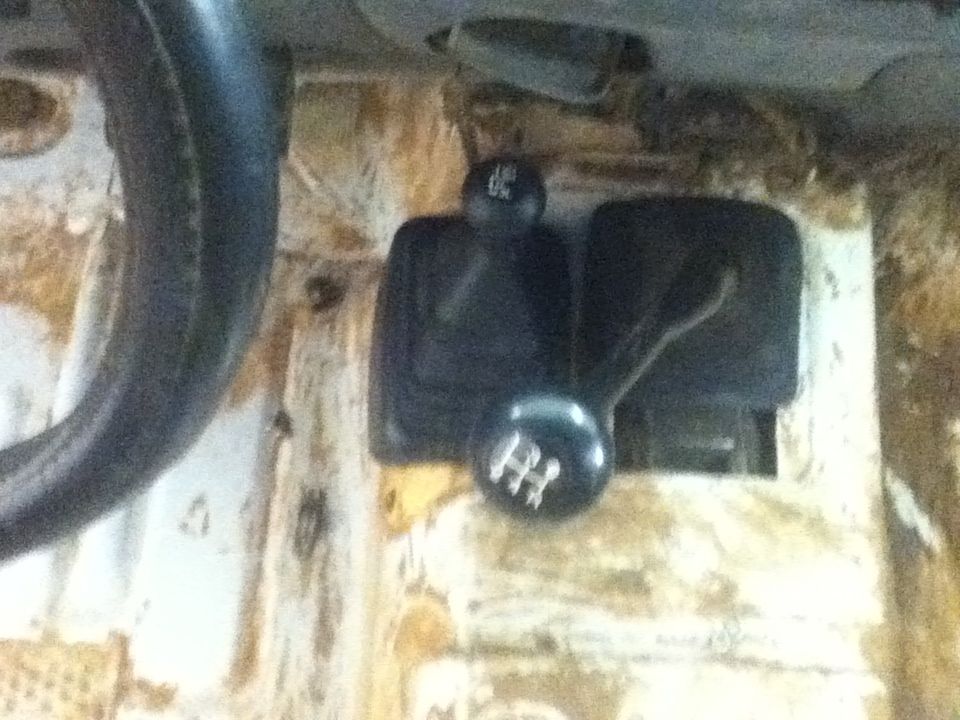
Cut in the floor. *Everyone says you have to have a 3" body lift or hack the floor. *The proof is in the picture. *I have no body lift and the hole is fully covered by the inner boot.
All mounted up.
Then I got my clutch mounted up.
Got the tranny slid in place and bolted in, sorry for pic quality (hard to get a good one under the truck).
At this point I realized the tranny mount position is about 1.5" further back than the auto. *So I took the plasma cutter and extended the slot a bit. *
Went to mount it and realized the slots wouldn't cut it, so I welded on a bracket to the crossmember. *I also had to clearance the front of the crossmember to clear the tranny.
Cut in the floor. *Everyone says you have to have a 3" body lift or hack the floor. *The proof is in the picture. *I have no body lift and the hole is fully covered by the inner boot.
All mounted up.
02-12-2014, 05:37 PM
#17
I got my Tcase linkage bolted up to the tranny (mount bolt distance is different than the one on the 4r70w, had to drill a new hole in the linkage bracket). *Just waiting for a hand to help lift the case back into its home. *I also mounted up the shifter. *It came from an F150 and I suppose the Mazda tranny uses a different style shifter. *I cut the end of it off at the bend, then ground a flat on each side of the mount area and drilled two holes.

I also removed a bunch of the auto crap. *For the gear indicator I just took out the needle, then painted over the front and put black tape behind it to keep it from showing through when the dash lights are on.*
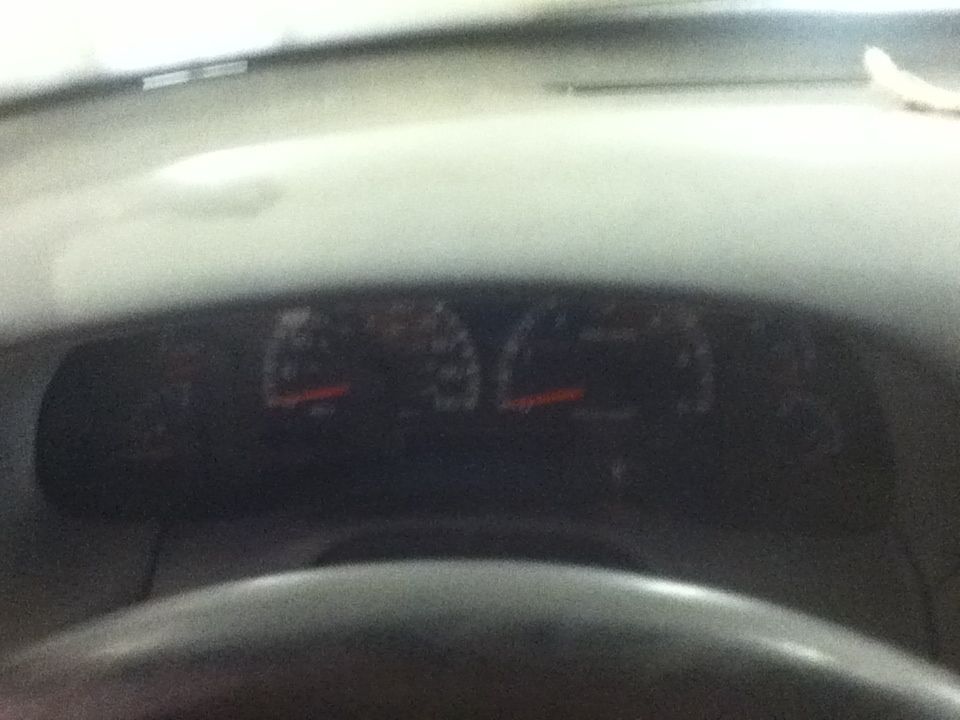
I also removed a bunch of the auto crap. *For the gear indicator I just took out the needle, then painted over the front and put black tape behind it to keep it from showing through when the dash lights are on.*
02-20-2014, 06:10 PM
#18
I temporarily jumped the tranny wires and started her up today. I'll just have to do a permanent splice and wire up the reverse lights. Also forgot to update I did the exhaust while bolting stuff up. I removed all the cats, welded an x-pipe in place of the y-pipe and the welded up a set of Spintech Prostreets. I havent done anything after that, but I plan to have a dual exit in front of the rear wheel.
03-02-2014, 07:43 PM
#19
Updated the front end a bit from the broken honeycomb grille I had.
Before
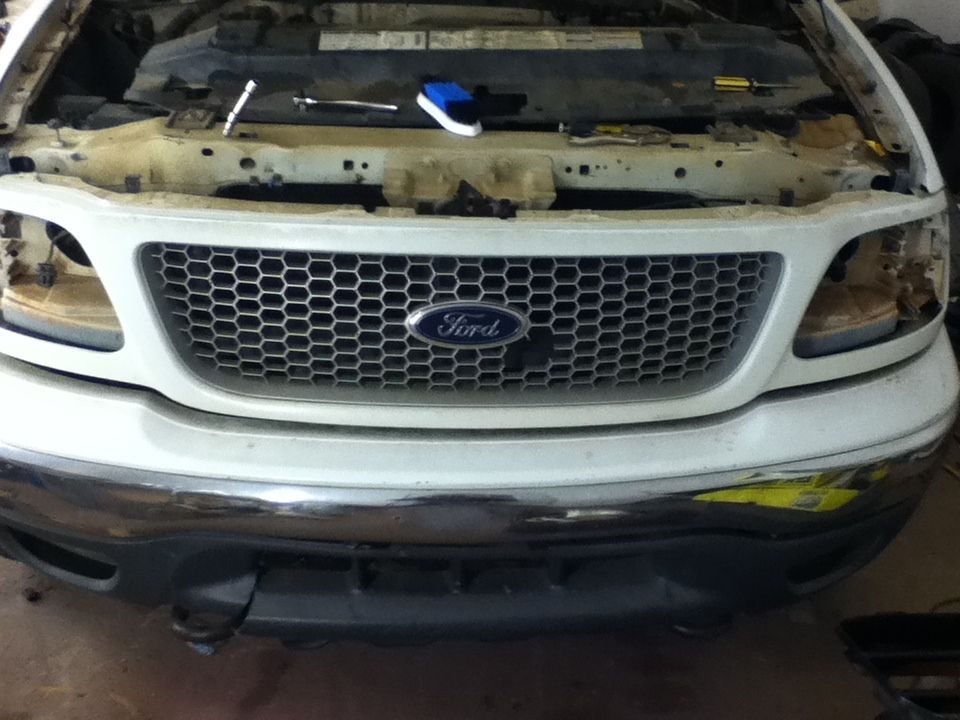
After (was red, I painted it with duplicolor black and a satin clear)
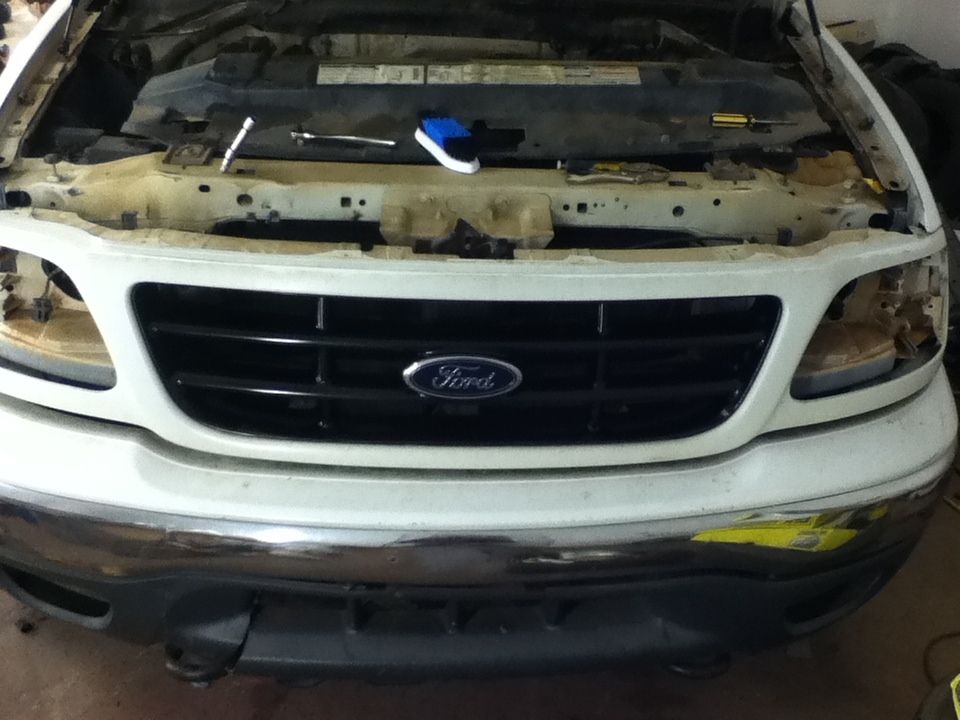
I want get some Lightning headlights eventually.
Before
After (was red, I painted it with duplicolor black and a satin clear)
I want get some Lightning headlights eventually.
03-02-2014, 07:49 PM
#20
I also hosed out the cab and carpet and dried them. I got the carpet back in and installed the shift boots and trim. I'm going to scrub the carpet tonight with a good cleaner and then reinstall the seats.