When you click on links to various merchants on this site and make a purchase, this can result in this site earning a commission. Affiliate programs and affiliations include, but are not limited to, the eBay Partner Network.
OK, paint some of the brackets and place the front electrical harness back into place on the radiator support. In goes the AC condenser, and I install some other small items where I can.
I ordered a new aluminum radiator with a shroud and electric fans.
They sold this as a unit, but it comes in 2 boxes, and of course... none of the brackets on the fan shroud line up with the holes on the radiator. The holes are off just enough to make it difficult to decide how to remedy this…can’t anyone do their job right anymore?? As a bonus, they supply me with 1” long bolts to fasten the 2 pieces of 1/8” aluminum together, and they are too large to fit through the frickin' holes…brilliant engineering…
I do my best to work through this without losing my cool, calm, collective nature (after I'm done cussing out the idiots who welded these brackets on). It’s not pretty, but I get them together and drop the radiator in. It’s not a $1,500 Griffin radiator, but it looks good. I just hope it keeps this stroker cool.
So then I clean and flush the trans cooler and put that back in place and reinstall the fluid lines. It seems like I don’t make much progress now because it’s a bunch of small stuff that needs to be cleaned and painted and detailed. I always seem to need some other small parts or fittings or connectors that I don’t have. Another trip to the auto parts store or order something online and wait. Like I said I only get a few hours a month to work on this project, so it feels like I’m spinning my wheels.
It’s getting hot and humid again now in Florida, so I’m starting to hate life in the garage. My plan is to try and have everything but the paint done by Christmas. Of course, my last project car was supposed to be a winter project…it took 5 years…
Hi guys, been a little while since I've posted anything here. I've been pretty busy.
So, I keep plugging away at the wiring on this truck. I cut a 7/8” hole in the firewall for the trans controller harness. Unfortunately, the largest connection plug will not fit through that hole, so I am forced to cut that part of the harness off and I will need to splice that back together in the cab. The remaining plugs and cable get fed through a new rubber grommet, and I start to splice the remaining wires into my factory harness according to the instructions that came with the trans controller. The US Shift controller is pretty slick. I went for the Quick 4 version. You can check it out here: https://www.usshift.com/usq4.shtml
This unit allows full control over how my transmission behaves with or without using a PC to adjust the calibration. Virtually every aspect of the transmission's operation is adjustable using this controller. Shift timing, feel, torque converter lock-up, and line pressure are all capable of being independently controlled. You can program up to 4 different calibrations like “normal”, “firm”, “towing” and “competition”. It will even support manual shifting using paddles, buttons or even using the factory cruise control buttons on the steering wheel. Someone from the company called me after I ordered my unit to ask me some questions about how I was planning to use it, what my project was, and some other details about my truck. They then pre-loaded a calibration based upon my answers so it would be ready to run when I installed it. This works for diesels also. I get the wiring for the controller hooked up temporary so I can get the motor running.
I’m getting a little closer to being able to fire this new engine up and I can hardly wait to hear it run! What a shame I will have to run it with open headers until I can get it to my guy who will do the exhaust system.
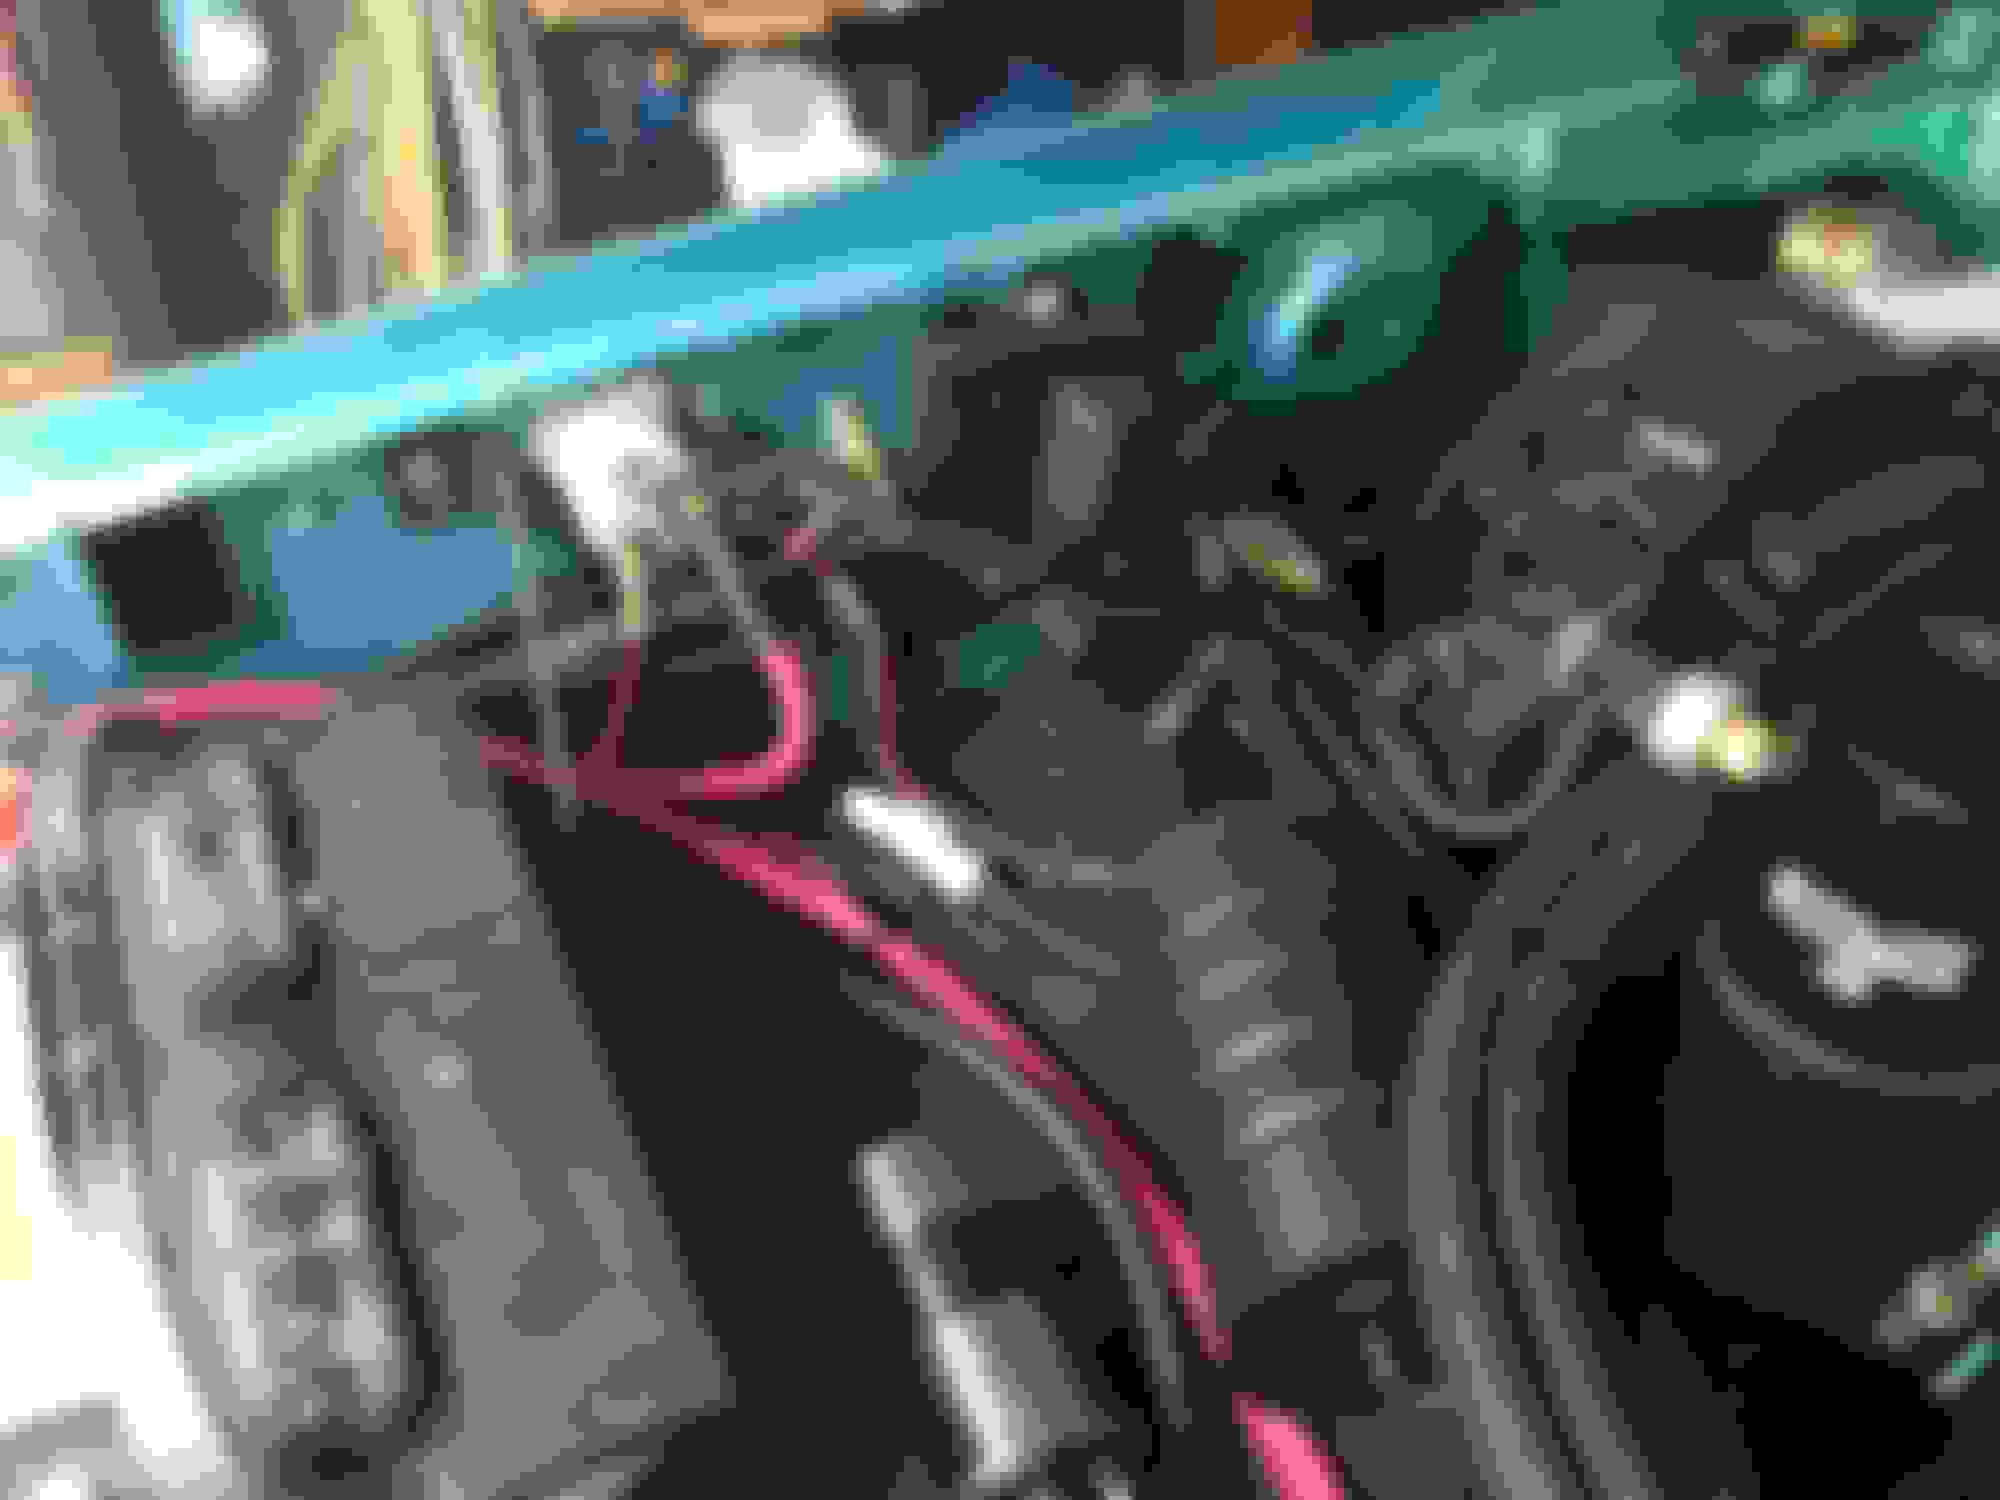
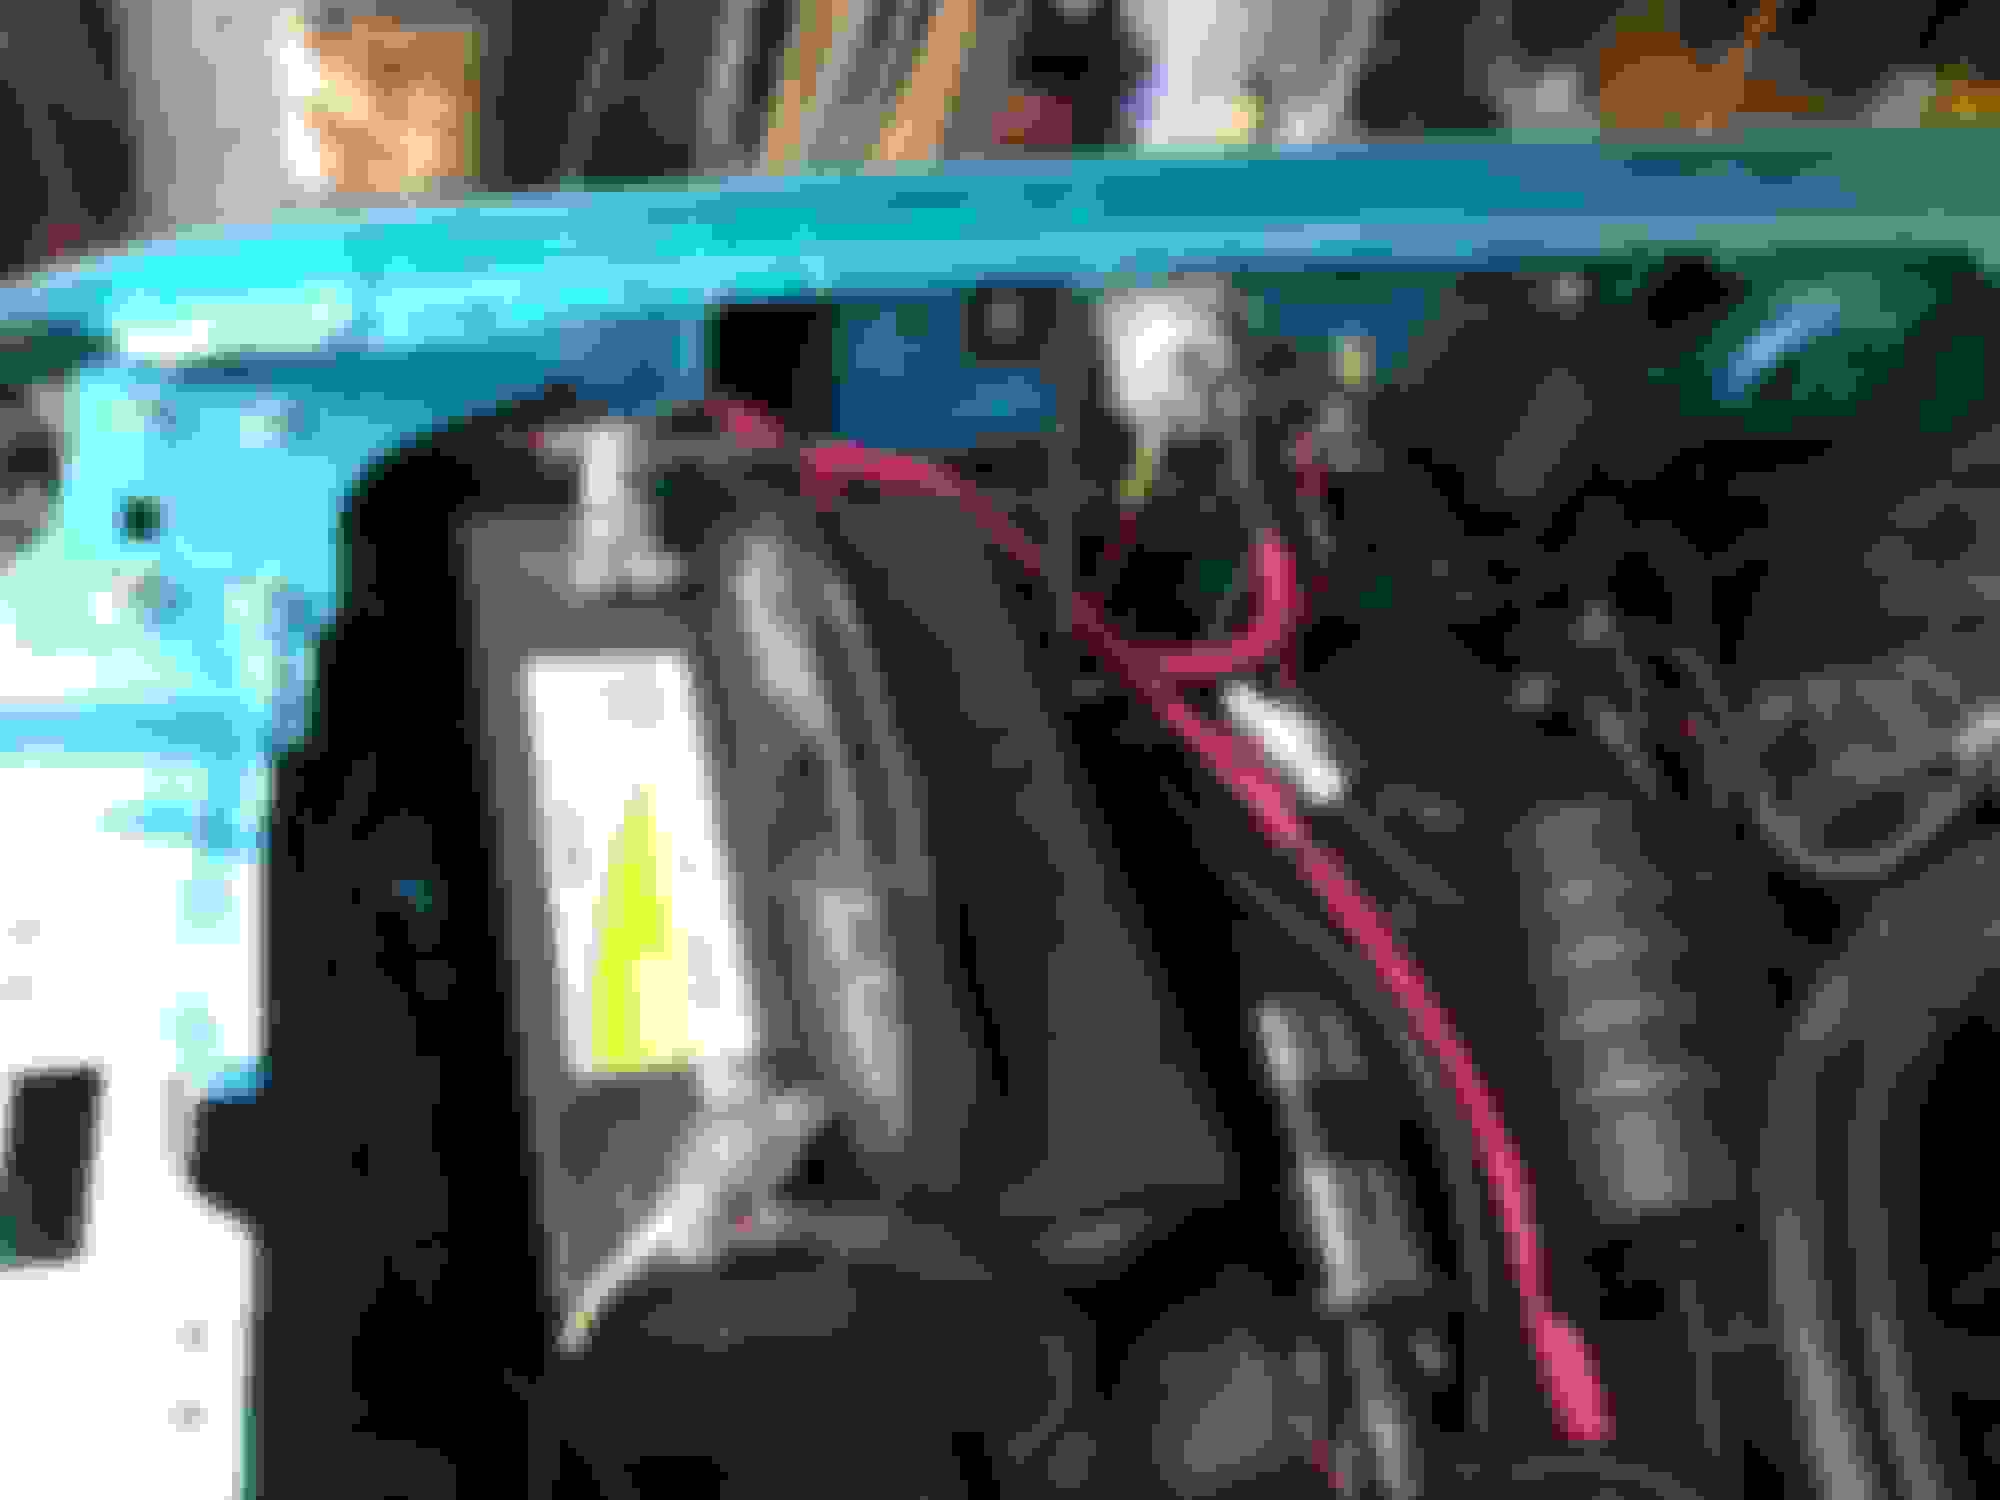
Back to the wiring harness. I won’t be using the airbag system, so I can use the wiring from the crash sensors on the front harness for other purposes. I use the right one to run switched ignition 12V to the new ECU. I fabricated all new battery cables from 2 gauge with soldered copper lugs. Move on to putting the plug wires on and I’m one step closer.
I read some posts about guys switching out the power steering pump to the Saginaw pump setup from the E150 vans. I just happen to have all the brackets and accessories that I took off a van with a 5.8 liter. I compared the two setups, and the bracket is the same. I cleaned up the van setup and bolted it on. I was even able to use my existing pressure line with just a little bit of tweaking. With this pump and losing the air pump, it now uses a 91.5” belt.
I had an issue with the water pump. It turns out the timing chain cover I bought needs the old-style backing plate. I had bought a pump for a ’94, so when I went to put my coolant in there was a massive coolant leak. After pulling the new pump off I can see that the backing plate doesn’t come close to sealing against the timing cover. I do some research and order a pump for a 1990 mustang. That pump has the backing plate with round holes that will work with any combination. Bolt everything back together and fill the cooling system…no leaks this time.
Tranny fluid goes in, engine oil is in, I have power to the ECU and the tranny controller, now I need to get the fuel pumps working. The Edelbrock ECU controls the fuel pump, so I run the wires over to the power distribution block to control the fuel pump relay. I’m using my meter to test the circuits before I finish splicing into the relay wiring, but I keep getting no voltage at the relay. I check the connections, check the ground, turn the key and still nothing when I check for voltage. Turns out the ECU only sends power to the fuel pump for 10 seconds until the engine starts. So I finish wiring in the fuel pump and it work no problem.
Ok, power, fuel, I gotta see if this thing will start. I go through the setup for the trans controller to set the TPS, connect the Bluetooth tablet that came with the Edelbrock EFI system, and input the info for my setup. Moment of truth…will it start…
wait… not so fast… I know you guys are on the edge of your seats.
This engine has been sitting for a while. I’m sure a lot of the assembly lube has dripped away from the top end. I already hooked up a mechanical oil pressure gauge under the hood to monitor the oil pressure during startup. With the key off I jump the solenoid and crank the engine over for about 10 – 15 seconds until I see oil in the tube for the gauge. Another 10 second crank and I think there’s sufficient oil to the top end.
OK, here we go… turn the key and it cranks over and wants to go, but not quite. Advance the timing a bit, crank it again and it comes to life… running rough, but it’s running. Adjust the idle, bump the timing, a little better.
The new EFI needs at least 48 PSI of fuel pressure, so I need to adjust the regulator. I set it to about 50 PSI. I know it’s a little higher than stock, so I hope the pumps can handle the added stress – time will tell.
Oil pressure is good, 60 PSI at idle, but the valve train is a bit loud and sounds like I’m running a solid lifter cam. I knew that my factory pushrods were a tiny bit short (about .05) with the cam and head combo I’m running, but I wanted to wait until I got the lifters pumped up before I took my pushrod measurements. Better a little too short than too long.
Ok, it runs. I can’t really finish the ECU setup until I measure and get my new pushrods, so that’s the next step. I’ve got a Comp Cams pushrod measuring tool, so I’ll go through and figure out what I need and hopefully I can get something that is an in-stock length and not need custom ones. Maybe I’ll luck out and be able to use Chevy pushrods, everything is cheap for bowties.
COMP Cams 7701-1 Pushrod Length Checker
So, I go through the steps to get the pushrod measurement and I get 6.3”, about .05” over stock. I ordered some Trick Flow chromoly units and go back to the electrical that still needs to be done while I wait for those to get delivered.
I’ve still got a lot of cleanup to do on the harness. The electrical rat’s nest that was my harness is getting shorter and cleaner every time I work on it. I’ve got a Haynes manual and a PDF service manual from Ford that I go back and forth to, tracing and checking wires and circuits. It’s been such a pain in the anus. And I gotta say that the manuals are not always in agreement or accurate about the color of the wires. Little by little I manage to weed out the Ford system of redundant sensors.
My wife said I was insane the first time she saw me take the wire cutters to the harness! LOL
Hours and Hours, but I got through it. It cleaned up pretty nice and I think everything I wanted to keep still works (fingers crossed).
So I got my new pushrods delivered.
I went through and installed all the new rods. The length was just right, got the proper torque at about ˝ a turn after they were snug. That should give me the proper preload on the lifters.
Start it up and everything sounds fine… at least what I can possibly hear over the open headers. Damn this thing is loud in the garage, but I still don’t have a shifter so I can’t pull it out. That's been ordered.
Next I have to set the base timing and complete the setup for the Edelbrock EFI.
 04-17-2019, 09:22 AM