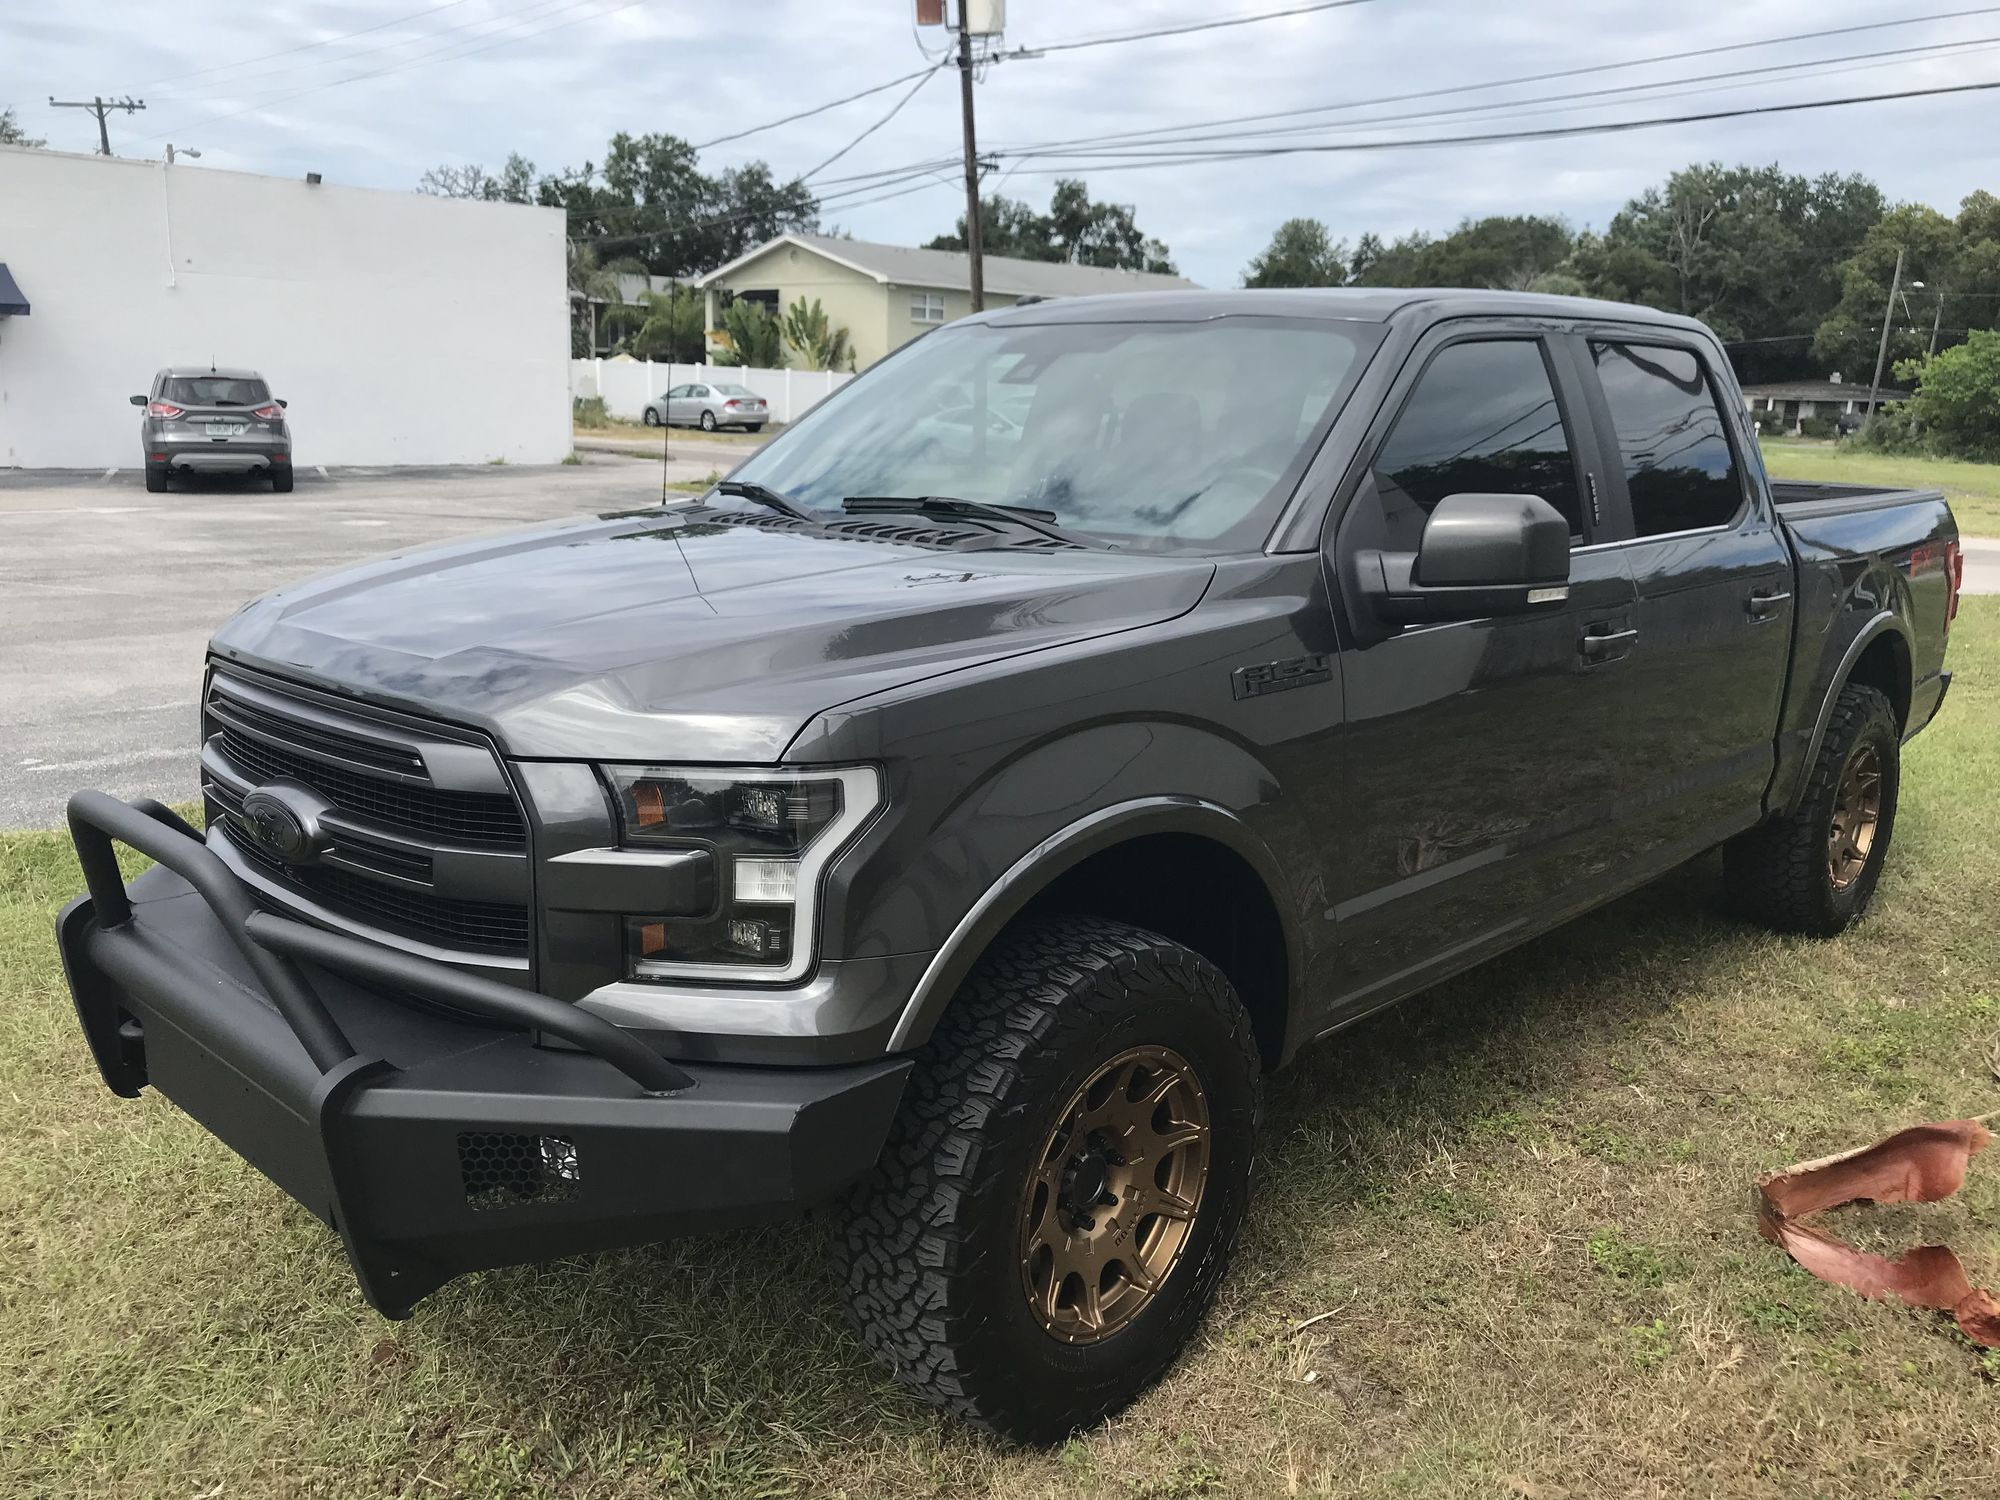
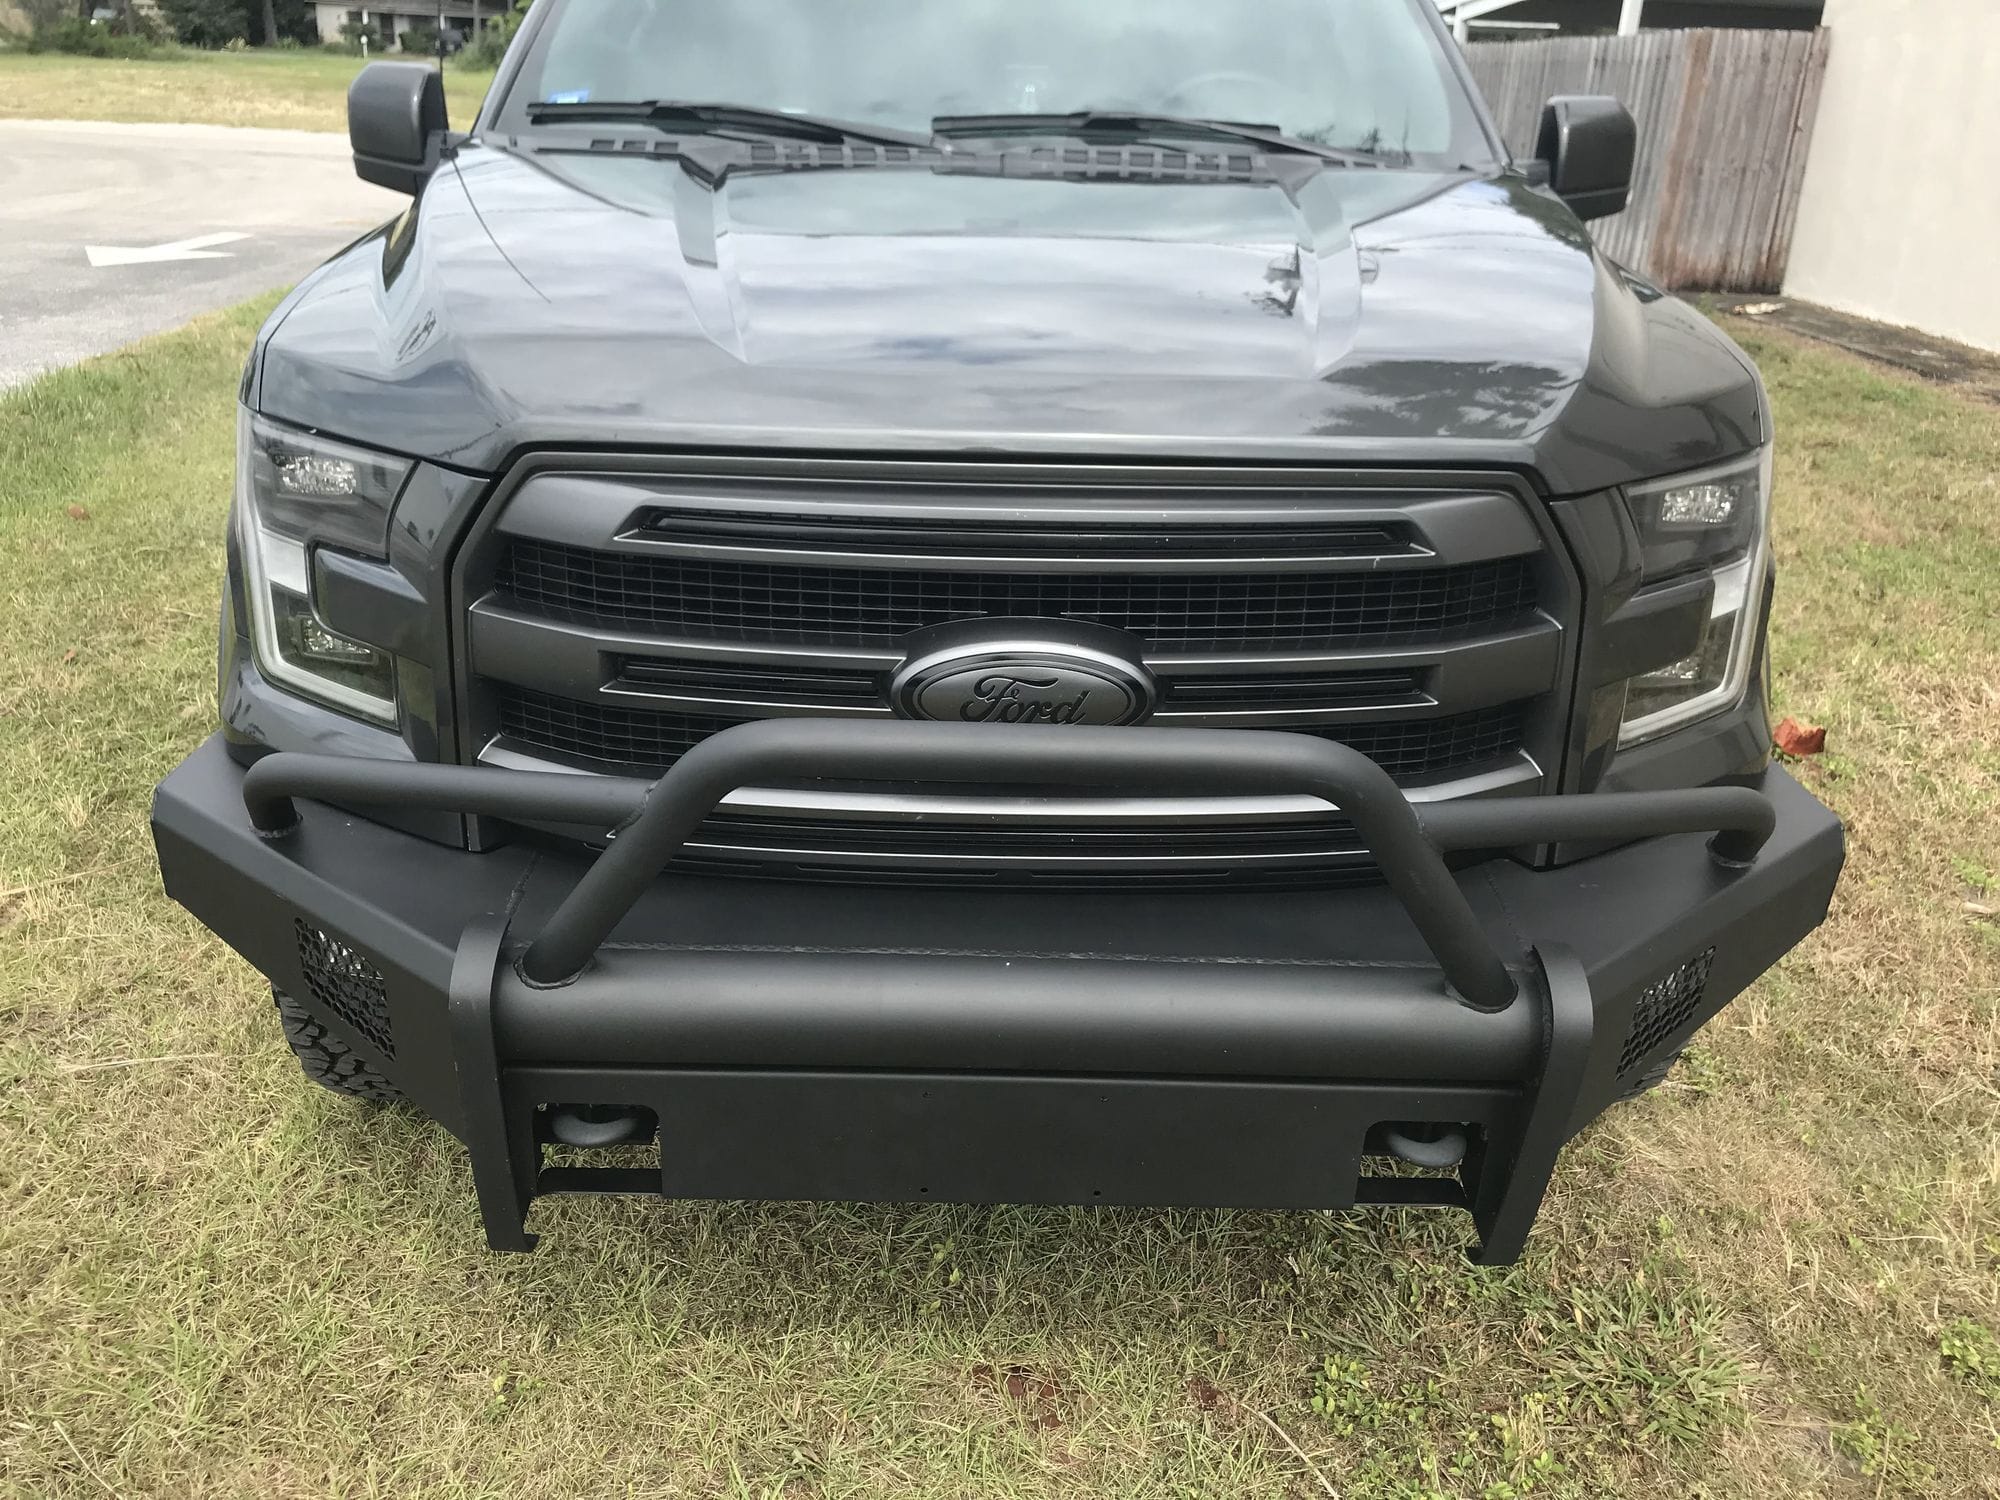
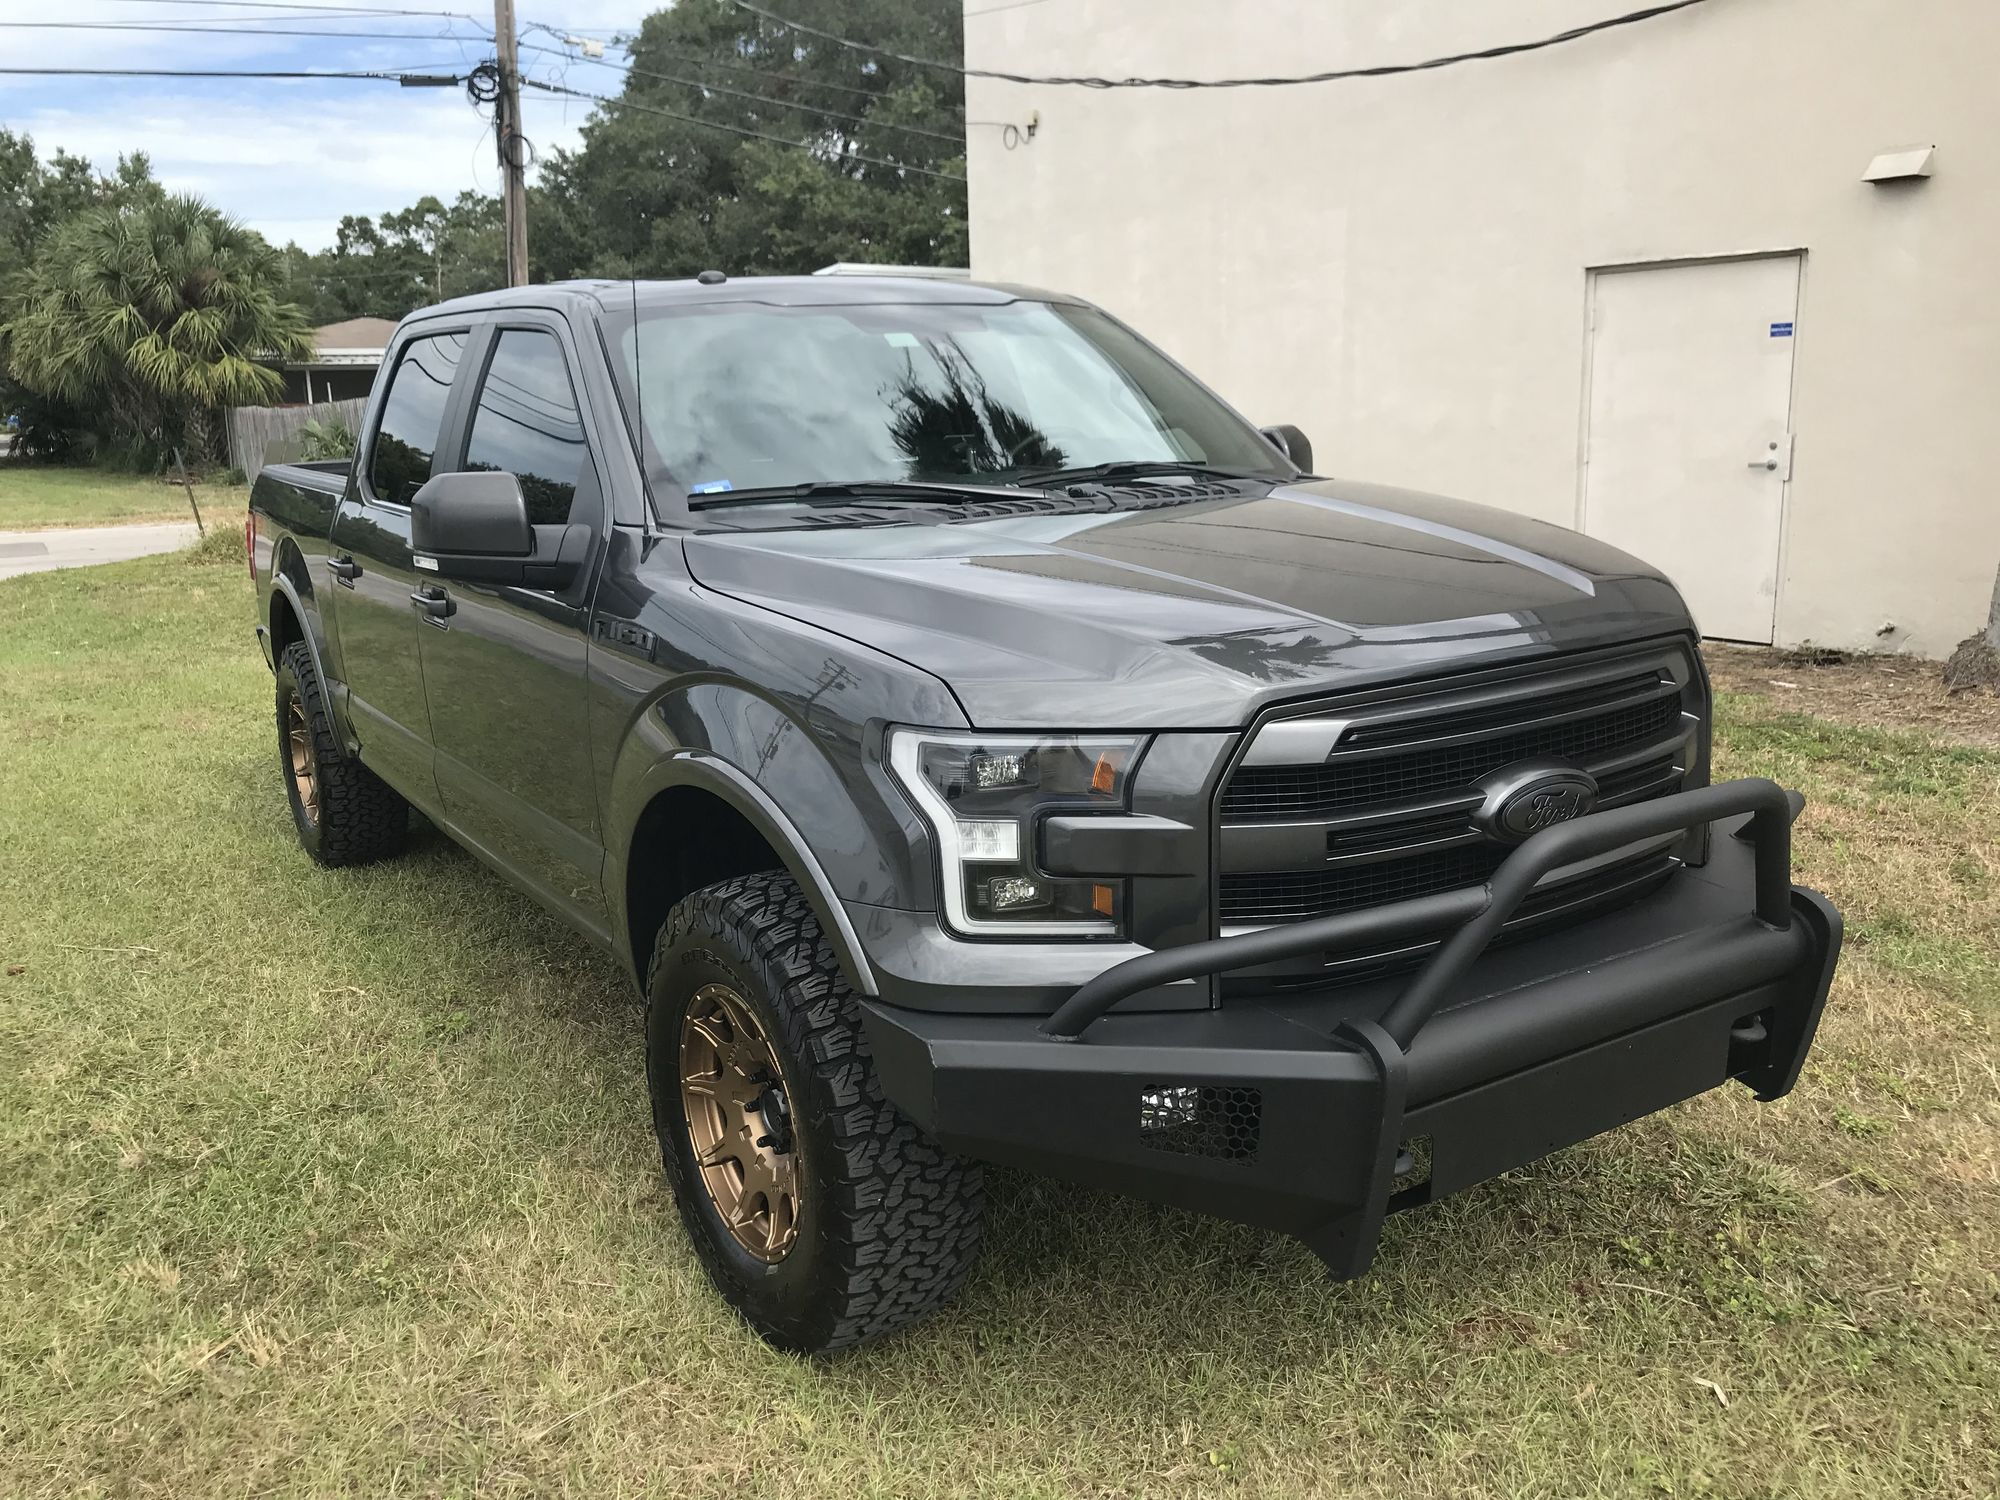
2016 Platinum FX4 Magnetic Gray
#212
Flaccid Member
Thread Starter
#214
Flaccid Member
Thread Starter
11/7/2018
28,582 miles
I calibrated my AFE Bias today, to 890, and my MPG is now matching Fuelly’s calculations. I also installed my 2018 BoxLink cleats in place of the 2016 cleats. They’re really not any better than the 2016 cleats, but I bought them because the 2018 cleats have vertical holes, which I’m hoping will better support a bike rack/load bar project in the near future.
The 2018 cleats didn’t just slide into the mounting plates like the 2016 cleats; it’s almost as if the 2018 mounting plate would have to be thinner than the 2016 mounting plate. I really had to jam the cleats up into the mounting holes to get them into place. The good news is, even though the keys still can’t be removed if the cleats are unlocked, at least the locking mechanism supports installing the cleat whether it’s locked or unlocked. After it’s in place, you can insert the key to lock it.
#215
Senior Member
Hey Delta - very nice truck and a lot of love put it.
I have a question about the fuse box. Did you connect it to the rocker panel? I'm looking for a solution that would allow to move all aux lighting to the separate fuse box, and connect to the cabin switch panel, but I don't see how you turn the lights (hood strips for example) on and off.
Thanks for advice in advance.
#216
Flaccid Member
Thread Starter
I have a question about the fuse box. Did you connect it to the rocker panel? I'm looking for a solution that would allow to move all aux lighting to the separate fuse box, and connect to the cabin switch panel, but I don't see how you turn the lights (hood strips for example) on and off.
#217
Senior Member
Thanks for the feedback. I'm leaning towards the fuse relay box since I want both constant and on demand circuits. our build thread was a good starting point. As soon as I realized that I need a separate box, I remembered that I've seen your fuse box and was able to refresh my memory. Thank you for the inspirational idea!
#218
Flaccid Member
Thread Starter
11/26/2018
29,027 miles
I had the two outstanding recalls performed on my truck today: frozen door locks and carpet insulation. I also have a steering wheel airbag cover that's developing the same crack that I had back in December of last year. So it's happening at a frequency of about once per year. I guess if I'm going to use the horn, I need to train myself to tap the bottom of the cover rather than the emblem. I don't consider that user error... there's some obvious bad design there if I can crack the cover in one year of operation. The dealer is going to submit it for another warranty repair and order the part.
#219
Flaccid Member
Thread Starter
12/10/2018
29,310 miles
I brought my truck in to have the front suspension corrected. The last shop ignored my instructions, left the spacers in, and moved the snap ring to the middle (1.5”) position. The Bilstein 5100s are now set to 2.1” in front with no spacers. The ride has vastly improved without the spacers, despite the additional preload on the HDPP springs.
I did not measure the rear height because nothing significant has changed since the last measurement. I’m happy with this suspension setup and I don’t expect to make any changes for the remaining life of the truck. I had the truck aligned after having the spacers removed, and as expected, the total toe was out by >1°.
Mods.........................Front.....Rear......Rake
Stock........................37.125....39.75.....2.625
+ 2" spacers, Decked.........38.75.... 39.0625...0.3125
+ wheels & tires.............40.1875...40.25.....0.0625
+ bumper & cargo.............39.75.....39.5625..-0.1875
+ AAL, - stock block.........39.75.....39.875....0.125
+1" block....................39.625....41.031....1.406
+Bilsteins & HDPP springs....40.54.....40.75.....0.22
-spacers, Bilsteins to 2.1”..39.56.....40.75.....1.19
So, NET changes to the truck’s suspension from stock are:
- Bilstein 5100 front struts set to 2.1” and loaded with HDPP springs
- Add Autospring AAL rear leaf springs
- Bilstein 5100 rear shocks
- Remove stock 1.25” rear block
- Add 1” rear block
- Wheels & tires
Last edited by DeltaNu1142; 05-07-2019 at 11:03 AM.
#220
Flaccid Member
Thread Starter
12/15/2018
29,505 miles
I installed Morimoto XB LED headlights tonight. The install was pretty straightforward. I had a little trouble with aligning the high beams. The low beams aligned easily. I have the chokes installed, but I have not checked to see if I have any FM signal interference. I have them set up for sequential signals. All features worked within a minute of turning them on for the first time. I'm about 85% happy with them, but my driver-side high beam still isn't aligned. It's low and right of where it should be, and I can't move the beam. I'll be in contact with TRS about it.


