When you click on links to various merchants on this site and make a purchase, this can result in this site earning a commission. Affiliate programs and affiliations include, but are not limited to, the eBay Partner Network.
Today I decided to upgrade my stock halogen tail lights to LED. I did this for four reason:
1. The stock bulbs were an orangish-red color which drove me crazy.
2. I wanted my tail lights to flash crisper, be brighter, and have a large difference in brightness between running lights and brake lights.
3. I didn't like how the stock bulbs slowly lit up compared to the instant on of LEDs.
4. I didn't want to put out >$400 for a decent set of new LED tail lights so I paid $45 bucks instead.
The main reason I'm doing this write up is because I haven't seen any other write ups for F150s including wiring a resistor and where to mount it. If you want more pics or have questions about anything feel free to ask. Note that this is more of a write up for wiring, I assume everyone here knows how to remove their tail lights and light bulbs lol.
Materials needed:
8mm socket and wrench
Drill with bits
Sheet metal screws
Wire strippers
Soldering iron and solder
Electrical tape (silicon sealing tape optional)
Multimeter and/or test light
(4) 4057 LED bulbs in Red (using white LED will result in a pink color)
(2) 50W 3ohm resistors (use one per side, make sure to get 3ohms and NOT 6 ohms or ,from my research online, you'll need to use (2) 6 ohm resistors per side)
Installation
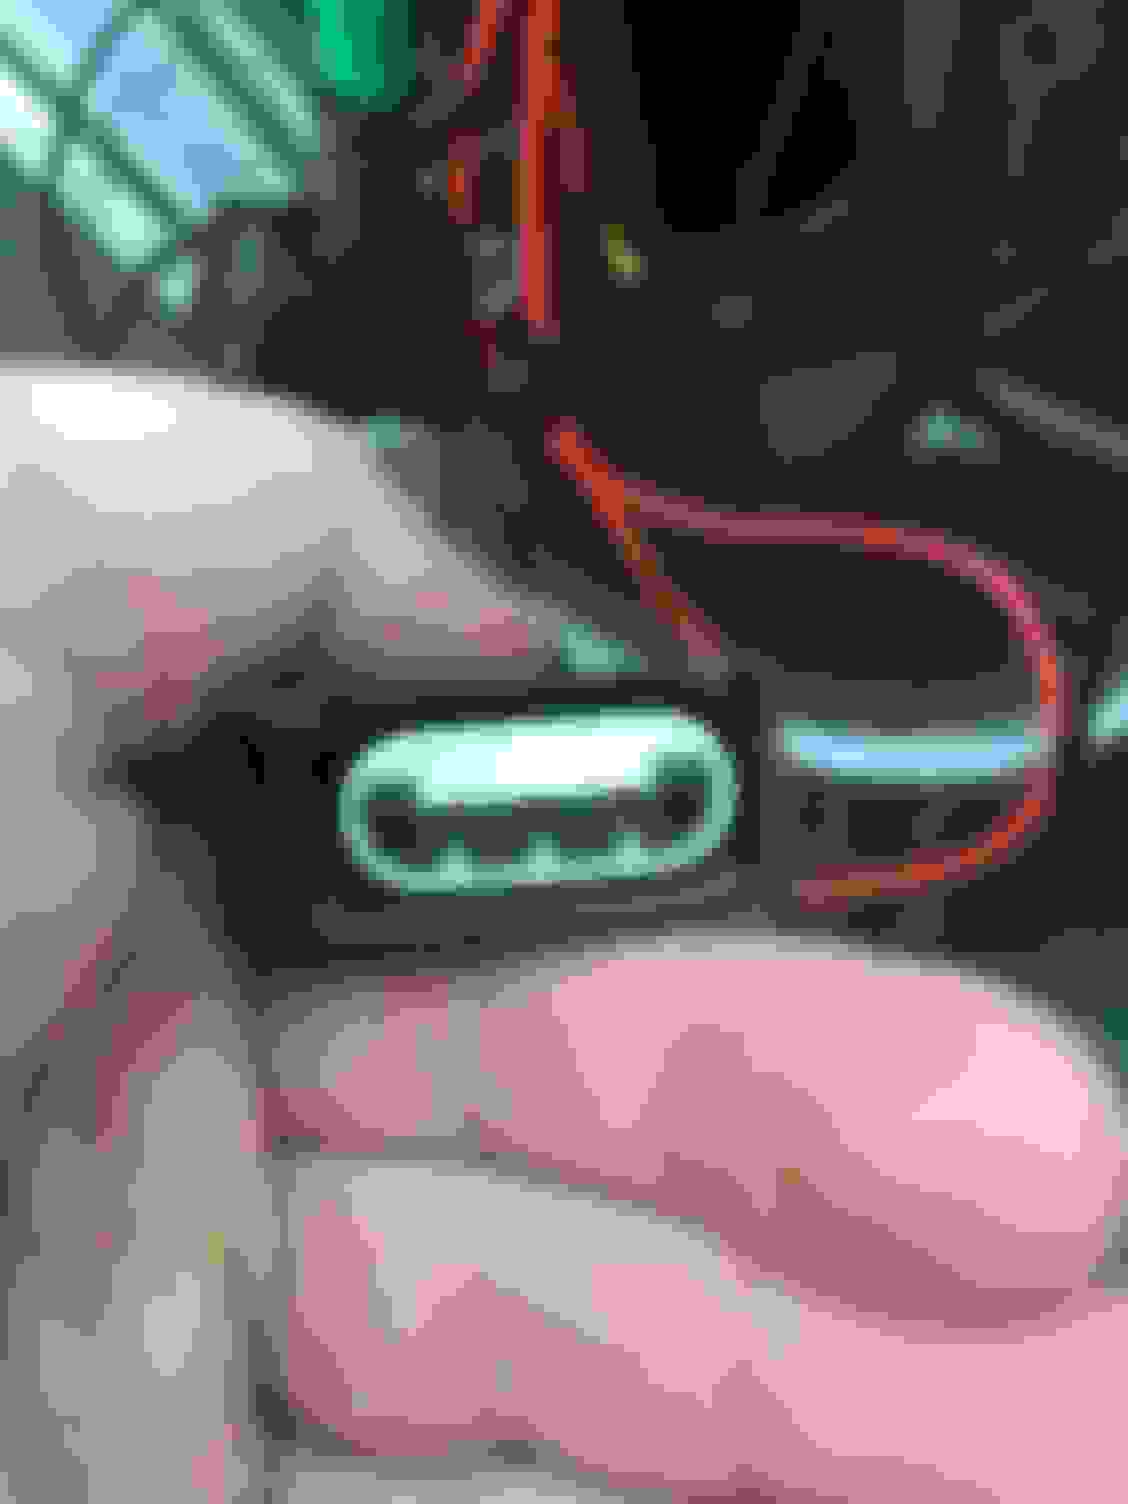
After removing your tail lights you need to test to see which wire is the brake light wire you can tell this by using a multimeter or a test light and sticking the probe into each of the three slots on the female plug, you must remove the bulb adapter from the plug before doing this. Turn your hazard lights on and test each slot until your multimeter or test light flashes or gets a rapidly changing reading. In my case the gray with brown wire was the brake wire which is on a 2013. YMMV so test and don't assume your color scheme is the same.
Tail/Brake light plug
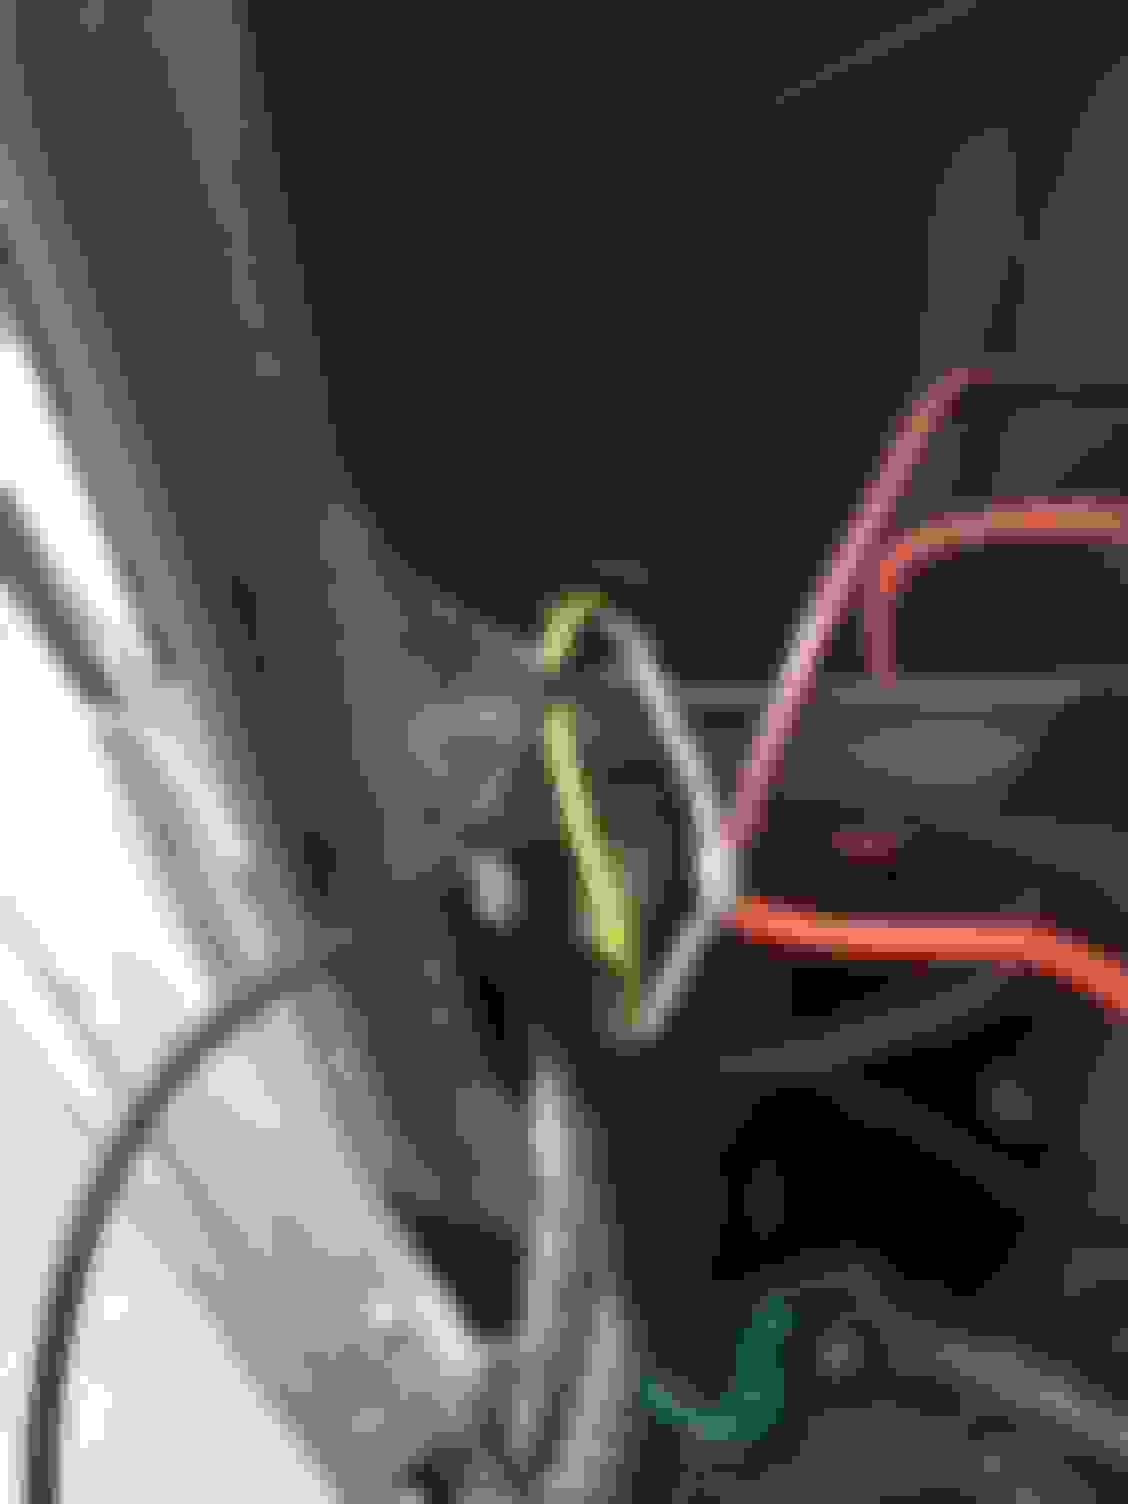
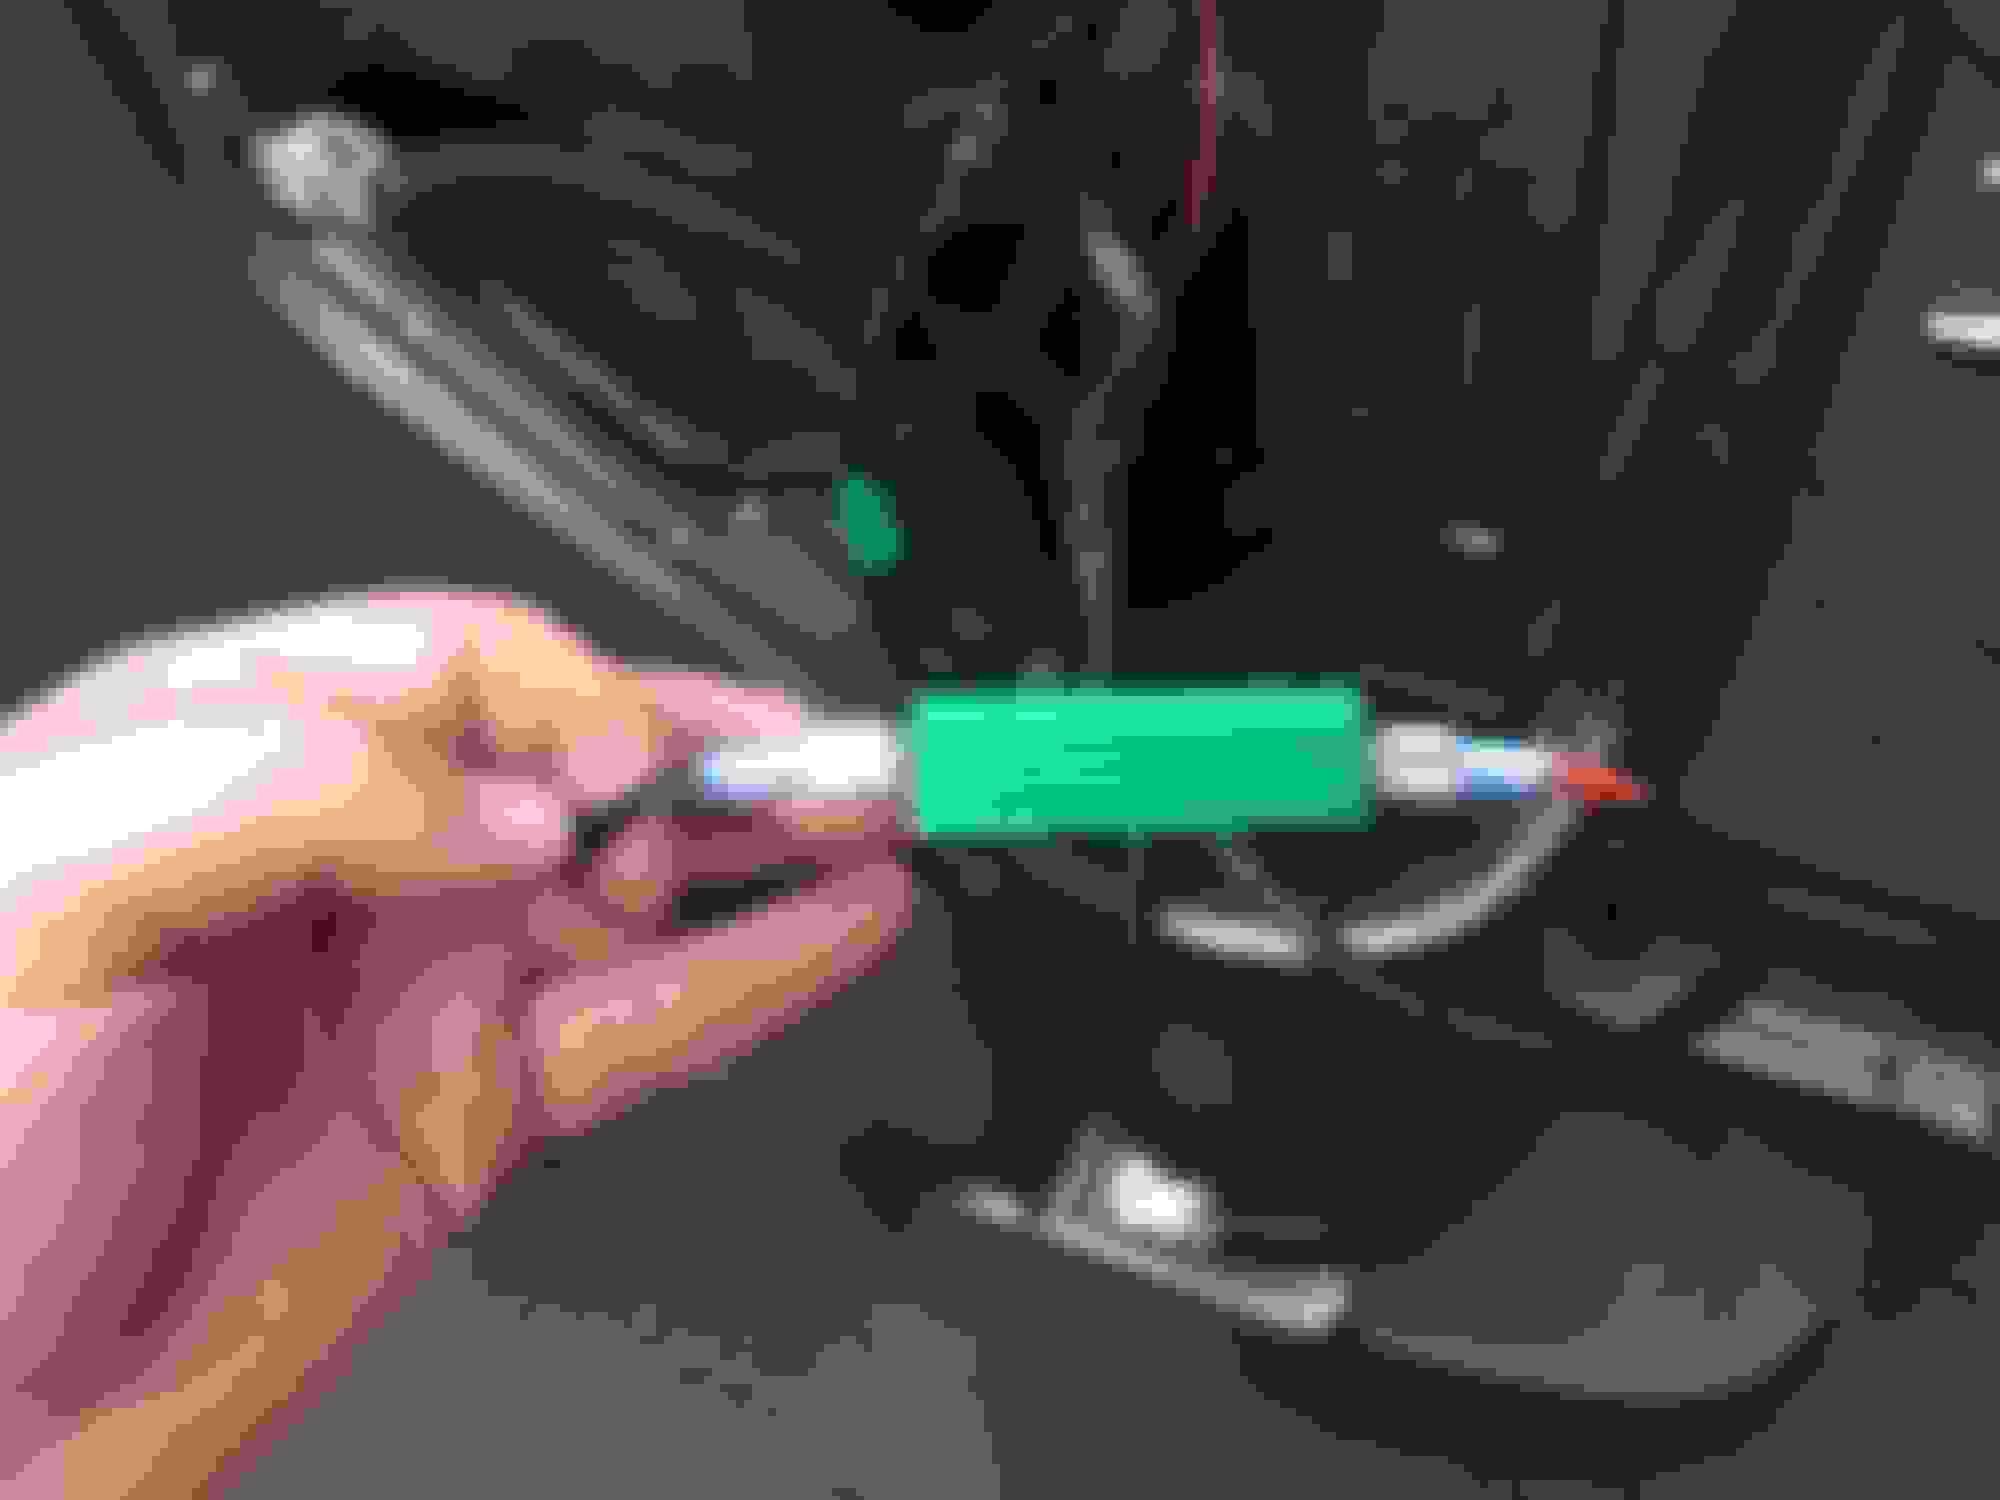
Next cut a section of the plastic split loom out to find the wires inside. Then strip, add another wire, solder the connection, and wrap with an electrical tape or a silicon self sealing tape to ensure a permanent fit. I would recommend against using wire taps for your brake lights because they are clunky and are relatively unreliable compared to the aforementioned.
Next join the positive wires from both the upper and lower tail lights into a single wire to connect to the load resistor. Repeat for the negative wires. Then test to make sure that your hyperflash is eliminated by turning on the turn signal. If the hyper flash is eliminated I recommend wrapping the wires in either split loom or electrical tape to protect the wires from the elements and to make the install look neater.
Next grab a drill and a small metal drill bit to drill a pilot hole for the resistor. You must install this on metal because the resistor gets pretty hot and can melt plastic, including wiring! Line the resistor up in a position that works for you which is away from any wiring. Drill your pilot hole and then a larger hole which matches your metal screw size. After you screw your resistor to your truck, make sure your wires are away from the resistor. I recommend zip-tying your wires to the metal cross-section seen in the pic. I only used one screw for the resistor and it seems to hold it in place very well.
Put everything back together then repeat on the other side and you are done! It shouldn't take you longer than 2-3 hours for both sides just take your time and think everything out.
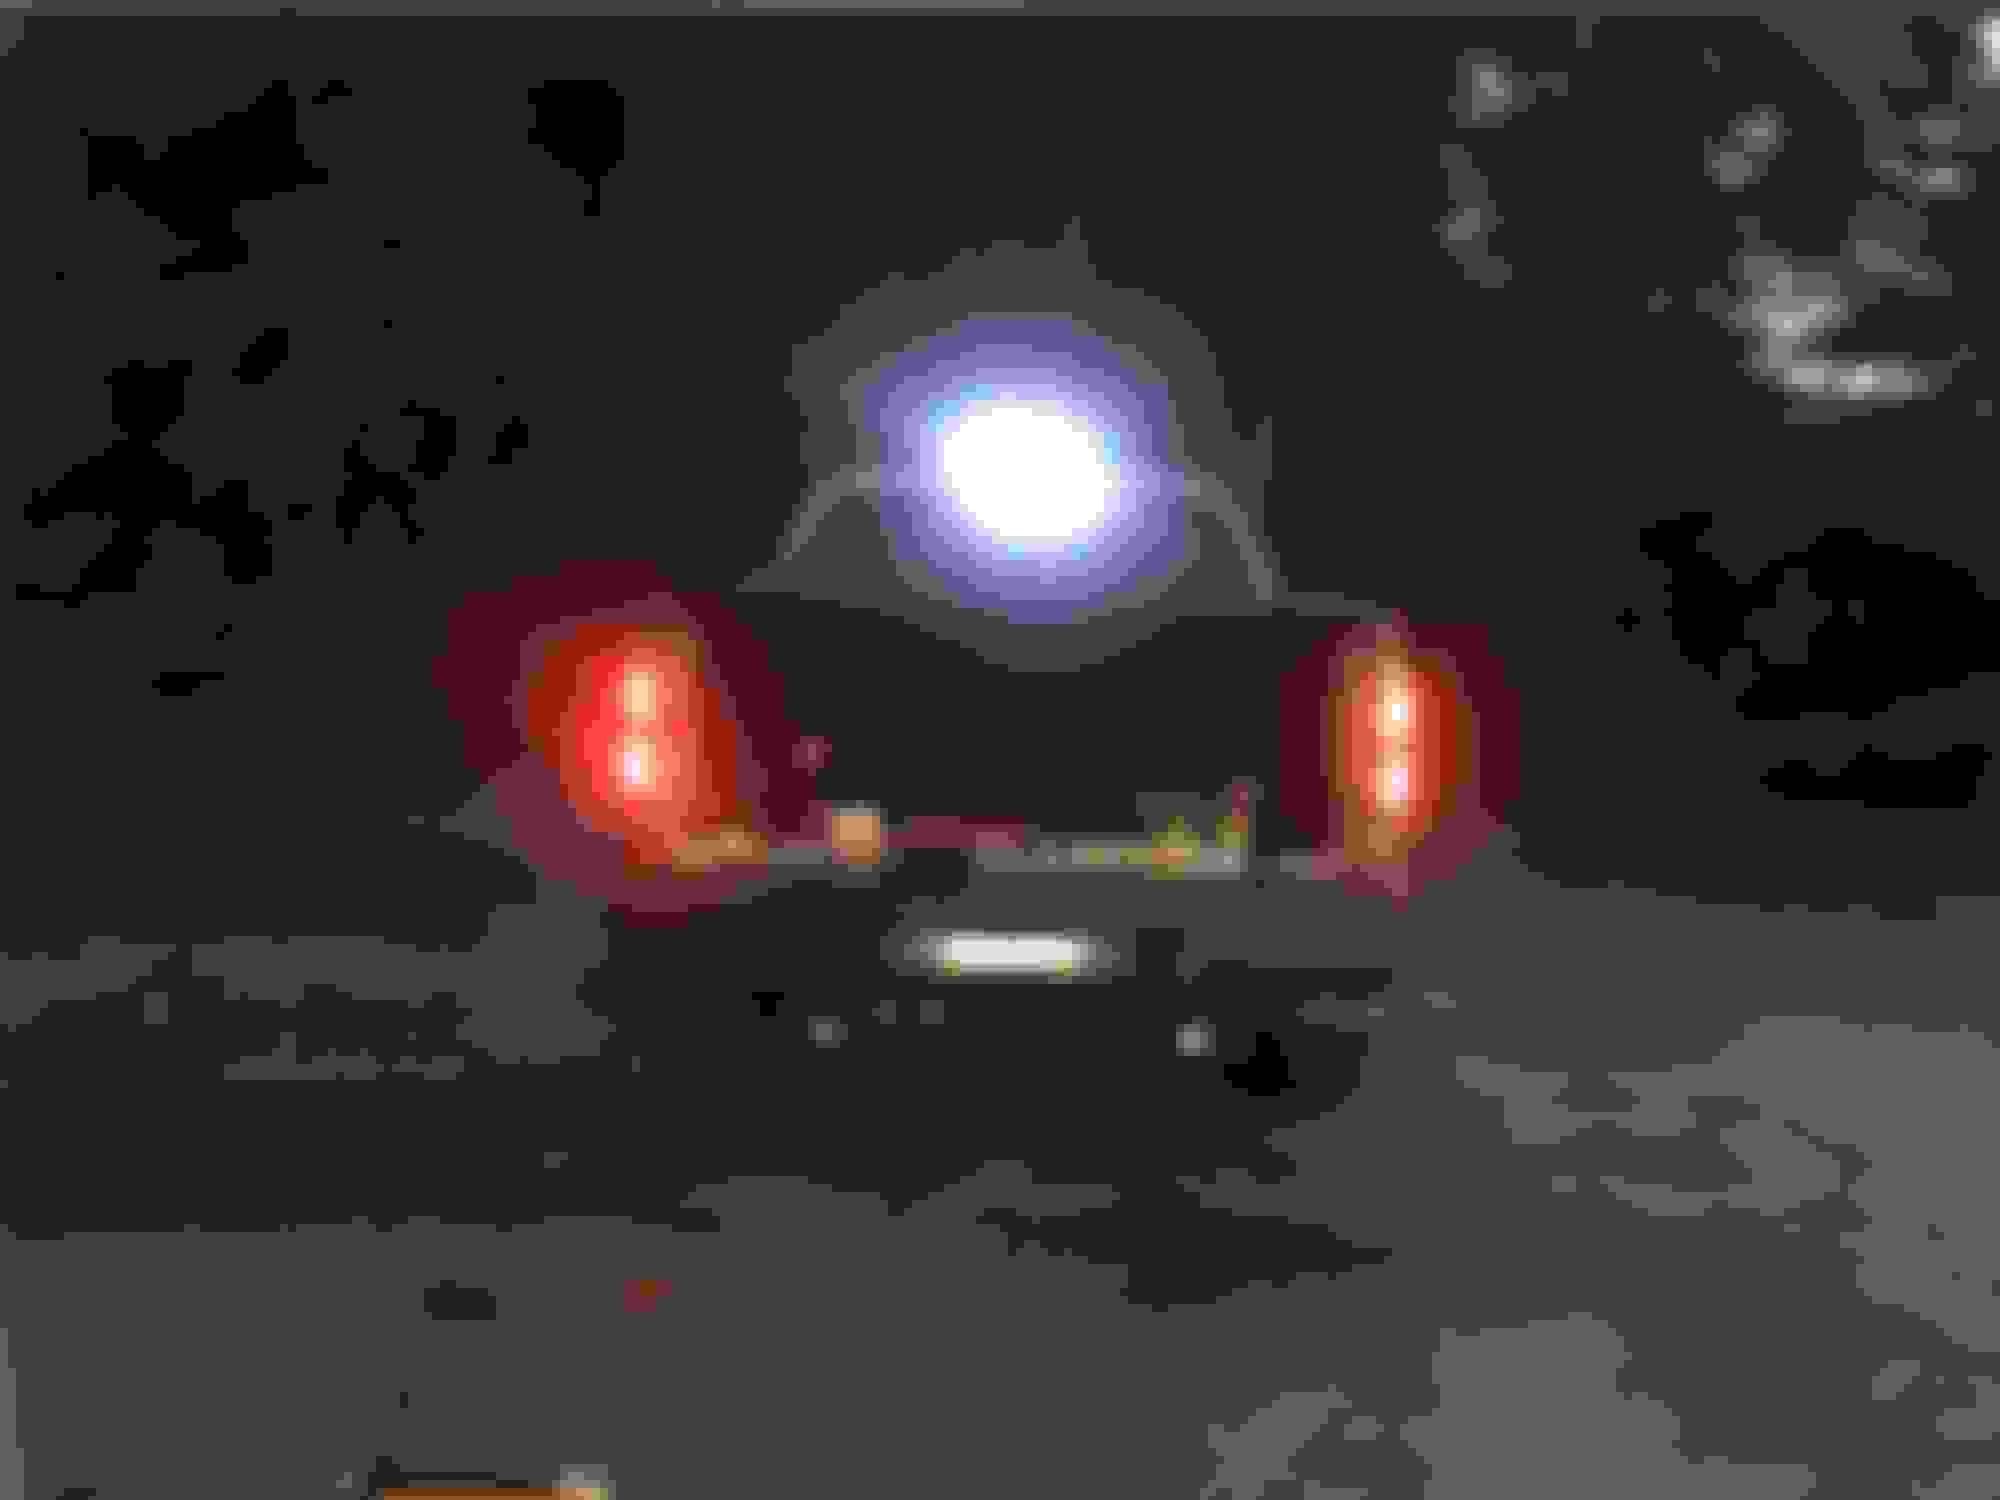
Finished product:
I used Sylvania Zevo 4057 in red
LEDs on the left vs. stock bulbs on the right (brake light applied) don't mind my bright cargo lights lol
P.S. Make sure you read reviews or are able to test the LED bulbs because many LEDs have very little difference between brake and turn signals which can be dangerous. I opted for lights than run at stock brightness for running lights and are brighter than stock for brake / turn signal.
Other resource:
If you want to watch a good video install of the LED bulbs check out this video.
I would screw it in so it doesn't melt anything. I'm not sure how hot they get but I've heard to avoid having any wires or plastic touching the resistor.
II initially took the lazy route with these p-n-p resistors. I removed them even though I had them secured properly, because they got blistering hot.
I wasn't comfortable with something that hot inline with my wiring...
I decided to take the proper route and bought the individual Aaron's for each flasher. These only seemed to get luke warm. It's been at least 6 months and everything has been fine.
I'm much happier with the brighter crisper lighting that comes with LED's when done right.
Also still a believer of halogen fog lights.
If they're out of the way and the zip tie isn't on the heat sink I think you'd be fine.
Originally Posted by masitile
II initially took the lazy route with these p-n-p resistors. I removed them even though I had them secured properly, because they got blistering hot.
I wasn't comfortable with something that hot inline with my wiring...
I decided to take the proper route and bought the individual Aaron's for each flasher. These only seemed to get luke warm. It's been at least 6 months and everything has been fine.
I'm much happier with the brighter crisper lighting that comes with LED's when done right.
Also still a believer of halogen fog lights.
Wow those resistors are pretty cool I didn't know they had ones that were plug and play. Do you have one resistor hooked up per bulb (4 resistors total) or one resistor hooked up per side (2 resistors total)? The lights look good Are your front turns led too, and if so what brand did you get? So far I couldn't find any brighter than stock that were dual function, including switchbacks.

 08-03-2016, 03:13 AM


 Are your front turns led too, and if so what brand did you get? So far I couldn't find any brighter than stock that were dual function, including switchbacks.