

Finally got my backup camera installed...!!!

Thread Starter
2013 Ruby Red FX4 SCrew
Joined: Aug 2009
Posts: 1,601
Likes: 248
From: NL, Canada
After 2 days of figuring out the best way to run the cabling and camera placement, I finally finished the install.
Here is the monitor and camera I used
Monitor...
http://www.ebay.ca/itm/280897184919?...84.m1497.l2649
Camera...
http://www.ebay.ca/itm/320965852485?...84.m1497.l2649
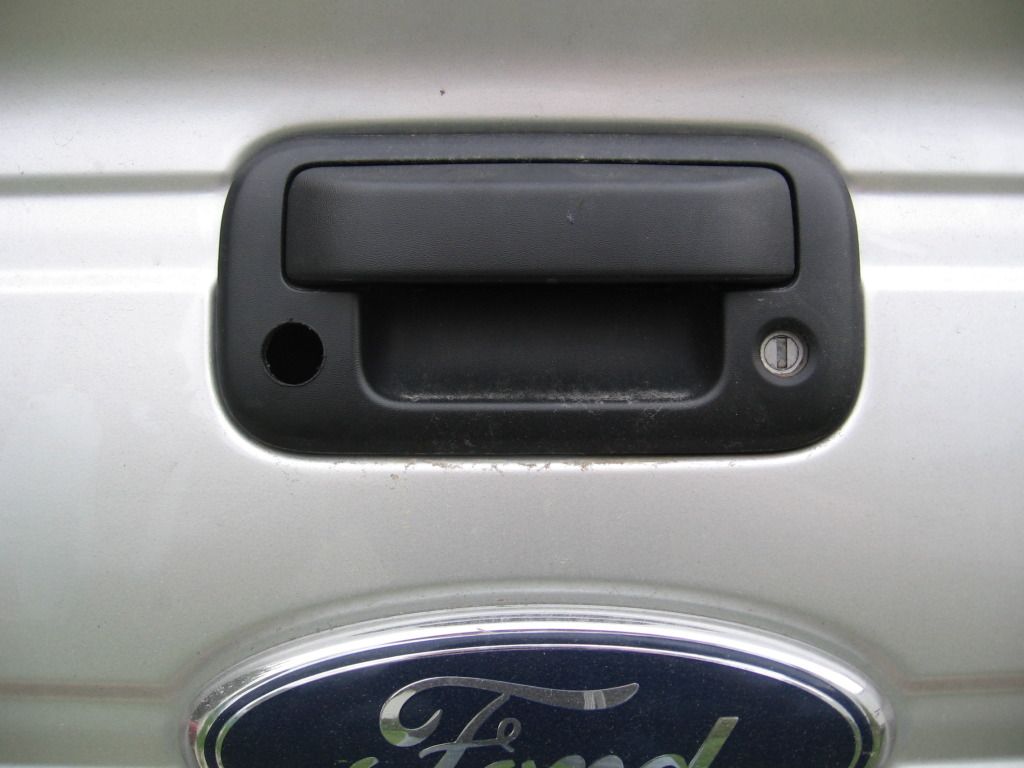
The camera came with a hole saw, so the hole was easy....
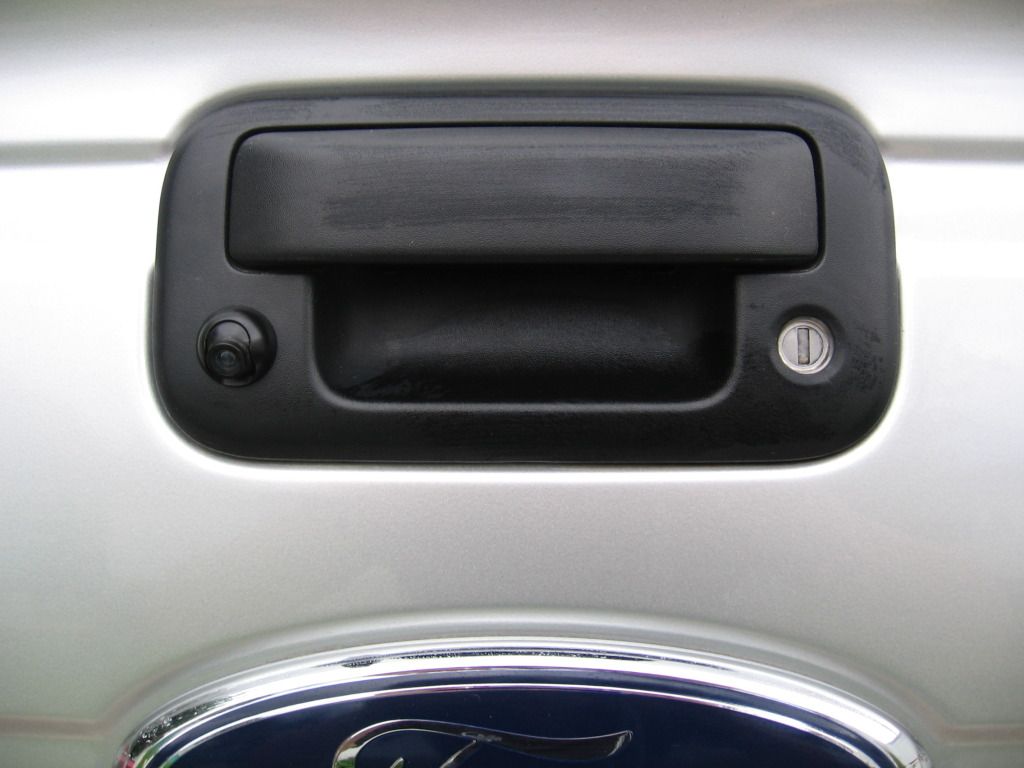
Camera installed...
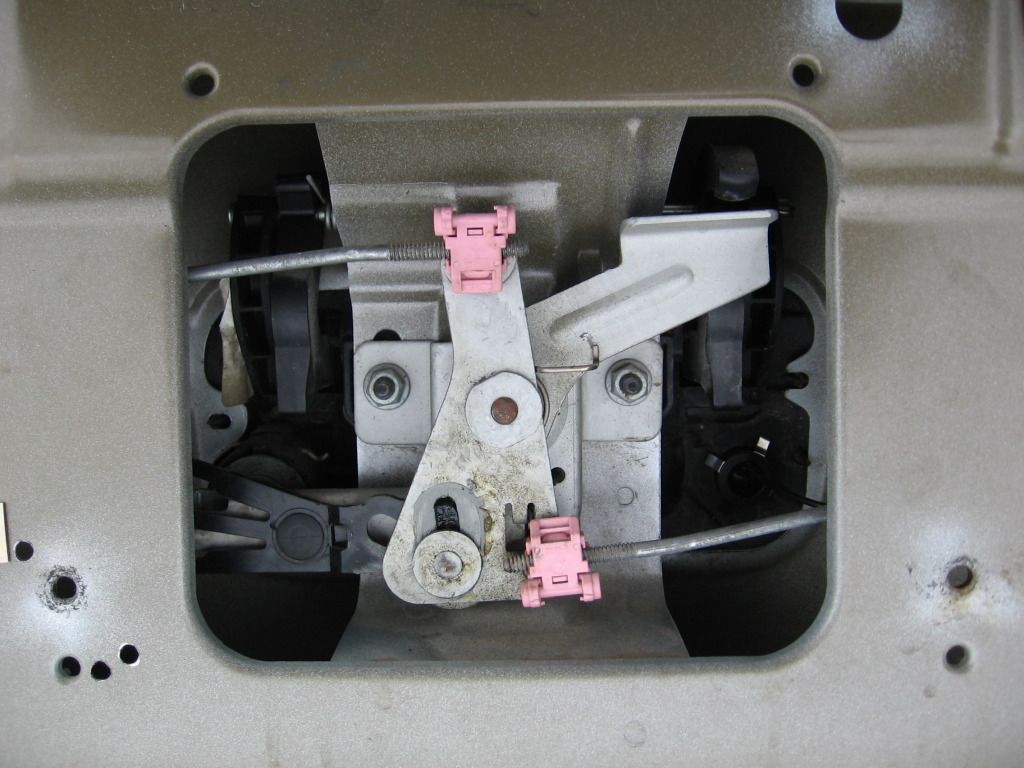
Inside tailgate view... Little hard to see, lower right hand side of pic
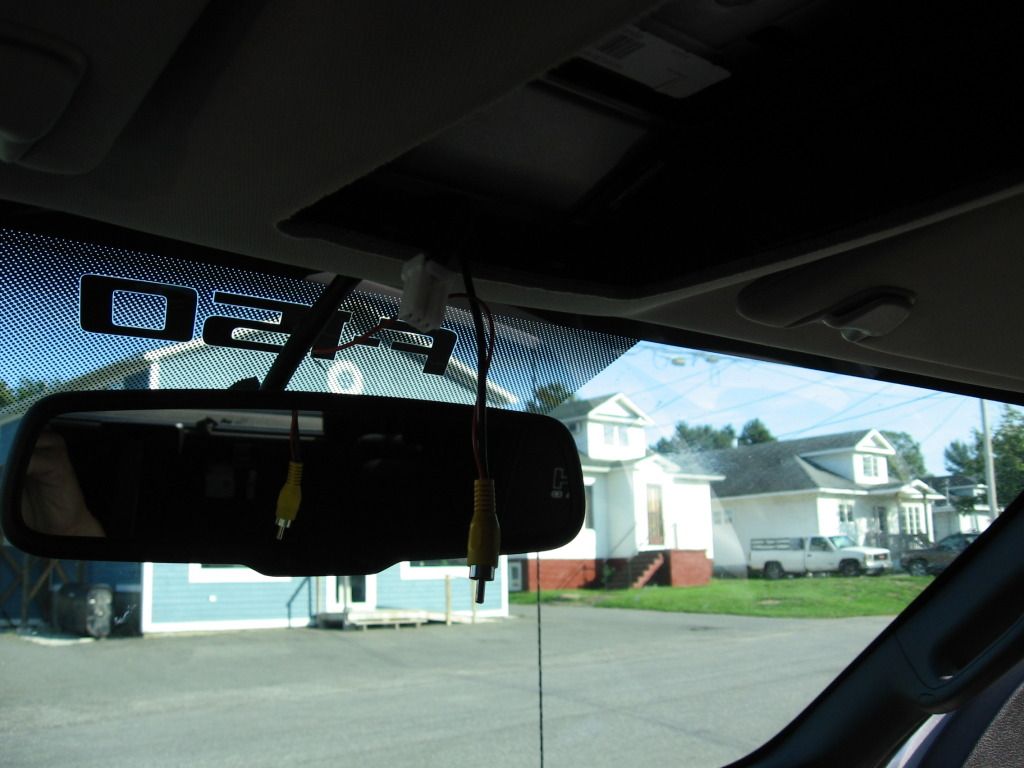
I decided to place my monitor in the overhead storage unit. So I ran my video cable from the storage unit, accross my roof liner, down through the rear of the truck on the drivers side.....
console wiring....
Cable down from roof at rear of truck on the drivers side...
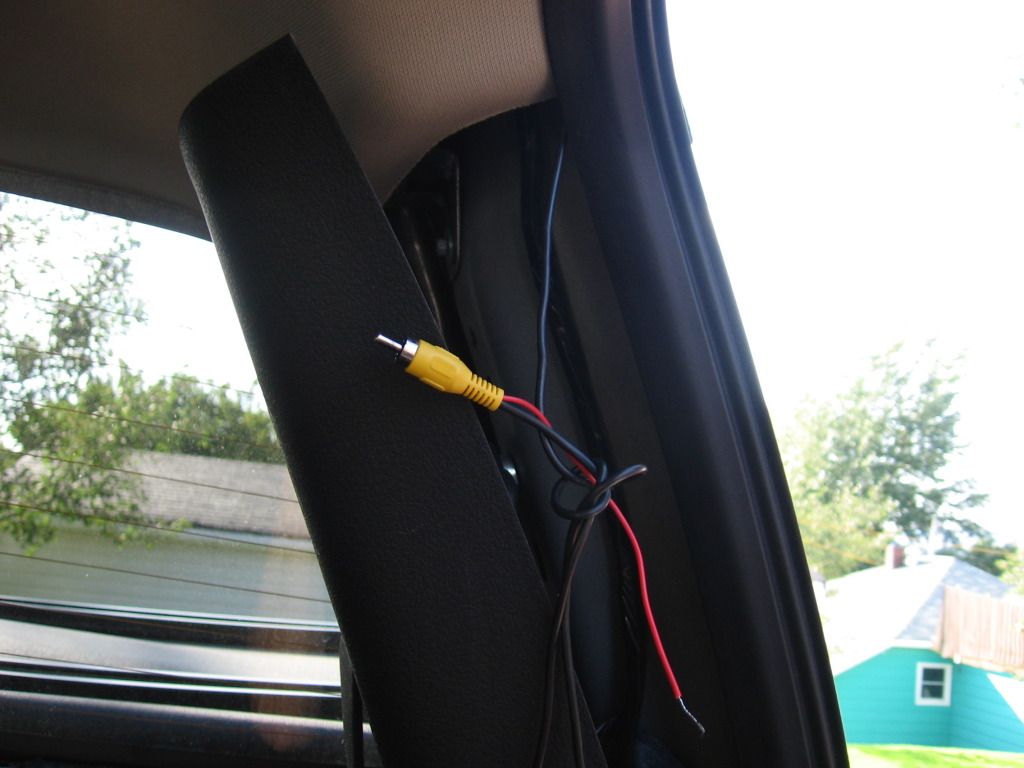
I passed the cable down through the door sill. At the end of the sill and under the cabling, there is a grommet. I pulled that, made a small slit in it, passed the cable through the hole and reinserted the grommet. I now have the cable outside the vehicle. Sorry, I forgot to take pics if this. But when the sill step/cover, its easy to find.
I then, with the aid of a fish tape, ran the cable through the frame and out at the end of the truck. Again, no pic, but very obvious.
In order to get the monitor installed neatly, I drilled desoldered the power and video from the monitor...
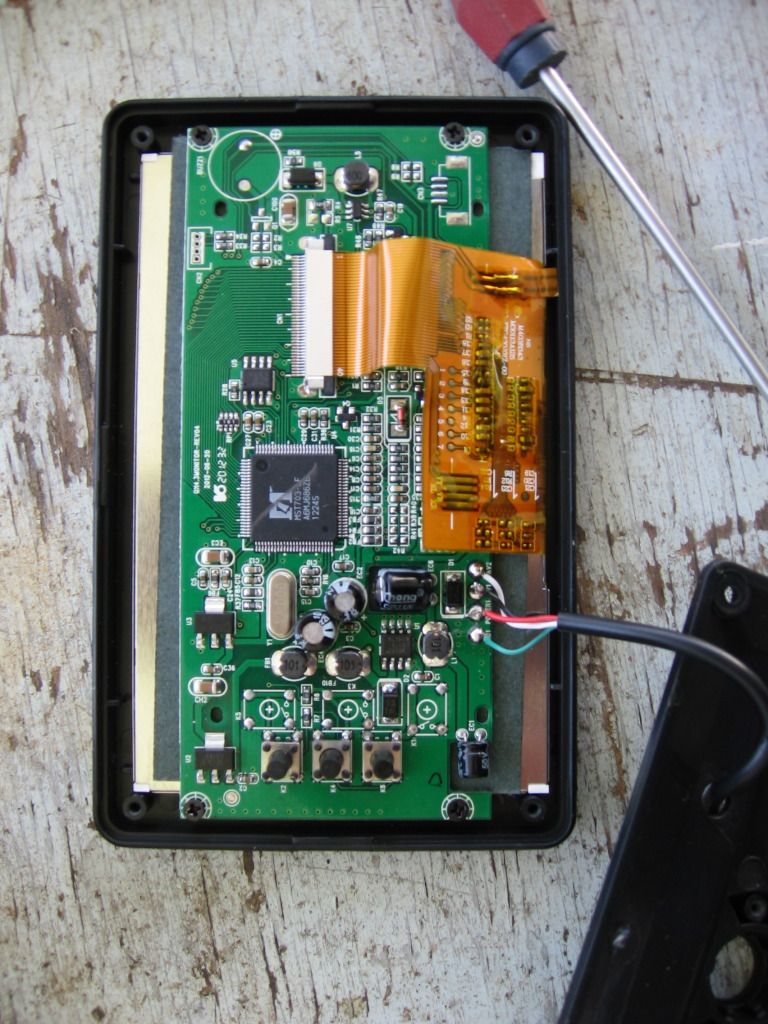
Then drilled a small hole in the overhead unit, passed the wire through and reattached the cable to the monitor...
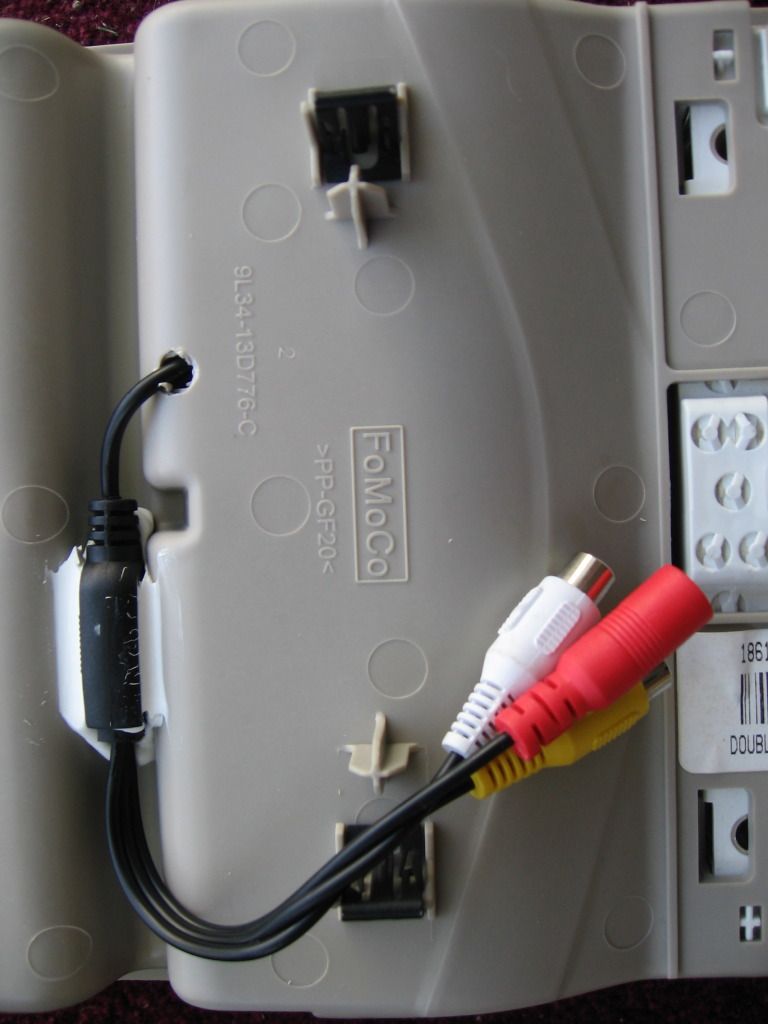
Topside on unit with cable through...
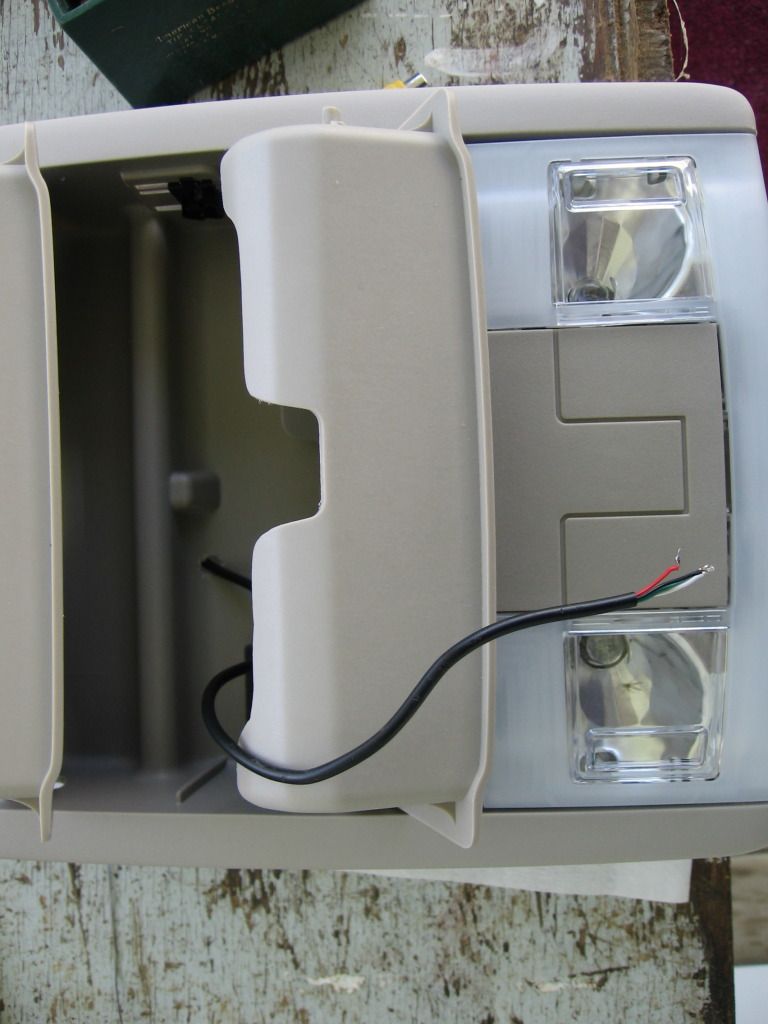
I went with a 4.3" monitor and it filled the little door in the unit fairly well, but with the monitor in it, the lower portion of the holder covered the lower portion of the monitor. So I decided to use a Dremel tool and modify the holder a bit......
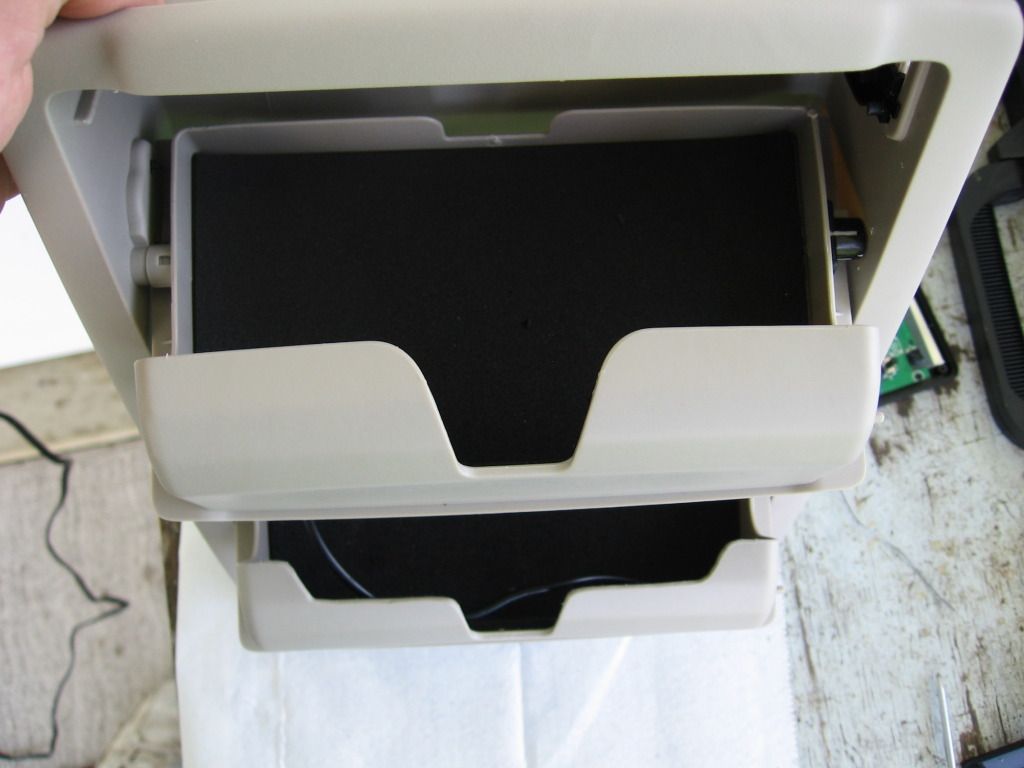
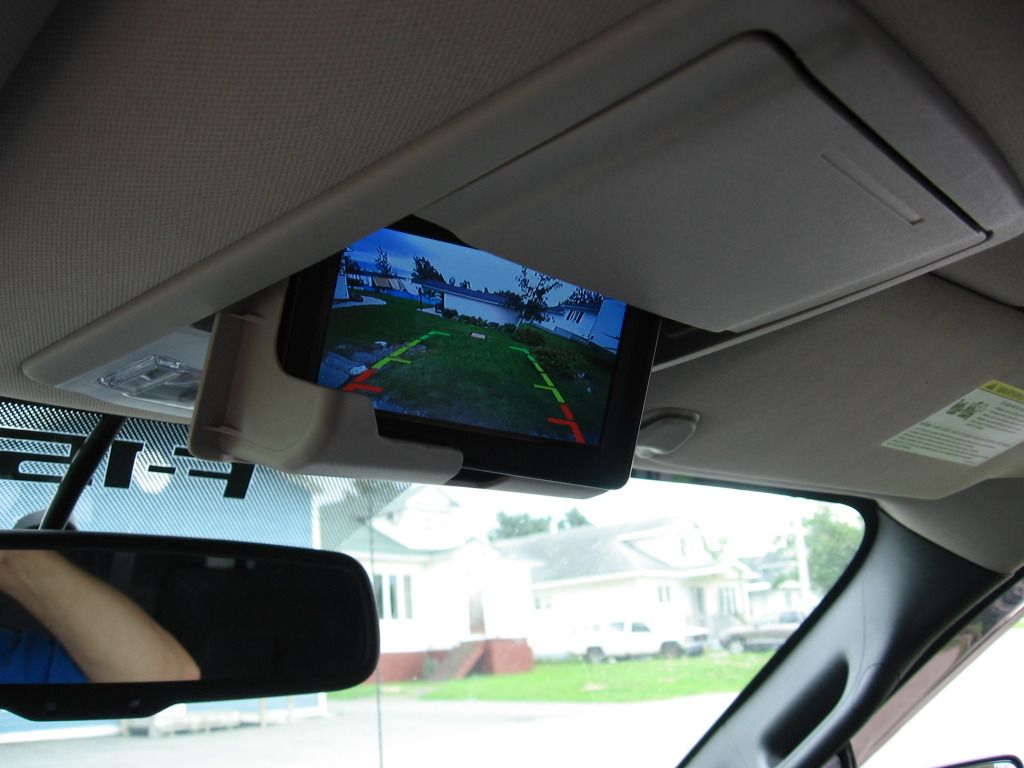
Here is the monitor installed. I haven't permanantly instaled in the holder yet. Still trying to figure best way to do it. Any suggestions for this would be appreciated....
For the power, I had several choices. I was thinking about powering from the overhead unit and using a mercury switch to turn the monitor on/off. But I realized my video cable had another wire running thouugh it, so I took my monitor power from the same point as the camera, the backup light. That way the monitor is only on when the camera is on. All the power switching is done from my backup light. I ran the ground for the power on a screw that holds the overhead unit in place. So that took care of my monitor power.
At the backup light, I tied the power for the monitor and camera into the 12v for the backup light and ran the camera ground to the chassis of the truck.
All tested and working...... Finally!!!!!
Here is the monitor and camera I used
Monitor...
http://www.ebay.ca/itm/280897184919?...84.m1497.l2649
Camera...
http://www.ebay.ca/itm/320965852485?...84.m1497.l2649
The camera came with a hole saw, so the hole was easy....
Camera installed...
Inside tailgate view... Little hard to see, lower right hand side of pic
I decided to place my monitor in the overhead storage unit. So I ran my video cable from the storage unit, accross my roof liner, down through the rear of the truck on the drivers side.....
console wiring....
Cable down from roof at rear of truck on the drivers side...
I passed the cable down through the door sill. At the end of the sill and under the cabling, there is a grommet. I pulled that, made a small slit in it, passed the cable through the hole and reinserted the grommet. I now have the cable outside the vehicle. Sorry, I forgot to take pics if this. But when the sill step/cover, its easy to find.
I then, with the aid of a fish tape, ran the cable through the frame and out at the end of the truck. Again, no pic, but very obvious.
In order to get the monitor installed neatly, I drilled desoldered the power and video from the monitor...
Then drilled a small hole in the overhead unit, passed the wire through and reattached the cable to the monitor...
Topside on unit with cable through...
I went with a 4.3" monitor and it filled the little door in the unit fairly well, but with the monitor in it, the lower portion of the holder covered the lower portion of the monitor. So I decided to use a Dremel tool and modify the holder a bit......
Here is the monitor installed. I haven't permanantly instaled in the holder yet. Still trying to figure best way to do it. Any suggestions for this would be appreciated....
For the power, I had several choices. I was thinking about powering from the overhead unit and using a mercury switch to turn the monitor on/off. But I realized my video cable had another wire running thouugh it, so I took my monitor power from the same point as the camera, the backup light. That way the monitor is only on when the camera is on. All the power switching is done from my backup light. I ran the ground for the power on a screw that holds the overhead unit in place. So that took care of my monitor power.
At the backup light, I tied the power for the monitor and camera into the 12v for the backup light and ran the camera ground to the chassis of the truck.
All tested and working...... Finally!!!!!
Last edited by FordEver; Sep 9, 2012 at 04:44 PM.


