When you click on links to various merchants on this site and make a purchase, this can result in this site earning a commission. Affiliate programs and affiliations include, but are not limited to, the eBay Partner Network.
So I decided recently to remove the old chrome stick-on caps on my door handles and I ran into a few unexpected problems getting them off, so I figured I'd show you guys how I did it so maybe it can help someone else in the future.
I was a little nervous going into this because when I bought the truck the guy at the dealership told me "Yeah, you'll never get those off without messing up the door handles, you might as well just buy a whole new door handle than mess with it.".
I'm happy to say that guy was an idiot.
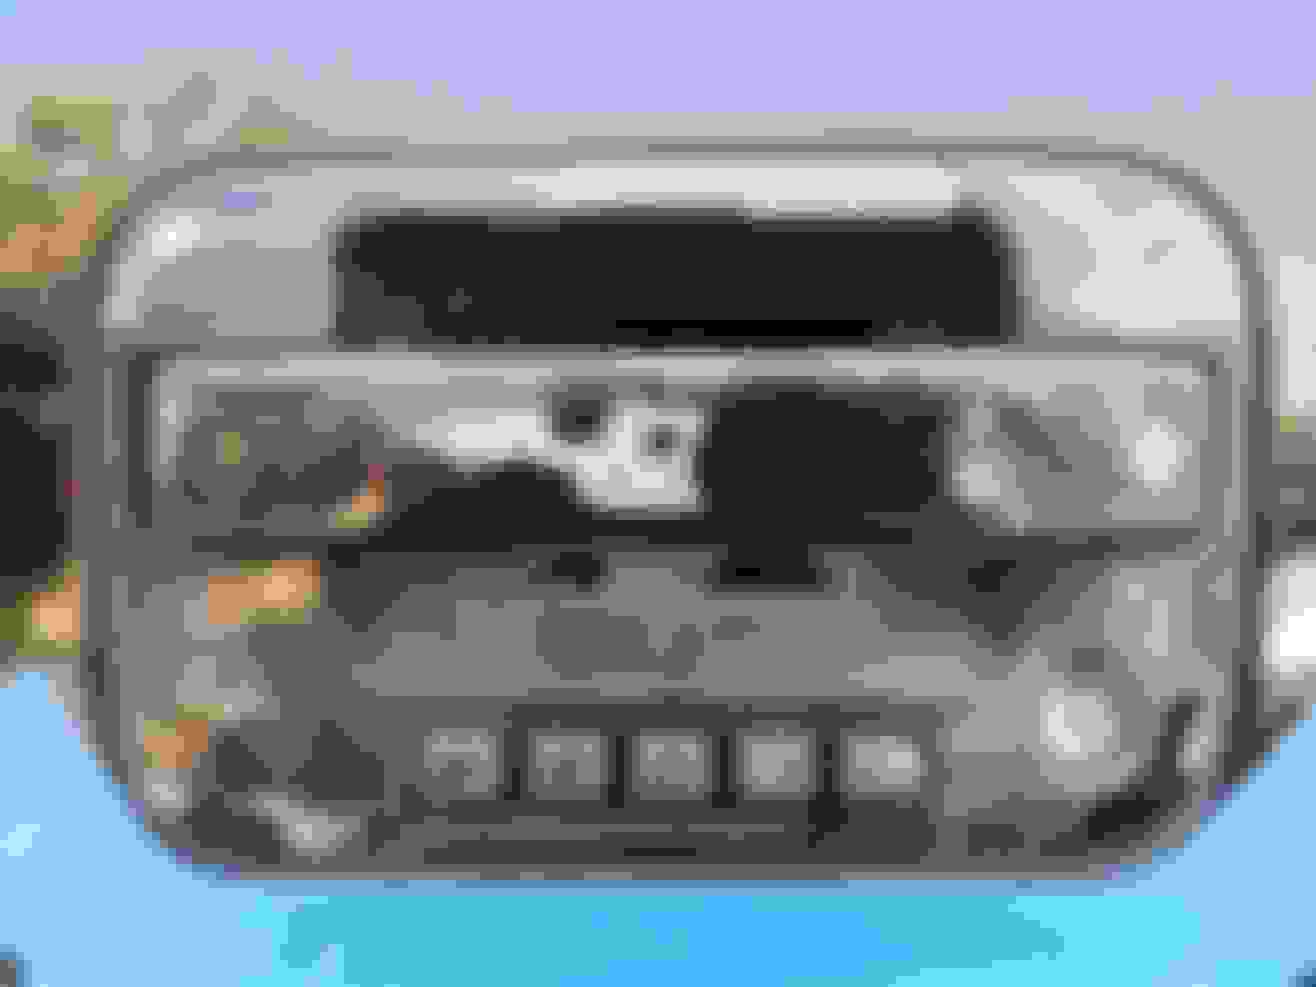
Today we are going to go from this:
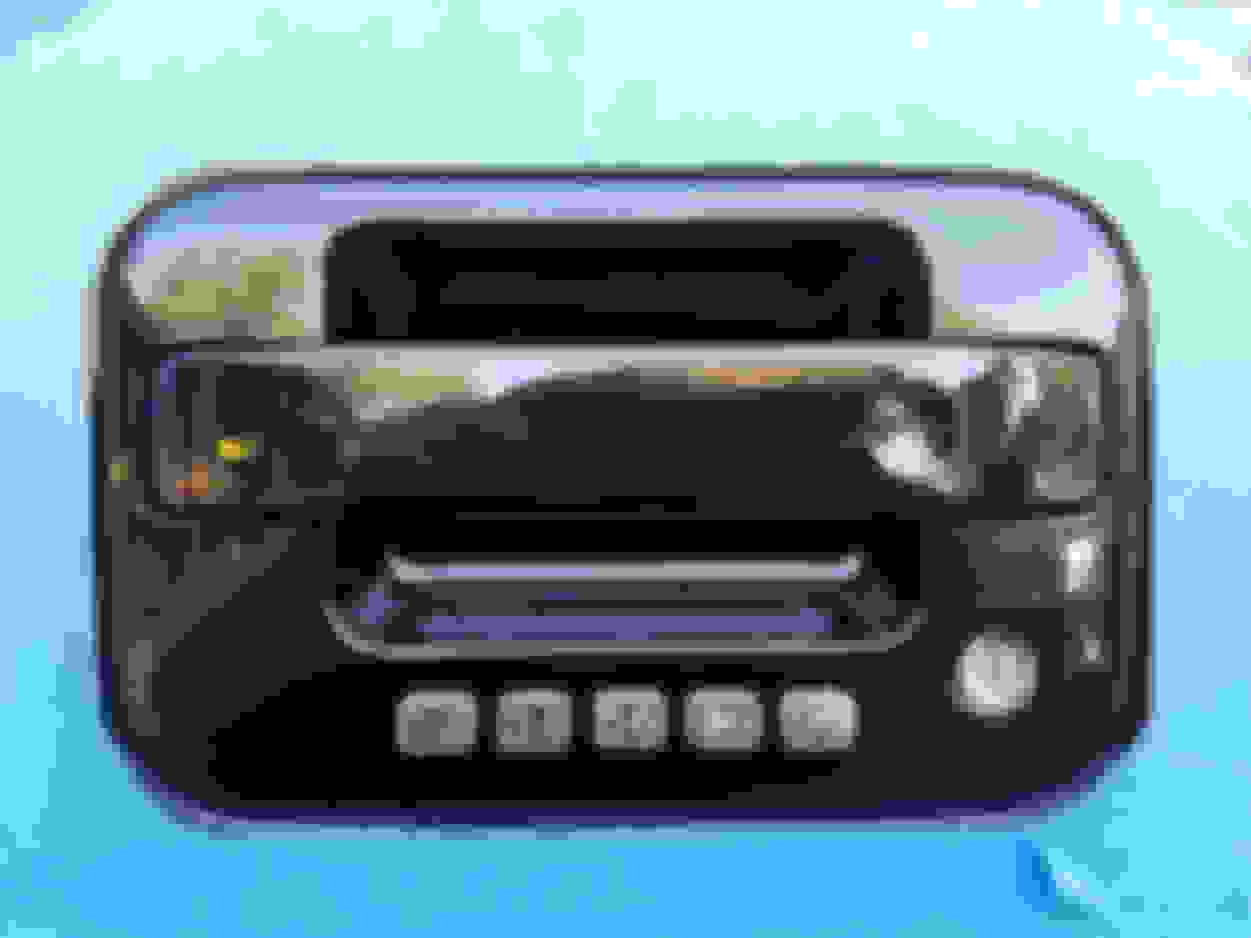
To This:
So to get this done I used the following tools:
5-way tool (prying tool)
Goo-Gone
Turtle Wax Polishing Compound (any polishing compound will do)
Perma-Seal liquid claybar / wax (any type of lightweight polishing compound will do)
A basic rag with a semi-rough texture (for use with the polishing compound)
A chamois cloth (for the Perma-Seal)
A high-quality micro-fiber towel (to polish out the finish after Perma-Seal and wax)
Shop Towels (for use with the goo-gone and to protect the paint
Painters Tape (to protect the paint not being worked on)
Heat Gun (to warm adhesive)
Step 1: Remove the caps
I don't have any pictures of this step because it's pretty self-explanatory without them. I used the heat gun to heat up the adhesive behind the cap to help it do as little damage as possible as it comes off. I then used the pointed tip of the 5-way tool to get under the cap and pull outward away from the truck.
With the type of adhesive used in this application it is important to apply a good amount of pressure consistently and hold it, and not to simply try to rip up the cap. Doing the latter can damage your paint by actually ripping it off of the handle.
Just apply consistent pressure and make sure you don't scuff the paint. Don't worry about breaking it, just get it off piece by piece.
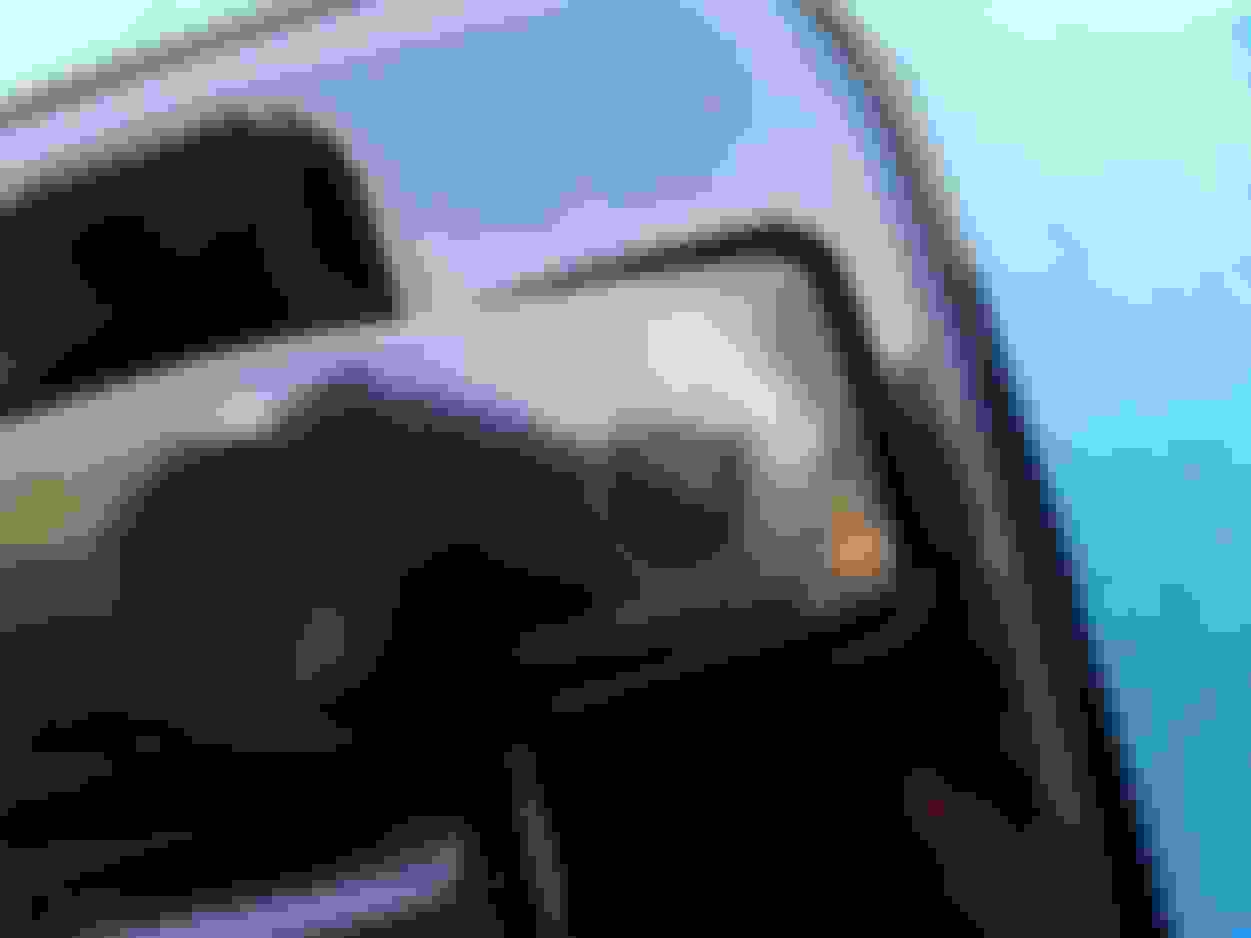
In the end you should have something like this left:
Step 2: Protect The Paint
As you can see, you are left with a lot of adhesive, dirt, and dust left on the surface. It looks horrible, but it will look great when we are done. If you look closely at this point you can see where even removing the adhesive carefully has removed a layer of clear coat, but don't worry we'll be removing that.
First tape off your door handle all the way around to protect the paint around the door handle. I also taped a shop towel below the handle to catch any run-off from the Goo-Gone. Goo-Gone won't hurt your paint, however it will remove any wax or coating you have on your car. If you aren't worried about this you can skip the shop towel.
Step 2: Get off the gunk
Now go ahead and soak the door handle in Goo-Gone. A little bit of this stuff goes a long way so go sparingly but make sure everything is covered, making sure you soak any spots with adhesive or remaining adhesive pad all the way through so it can work its magic.
You should have something like this now:
You can now use a folded shop-towel to work the majority of the dust, dirt, and grime off the door handle leaving the adhesive parts for last to allow the Goo-Gone time to work.
When you tackle the adhesive bits, just go one way across them (not back and forth) and go slowly applying pressure to "peel" it off the paint.
If you can't get the Goo-Gone off completely by wiping it off, you can use soapy water to make sure you get everything off. It is important that all of the Goo-Gone is off before proceeding!
Once you are done, you will have something like this:
Step 2: Fix the clearcoat
As you can see in the above picture, there are plenty of places where despite our best efforts the clearcoat has been removed. If you run your hand over it you can tell that it is "into" the paint, and not just adhesive stuck on the surface.
The flaws look like this up close:
We can fix these with just some polishing compound and elbow-grease. Get your rag out, make sure its soft but with a slightly rough texture. Something like a face cloth is fine.
Apply a little polishing compound to your rag and go over the spots with medium-firm pressure fast enough to start generating a little heat under your finger. You should be able to feel the edges of the flaw when you start and feel them go away. Once you no longer feel any edges clean the spot and inspect, going back for any edges that need more attention.
It should look something like this when you have gotten all of the edges polished down but haven't taken the compound off yet:
When you are done the spot will be completely gone:
Repeat this for all spots on the door handle.
Step 2: Protect the bare paint
Most importantly we will want to protect this new paint. You will want to protect it immediately after you are done with the polishing compound to ensure your paint doesn't begin to fade or peel.
I used Perma-Seal which is a "liquid claybar" (this just means it is very mildly abrasive) that contains a liquid wax. Any similar product will work, or you can skip this step completely, or use an actual clay-bar to smooth out any spots left by the polishing compound causing the finish to be dull.
Lastly you will want to apply a good coat of wax to keep everything looking good for years to come. I used Meguiar's Carnuba.
Step 2: The final result!
When you are all done, you should have something like this!
 11-07-2017, 07:02 PM