When you click on links to various merchants on this site and make a purchase, this can result in this site earning a commission. Affiliate programs and affiliations include, but are not limited to, the eBay Partner Network.
So, the leak down test failure was driving me crazy, so I decided to pull the heads.
It was more of a project than I thought. Mainly because some of the things I needed to take off to get the timing cover were a PAIN to get to. The toughest bolts to access were the lower bolt for the power steering pump, also the front 4 bolts on the oil pan due to it being a 4wd.
The timing chain, gears and phasers look to be in good shape- although I'm not a pro and probably don't 100% know whet to look for. The chain guides look fine, but I'll probably replace those and the tensioners since the are cheap. I marked the chains, gears/phasers before removal, but I'll probably re-time it from scratch.
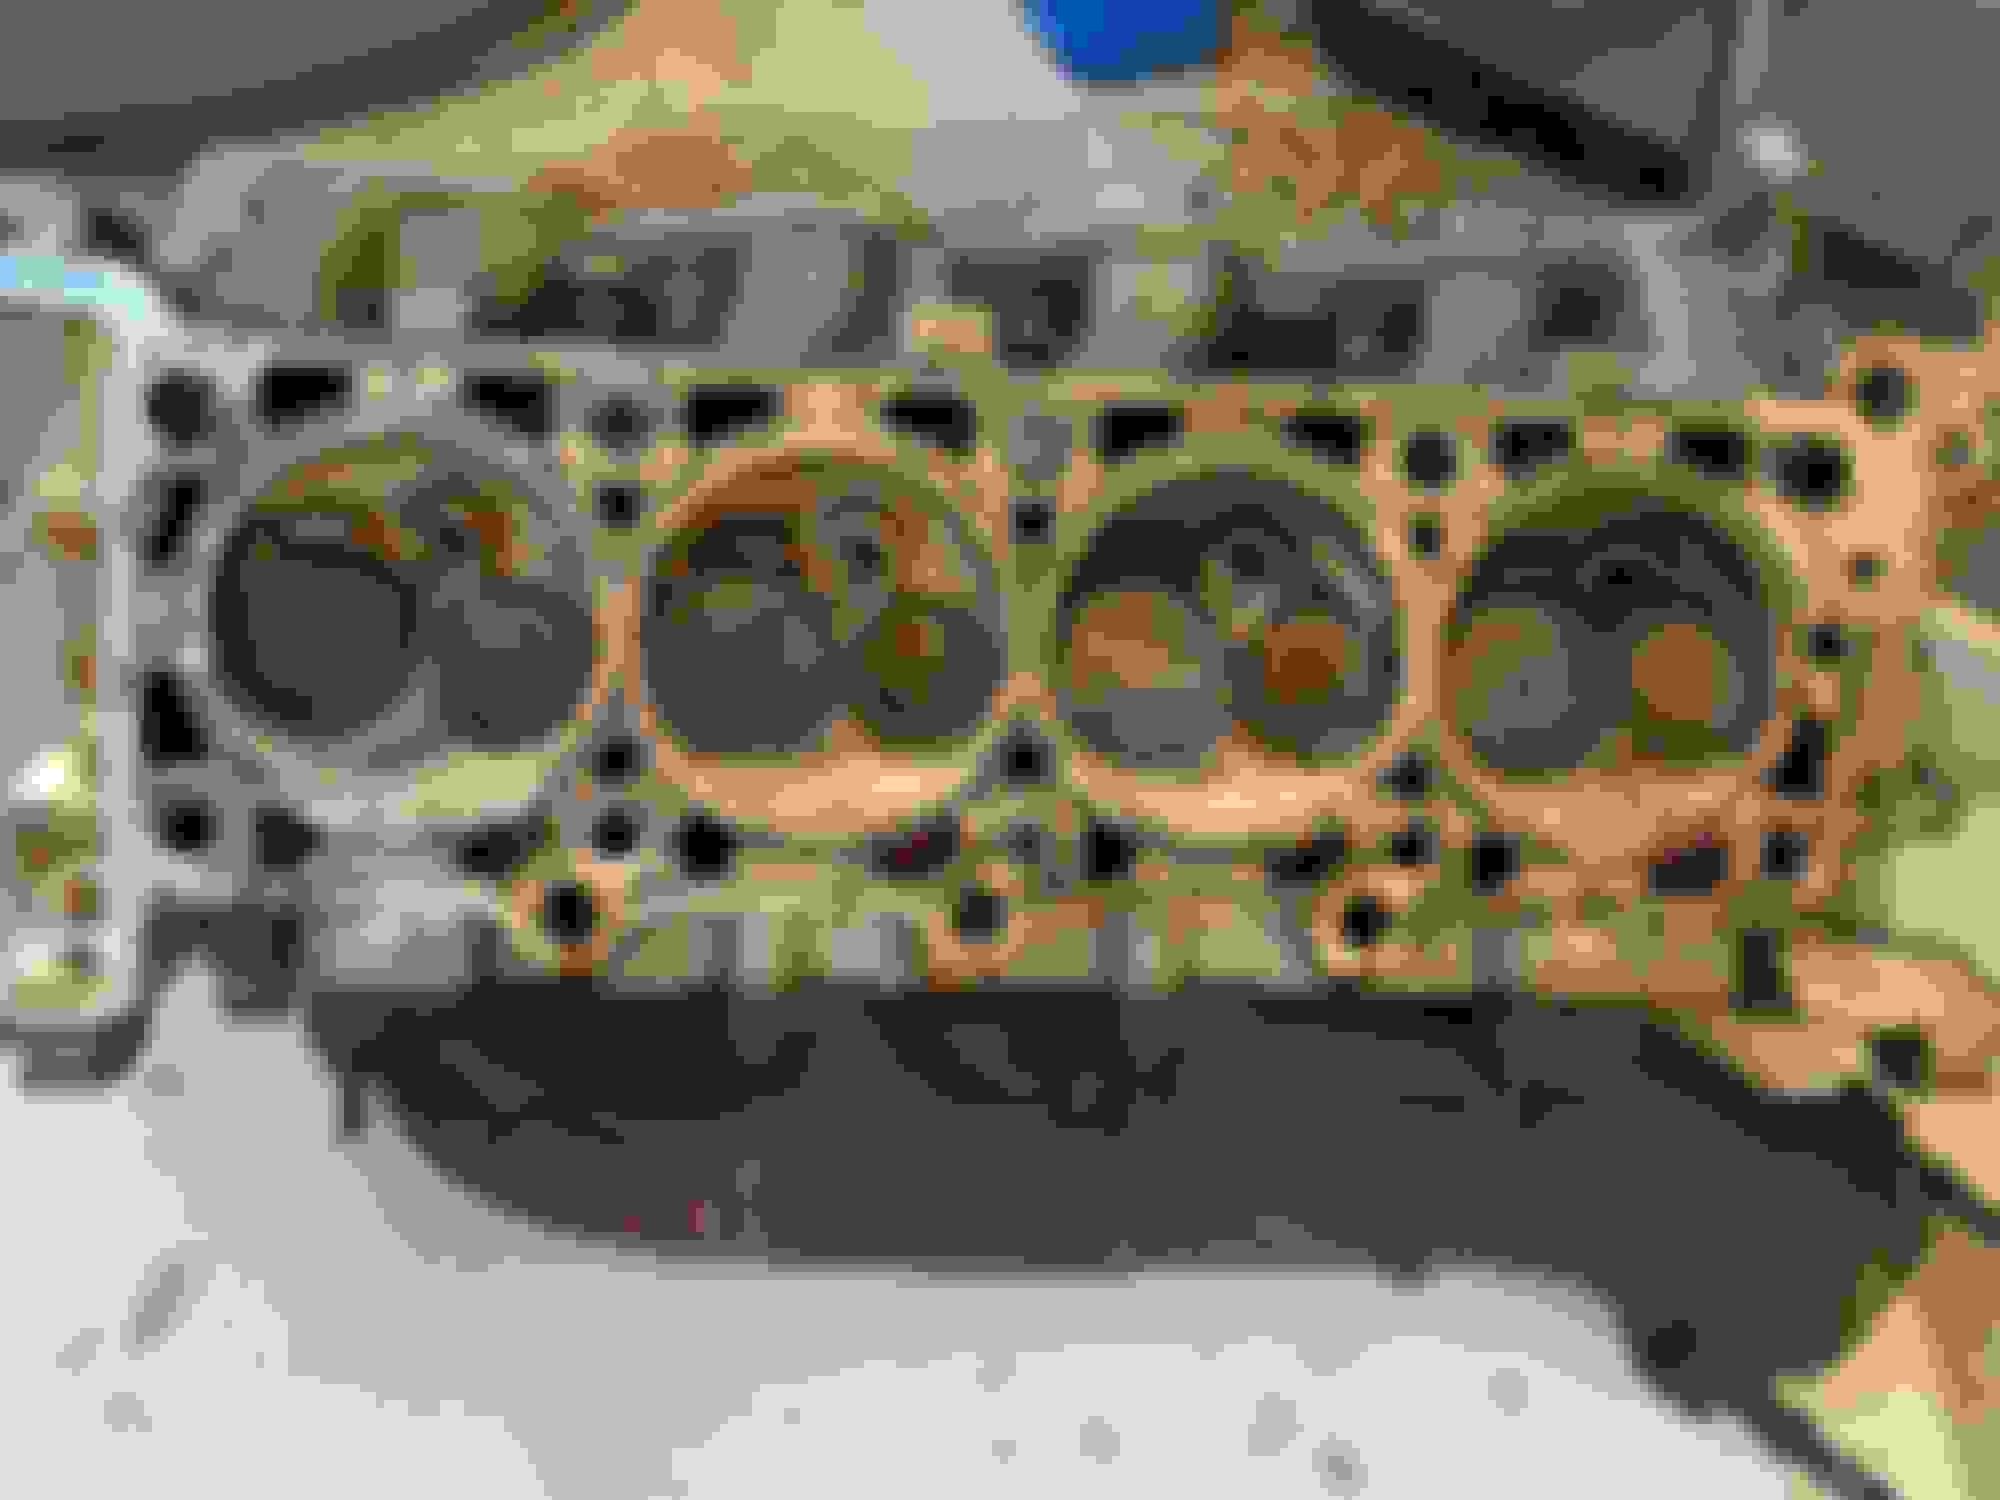
Once I got the heads off, I was glad I did:
The exhaust manifolds are in horrible shape. A lot of rust, the bolts are rusted over and a couple of the bolts were missing entirely. I haven't tried taking the exhaust manifold bolts off yet since they were so rusted- they have been soaking in PB blaster overnight. So, I'm either going to replace them or try my hand at welding up some.
After talking with some machinist buddies, what most likely caused the leak down test failure was me cleaning the intake ports- which cleaned the valves. More than likely it removed carbon deposits that sealed up pitting. Once the valve spring compression tool gets here today, I should be able to get a pro opinion as to whether I need to replace the valves or lap them in a bit.
I'm also going to fab up a vacuum tester today so I can confirm the valve seat. I'll also test the pistons- my machinist buddy said that the leak down test probably didn't give me a good indication as to whether the piston rings were good since the intake leak was so excessive, so I should be able to pull vacuum on the piston cylinder to check that as well.
the timing chain and gears are in good shape.
the exhaust manifold is in horrible shape, would be less hassle to just replace
Yeah, I definitely agree there. Not looking forward to trying the bolts on it. Going to solve the valve issue first and then weigh options on the exhaust manifold. It is DEFINITELY gone. Just need to decide on whether to fab one, buy an OEM one, buy shorty headers, or go long tube (which means modifying the rest of the exhaust....
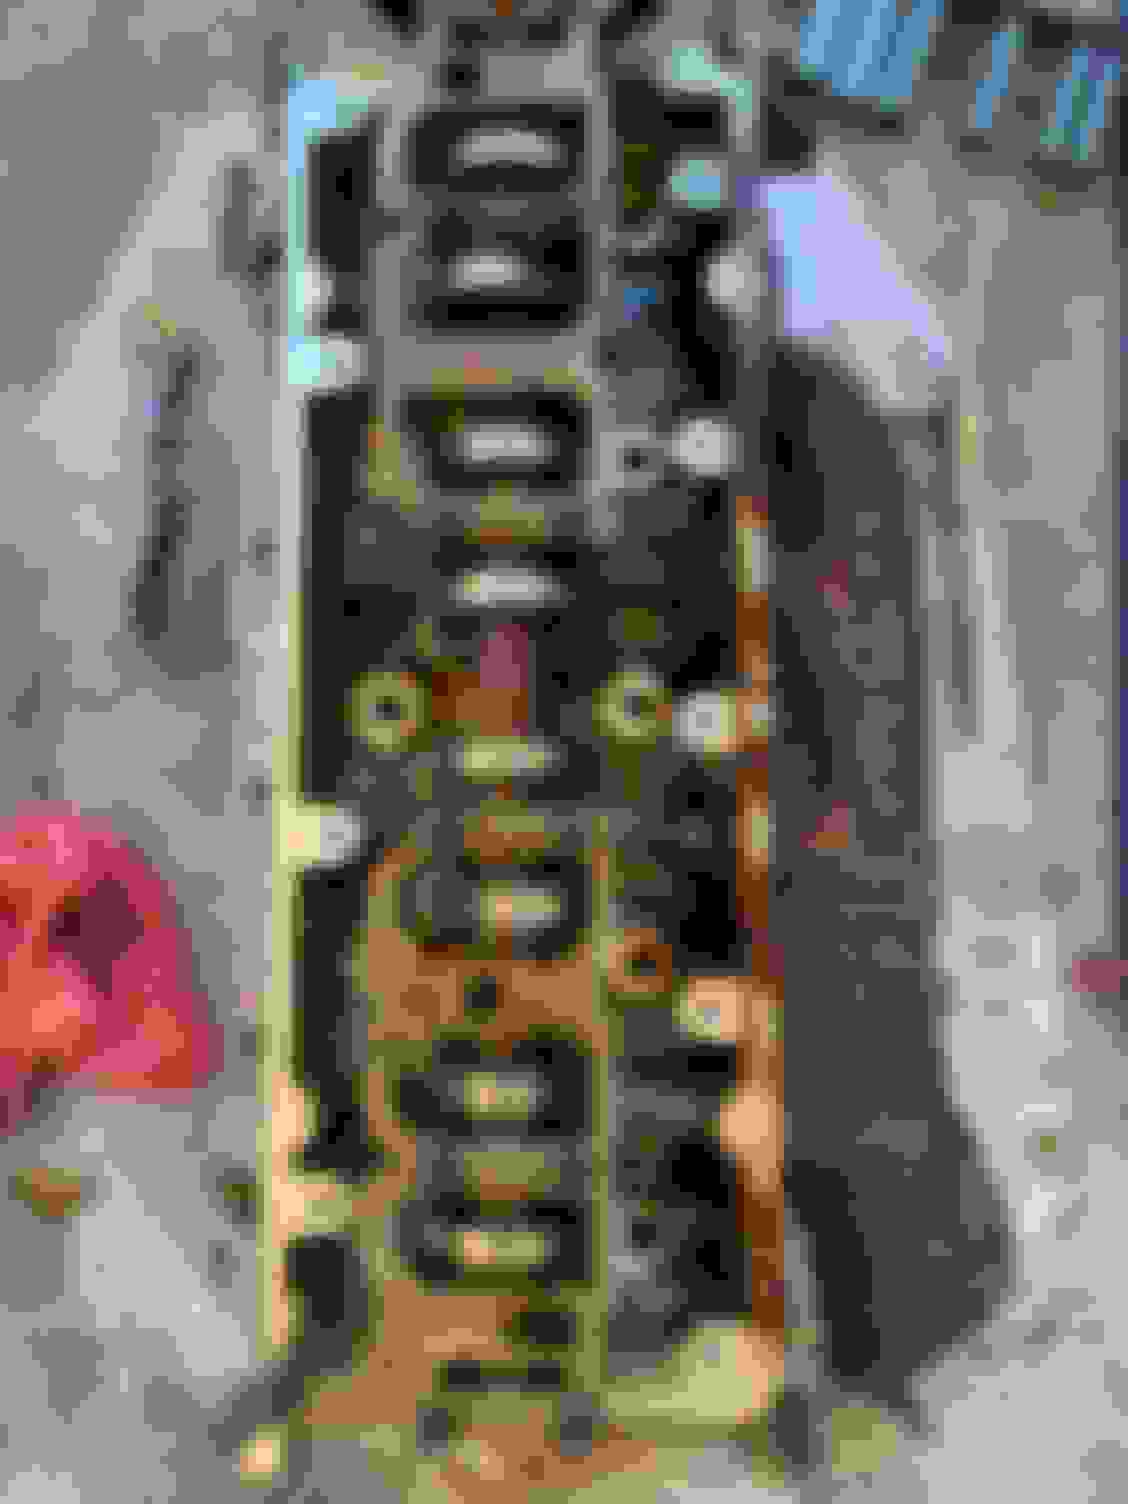
I pulled the valves today. The "universal" valve spring compression tool requires a bit of bending to actually work. There were carbon deposits in the head seats. I cleaned them with carb cleaner, lightly with a brass brush and a rag. I ran my finger around the seat and valve and couldn't feel or see any pitting. No idea. Waiting for a machinist buddy to look at the pictures.
Thanks. It is time consuming, but I'm learning quite a bit about the truck. I have never done any work like this on an engine and never taken one apart before. So, I'm also posting here in case someone sees something I'm doing wrong or has some advice.
I need to change the title of this post to "The saga of a manifold gasket replacement/Backyard problem solving"
I got the manifold off finally. The last nut was rusted on the stud past saving. The stud itself just shed metal under vice grips. It was too small for any of my stripped bolt removers. So I got the air powered cut off tool and cut off the exposed stud at the nut. This gave me the clearance to get one of my stuck bolt removers on it and it came out without breaking:
Next I examined the sheared studs in the head. Both were back at the #4 cylinder boards the rear of the head. They appeared to be clean and flat so I prepped for removing by doing a general cleaning and then soaking them in PB blaster for an hour:
At this point of the project, I have come to expect that I will need a bit of a P.A.C.E. plan for every problem, so I had a number of things ready.
- I began with a punch to score a center mark on the broken bolt to minimize bit walking.
- I then grabbed a set of left hand drive drill bits that my better half picked up for me. They completely failed to bite into the metal. They were harbor freight ones...
- So I stepped things up a notch and grabbed some of my nice dealt metal bits and made a small pilot hole in the middle.
- I was then able to get the Harbor Freight left hand bits to dig in. Unfortunately, they only made a hole and the studs did not move.
- Stepping it up again, I grabbed my set of Easy Out removers. At this point Murphy got involved and decided that my Easy Out needed to shear off and leave half of the remover in my nice clean drilled hole. Never seen that before:
- At this point I saw a T25 driver for deck screws laying in my DeWalt bit box. After checking it on the other broken stud I saw that it was a very tight fit. So I grabbed a hammer and banged it in. Add my DeWalt drill, switched it to hammer drill mode and out it came:
- The final bolt was tricky due to the sheared Easy Out plugging the hole. I broke 2 drill bits on it. I tried a carbide burr with my air grinder. Nothing worked. Finally I found a diamond impregnated engraver bit for my Dremel. After some careful drilling with it I got the Easy Out , out. Banged in another T25 bit and got the final one out.
Parts and valved are smoking in some chem dip tonight, and I cleaned out the valve seats. We will see how lapping and the vacuum test pans out tomorrow...

 12-28-2018, 11:14 AM