When you click on links to various merchants on this site and make a purchase, this can result in this site earning a commission. Affiliate programs and affiliations include, but are not limited to, the eBay Partner Network.
1 Month after my 3 yr. warranty expired, my heated and cooled seats quit working on my 2015 Lariat 502a F150. The Heated steering wheel still worked, and the Red / Blue lights on the buttons for both seats would illuminate but it would not Heat or Cool. I also observed that I didn't hear the little Click and fan sound when starting the cooled seats.
Here is what I've found, and how I fixed mine for 0$. Side Note, I run the heated seats all the time, and typically if I have a passenger, I turn them on for them as well.- so these babys get used a lot!
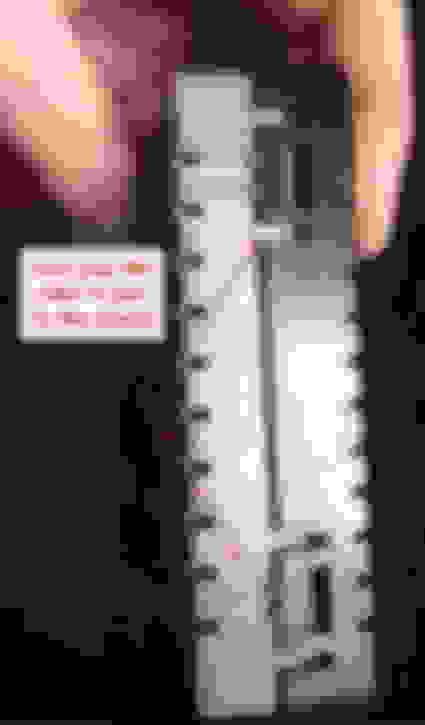
Under the passenger seat there is a module held by 2- 25mm Torx screws. There are 1 large and 2 smaller connectors on the module which can easily be pulled out (after you back out the small blue locks on the small connectors)
I would recommend, even if your seats are working today, pull out the LARGE connector so you can observe if your about to have a failure.
I had some issues getting the big connector to pull out due to it had one pin MELTED. If you look at the BLACK/blue wire, which I'm assuming may be a ground at this point, you can tell it's been HOT.
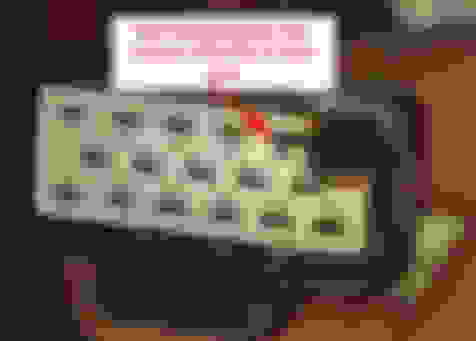
Disassemble the module, 4 obvious clips let you pull out the circuit board from the plastic case.
I'm out of room for pics, see next post for remainder of the post Thx
you can see some heat discolored the left over solder flux, this actually chips away. My connection looked good, so at this point, I did NOT re-solder my pin.
Note the extra pin, I'm thinking of using for dbl the connection....
Cleaned up the existing pin with a wire wheel and some steel wool. and reassembled
That's all the pics I have for now, but I was in a hurry so I did not do anything with the connector, I merely put some dielectric grease on the pin of the connector and re-seated the connector 4-5 times. then tested it out..
PRESTO!!! Shazam., Our BUTTS are now keeping warm in this long DREARY Relentless Winter...
Now, For the UPGRADE
Likely will purchase this new connector, PULL ALL but the wire which was bad on mine, and push all the existing wires from the truck into this new connector
I will do some additional validation, but if the adjacent pin is in fact connected to the same connection on the circuit board, I'm going to add another new wire to it, then splice both wires to the black/blue wire on my harness.
I will post my validation and upgrade pics in a reply in the coming days.
GOOD LUCK, I hope this prevents a warranty / dealer visit for someone else.
OK, I've got the new connector and here is the procedure I followed to repair, and ultimately prevent another issue ( I HOPE) - FYI, my 2016 Ford Edge, has the same wiring and module under the passenger seats, so I'm sure this is a common issue across the board.
The new connector has all the wires in it, so instead of cutting and crimping all the wires, I took those out of the new connector and swapped from the OEM connector... that way I really only have 1 wire to cut
So Basically, that's all there is to it. I did this by myself, but it would have been helpful at times to have another set of hands.
I think you could easily get by not soldering the connection, but I've done this by trade, so it was a no brainer for me.
FYI, the oem wires were 16 gauge, the replacement connector comes with 14...
Good Luck if you have any questions, feel free to PM me.
If you want to do the upgrade as yours hasn't failed yet, I have some extra wires / shrink wrap and crimp connectors that I'd mail to ya for $3 each wire which would prevent you from buying the $40+ kit.
WOW!! I am pretty new to this Forum, so I haven’t read a lot of threads with similar step-by-steps, but this is far-and-away the very BEST walk through I’ve ever encountered on any forum - thank you!
Makes me want to go yank my OEM connector (& my wife’s in her ‘17 Explorer) out & upgrade them immediately.

 03-03-2019, 11:17 AM