When you click on links to various merchants on this site and make a purchase, this can result in this site earning a commission. Affiliate programs and affiliations include, but are not limited to, the eBay Partner Network.
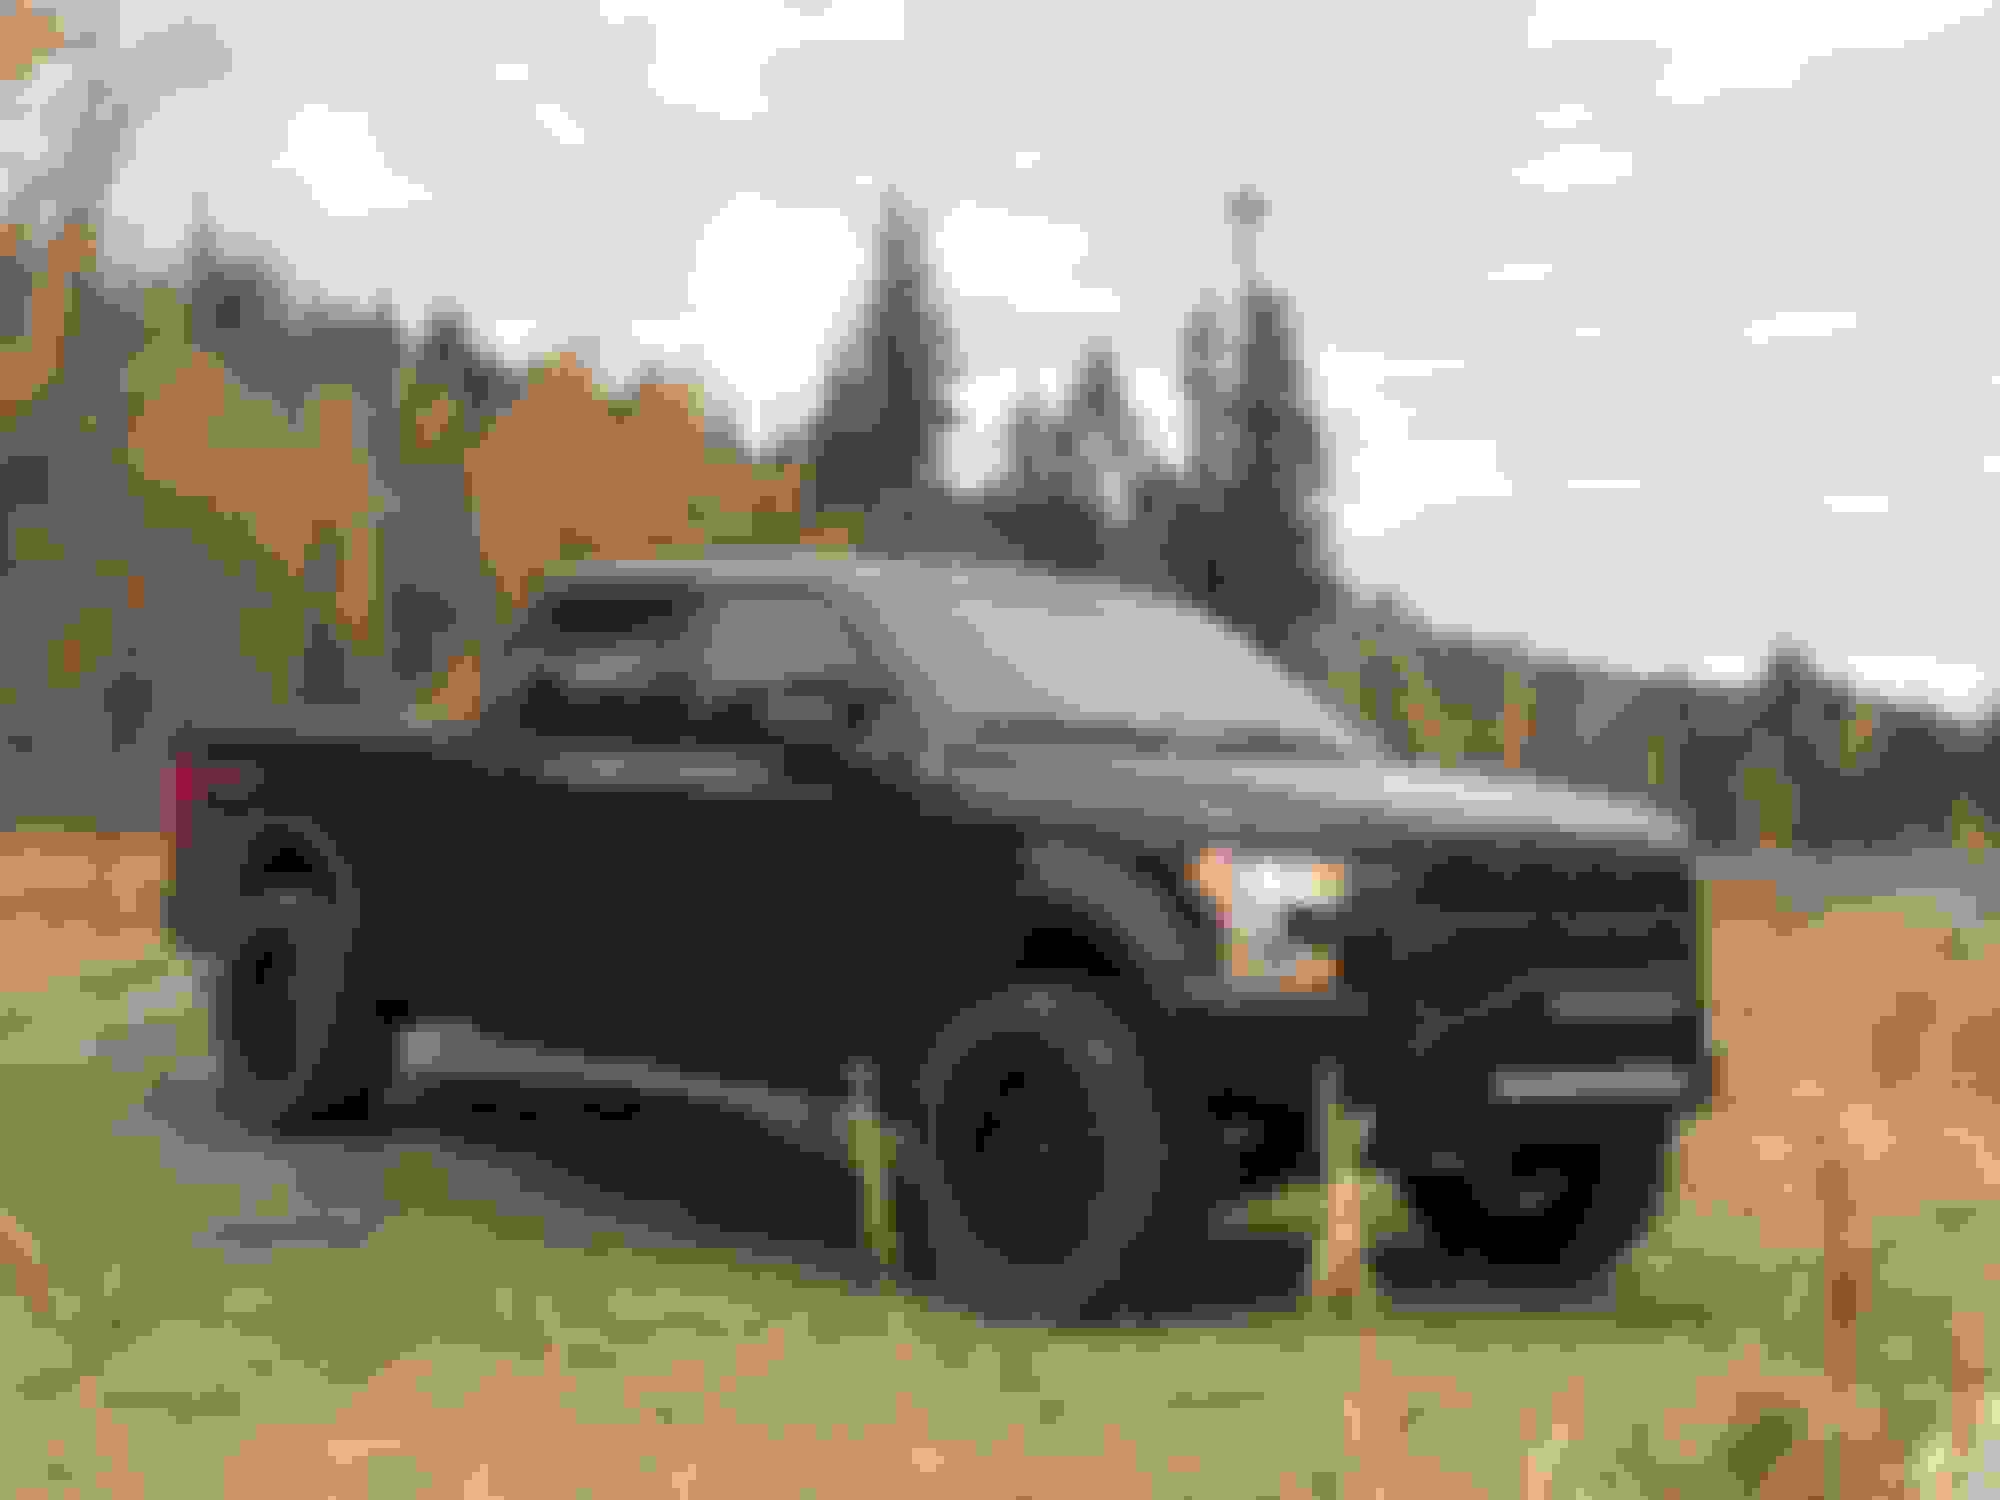
Traded in my 2011 F150 FX4 Ecoboost 3.5 after putting on 166,000 Km in only 3 years of owning it.
Drove that truck really hard, first day you couldn't tell what colour it was from mudding.
Rock crawled, trail rides and went mudding 2-5 times a week. Couple pictures didn't keep any of the bad ones.
Decided to get out of it while it was still worth some money.
Had troubles with the coil packs, phasers, spark plugs and timing chain.
Also the 4x4 but that was my fault.
So after having troubles with Ecoboost decided to switch to the 5.0 and don't regret a second.
Mod list on the old truck:
4" Rancho Lift, 35" Nitto Trail Grappler, 20" Fuel Mavericks 0mm, Mesh Rivot Grill, 2x 30" Light Bars Begind The Grill, 4" Round Led Fog Lights, Led Dually Backup Lights, Tonneau Cover, Custom Emblems and Badges, Edge 77Hp Tune, Airaid Intake, 4" Afe Exhaust, Bob VTA
Last edited by tthibault16; 12-05-2016 at 04:00 PM.
Installed 275x65r20 Goodyear Duratracs (34.2" by 11.1") with my old 20" 2011 FX4 Sport Gun Metal gray Rims.
Installed a 20" single row Aurora Sae street legal light bar in the bumper. Sorry I didn't save any good photos of that.
Installed Dually d2 flood lights with custom mounting brackets as reverse light. Blacked them out by taking the lense off and vynil wrapping them.
Wired them to the reverse light so that they come on automatically
Last edited by tthibault16; 12-05-2016 at 03:46 PM.
Looks good! But, I think you're missing some things. Lol
Keep checking in I'm updating it throughout today to get the truck up to speed. After that I'll post once stuff is getting done or after I have a review of a product.
Keep checking in I'm updating it throughout today to get the truck up to speed. After that I'll post once stuff is getting done or after I have a review of a product.
Yeah, I think I got impatient. Lol. Starting one of these after you've been doing mods is a pain. Did one on my last truck after a few years of modifications.
Step 1:Started off by taking the factory bumper off
Step 2:Built custom brackets based off the factory ones
Step 3:Started building the front face and side pieces
Step 4:Built the top third of the bumper
Step 5:Built the bottom third of the bumper (missing some pictures)
Step 6: built end caps
Step 7:Filled in the gaps with pieces on the top of the bumper
Custom bumper build day 2 welding and paint preparation
Step 8:Finish any left over fabrication
Step 9:Weld the bumper up
Step 10: clean up the welds and make the look nice (sand them to a point
Step 11:Build bumper supports
Step 12:Temporary paint till light bar and bull bar are ready
Yeah, I think I got impatient. Lol. Starting one of these after you've been doing mods is a pain. Did one on my last truck after a few years of modifications.
I'm quickly realizing that, this suck but if it helps someone it's worth it

 12-05-2016, 03:01 PM