When you click on links to various merchants on this site and make a purchase, this can result in this site earning a commission. Affiliate programs and affiliations include, but are not limited to, the eBay Partner Network.
Picked up a new 2018 Platinum in early January and got to work - started with getting ceramic tint on the windows/pano and then dug in to the bed. More to come
I did 3 popular items - Bakflip MX4 cover, Bedrug, and Swingcase, all purchased through forum sponsor Realtruck, who were easy to work with and had great prices:
I thought I'd post some pics and tips for others. I was also helped a great deal by threads like this one:
Which is chock full of good advice on installing the Bedrug correctly with the bed lights/switch, as well as videos like this one from Bak regarding the MX4 install on an F150:
All that helped a lot but there's still a bit of "learn as you go" so here's what picked up doing mine (all on the same day):
Step 1: Bedrug install: Install this first. You can install it even you already have a cover like the MX4 but it would be a bigger PITA to deal with.
(Tip 1: Bedrug also has an Ultra version (Bedtred) which true to the name is tougher and looks more like a spray-in, but a little more "slippery". If you run uncovered it may be the better option though the regular Bedrug also holds up well in adverse weather conditions. They are roughly the same price. )
(Tip 2: If you already have a spray/drop in bedliner, look at the Bedrug Bedmat - there's an XL version too if you want it to cover the inner tailgate. It is a lot easier to install and cheaper. Let your liner protect the sides/back and the bedrug your cargo/knees. A plastic liner will require adhesive promoter to stick the velcro strips correctly).
Install tips: The Bedrug is straightforward but tricky at the ends to get right (both in terms of fitting it and dealing with bed lights and the switch). It's worth paying $10 or so for a extra roll of Velcro black low-profile 1 inch tape with industrial strength adhesive (Amazon carries it) to do the ends/have extras for the bed sides.
The threads and video I linked above have a ton of advice and pics so I won't rehash everything but here's what I learned:
When it arrives let it sit flat out of the box right away otherwise it will be a serious pain to assemble. Leave it in warm sun or do what I did and lay it on your garage floor with some weights on the corners to allow it to flatten out for a couple hours.
Make sure you have a new, sharprazor/box cutter handy. Even a slightly dull blade will make the necessary cutting of the bedrug 10x more difficult. I initially used a box cutter I had sitting in my toolbox without changing the blade and came to quickly regret it. A trip to Home Depot for a new blade made the rest much easier.
You'll need a #30 Torx bit for the Box links and tie downs, and an 8mm socket for the taillights. A decent drill makes the job go quicker, though on my brand new truck I needed to use a screwdriver handle to first loosen the bolts before my drill could take over.
Remove the tie down hooks and box links first. Thread the screws for each back in and leave them sticking out about 3/4 of an inch so you can easily feel them as you install. Also remove the bed lights and switch if you have them. The lights come out easy enough but overall this is easier if you remove the taillights - for the light switch I think taking out the taillight is near-mandatory as that thing is clipped in, but good.
If you are installing a Swingcase(s) you have to remove the taillights anyway; doing so makes popping the lights out easy: just take out the two 8mm bolts holding the taillight and firmly pull back. If a little plastic tab pops out don't worry, that goes around the guide hole up top and it clicks back in.
The light switch is a total pain in the *** to get out even with the tail light removed (and if you try to pop it from the front you may even break the clips, others have). From the inside, work the top out first, then squeeze the sides. That thing is in there *tight* but it will come out with some patience. And yes you will have even more fun putting it back later.
Some bedrug owners just install right over it and put a piece of tape to mark where the switch is because you can still press it through the material.
Clean your bed well and have some 91% alcohol cleaner and shop towels for the areas the velcro strips stick to. Make sure you clean those areas with extra care and let the alcohol dry first (wipe it again with a clean shop towel) because they aren't kidding about that tape not sticking well to a surface that isn't perfectly clean.
Bedrug pt. 2
After doing all the above - which is easily the biggest PITA when it comes to installing this thing - it's time to put the Bedrug together and in your truck.
Once the Bedrug has flattened out, zip the two sides together. It's easier to zip the sides if it is inside-out.
Place the two velcro strips for the bottom on the marked spots of the Bedrug before you put it in the truck - easier to get them on nice and smooth that way - but put the rest of the strips on when it is in the truck.
While the Bedrug has little marks showing where to attach the short strips they are hard to see and don't align the strips precisely enough. I found putting them on with the rug in the truck and the sides pulled down allowed me to easily see where they needed to fully attach to the raised/recessed portions of the bed.
Put the rug in the truck. I pushed up the sides and checked the overall fit before attaching any velcro, then used my knees to give the front corners (cab side) a little nudge so they fit in perfectly, then laid down the strips on the bottom, checking placement and cleaning as I went.
Then I started from the front (cab side) first, going from the middle out, and slowly worked around the sides**. This part requires patience - you will be tempted to rip through it - but take your time, check placement of the strips before you peel off the backing and stick, and smooth out each section as you go. Also, only remove the backing of the strips you are attaching because the sides will flop around at first and you don't want the other strips to randomly stick to things and complicate your day. Doing all this will result in a nice form-fitted look and will make your life a lot easier when you get to the ends.
Bonus note: If you are installing the MX4 next, I recommend per other members to install the drain tubes in the stake hole pockets up front - you should have two small oval holes up there (some trucks don't apparently so check). Otherwise you have to install behind the Bedrug - which won't look or fit well - or possibly use the drain holes in the bed. Any way you go you have to cut a hole in the Bedrug and the stake pocket holes make for the cleanest look. When you install that part take the time to cut a small hole in the Bedrug to access it - it is a lot easier to do that at this point rather than at the end of the MX4 install
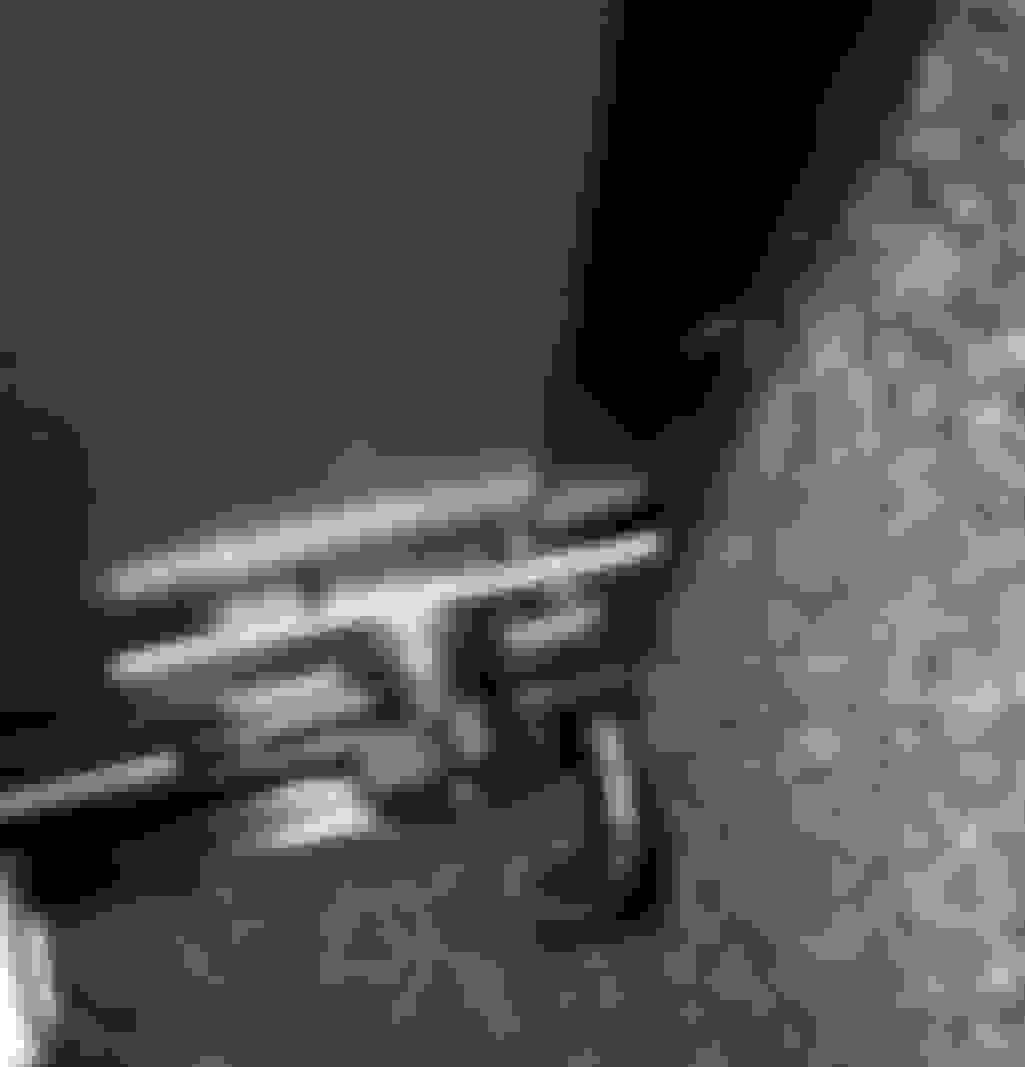
This pic was taken before I fully aligned the MX4 - the tube is little forward and a 90 degree angle when adjusted
**When installing the front section (the wall against the cab): The instructions tell you to use one of the two long strips across the top of the front of the cover (the other is for the end of the tailgate) and the small 1-inch strips to attach the end of the Bedrug against the vertical end of the bed where the tailgate closes. This will result in an ugly looking install since that area is the first thing you will see when you open the tailgate and the smaller strips leave obvious gaps (also, the adhesive is white which makes it even easier to see). There are two options:
Get a roll of 1 inch Velcro low-profile black tape with the industrial adhesive (it won't damage paint but it will definitely stick well to it). You can get 10 feet for under 10 bucks on Amazon. I did this and it resulted in a really clean install that I am very pleased with (see pics below). Plus you can use the extra tape to further shore up inside the bedrug, such as around the bed lights.
Or, use the 1 inch strips meant for the back in place of the long strip meant for the top front instead.
This is when I used the smaller strips on the end as instructed. Pretty noticeable and it doesn't help that the adhesive is white.
This is after I reinstalled with one long strip of the Velcro low-profile black adhesive.
As you go along, when you come to sections with the screws for the box links/tie downs, take your razor and make a little x incision over each screw head (which you hopefully put back in and left sticking out) then push through. I did this as I went, not after, because it made it easier to keep the following part of the side smoothed out as I went along.
When you get to the rear where the lights and switch are:
I installed the bedrug completely first and got everything nice and fitted. The corners are tricky since you are doing two opposite folds - take your time. It is super-important to make sure the section around the lights and the switch is perfectly flat otherwise you will have an even harder time putting them back in. Use extra velcro tape around them on the inside, especially around where you are going to cut for the lights/switch, if you have the extra tape, and make sure the corner is in tight before you reattach the tie downs. Use a long strip cut to length on the end as noted earlier, start from the bottom, and smooth it all the way up. It's a little trickier to fit under the upper rail section here but nothing too hard.
Then, since I still had both taillights out, I went in from the back where the openings were clearly visible and cut a small vertical strip through the middle of the openings for the bed lights and switch. If you are installing a Swing case, at this step you can use an awl or some other small sharp pointy tool to poke through the mounting holes for its bracket. When I redid the back of my Bedrug I found doing it this way to be easier and more accurate then trying to mark where the holes needed to judging from the outside of the Bedrug.
For the lights, make a capital "I" cut and don't go all the way to the metal edges of the opening; you essentially want to create a set of flaps. You can (and probably will need to) trim off a bit of each flap to make putting the lights in easier. For the switch, I made an X cut instead since that opening is square, and trimmed the resulting pointed corners down.
Lights go in top clip first - if you don't engage that little clip on the top nothing else you do will work and it is harder to do on top of the Bedrug - then push it in until the bottom clicks. Yes this is going to be a tight fit and a slight pain in your rear. It helps to be able to grab from the back as you are pushing it in to make sure the bottom clip engages.
The switch is worse going back in than removing it. It's in two pieces, and due to the cable attached to the bottom you have to put that in first, then work in the top clip, and finally the clips on the side. There is very little room to work with on these clips - you may have to trim back the bedrug more (I did) to get them to click. You don't want to trim too much though, because the whole point of doing it this way is so the switch (and lights) appears to be mounted flush on top of the bedrug, not set in to it. It sucks. Be patient. Drink a beer. And be careful of putting too much pressure on it because others have reported cracking theirs.
Do the tailgate last. It isn't difficult - the only trick is to line it up square and put the two outside edges on the bottom of the tailgate first and work in (the reverse of how you did the front), then the long strip at the top of the tailgate. The latter should line up straight along the metal just below the plastic tailgate guard - don't put it on the plastic itself, it won't stick well and that also means you are too long. If you installed everything correctly it shouldn't reach that far anyway.
Finally, go back and take out the screws and reinstall your box links/tie downs (or you could do this as you go).
You should end up with a nice form-fitted look that is securely attached, has clean lines, and has an "OEM" look for the box links/lights/etc. sitting flush on top. It takes patience but you only have to do it once..... unless you are like me and screw up the ends and re-do them that is.
Next: Swingcase.
This one is the easiest.
With the Swingcase it makes sense to install as you are finishing the Bedrug, as you should have the tailight (one or both depending if you are installing one or two Swingcases) out and the holes punched in for the mounting plate. Overall, pretty easy, however I want to note a couple things:
The installation instructions are wrong/out of date. Both the paper manual that comes with it and the pdf on the website. For starters, it tells you not to install it on top of a Bedrug. It backs this up by showing a pic of the mounts installed under a Bedrug...except they are the older mounts, not the ones it ships with (or for that matter, the ones the very same instructions show above this "warning"). Second, you can in fact install it on top of the Bedrug, it works/fits fine and looks a lot better. Third, the mounting clip, which installs over the rear Boxlink, actually can't go under the Bedrug, unless you cut a giant section of it out, which would look terrible. Finally, the install videos on Undercover's own site show...you guessed it, someone installing on top of a Bedrug
Basically, ignore that part. Install both on top of the Bedrug, it fits and clicks in to place just fine. The only slight trouble you may run into is with the hinge bracket/mount - the top and bottom screws fit in to the larger openings in the tailgate and install easily with the included spacers, but the middle Torx screw goes though the the one threaded mount and when installed on top of the Bedrug it is not quite long enough to go on with the recommended (and supplied) lock washer.
This actually isn't a bad thing because (and this is just me) lock washers suck especially for smaller screws like these. I've had them fail on me before and there was even a study done showing under certain conditions/vibrations a lock washer actually loosened a screw faster.
What you do here is get yourself some Loctite thread-locker Blue (or appropriate thread sealent) and put that on the end of the screw, then torque on the nut as normal. If you've never used it before the Blue variant is the one meant for threads that may need to be removed later. It will keep screws this size from loosening while still allowing them to be taken out with regular hand tools. Don't use thread-locker Red! Unless you want to truly weld the screw to the nut that is.
You can use this on the top/bottom screws as well, along with the lock washer.
Only remaining thing I want to note is another thing the instructions leave out is that you can in fact install the clip mount over your Box link, in fact looking at it it is clearly designed for that, but no mention is made of doing so. I put the Box link clip in first, held it over the mouinting holes, then threaded the two top screws in through the Swingcase clip mount on through the Box link. I should mention that doing this adds about, roughly, 1/8+ inch or so extra gap, or about two turns of the screw. Whether this is in full spec with Ford's torque requirements for those screws/load rating of the Box link I can't say for sure, but it still goes in deep. Maybe someone else can weigh in here (and maybe this is why the instructions make no mention of it even though, again, the mounting clip is clearly designed to do this). If you are super paranoid then find some longer 13mm screws and space them out with washers so you can fully torque them in.
Here's what it looks like installed:
Works fine. Only thing to be aware of is if the Swingcase is closed your tie down strap will need to come out at an angle to clear it, or you'll need to move the Swingcase. Fortunately the Swingcase is both easy to move out of the way (it's the purpose of it) or flat out remove; when swung all the way out it lifts straight off the hinges easily. Here's a pic of it installed with the Boxlink:
Overall, I like the Swingcase, though it's not the sturdiest box I've ever seen. If I didn't have the MX4 locking over it I probably would have gone with something else because the included lock is somewhat flimsy, and if you want to secure it to the mount you need to use a small padlock (not included) which seems like it would be a pain. That said it installs easily and conveniently stores your basic "truck stuff" like a hitch, tie downs, bungee, flares, etc. It's a good match for a cover like the MX4 which locks with the tailgate automatically.
(Tip: If you are considering the MX4 don't overlook the F1, which has been updated with features the MX4 has, like being able to open/shut the tailgate with the cover closed, and is sturdier all around. The F1 is roughly $100 or so more but is made tougher for weather extremes like heavy snow and hail. The MX4 is lighter and can take a little banging around but is easier to dent than the F1).
By way of example, here are a couple dents I put in the underside of mine on day one, where I closed it over something in the bed that stuck up just a little. It didn't take much to do this:
MX4 Install tips:
This is pretty easy to install. Or I should say, easy to install badly and tricky to install correctly, particularly the side rails. The difference comes down to whether it leaks or not. While I doubt it is 100% waterproof I've already gone through two rainstorms in Texas with it, one right after I installed it (badly) and one after I redid the rails and in the first I had some water leaking in (luckily the Bedrug doesn't absorb water) and the second I didn't so....
Install:
Get the rails on right. This means the clips - the install videos I've seen gloss over this part but no, no no. This is probably the number one difference between leaks and no leaks. You want the top of the rail flat - and I do mean flat - against the top of your bed's plastic guard. And you want to make sure the teeth on the clips fully engage the ribbing on the inside of the MX4 rail. Here's a pic of how I did it badly:
It is easy to install them this way, especially if it has been a long day already! Get them fully engaged and straight.
Here's a pic of it done the right way - notice how far to the rear this clip is - you want to get them as close to each end of the rail as possible, then measure out the middle one. The clip is straight and level and the teeth are fully engaged in the ribbing on the rail:
I also used a pair of channel locks to hold the rail(s) in place while I installed the clips, rather than loosely installing the middle clip. It was just easier this way. I did the front, rear, then measured between and installed the middle. Then held down the top hard, with some weight behind it, while I torqued the bolts down (about 8 pounds if you are using a torque wrench, or roughly a half turn before you can't move it by hand without).
Then I installed the rest as instructed. Be careful when lining up the rear of the cover with the tailgate - it is easy (obvious) to see if you are too long because the cover won't close, but you may not realize you can also be too short because the cover will still click in to place and the seal will go over the gate. You want to be about 1/8 inch or so from the inner clip to the back of the tailgate for it to be lined up right.
Here's a pic of it installed and spaced correctly - notice that the white latch on the cover is engaged well under the lip of the rail. You want both sides to be even, front to back (each panel has a set of latches remember) before you tighten the hand clamps back down. This will help it close correctly every time and also help with leaking.
For the hand-clamps in the back - I use thread-locker blue on those as well, because I noticed even after just a few days of driving they tend to come a little loose, even if you have the lock washer flattened out. Really, I used it everywhere it made sense, including a few drops each on the rail clamps, which are prone to vibration when driving and may loosen over time and throw off your fit as well.
See my post above with the Bedrug to see how I installed the drain tubes in the stake hole pockets.
Finally while the MX4 itself is overall well made the little retention clip for the prop-bars are crap - they bend easily and I am pretty sure over time they will break right off. See this post here: https://www.f150forum.com/f118/bakfl...er-fix-399646/
for a good (and very cheap) replacement you can get at a Home Depot/etc.
And that's it! Pretty simple addons, really, and not too expensive overall - appreciate the deal I got from Realtruck (who did not ask for the endorsement btw, just had a good experience). A little time and patience and you'll have some pretty nice additions to your F-150. Different strokes for different folks and all that; maybe this isn't a good setup for a full time offroad or work truck, but for the occasional off-roader like me (hunting lease) who uses the truck 80-90% of the time as a daily driver these really make using the truck bed itself a lot more convenient, while still allowing you to use it for more manly-man truck stuff like hauling around dirt, junk, etc (actually the first thing I did after this was haul a load of junk from an old house away).
Hope you like the post and if you have any advice or spotted something I did wrong I'm not too proud to correct it.
Excellent write up. I'm about to install my bedrug and this is helpful.
Who did your ceramic tint?
Thanks!
CustomFX Tint in Austin (actually, Pflugerville, a little north of the city) did it. They were very highly rated on Yelp with many reviews and my experience backed those up - easy to schedule and deal with, solid work, good price. As with all tint at first there are a few tiny streaks/bubbles but those corrected after just a few days. Looks perfect now and the ceramic tint already makes a difference in blocking heat (I leave the Pano cover open normally) though the real test will be when summer comes back around here in Texas.
I'll give them some consideration. I was thinking of having Xpel do it whenever I schedule the clear bra install. Either way, it does need to happen before the heat turns on!
CustomFX does clear bras/etc. as well. I've only had the one experience with them but it went well.
I did have the top of the windshield done in accordance with Texas law; I didn't go for the full (clear) windshield heat blocker though. Just doing the top is cheap (I believe $40 for that part, and that was with the ceramic) and quick; it's an easy add on while they are doing the rest. I don't have great luck with my windshields getting chipped/cracked in Texas so I didn't want to invest in the full inner coverage however they do offer it.
I like the idea of a full ceramic clear on the windshield - spent lots of time riding shotgun in vehicles that have it - and it makes a difference. However, I've also had lots of rock chips so there is some cost risk.
Great write up. If you had to do it over, would you have went with the F1 over the MX4?
Good question. Probably, yes. I don't claim to be Mr. Moneybags but it would easily have fit my budget and everything I have read says it is sturdier. The only downside I know if is it is a little heavier to fold up but that isn't a big deal to me either. It also has a "shinier" look to the top vs. the pebble look of the MX4 - I prefer the latter over the former.
Main reason though is Bak doesn't do a good job advertising that the new(ish) revision of the F1 also can work with the tailgate like the MX4 - earlier versions couldn't and that was a factor for me. If I had known that up front I may have chosen differently.
That said I am happy with the MX4. I might be less happy if I get caught in some hail and it turns in to one more thing that dents but (knock on wood) I've only had one problem with hail and my vehicles in 30+ years so not going to stay up at night worrying about it.
You can always add a rider to your insurance policy (mine is $20/year extra) to cover custom parts & equipment from damage - if it's only the MX4 that gets damaged the deductible will eat in to that, but if hail dings your whole truck and you hit the deductible anyway it's one less thing you have to pay out of pocket.

 01-27-2018, 08:13 PM