When you click on links to various merchants on this site and make a purchase, this can result in this site earning a commission. Affiliate programs and affiliations include, but are not limited to, the eBay Partner Network.
My truck (XL) did not have armrest storage but did have the cup holders and foam/cloth on the rest of the back of the bench seat. I removed the piece on the back of the seat, took the foam out, hooked the cloth to the tabs and put the console (FL3Z-18644A22-BD) in. 30 min job taking the seams apart took the longest.
Thanks for the tip. I ordered that part and will attempt the mod also. Wish me luck!
Just a word of advice from experience - start on one side from the cup holders and work towards the back. When you get to about 3 inches from the back corner Stop! Do the same on the other side. Measure the length you'd need to hook the fabric to the rear tabs (they are farther down than the sides) and see where to cut.
Measure twice, cut once as they say
Hooking the cloth to the side tabs can be done when you undo the seams but you need to pull the fabric good. Alternatively you can cut the fabric and give yourself an extra inch on the sides instead of undoing the seams.
Has anyone with the black armrest replaced the plastic cup holders out with the black option? I was looking on tascaparts and browsing through all the OEM tid bits you can purchase and I noticed they had that part. I'm thinking about doing the whole top in black so I was curious to see if anyone else did it and how it looks?
Has anyone with the black armrest replaced the plastic cup holders out with the black option? I was looking on tascaparts and browsing through all the OEM tid bits you can purchase and I noticed they had that part. I'm thinking about doing the whole top in black so I was curious to see if anyone else did it and how it looks?
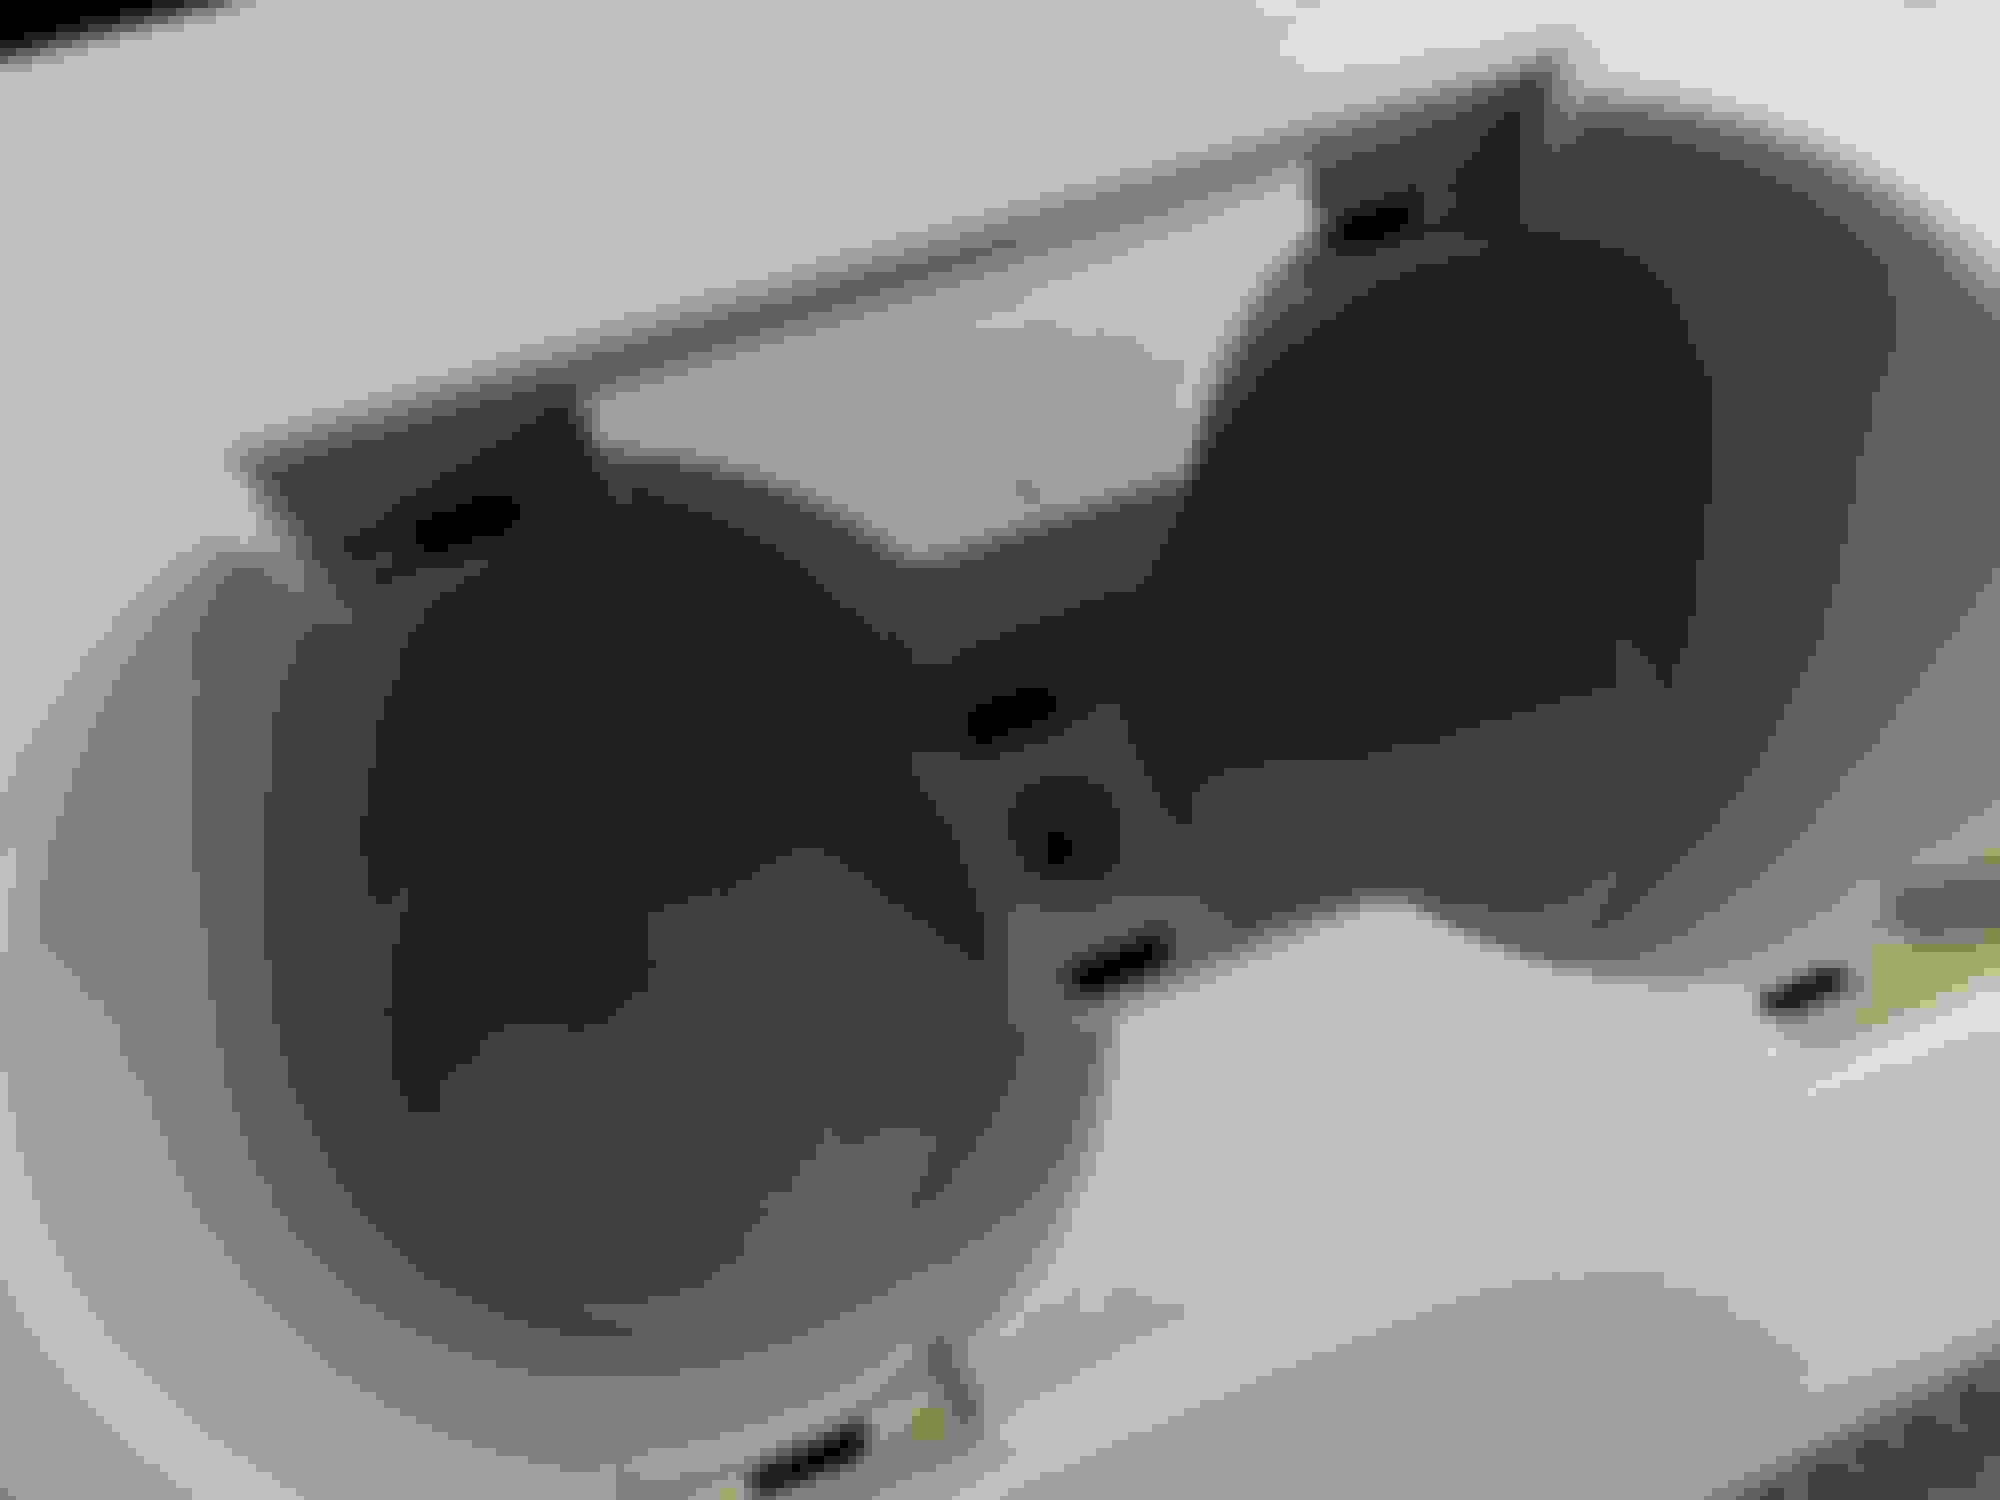
I haven't done it yet, but just took my cupholder out to get an idea of what's under there and get a better understanding of how I'm gonna do this mod. The cupholder comes out easy, one T25 torx screw under the cup holder liner, then just give the assembly a good yank and it will pop out. It would be real easy to swap out with a black one. I think it would look better, too.
My truck (XL) did not have armrest storage but did have the cup holders and foam/cloth on the rest of the back of the bench seat. I removed the piece on the back of the seat, took the foam out, hooked the cloth to the tabs and put the console (FL3Z-18644A22-BD) in. 30 min job taking the seams apart took the longest.
Originally Posted by atldude
Just a word of advice from experience - start on one side from the cup holders and work towards the back. When you get to about 3 inches from the back corner Stop! Do the same on the other side. Measure the length you'd need to hook the fabric to the rear tabs (they are farther down than the sides) and see where to cut.
Measure twice, cut once as they say
Hooking the cloth to the side tabs can be done when you undo the seams but you need to pull the fabric good. Alternatively you can cut the fabric and give yourself an extra inch on the sides instead of undoing the seams.
Originally Posted by atldude
Just remembered - you'll need the following extra parts:
FL3Z18045G34AA - back mat
W715822S424 - 2x M4 x 12MM, Screw
I just want to make sure I fully understand this before I order the parts...
You cut this seam to separate the top fabric and pull the armrest foam out, then attached on the inside to those black tabs. Would you recommend cutting the seam, or cutting the fabric for a little extra wiggle room?
Does the armrest assembly come with the actual storage area, or is it just the lid/armrest? And you just need the two additional screws to install? How does it connect in the front?
If i had to do it over i would have cut the fabric 1-2 in from the seam on the sides and about 4-5 on the back. The front is not needed. You can always cut more all u need extra are the 2 screws and the small matt everything else comes w the assembly!
I haven't done it yet, but just took my cupholder out to get an idea of what's under there and get a better understanding of how I'm gonna do this mod. The cupholder comes out easy, one T25 torx screw under the cup holder liner, then just give the assembly a good yank and it will pop out. It would be real easy to swap out with a black one. I think it would look better, too.
T25 torx under liner
Give the assy a good yank and it will pop out
Oh that's awesome! That makes it a solid go for me ha. I appreciate you sharing that. I think it will def tie in the color combo a little better with the whole top being black.
Oh that's awesome! That makes it a solid go for me ha. I appreciate you sharing that. I think it will def tie in the color combo a little better with the whole top being black.
Oh that's awesome! That makes it a solid go for me ha. I appreciate you sharing that. I think it will def tie in the color combo a little better with the whole top being black.
Be sure and post some pics when done. I have already previously replaced my cloth gray top with the black leather to match the dash and the arm rest on the doors. I'm liking this idea also.
Why stop there? I'm also considering replacing the panel under the steering column and the glove box door with black. But wonder if that would be overkill.

 04-22-2017, 08:50 PM