When you click on links to various merchants on this site and make a purchase, this can result in this site earning a commission. Affiliate programs and affiliations include, but are not limited to, the eBay Partner Network.
The PO used this truck almost exclusively on a big spread cattle farm. They did little other than change oil and tires on it. Although they did install new lower ball joints. I've had the truck for about two years now and have put less than 1000 miles on it. I use it on my small spread farm. Mostly to haul tools or stuff from field to field. Most of the time she barely runs long enough to get hot. Spent much of the first year just getting the drive line and brakes back up to snuff. I've converted from auto lockers to manual including replacement of munged up hubs. Plus I've rebuilt front drive axles. Completely rebuilt brake system front to back with the exception of the brake booster. I haven't really done any drivability work other than a base tune up. I have also installed a clock spring, anti-lock brake module and converted from non-tach to tach.
Note: At no time since I purchased the truck has the CEL triggered.
A couple weeks ago I drove the truck to the local lumber yard which is a 60 mile drive round trip. On the way back she started to run rough with erratic idling at stops. She died just as I pulled up to the house. By the way she acted and felt, I figured a vacuum leak had cropped up. No CEL came on. As I poked around I found the Air Divertor Valve at the rear of the engine was missing it's vacuum line. A little more stretching and I found the vac line dangling but it had a screw blocking it up. I remove the screw and hooked it back up to the divertor valve, check it's connection to the TAD and she fired right up. No rough idle.
But then the CEL light came on. Ha! There you go.
So I hooked up the code reader and on the KOEO test, I received the following:
552 - TAD failure
553 - TAB failure
565 - Purge Valve failure
631 - OD light circuit failure
So first thoughts are lets check/replace all vac lines to and fro before we start dropping cash on hard parts.
Right off the bat, the purge valve vac lines are totally dry rotted to the point that your fingers turn black just touching them. As the purge valve vac lines are 1/4", I'll have to go to town to pick some up. Also going to stop at HF and scarf a vacuum test kit.
Will add to this post after I see how things pan out ...
I would love to know how many of these trucks have been sold or scrapped just because of a bad vacuum line. It's such a common failure that nowadays whenever someone new comes into the forum asking about a "tune-up" the first thing I suggest is to rip out the factory vacuum harness and replace all the lines with 5/32" rubber or silicone tubing.
The oxidation on the surfaces of the vulcanized rubber lines is NOT critical. Only penetrations are significant, and even they are NOT vacuum leaks on the CANP lines. The CANP connects to the TB upstream (atmospheric side) of the throttle plates; not on the manifold-vacuum side. Also: the CANP is not part of the thermactor air system, and vacuum leaks will NOT cause a purge valve circuit fault to be set.
So while I'm all for upgrading the vacuum lines to silicone...
...I don't expect that to have any effect on your fault codes or symptoms. I'd check this site (you don't have to use your REAL e-mail) for your truck's wiring diagrams... http://www.bbbind.com/free_tsb.html
...and look for any point shared by the indicated circuits. Then find it on your truck, and look for damage.
I picked up a couple feet of 7/32 vac line for the Canister Purge line. As Steve mentioned earlier, unless there's perforation in the vac line, it's not a problem. But to me, it's like a dry rotted tire. It's gonna leak something at some point. Just replace it. Regardless.
This hose elbow is located at the canister on the frame rail. It attaches to the vinyl tube that routes to the canister purge valve.
*************************************
Canister tube from canister to purge valve. Your's might be just a straight line.
************************************************** *********
And of course, the purge valve. As a '94 model, the engineering number is E3TE-9C915-AA. However, I believe it has been replaced by E5TZ-9C915-A.
***********************************************
While I was replacing the lines for the purge valve, I noticed the vac hose (green) to the EGR valve was barely hanging on. I finished the break and repaired it by using 5/32 vac line over the old line and on to the EGR valve.
**************************************************
At hot idle, right about 800 RPM, the engine is holding @ 20Hg vac. When placed in drive with no increase in throttle, vac drops to 17. Seems to be in spec. I didn't do any throttle or drive time with the vac gauge set up. I'll do that in the next day or two, ( Hg - inches of mercury )
Hot idle steady @ 20Hg.
I plugged the vac gauge into an available port on the vacuum tree in the upper intake manifold.
It's gonna leak something at some point. Just replace it. Regardless.
Using that logic, you'd replace the whole truck. And then immediately replace the replacement - it's gonna wear out at some point.
My philosophy (which is similar to Ford's) is: if it's working and NOT on the maintenance schedule, leave it alone. Ride it until there's some REASON to replace it.
This ISN'T what Ford recommends: try to replace it with the same thing if possible (an assembly-line part, from the JY if necessary). The first one lasted this long - there's probably some life left in another one.
Having spent 25 years in Ford parts at the dealership level, I'm well aware of Ford thought process and philosophy as well as the dealer principal philosophy. It's one thing to replace for replacement sake, quite another to replace a piece of dry rot. While I'm not too awful picky, why would a 24 year old piece of dry rot on my truck be any different than a 24 year old piece of dry rot on a junk yard truck? And frankly, I have no desire to junk yard unless it's absolutely necessary.
After several weeks of other things to work on around the farm, I'm finally getting back to the F150.
So, I have the purge valve and TAD/TAB solenoids throwing out codes. Consulting the genuine Ford wiring schematic, which I highly recommend everyone should have a set for their truck, I find that these three items share the same electrical circuit. And the same circuit also include the EEC relay and the Fuel pump relay, As the pumps work and the truck starts, I'm not too worried about the relays at the moment. But there are a couple of shared splices in the network. I'll get to all the wire tracing later on. In the meantime.........
In the process of fixing the 552 and 553 codes, I need to replace the AIR crossover pipe that runs head to head. I have no idea how long its been rotted out but it's been like that since I've owned the truck. So that's at least two years. I had given thought to removing the EGR systems but decided not to. I'd rather have the truck as close to factory as I can keep it. If by chance I ever decide to sell the truck, I don't want to have to explain or defend why all the crap is missing and I believe I can garner a better price if it's all working and intact. The genuine Ford Part # for the AIR crossover pipe for the 5.8 (351W) is E5TZ-9B449-C. I went after market because my local parts house had them in stock. I bought a Standard AT-129 AIR pipe and AV-1 check valve.
Old rotted pipe. New Standard AT-129 pipe and AV-1 check valve.
AIR Pipe Removal (this is the way I did it. YMMV)
Replacing the AIR pipe is probably not for the faint of heart. It's not an overly difficult job but it's definitely a pain in the tush. The engine is as dirty as any farm vehicle might be. My intention is to clean things up while I'm going through the process of repairs. We'll see.
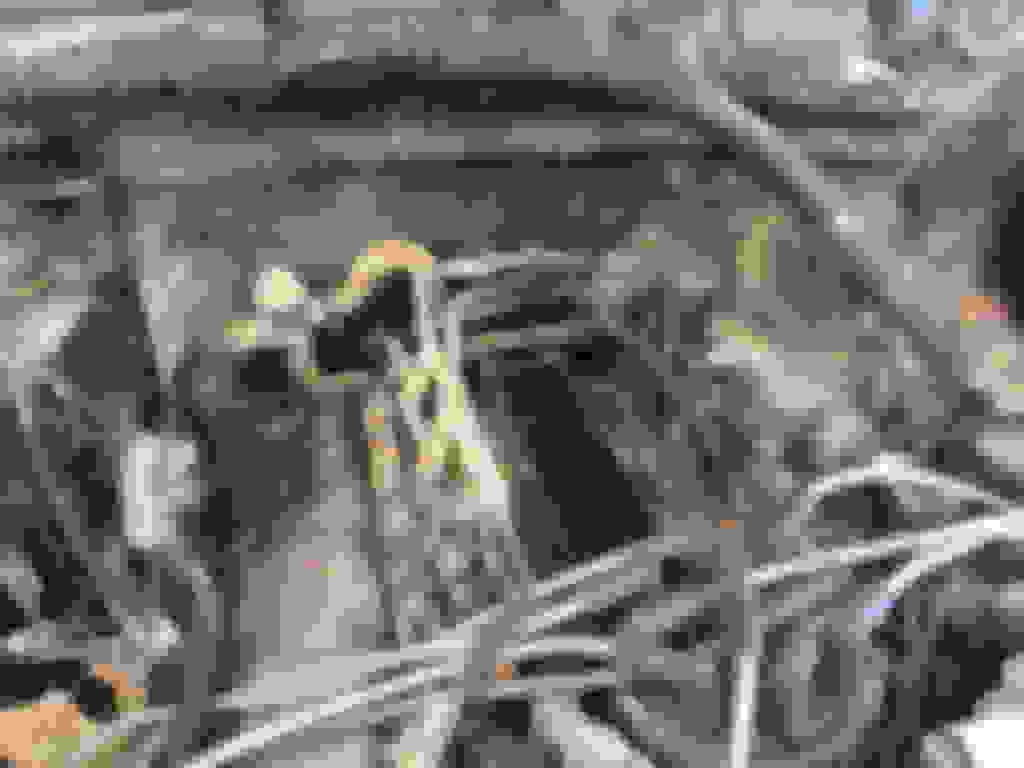
First Up - The engine bay.
I removed the following pieces: A - Air Filter Tube; B - Air Induction to Filter; C - EGR Valve; D - Throttle Body; E - Accel/Cruise Cables; F - Vac Line Tree; G - Oil Mini Filter Tube; H - Upper Intake Manifold
Caveat #1: Removing the EGR valve from it's tube is not required. I removed it just to ease access for the engine/degrease and clean up process. To remove the EGR valve from the tube requires 1 1/16th inch wrench and a good soaking of PB Blaster.
Caveat 1 - 1 1/16th Open Box Wrench
Caveat #2; To remove the upper intake there are 5 mounting bolts accessible using a 1/2" deep well socket on the "outside" of the intake, You will need a T-40 socket to remove the 1 single bolt that mounts "inside" the upper intake.
Caveat #2; Use T40 socket to remove inner bolt of upper intake manifold
Removed for access and clean up - - A - Vacuum Lines; B - PC Valve; C - TAB/TAD Cluster Mount;
You can see in the above picture where the heat from the rotted AIR tube essentially cooked the A/C hose foam shielding.
Looks a little better!! Blew out a lot of dirt, and pine needles. Now I can get to the AIR Pipe.
There are two bolts, one in each head, to take out in order to remove the AIR piping. These are 1/2" bolts. I recommend a long reach closed 12pt 1/2" wrench. 12pt to facilitate getting the wrench mounted on the bolt because you can't see it and you'll be stretching and contorting some muscle to get to them.You can feel them easy enough but then getting your hands in there and the wrench at the same time is a bit of a twister game.
Apologies for not getting photo's of the AIR pipe while it was still attached, I was on a roll and didn't want to stop!
Next set ..... Reinstall the AIR Tube and engine clean up.....
Hope this helps someone in the future!
Chap
Last edited by Chap150; 05-28-2018 at 06:42 AM.
Reason: Edit for correct T socket reference.
 05-06-2018, 12:37 PM