My 99 SCab Build
 03-05-2014, 11:08 PM
#11

Ordered a couple of new decals. Down to one left to buy 

One for the PK380 I'll be carrying.

And I went with this for my family decals. Will cut the dog out(we have 2 cats and 3 fish, no dogs) and recenter the decal or put the words next to it.
One for the PK380 I'll be carrying.
And I went with this for my family decals. Will cut the dog out(we have 2 cats and 3 fish, no dogs) and recenter the decal or put the words next to it.
 03-11-2014, 08:14 PM
#12

Done and done. All that is left is my Get Lost In Montana one and I'm good. Going through and making a list of **** I'll need to replace this spring and summer and start picking up bits of it now. So far that list is:
Plugs and wires.
Injector O-Rings.
Upper and Lower radiator hoses.
Trans filter.
Studs and Lug Nuts.
Rattle can bedliner for the steps and what ever else.
Black plastidip for the wheels and chrome on the bumpers.
I did notice that someone jacked one of my hubcaps. Finding a replacement locally has proven to be a major pain in the ***. Going to figure out if these:
http://www.ebay.com/itm/4pc-Ford-ICE...f5ede2&vxp=mtr
Will fit or not, they wouldn't match for now but later this summer they will and it would be less to dip.


 04-27-2014, 05:32 PM
#15
Been a busy month for me work wise so I'm doing a bunch of updates in one
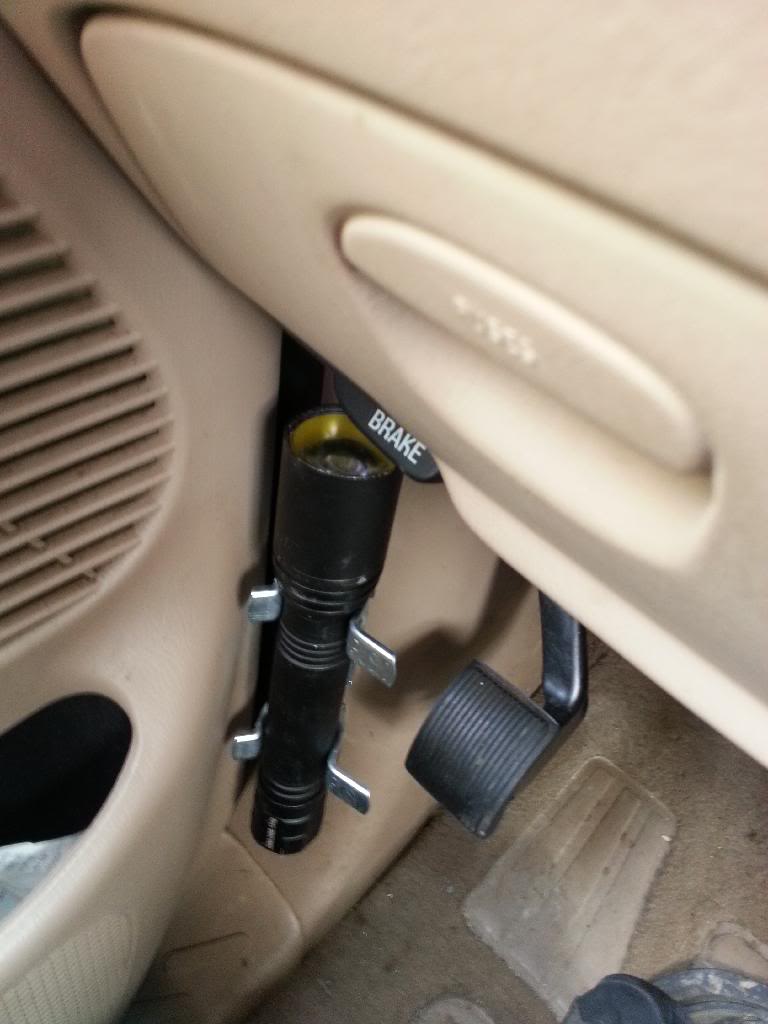
It was brought up on a different forum that my flash light mount provided a handy place to impale my leg on. This is how it sits with the door closed. As is the parking brake pedal blocks 90% of the impale risk and if I'm in an accident bad enough to cause my leg to impale into the mount I'll have much worse injury's to worry about.
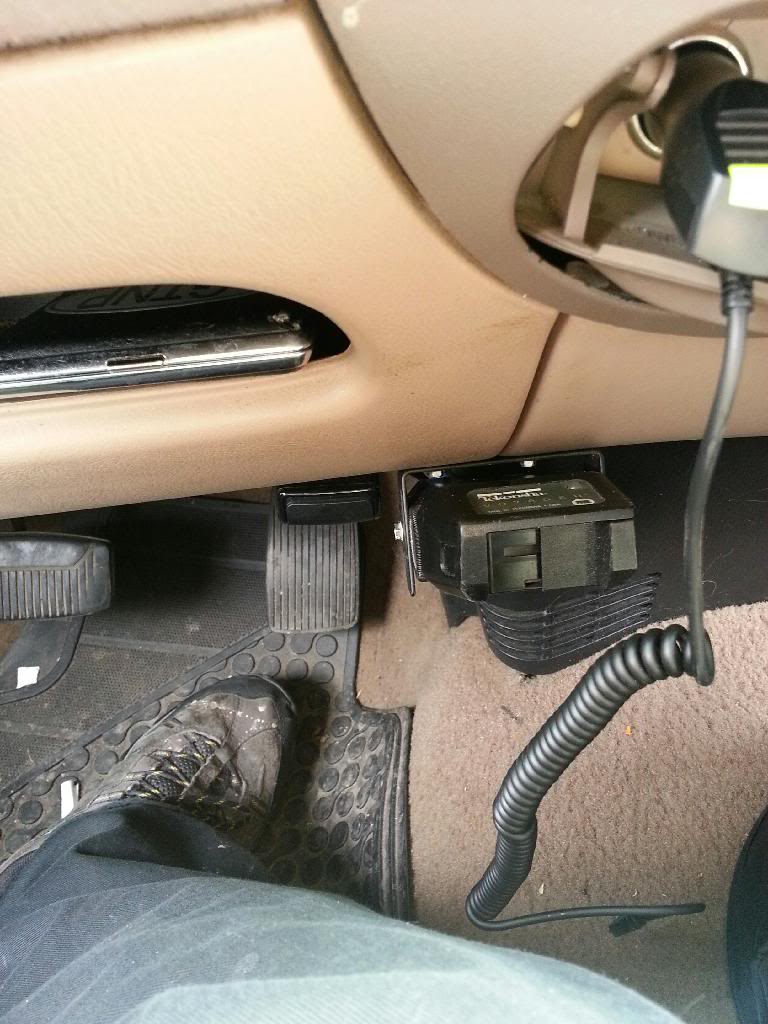
Got tired of seeing my trailer brake controller in my tool box. So I used the right hole(from where it was installed and blocking the OBD II port) as the left mounting hole and used a self tapper for the other side. Didn't move it much but enough to clear the port so I can run my State Farm narc device.
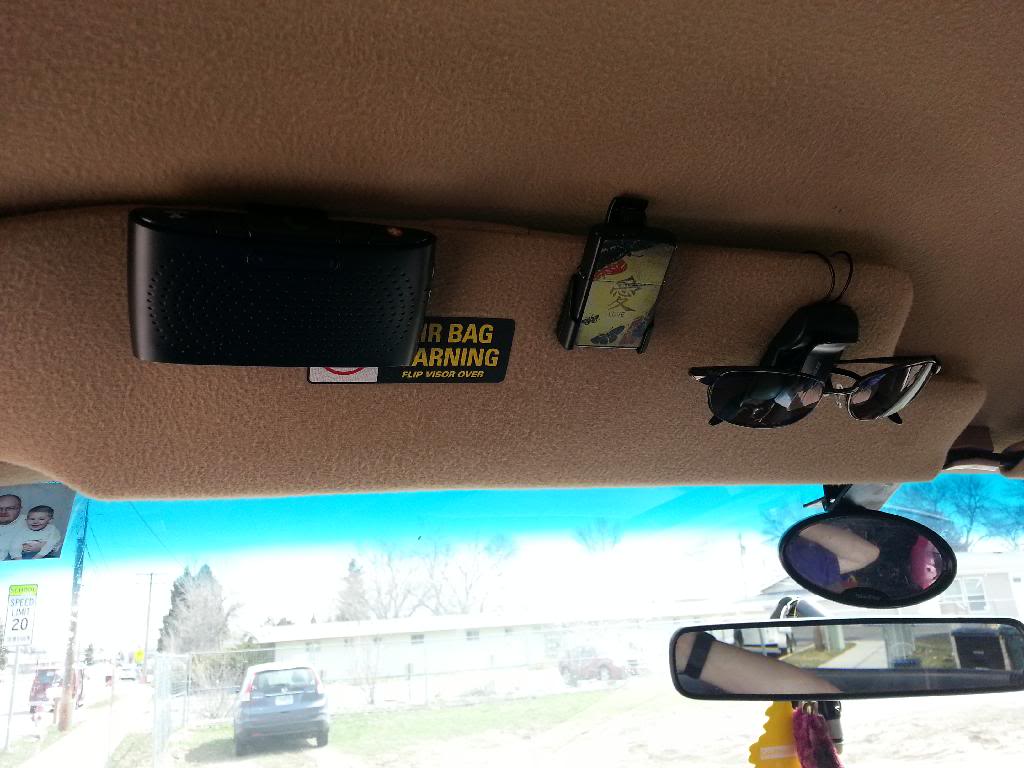
This was taken for a 'Whats on you visor? post else where'. Blue tooth part that came with my State Farm nark device(and the reason I signed up for it). Zippo holder and sunglasses holder.
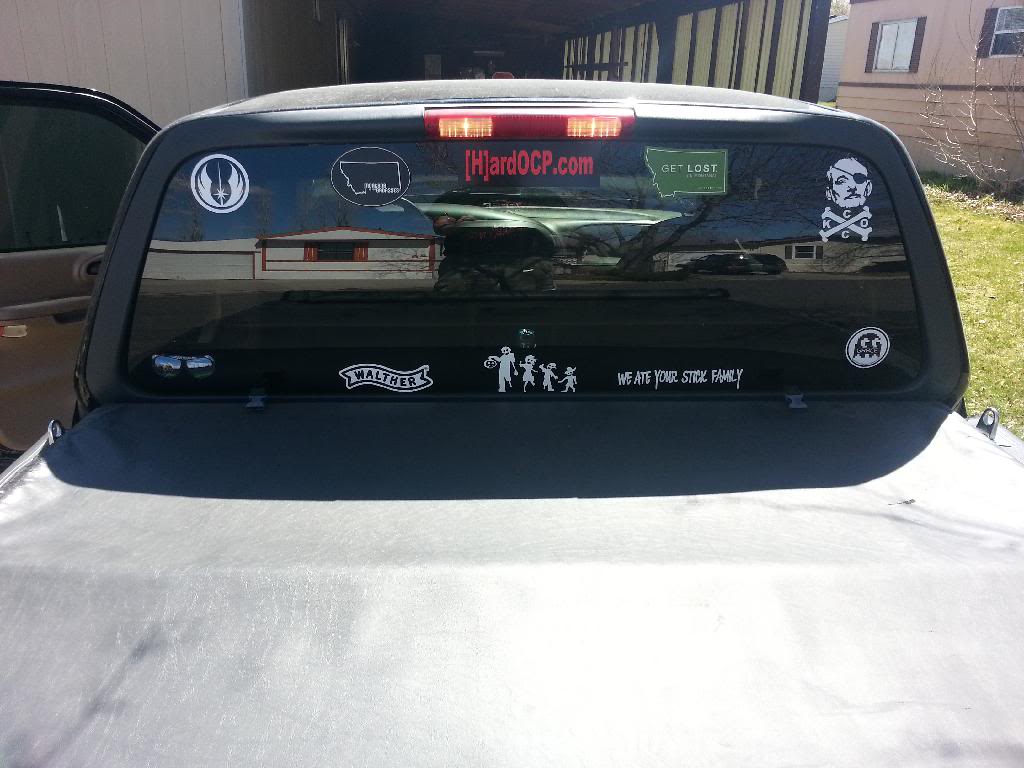
Got my custom made decal at long last. Top middle one. Got some what lucky as well as I was able to peel the pac man ghost one off and reapply it in the bottom left. Now all I need is to find a white on black Yellowstone decal and I'm set.
On a whim I bought a 48 SMD LED board then modded my dome light for it to fit. Holy **** what a figgn difference. Just the top light, lites up the the inside to the point you can see through the 20% tint. I promptly placed an order for a set of 5 24 SMD LED boards. 2 went into my wife's Explorer, one is going in the cargo area of my dads wagon and 2 went into the lights on my door panel. Again holy **** there will be no troubles seeing whats on the ground anymore. The one and only downside is that you can kiss your night vision goodbye if you flick them on while driving.
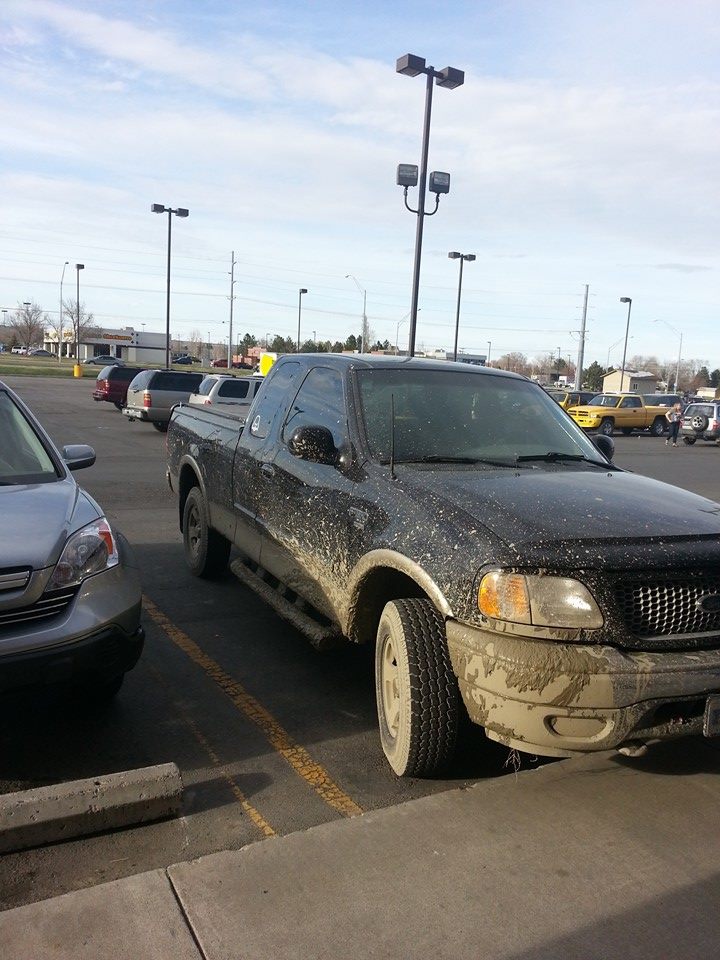
Found a mud puddle and caused the first damage to my truck
  Both horns were clogged with mud. Bought a set of "loud" horns and mounded them behind the grill, while they lack in the loud dept they are better then no horns. I plan to try and clear the mud out of the factory ones and put them behind the grill then remount the new ones in the factory spot.
For the eagle eyed members, yes my left rear hubcap has been replaced. Got lucky and had a used dealer 'donate' one to me in the middle of the night.
For the no pics part of this update:
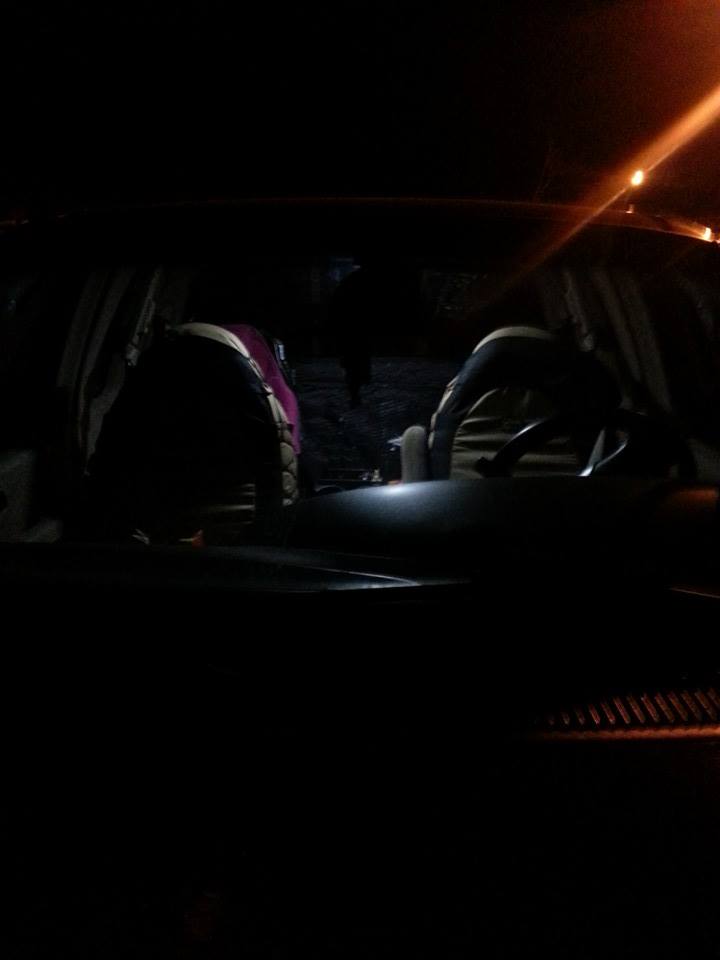
Bought and installed the child seat mounting kit.
Bought and installed a resettable circuit breaker for my amp.
While installed the mounting kit i notched the bar thing that goes across the top half of the back seat so I could mount my amp there ans mounted it with out the back on the amp. I'm going to drill a couple of 120mm holes in the back plate of the amp to help with air flow.
It was brought up on a different forum that my flash light mount provided a handy place to impale my leg on. This is how it sits with the door closed. As is the parking brake pedal blocks 90% of the impale risk and if I'm in an accident bad enough to cause my leg to impale into the mount I'll have much worse injury's to worry about.
Got tired of seeing my trailer brake controller in my tool box. So I used the right hole(from where it was installed and blocking the OBD II port) as the left mounting hole and used a self tapper for the other side. Didn't move it much but enough to clear the port so I can run my State Farm narc device.
This was taken for a 'Whats on you visor? post else where'. Blue tooth part that came with my State Farm nark device(and the reason I signed up for it). Zippo holder and sunglasses holder.
Got my custom made decal at long last. Top middle one. Got some what lucky as well as I was able to peel the pac man ghost one off and reapply it in the bottom left. Now all I need is to find a white on black Yellowstone decal and I'm set.
On a whim I bought a 48 SMD LED board then modded my dome light for it to fit. Holy **** what a figgn difference. Just the top light, lites up the the inside to the point you can see through the 20% tint. I promptly placed an order for a set of 5 24 SMD LED boards. 2 went into my wife's Explorer, one is going in the cargo area of my dads wagon and 2 went into the lights on my door panel. Again holy **** there will be no troubles seeing whats on the ground anymore. The one and only downside is that you can kiss your night vision goodbye if you flick them on while driving.
Found a mud puddle
and caused the first damage to my truck Both horns were clogged with mud. Bought a set of "loud" horns and mounded them behind the grill, while they lack in the loud dept they are better then no horns. I plan to try and clear the mud out of the factory ones and put them behind the grill then remount the new ones in the factory spot.For the eagle eyed members, yes my left rear hubcap has been replaced. Got lucky and had a used dealer 'donate' one to me in the middle of the night.
For the no pics part of this update:
Bought and installed the child seat mounting kit.
Bought and installed a resettable circuit breaker for my amp.
While installed the mounting kit i notched the bar thing that goes across the top half of the back seat so I could mount my amp there ans mounted it with out the back on the amp. I'm going to drill a couple of 120mm holes in the back plate of the amp to help with air flow.
04-30-2014, 08:55 PM
#16


Please tell me more about this child seat mounting hardware? Does this give you LATCH mounts? I have the F250 light duty version of your truck with 2 cars seats in the back and I use the seat belts to secure them but they are difficult to get tight enough to feel secure.
04-30-2014, 11:26 PM
#17
Please tell me more about this child seat mounting hardware? Does this give you LATCH mounts? I have the F250 light duty version of your truck with 2 cars seats in the back and I use the seat belts to secure them but they are difficult to get tight enough to feel secure.
I know someone will comment on this and how its 'bad' to make your own mount. While yes the half assed ones will most likely kill your kids. This set up uses 2 factory mounted bolts that have needed bracing and support for seats and seat belts. I have also taken my truck to our local fire dept and they went over it with their check lists and gave it a thumbs up.
Only hassle is that you will have to pull the back seat and the seat mount to get the strap off the seat belt mount and you have to blindly fist the seat to hook up the other side. I hooked the side that has the tightening part to the shoulder belt side.
Monday and today* I installed the driver and passenger side lock motors and programed the 2 key fobs I ordered(love fleabay). Its nice to have power locks and keyless entry at long last.
Also Monday I took the caveman approach and bashed the mud cloged horn on the open tailgate a few times until a tootsie roll sized clump of mud came out, tested both of them and they worked fine! they have been mounted to behind the grill as I don't like or trust the stock location.
Friday I'm going to try to find time to pull the drop in bed liner off the tail gate and open up the access panel to see if i can figure out why the handle likes to lock its self. I don't see any wires coming from it so I don't think there is a lock motor on it.
05-12-2014, 09:46 PM
#18
Got it stuck to the frame rails last weekend in mud, sadly no pics as I was pulled to freedom by a chevy(sigh)
No real updates other then I broke my toolbox(dolly got pushed into it and went through the side of it). Later that day I noticed that the container that held our tent didn't let any moisture and decided that I'd move the tent into something else and use this:
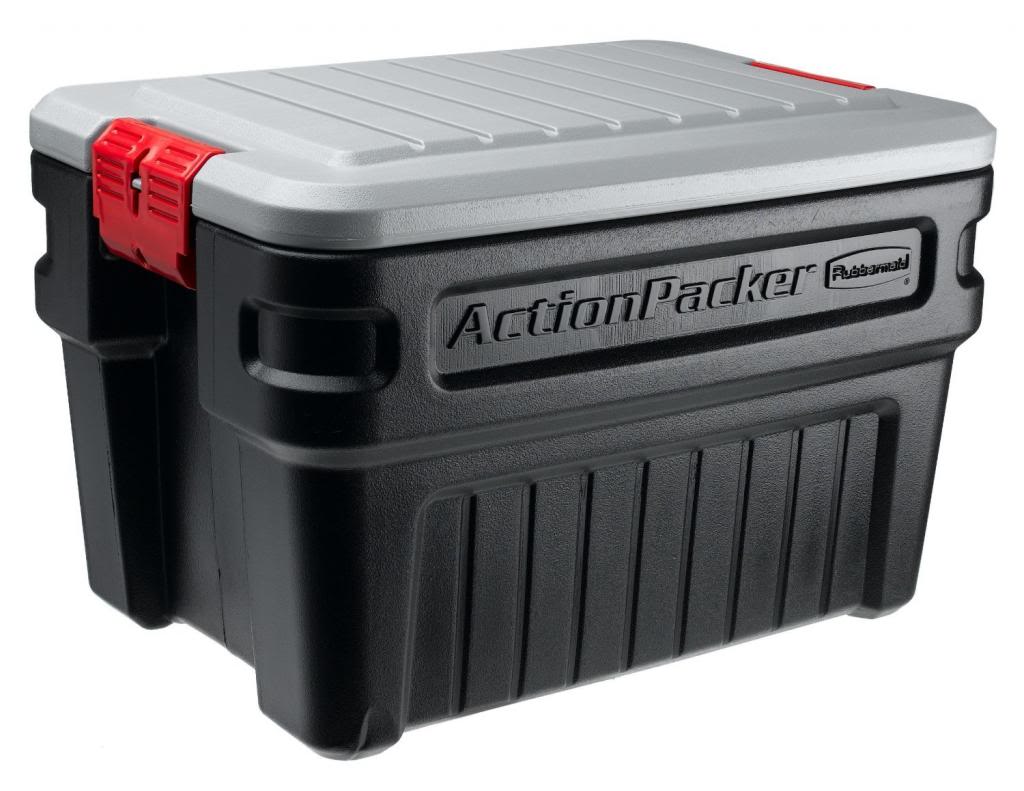 in my tuck for now.
No real updates other then I broke my toolbox(dolly got pushed into it and went through the side of it). Later that day I noticed that the container that held our tent didn't let any moisture and decided that I'd move the tent into something else and use this:
in my tuck for now.
05-31-2014, 02:30 AM
#19
Replaced the falling off Yellowstone decal with a new one:

While setting the appt for my now pushed to mid July spray on bed liner* my kiddos found a display truck bed that had a couple of different ladders on the tail gate. I noted the one that my kiddos liked the best(and that worked for me as well) and ordered . Got it from UPS today.
Installed, but before every thing was tightened down all the way:
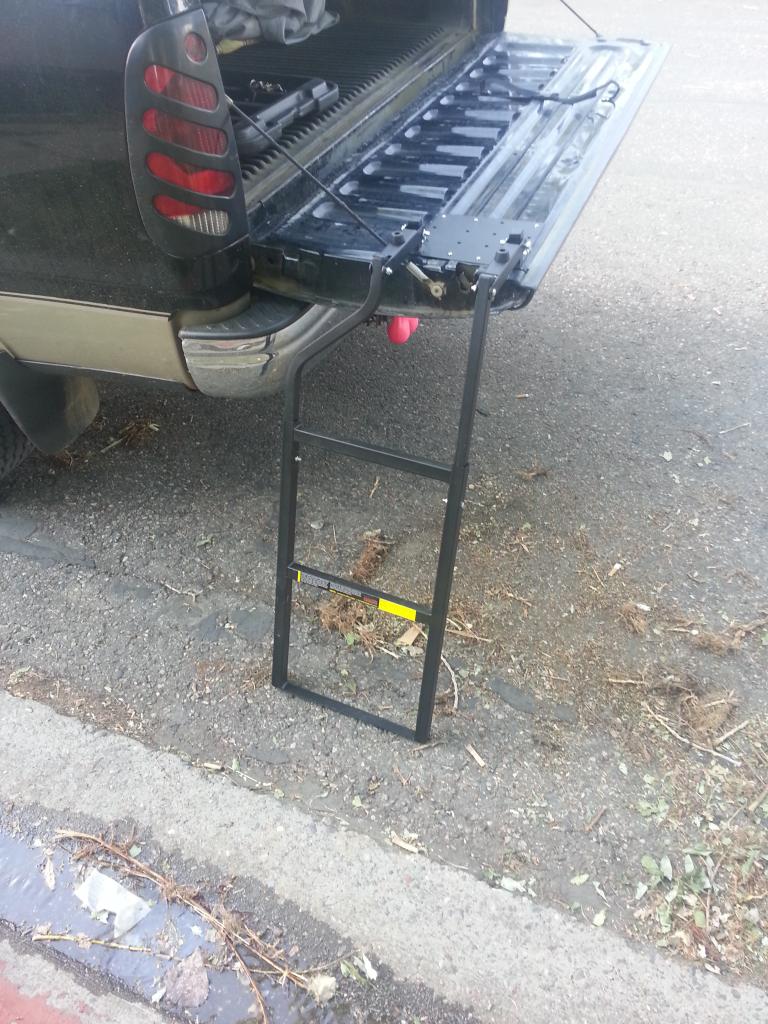
And how it sits on the tail gate when not in use.
You can pull 2 hood pin style pins out and remove it from the mounting plate to regain the 2-3 inches of space you lose.
Surprisingly it works quite well, The few test runs I tried I never felt like I was going to fall or that it would fail. Once the bed liner is done Ill rattle can bed liner it to match.
*Had to cancel the appt that was for today due to my wifes wallet being stolen last week, it had among other things all of our food, kids cloths and diaper/wipes moneys in it, bed liner money was used in its place. We have a 3rd and bill free pay check in July and it will be done then.
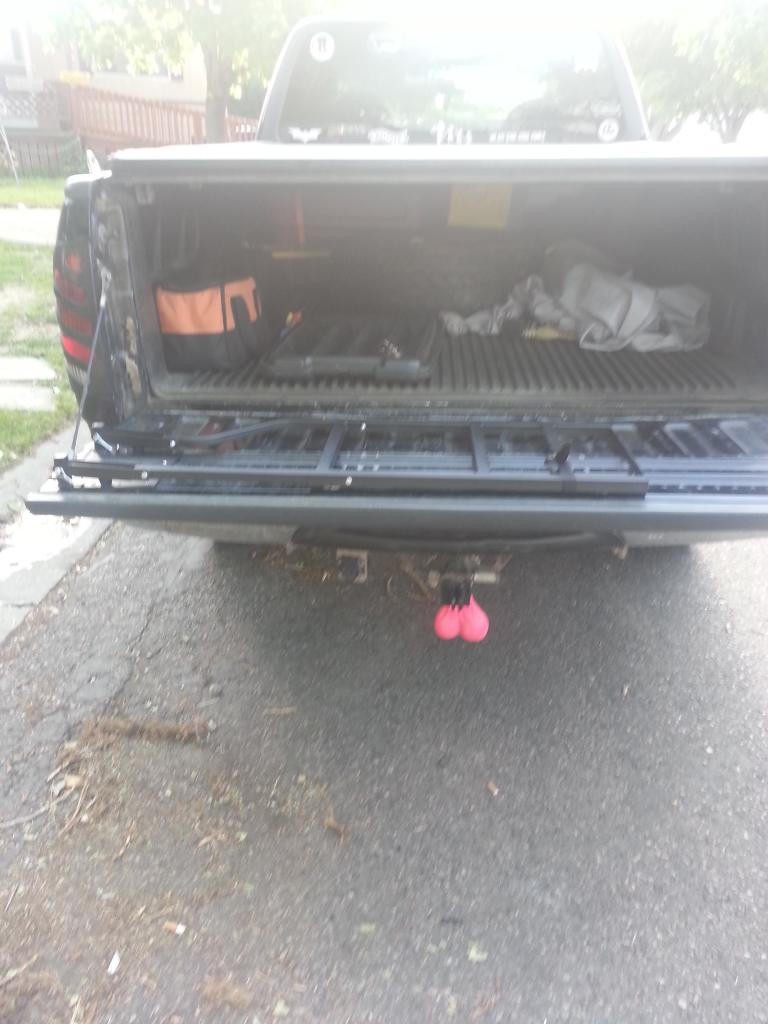
While setting the appt for my now pushed to mid July spray on bed liner* my kiddos found a display truck bed that had a couple of different ladders on the tail gate. I noted the one that my kiddos liked the best(and that worked for me as well) and ordered . Got it from UPS today.
Installed, but before every thing was tightened down all the way:
And how it sits on the tail gate when not in use.
You can pull 2 hood pin style pins out and remove it from the mounting plate to regain the 2-3 inches of space you lose.
Surprisingly it works quite well, The few test runs I tried I never felt like I was going to fall or that it would fail. Once the bed liner is done Ill rattle can bed liner it to match.
*Had to cancel the appt that was for today due to my wifes wallet being stolen last week, it had among other things all of our food, kids cloths and diaper/wipes moneys in it, bed liner money was used in its place. We have a 3rd and bill free pay check in July and it will be done then.