Ferdinand Build
 05-07-2016, 12:35 AM
#31
Senior Member
Thread Starter
You measure left to right and then around the grip. If you have finger grooves you measure the thickest part. I have 2 extras, but you'd need to measure, they don't seem to want them back, but you'd have to get the string from them.
 05-07-2016, 12:36 AM
#32
Senior Member
Thread Starter
05-08-2016, 09:32 AM
#33
Senior Member
Thread Starter
I changed out my center jump seat; it didn't have top cup holders or the extra storage.
Before:

After:

Before:

After:
 05-13-2016, 03:05 PM
#34
Senior Member
Thread Starter
My dome light cover is a PITA so while it was off I replaced the bulb with that of an LED:

I love having an STX to mod, but one thing I miss is having more interior lighting. I've looked into LED lighting kits, but the ones I've found just have Red, Blue, and Green color options. I'd like one that has the option to be white; we'll see what I find.


I love having an STX to mod, but one thing I miss is having more interior lighting. I've looked into LED lighting kits, but the ones I've found just have Red, Blue, and Green color options. I'd like one that has the option to be white; we'll see what I find.
05-13-2016, 03:07 PM
#35
Senior Member
Thread Starter
This was actually one of my first mods; tail gate assist. I didn't even bother with the nutsert and instead used a nut on the back. I only open it maybe 1 to 2 times a week, but have had it installed for 3+ months without issue.

 05-18-2016, 08:46 PM
#36
Senior Member
Thread Starter
I painted the chrome running boards:
Before:

After:

The paint didn't stick as well as I would have liked so I'll have to Plastidip them. Thinking I might do graphite.
Before:

After:

The paint didn't stick as well as I would have liked so I'll have to Plastidip them. Thinking I might do graphite.
05-18-2016, 08:47 PM
#37
Senior Member
Thread Starter
I got the windows tinted:

 05-19-2016, 12:51 PM
#38
Senior Member
Thread Starter
I suffer from rear emblem fade so I contacted PestyPhil and went ahead and got vinyl overlays for both emblems, steering wheel and center caps.
Before:

After:

Before:

After:
 05-19-2016, 12:53 PM
#39
Senior Member
Thread Starter
Before:

After:


After:
 05-20-2016, 01:09 AM
#40
Senior Member
Thread Starter
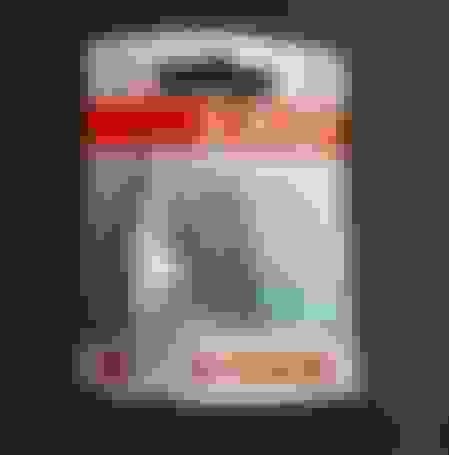
I've only got about 3,000 miles on my current oil, but I've begun gathering some things I need/want at my next oil change.
-Fumoto Oil Drain Valve to make future oil changes mess free
-Blackstone Oil Sample Kit to get a base line on this new to me truck

I also figured I'd clean the throttle body and maf sensor.

-Fumoto Oil Drain Valve to make future oil changes mess free
-Blackstone Oil Sample Kit to get a base line on this new to me truck

I also figured I'd clean the throttle body and maf sensor.

Last edited by FerdinandF150; 05-20-2016 at 01:11 AM.