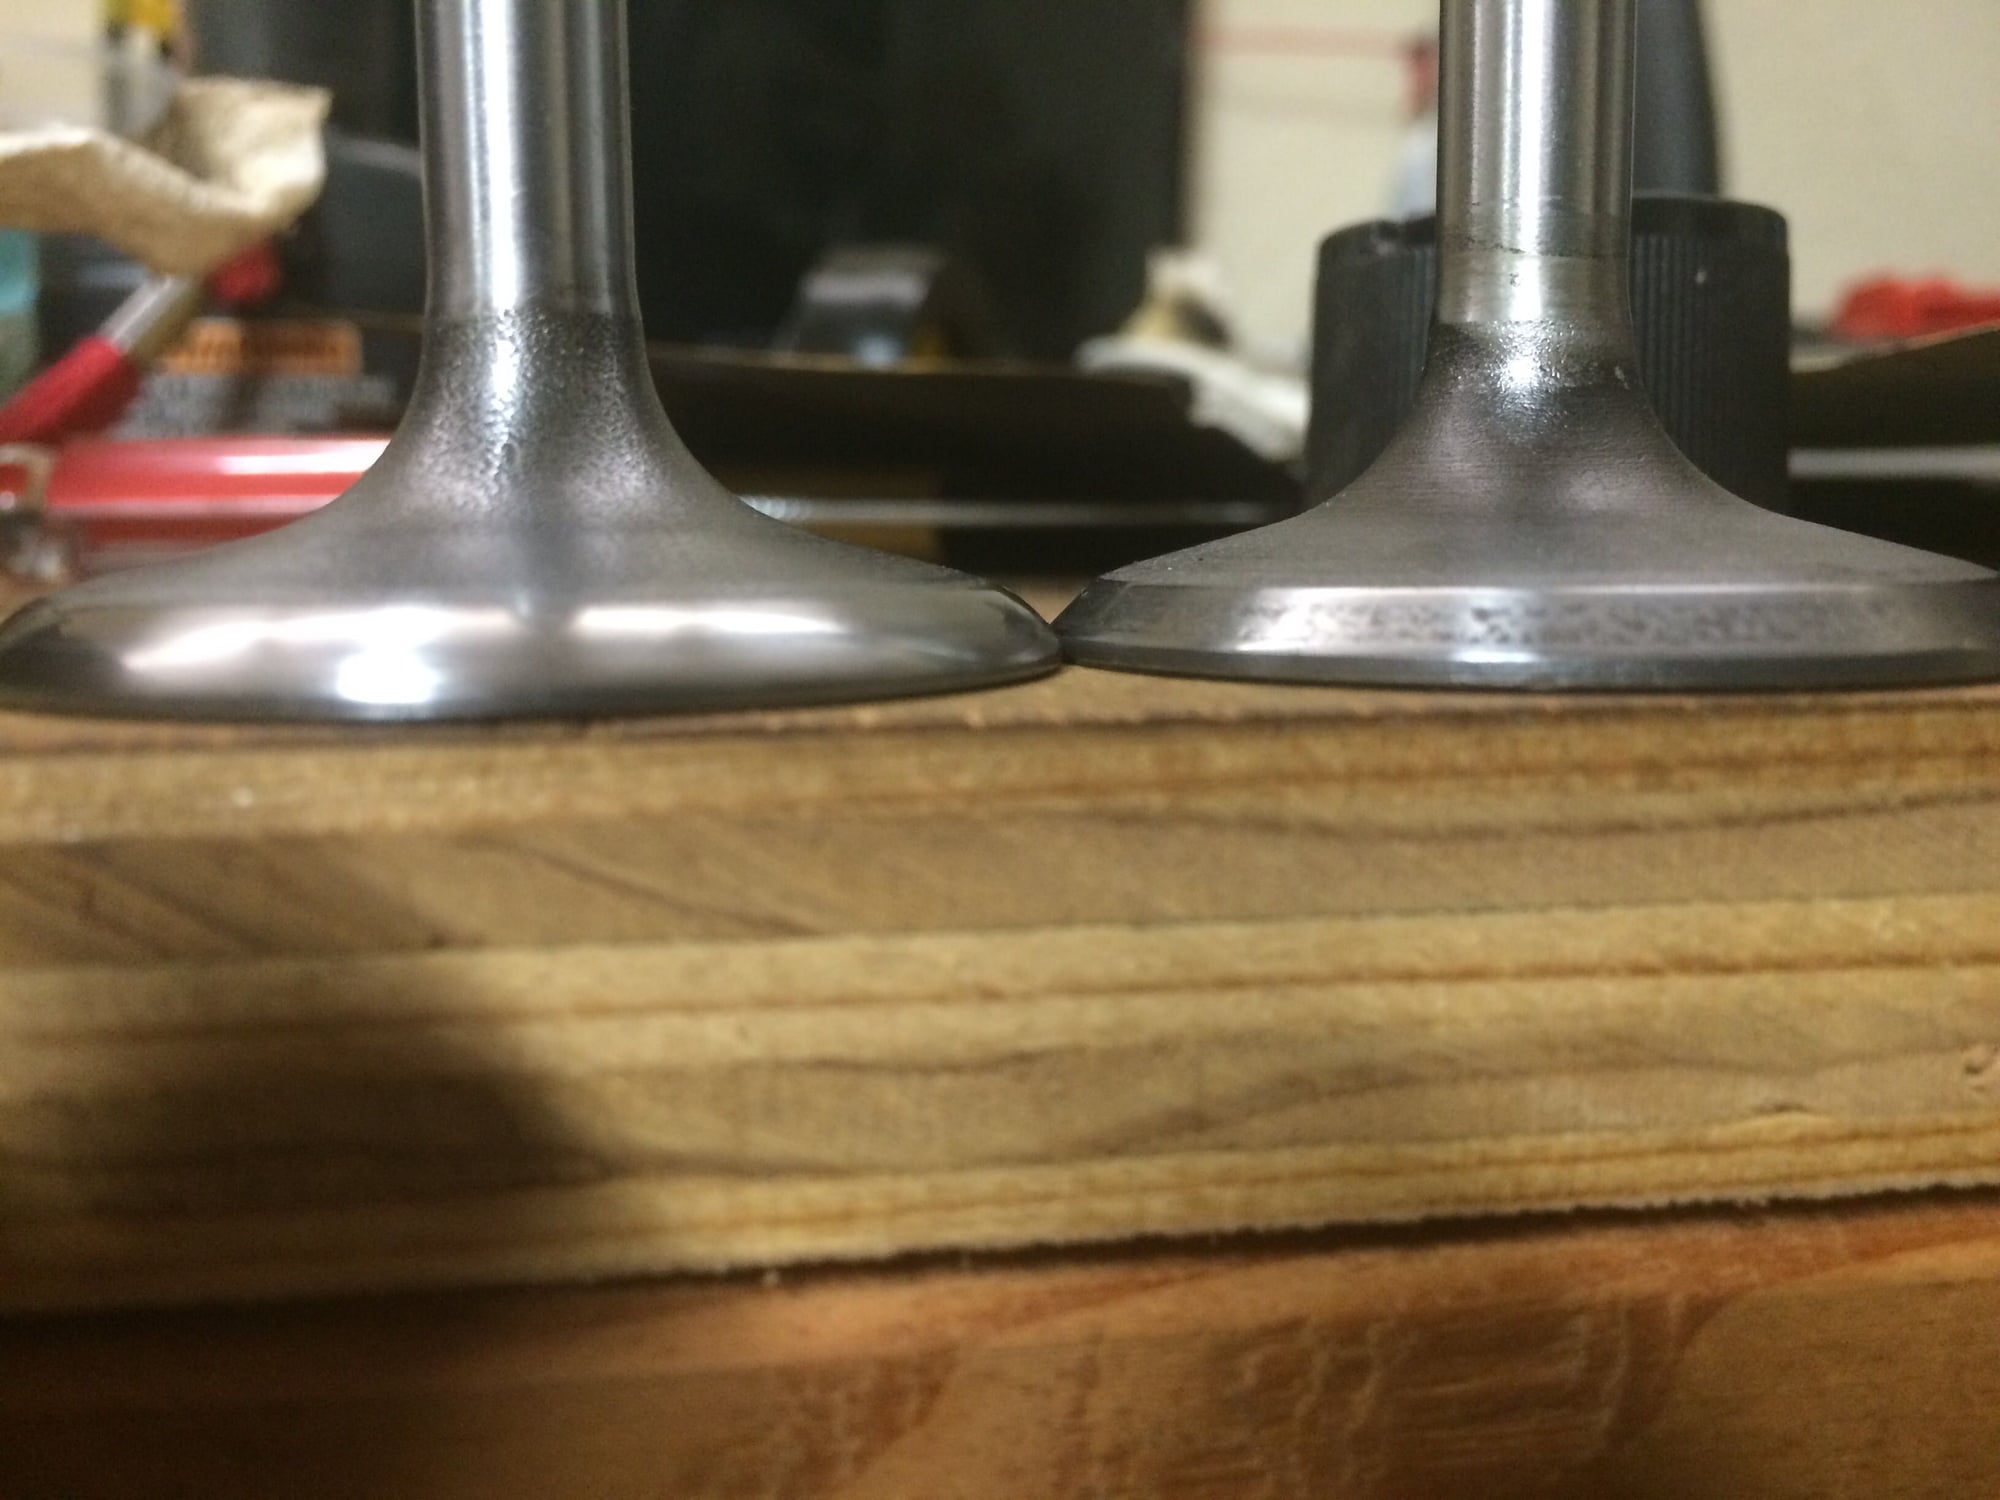
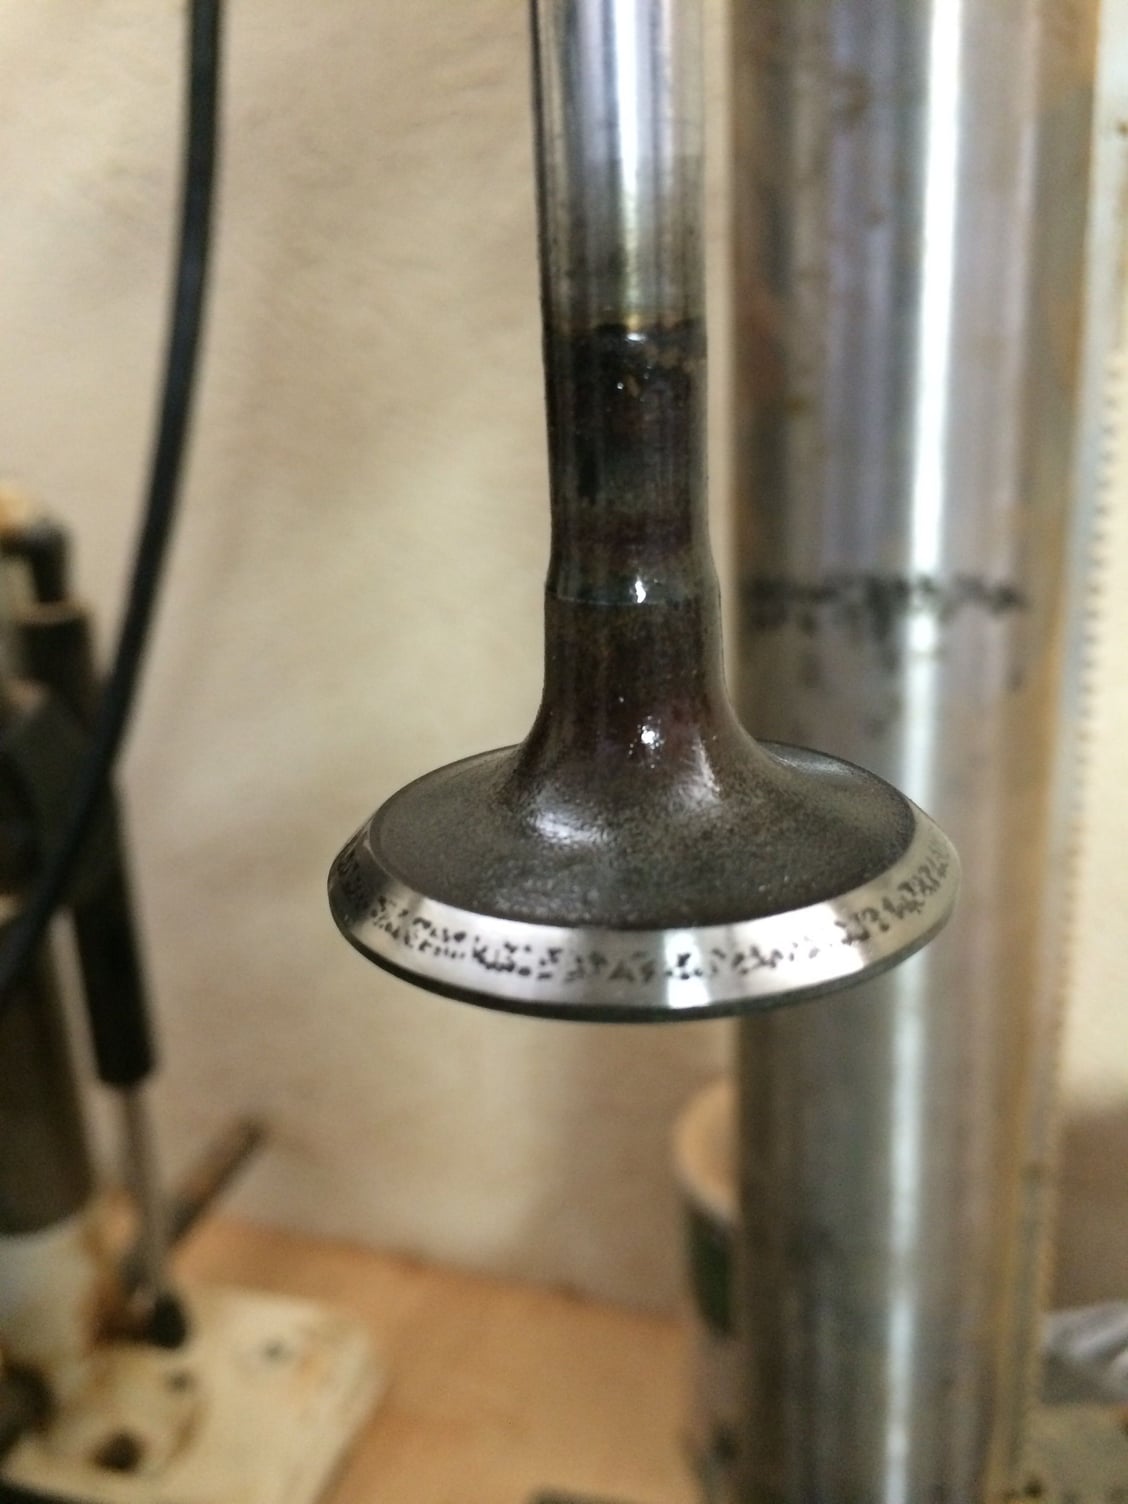
Are these valves okay or replace?
#12
Senior Member
That already looks a lot better. This is one of those things that can't be rushed if you're doing it yourself.
#13

Took about 30 minutes to get
seat clean then increase grit
finish.

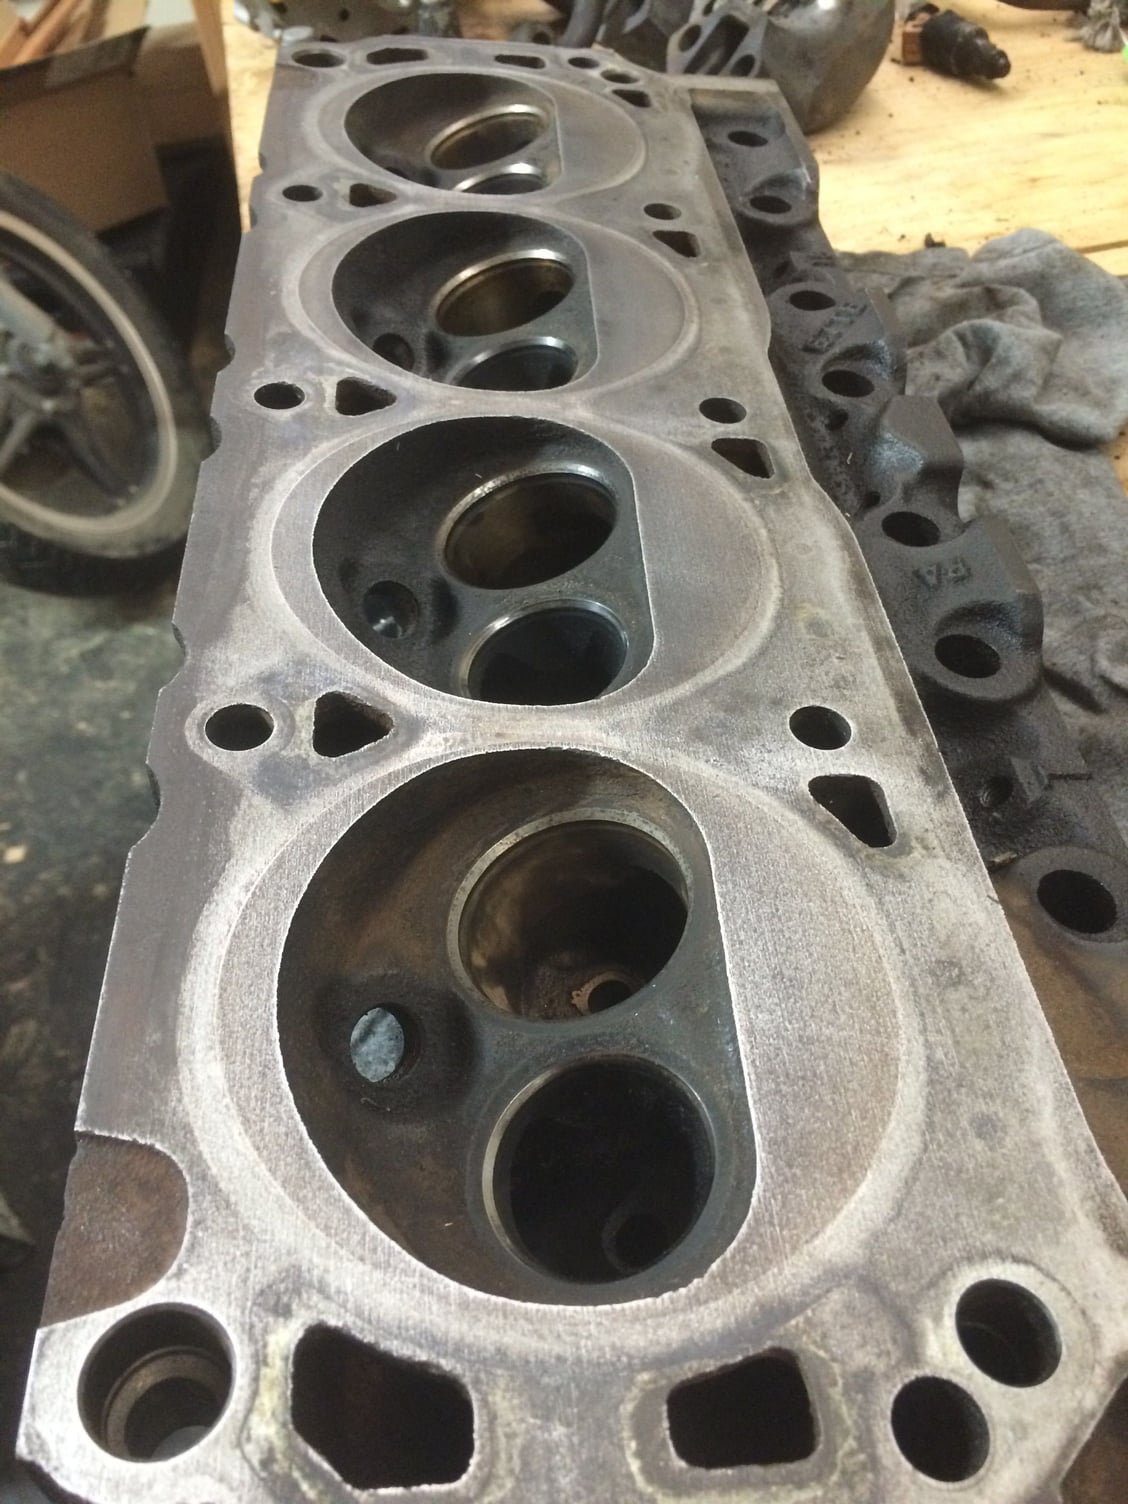
Now, any tips for the head? I used break cleaner and carefully used a razor to clean off the old gasket. Then did a very soft sanding with 400 grit on a flat block. It feels very smooth to the touch but looks like it could stand more cleaning/sanding? Any thoughts on best way to clean combustion chamber? I've been trying to research and read up on it but everyone has a list of dos and don'ts and they all seem to contradict.
#15
Senior Member
I know of two options. Both have the valve mating with the seat using a lapping compound.
1. Put the valve back in the head and put the stem in a drill chuck. Spin either direction at a slow speed while pulling the valve gently. Make sure you check the surfaces to make sure the compound is working. The problem with this way is that you might damage the stem with the chuck.
2. Use a rubber insert in a drill to push the valve gently into the seat on the combustion side. Again making sure that there's compound in between the surfaces. You don't want to spin very fast or press very hard.
Both ways are straight forward and will match the valve to the seat. Just remember to let the lapping compound do the work. It'll take time, but it should get you your best results. I would personally recommend the second option using a sanding disc mount in a drill on low speed. It will get you the most surface area to the valve without marring the surface.
#16
Senior Member
Stick valves in head and use lapping compound that way the valve seats match the valve. I've always used rubbing alcohol to check if they seal.
One trick I've used is taking some rubber hose that fits tight around the valve stem. Attach the hose to a drill with a drill bit or something to spin it. No damage to the valve.
One trick I've used is taking some rubber hose that fits tight around the valve stem. Attach the hose to a drill with a drill bit or something to spin it. No damage to the valve.
Last edited by jay_g; 10-15-2015 at 09:03 AM.
#19

I put the valve on the drill press and used 400 grit sandpaper till all the "blemishes" were gone. I have to think it's trash now because the seat is curved and the margin is all but gone.


