***H13 Bi-Xenon & Fog Light HID 6000k Review *** PICS!!!!
 07-02-2009, 09:08 PM
#21
American Muscle
Thread Starter


 07-03-2009, 12:02 AM
#22
will run you OVER
good good be sure to put up pics. i still need to trim mine a little, since I put them in upside down (best way to mount), turning them all the way up isnt enough, I need more room to push them and make them shine ahead of me and not just in front of me...another project, another day.
11-18-2009, 07:52 PM
#23
Junior Member

Join Date: Feb 2009
Location: Lafayette, La.
Posts: 29
Likes: 0
Received 0 Likes
on
0 Posts
I purchased my kits from Xenon Link. Sent money via pay pal thursday morning, received kit saturday morning...Shipping was great.
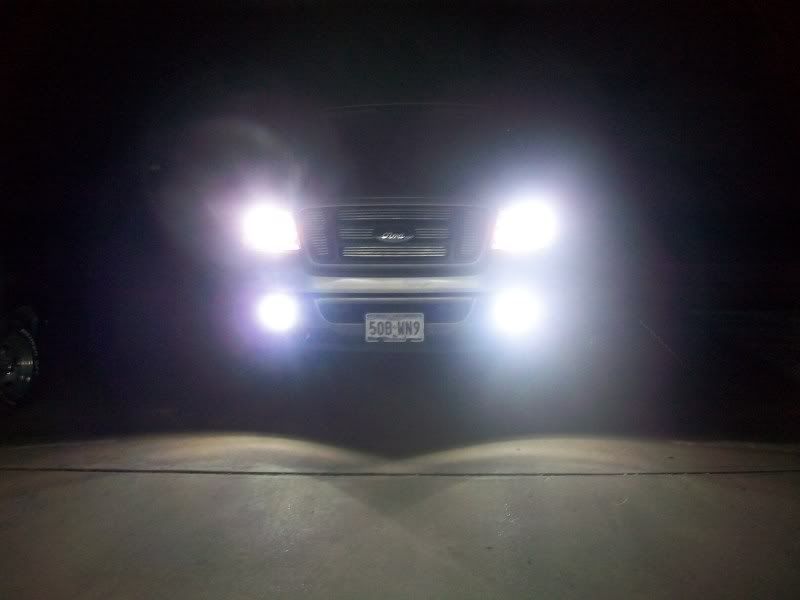
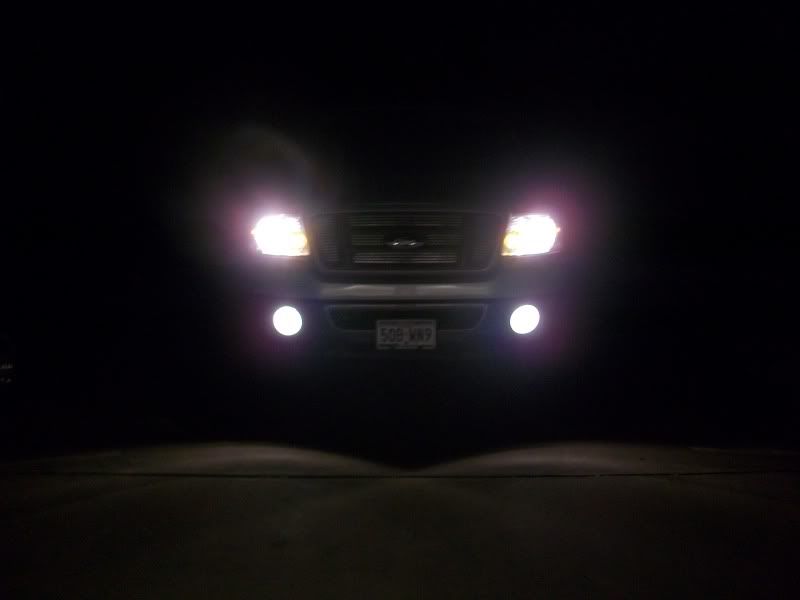
Took about an hour to install both kits and was fairly straight forwad. I have had more problems getting the passenger headlight to line up, i had to have bent something somewhere, Im gonna put a washer in it tomorrow, but I was tired, and it was pretty close to being even. You have to forgive me, I dont have the Hi-Beam pic....I uh...Had the bulb in upside down so it flashed lower instead of higher when i turned them on. Sorry, it will be up this week though! I promise! Already turned the bulb around, but the camera was already put up. Anyway, Here they are!
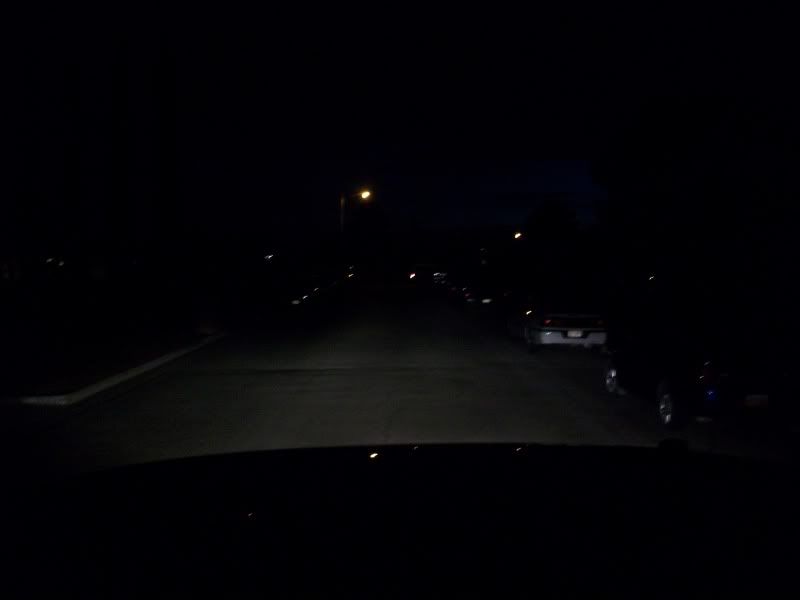
HID Low
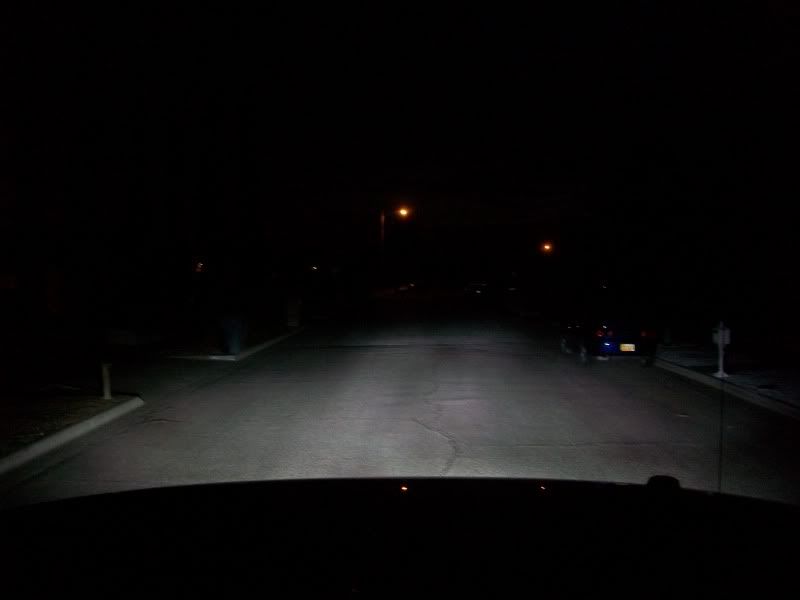
HID
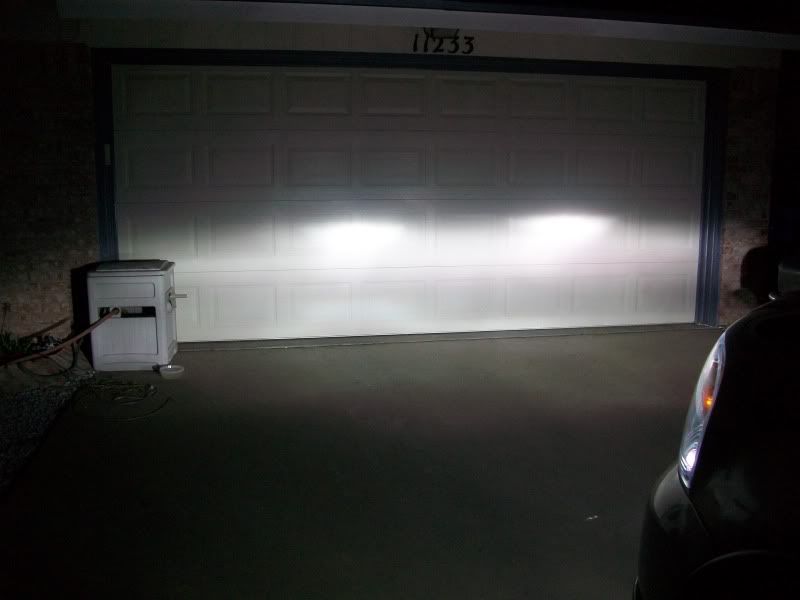
HID
STOCK LOW
STOCK
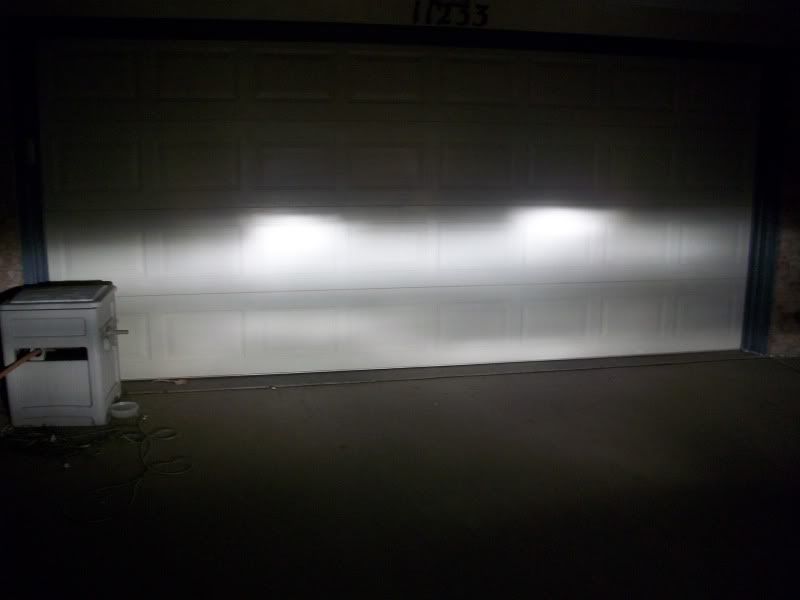
STOCK
Xenonlink.com review:
Had no hassles ordering the parts. Paid Thursday Morning. Received both kits Saturday. (I live in West Texas)
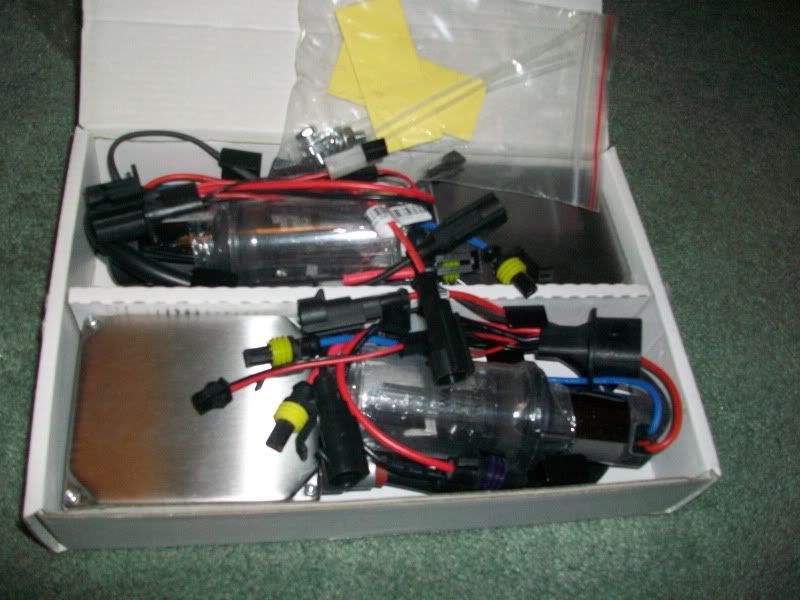
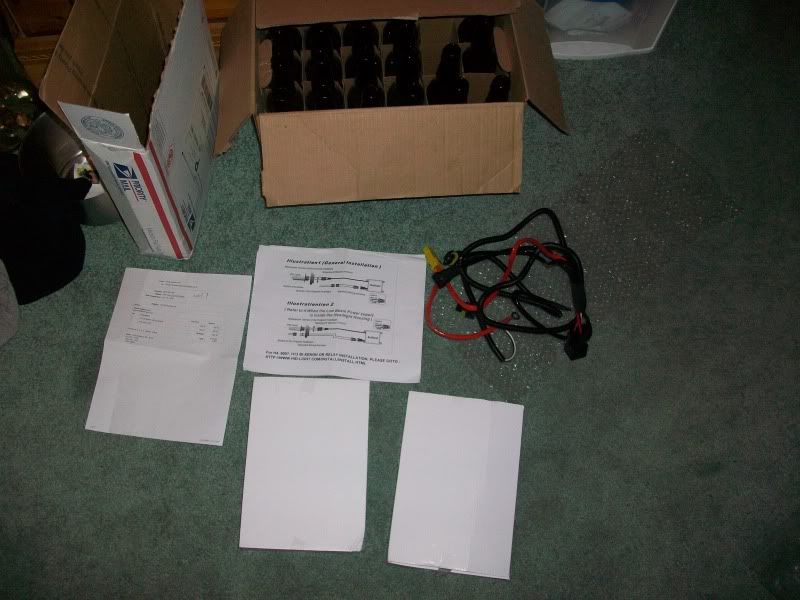
Product Seems of high quality. Supplied mounting hardware, double sided sticky tape, wire ties.
Basic Instructions for Normal install. Bi-Xenon instructions had to be pulled up online. It was a picture diagram.
The big silver box's do not say "Digital" on them. I DO NOT KNOW IF THESE KITS ARE DIGITAL OR NOT. However, there is 0 radio interferance. (There are 4 box's under my hood now) I used both FM, CD, and my Zune (ipod) all of which sounded normal.
Overall. I give the company an A-. Instructions could have been better. They were not dummy proof. Took, 15 min to get the bulb to go into the headlight. Had to play process of elimination to figure it out. Did not say remove original o-ring. (stock was red) Did not say remove big black one that is on it. (apparently it just holds the plastic shield on) Did not say, the bulbs must go in a certain way. (1 of mine whent in right, the other upside down, hence the no Hi-Beam pic)
I do believe this could be installed by anyone who knows how to change out a battery. Especially if you did not get a Bi-Xenon Kit. (Has its own wiring harness) Let me know if you have anyquestions.
Oh, It rained like H E double Hockey sticks, drove through 1 foot of water at one point, all lights still work, even the fogs.
Took about an hour to install both kits and was fairly straight forwad. I have had more problems getting the passenger headlight to line up, i had to have bent something somewhere, Im gonna put a washer in it tomorrow, but I was tired, and it was pretty close to being even. You have to forgive me, I dont have the Hi-Beam pic....I uh...Had the bulb in upside down so it flashed lower instead of higher when i turned them on. Sorry, it will be up this week though! I promise! Already turned the bulb around, but the camera was already put up. Anyway, Here they are!
HID Low
HID
HID
STOCK LOW
STOCK
STOCK
Xenonlink.com review:
Had no hassles ordering the parts. Paid Thursday Morning. Received both kits Saturday. (I live in West Texas)
Product Seems of high quality. Supplied mounting hardware, double sided sticky tape, wire ties.
Basic Instructions for Normal install. Bi-Xenon instructions had to be pulled up online. It was a picture diagram.
The big silver box's do not say "Digital" on them. I DO NOT KNOW IF THESE KITS ARE DIGITAL OR NOT. However, there is 0 radio interferance. (There are 4 box's under my hood now) I used both FM, CD, and my Zune (ipod) all of which sounded normal.
Overall. I give the company an A-. Instructions could have been better. They were not dummy proof. Took, 15 min to get the bulb to go into the headlight. Had to play process of elimination to figure it out. Did not say remove original o-ring. (stock was red) Did not say remove big black one that is on it. (apparently it just holds the plastic shield on) Did not say, the bulbs must go in a certain way. (1 of mine whent in right, the other upside down, hence the no Hi-Beam pic)
I do believe this could be installed by anyone who knows how to change out a battery. Especially if you did not get a Bi-Xenon Kit. (Has its own wiring harness) Let me know if you have anyquestions.
Oh, It rained like H E double Hockey sticks, drove through 1 foot of water at one point, all lights still work, even the fogs.
11-18-2009, 09:58 PM
#25
Junior Member
Join Date: Feb 2009
Location: Lafayette, La.
Posts: 29
Likes: 0
Received 0 Likes
on
0 Posts
11-19-2009, 12:00 AM
#26
American Muscle
Thread Starter
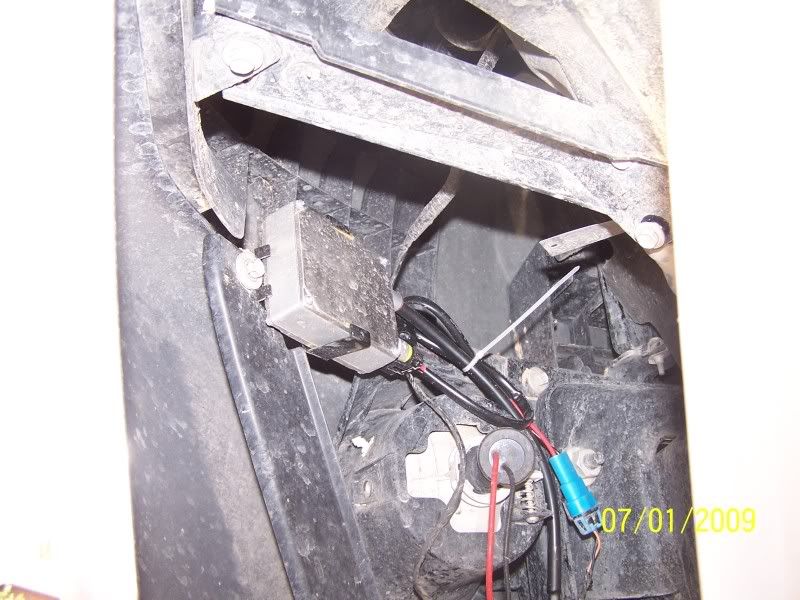
Oh, the fog lights were a piece of cake. The plug right in. Hardest part is mounting them but it can be done. Took about 15 min to do both fog lights and that include mounting and zip tying the wires..There might be a pic in my album....
 12-11-2009, 04:53 AM
#30
Danny

Join Date: Jun 2009
Location: Highland, Ca
Posts: 52
Likes: 0
Received 0 Likes
on
0 Posts
i was looking into getting the kits for both headlight and fogs but i know i read on here awhile ago that one should be a different kelvin to match the other. Ex:Head=8000k Fog=6000k or vice versa, has anyone noticed their lights not matching because of the different bulb sizes? i dont want to buy them and have mismatching colors, thats like wearing two kinds of socks