KevinMac's 2016 XLT Build
 08-07-2016, 05:43 PM
#11

Badges? We don't need no stink'n badges!  Ok, we just need LESS badges! Today I peeled the "Sport" decals off the bed of the truck. My truck plays exactly zero sports. Therefore, it is not worthy.
  Before: After: In addition, I installed the Lexerd screen protector for the center stack display. Fit was good but damn was it clingy! Make sure the windows are closed while installing, it attracts dust better then a Swifter!
  As an added bonus, they give you fun finger covers to wear during install!
  Cost: - Lexerd Screen Protector: $25 - Debadge: Freebie!
Ok, we just need LESS badges! Today I peeled the "Sport" decals off the bed of the truck. My truck plays exactly zero sports. Therefore, it is not worthy. Before: After: In addition, I installed the Lexerd screen protector for the center stack display. Fit was good but damn was it clingy! Make sure the windows are closed while installing, it attracts dust better then a Swifter! As an added bonus, they give you fun finger covers to wear during install! Cost: - Lexerd Screen Protector: $25 - Debadge: Freebie!
The following users liked this post:
KevinMac (08-14-2016)
08-14-2016, 06:10 PM
#13
Member
Thread Starter
 08-14-2016, 06:23 PM
#14
Member
Thread Starter
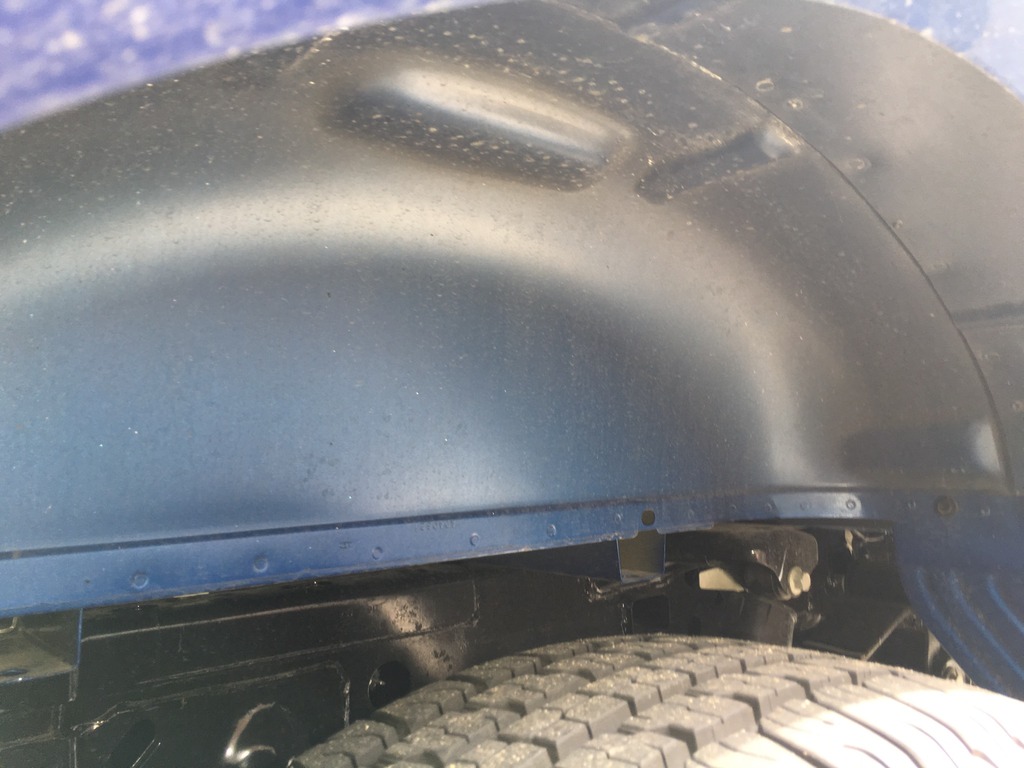
Did a little clean up in the rear wheel wells today while I wait for parts to arrive. Come on UPS, get here already!!! 
The rear wells look really unfinished from the factory without a liner. Jeep guys have been pulling their liners for years and just bedlining them, the lack of liners allow for more tire travel. I'm not planning extra tire travel on the XLT but I do like the blacked out look!
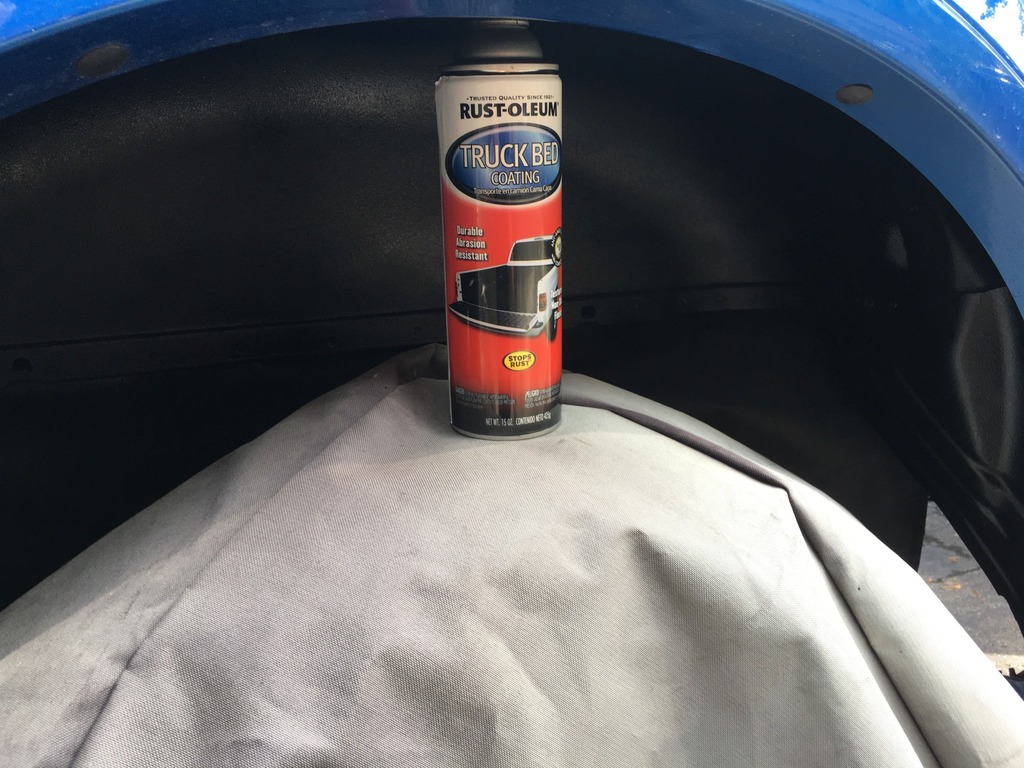
I used about a can of Rust-Oleum Spray In Bedliner on the job. That and the cover off of my old gas grill. I replaced my grill last week and the old cover doesn't fit the new one. So, I cut it in half and draped half over the tire to cover it. The other half I tucked up under the frame so I wasn't over spraying all over the place. End result was good, not bad for 30 minutes work! 
Before:
During:
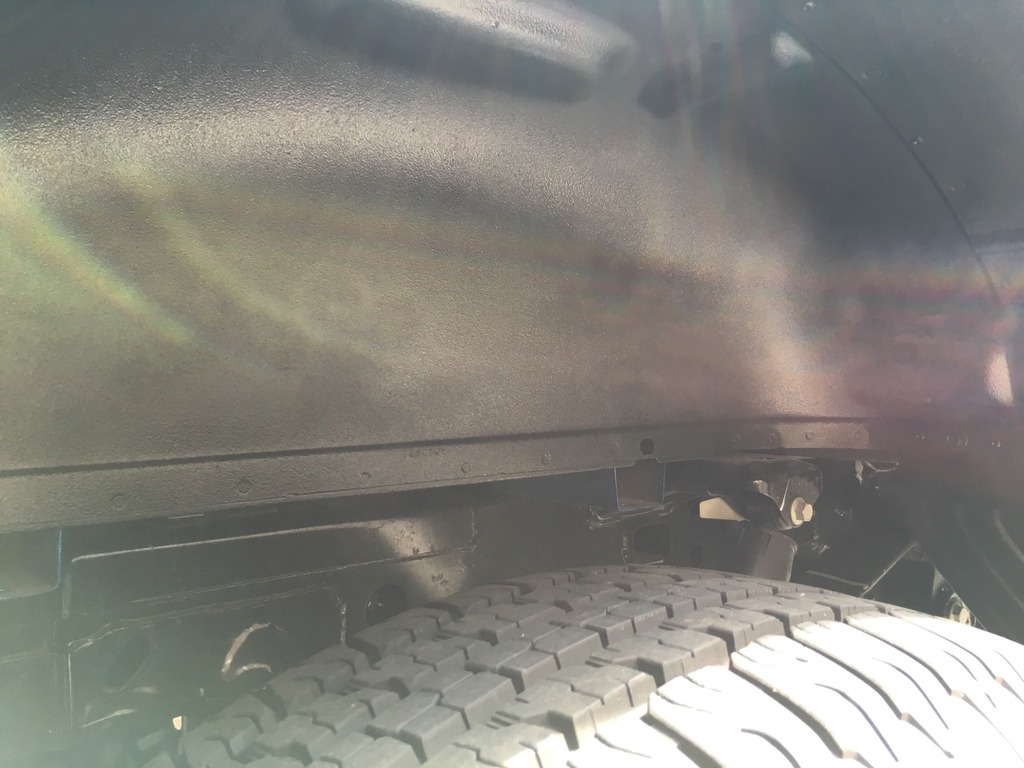
After:
Cost: $8
The rear wells look really unfinished from the factory without a liner. Jeep guys have been pulling their liners for years and just bedlining them, the lack of liners allow for more tire travel. I'm not planning extra tire travel on the XLT but I do like the blacked out look!
I used about a can of Rust-Oleum Spray In Bedliner on the job. That and the cover off of my old gas grill.
I replaced my grill last week and the old cover doesn't fit the new one. So, I cut it in half and draped half over the tire to cover it. The other half I tucked up under the frame so I wasn't over spraying all over the place. End result was good, not bad for 30 minutes work! Before:

During:

After:

Cost: $8
The following users liked this post:
KevinMac (08-14-2016)
08-19-2016, 05:57 PM
#16
Member
Thread Starter
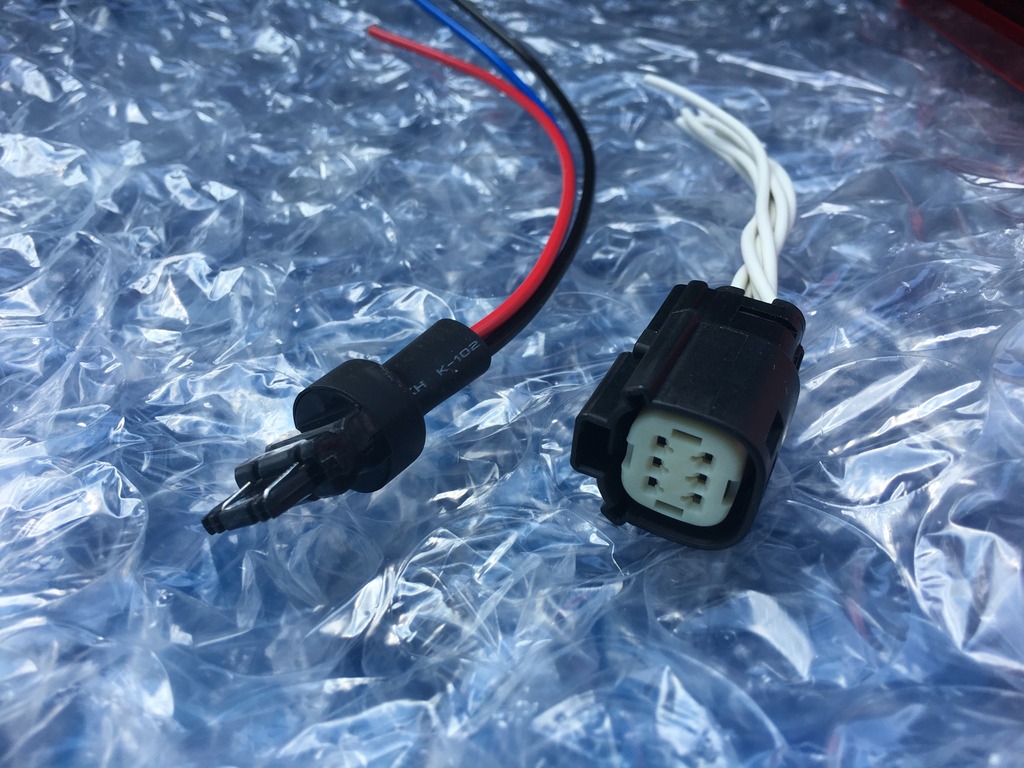
My LED transformation has officially begun! Earlier this week I took delivery of a set of King Ranch, non-BLIS LED tails! I got these from forum sponsor, Raptor Retrofit. As a bonus, they even threw in a set of wiring pigtails!
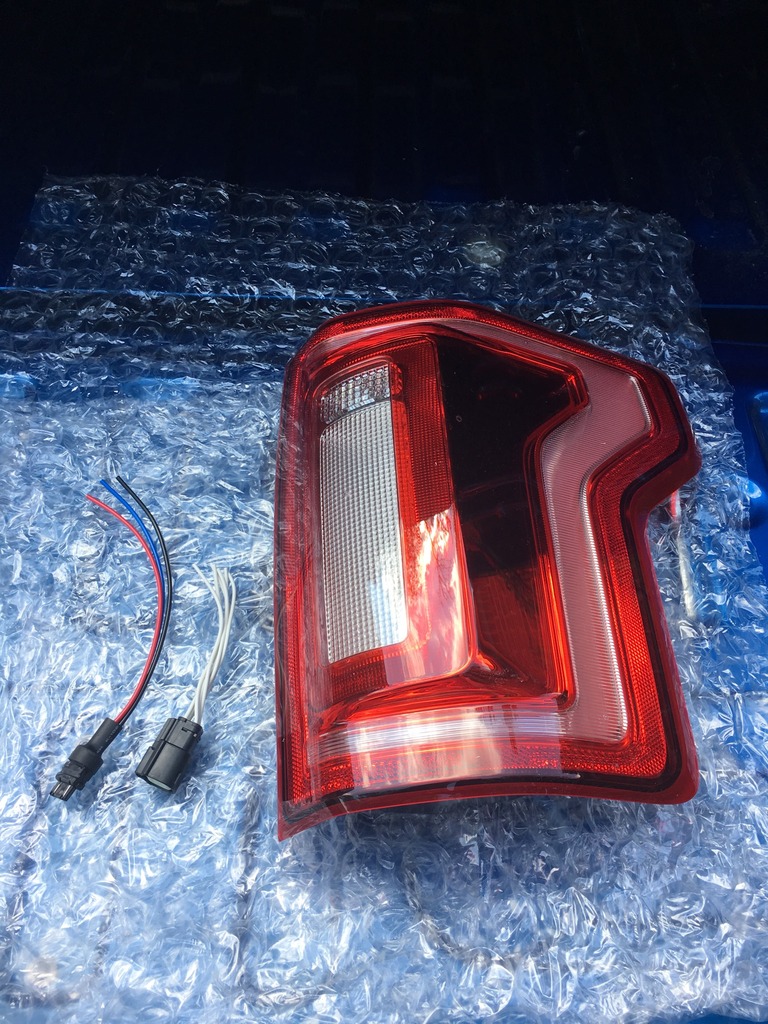
In addition to the tail lights and pigtails, I also needed some 3157 socket adapters as I didn't want to cut up my OEM wire harness. These little gems allow you to plug into the factory light bulb socket, a great idea!
Special thanks to everyone that contributed to this thread so I didn't have to do a bunch of investigation on the wiring side, especially to user pepatrick, in post 244!
How to swap OEM LED Taillights
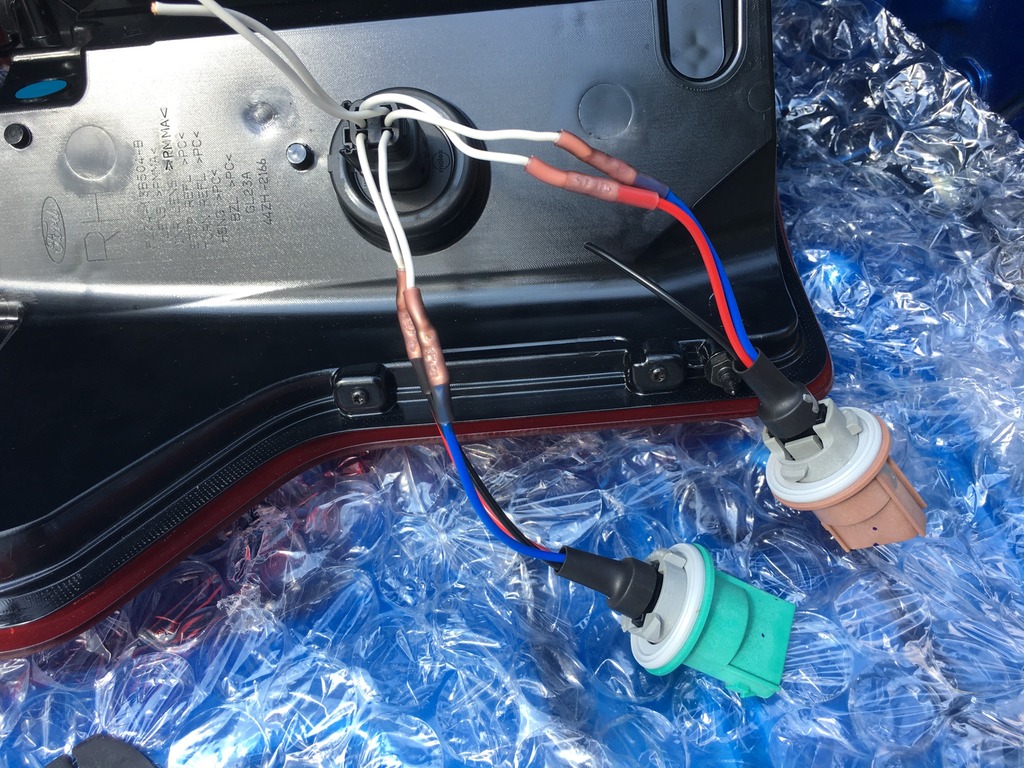
To connect the 3157 sockets to the tail light pigtail, I just used some marine grade crimp connectors. They have sealant in them that keeps the connection watertight once you heat the shrink tubing, good stuff!
As for function, everything works except for the yellow turn signal area. I just wired them up to use the red ring around the yellow rectangle as both the brake light and turn signal. Making the yellow area work is possible but requires some additional wiring and a control box to make work. I'm good for now, maybe I will get that motives some day. Also, my dash does have hyper flash right now, I need to get my Bluetooth OBD adapter ordered so I can adjust it with FORScan and not need resistors!
Costs:
- Tail lights and pigtails: $500
- (4) 3157 adapters: $16

In addition to the tail lights and pigtails, I also needed some 3157 socket adapters as I didn't want to cut up my OEM wire harness. These little gems allow you to plug into the factory light bulb socket, a great idea!

Special thanks to everyone that contributed to this thread so I didn't have to do a bunch of investigation on the wiring side, especially to user pepatrick, in post 244!
How to swap OEM LED Taillights
To connect the 3157 sockets to the tail light pigtail, I just used some marine grade crimp connectors. They have sealant in them that keeps the connection watertight once you heat the shrink tubing, good stuff!

As for function, everything works except for the yellow turn signal area. I just wired them up to use the red ring around the yellow rectangle as both the brake light and turn signal. Making the yellow area work is possible but requires some additional wiring and a control box to make work. I'm good for now, maybe I will get that motives some day.
Also, my dash does have hyper flash right now, I need to get my Bluetooth OBD adapter ordered so I can adjust it with FORScan and not need resistors! Costs:
- Tail lights and pigtails: $500
- (4) 3157 adapters: $16
Last edited by KevinMac; 10-14-2017 at 10:23 AM.
The following users liked this post:
GM150 (12-16-2017)


The following users liked this post:
NITRO-FC (04-02-2024)
08-21-2016, 06:11 PM
#18
Member
Thread Starter
I'd mentioned several posts back that I've always had good luck with SuperBrightLEDs.com on my Jeep build. I had put a small order in a week or so back and got around to tossing them in today.
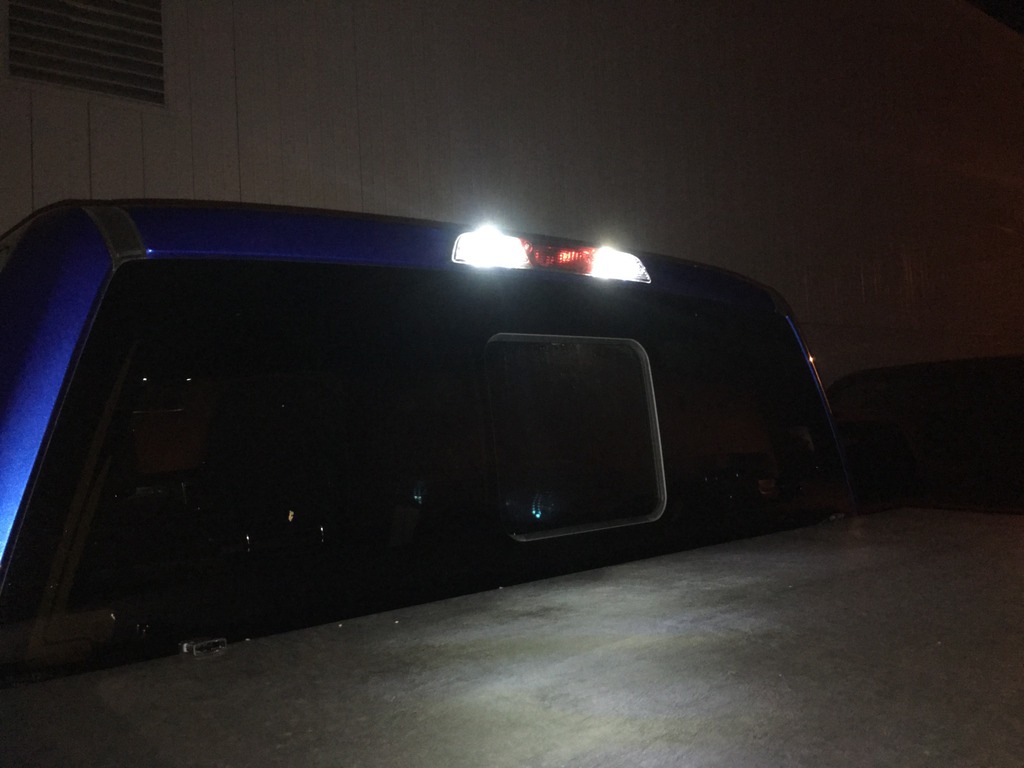
I got the cargo lights and CHMSL, a 5 minute plug and play swap which resulted in a bunch more light for less that $15.
Here is a quick screen shot of the upgraded cargo lights.
Now, there is an LED light assembly available on the higher end packages or you can get it from Ford but it's about $75. I'm ok with these aftermarket 'bulbs'.
Costs:
- (2) 194 replacement LEDs, white - $7.90
- (1) 194 replacement LED, red - $3.95
I got the cargo lights and CHMSL, a 5 minute plug and play swap which resulted in a bunch more light for less that $15.
Here is a quick screen shot of the upgraded cargo lights.

Now, there is an LED light assembly available on the higher end packages or you can get it from Ford but it's about $75.
I'm ok with these aftermarket 'bulbs'. Costs:
- (2) 194 replacement LEDs, white - $7.90
- (1) 194 replacement LED, red - $3.95
Last edited by KevinMac; 08-21-2016 at 06:22 PM.
08-21-2016, 06:21 PM
#19
I'd mentioned several posts back that I've always had good luck with SuperBrightLEDs.com on my Jeep build. I had put a small order in a week or so back and got around to tossing them in today. I got the cargo lights and CHMSL, a 5 minute plug and play swap which resulted in a bunch more light for less that $15. Here is a quick screen shot of the upgraded cargo lights. There is an LED light assembly available on the higher end packages or you can get it from Ford but it's about $75. I'm ok with th aftermarket 'bulbs'. Costs: - (2) 194 replacement LEDs, white - $7.90 - (1) 194 replacement LED, red - $3.95
I got the cargo lights and CHMSL, a 5 minute plug and play swap which resulted in a bunch more light for less that $15. Here is a quick screen shot of the upgraded cargo lights. There is an LED light assembly available on the higher end packages or you can get it from Ford but it's about $75. I'm ok with th aftermarket 'bulbs'. Costs: - (2) 194 replacement LEDs, white - $7.90 - (1) 194 replacement LED, red - $3.95