KevinMac's 2016 XLT Build
 07-25-2016, 09:22 AM
#1
Member
Thread Starter

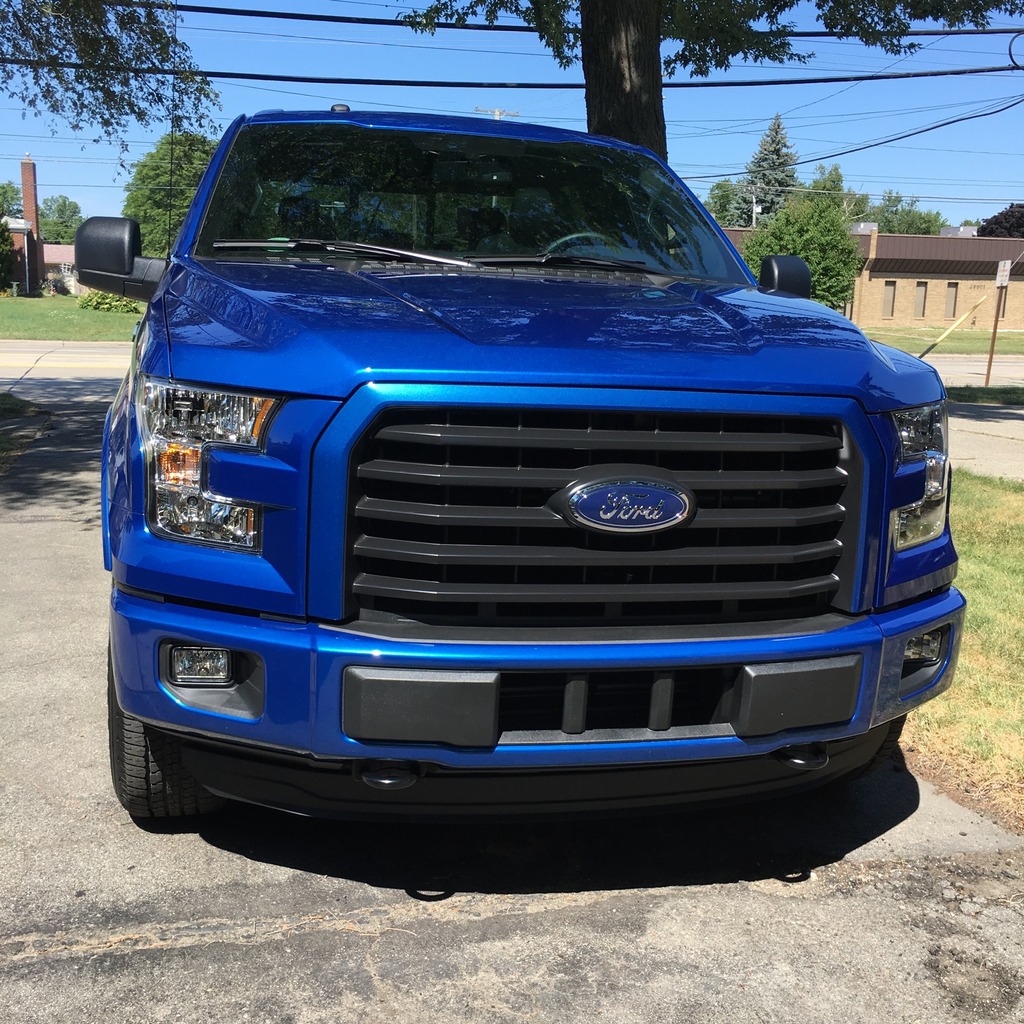
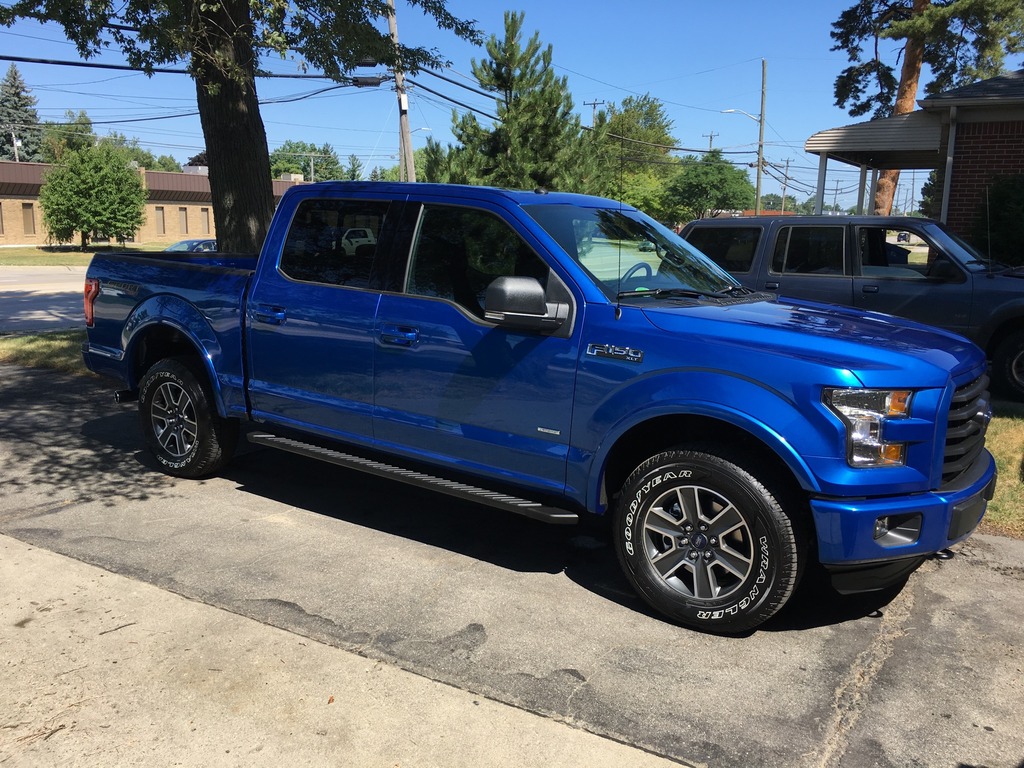
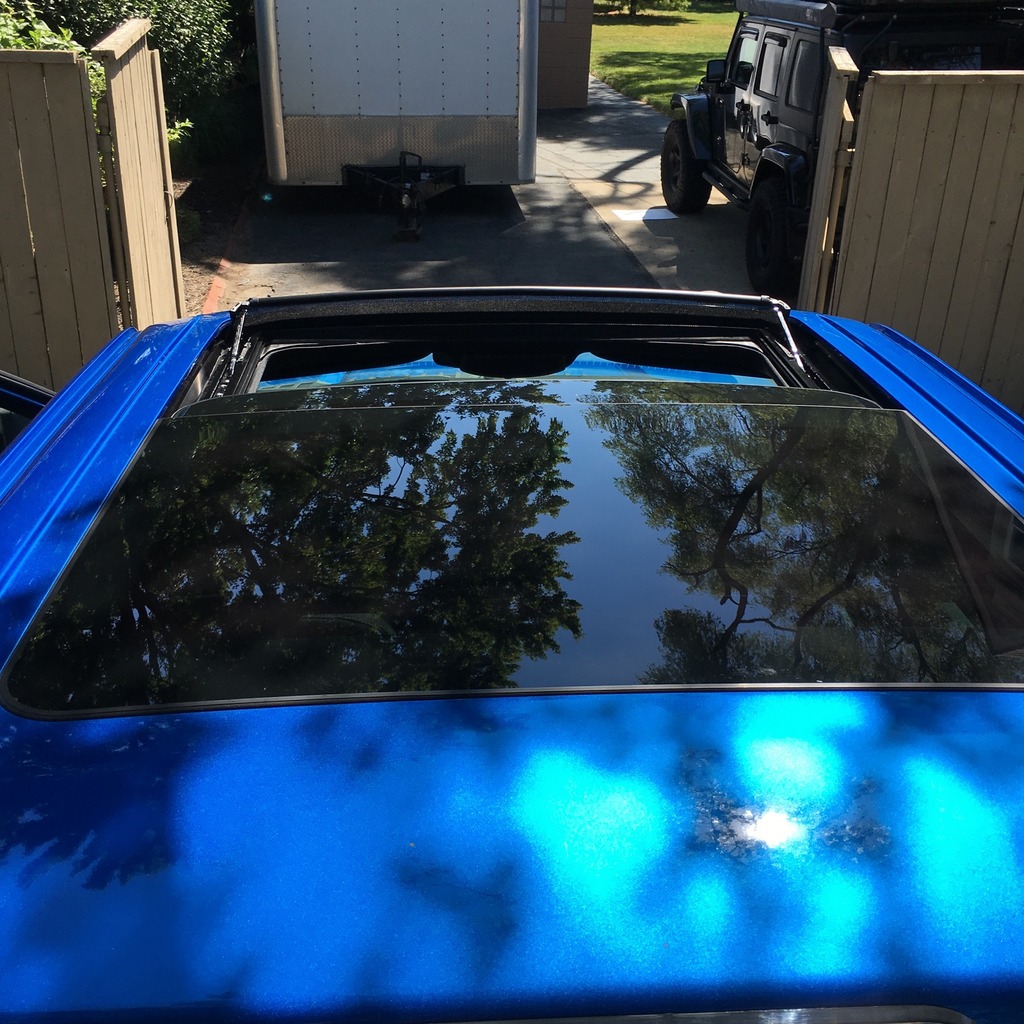
So I just wrapped up the overland build of my 2013 Jeep Wrangler and was itching for something new. That, along with the fact that my 2004 F150 FX4 SCREW had become a tired vehicle that needed replacing. This weekend I brought home a 2016 F150 XLT SCREW to replace the 2004 and now have a new project to play with!
The 2016, as was the 2004, will serve as my daily so it won't get a crazy lift or anything along those lines, I have my Jeep for that. But, it will get nicely appointed to fill some of the gaps of where I think it could be improved. Or...where I wasn't willing to pay up for a King Ranch, Ford's option packages aren't the best for picking and choosing.
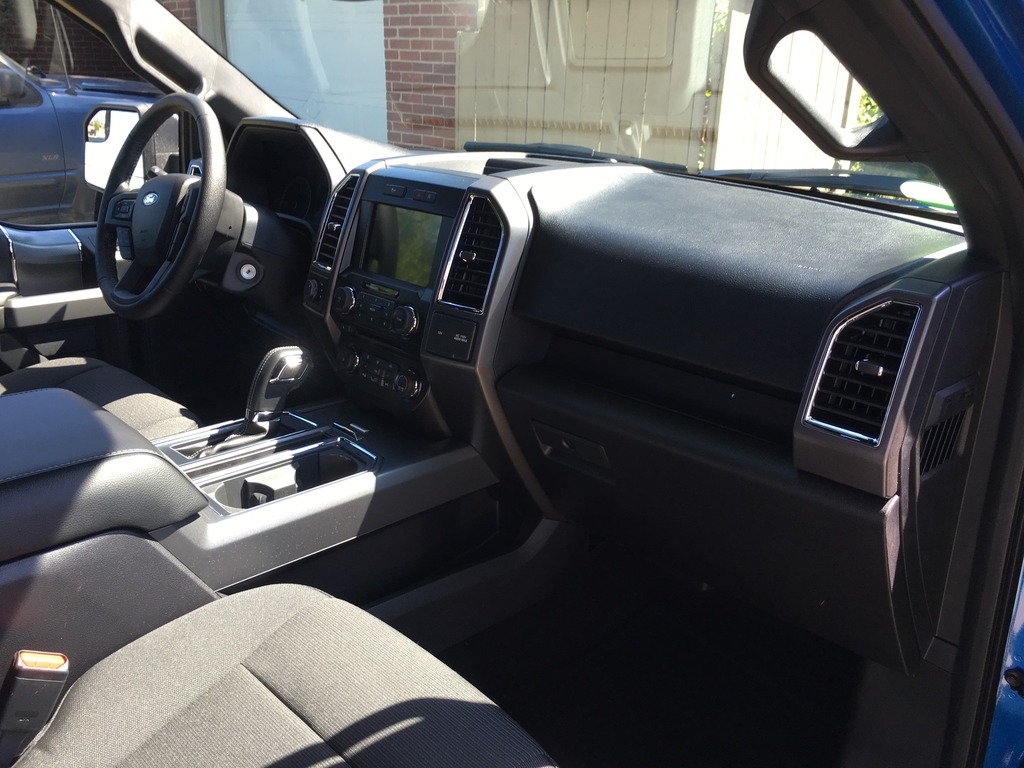
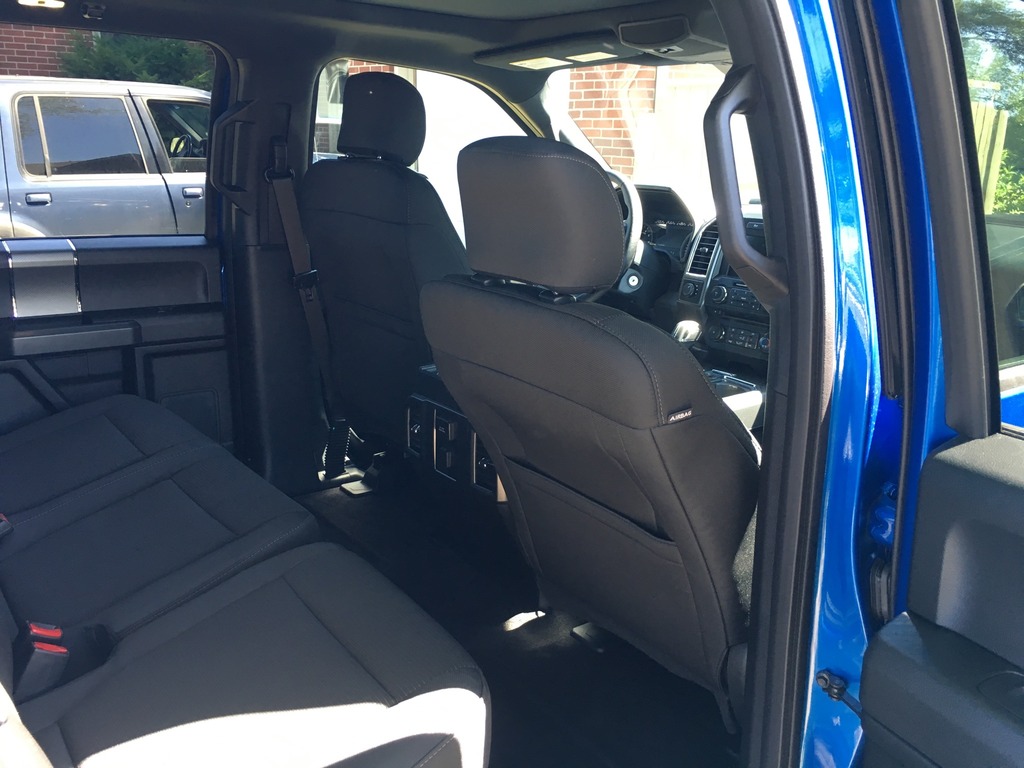
Anyway, here are a few photos of the new ride and a screen dump of the window sticker. MSRP was $47k and with A plan, that dropped it to just under $42k. I was then eligible for a little over $6000 in rebates and incentives so I'm quite happy overall.
Check back often and feel free to chime in with any comments, questions or suggestions!
General:
2016 F150 XLT SCREW
Blue Flame Metallic Paint
2.7L Ecoboost
6 speed automatic transmission
3.55 rear end
Equipment Group 302A
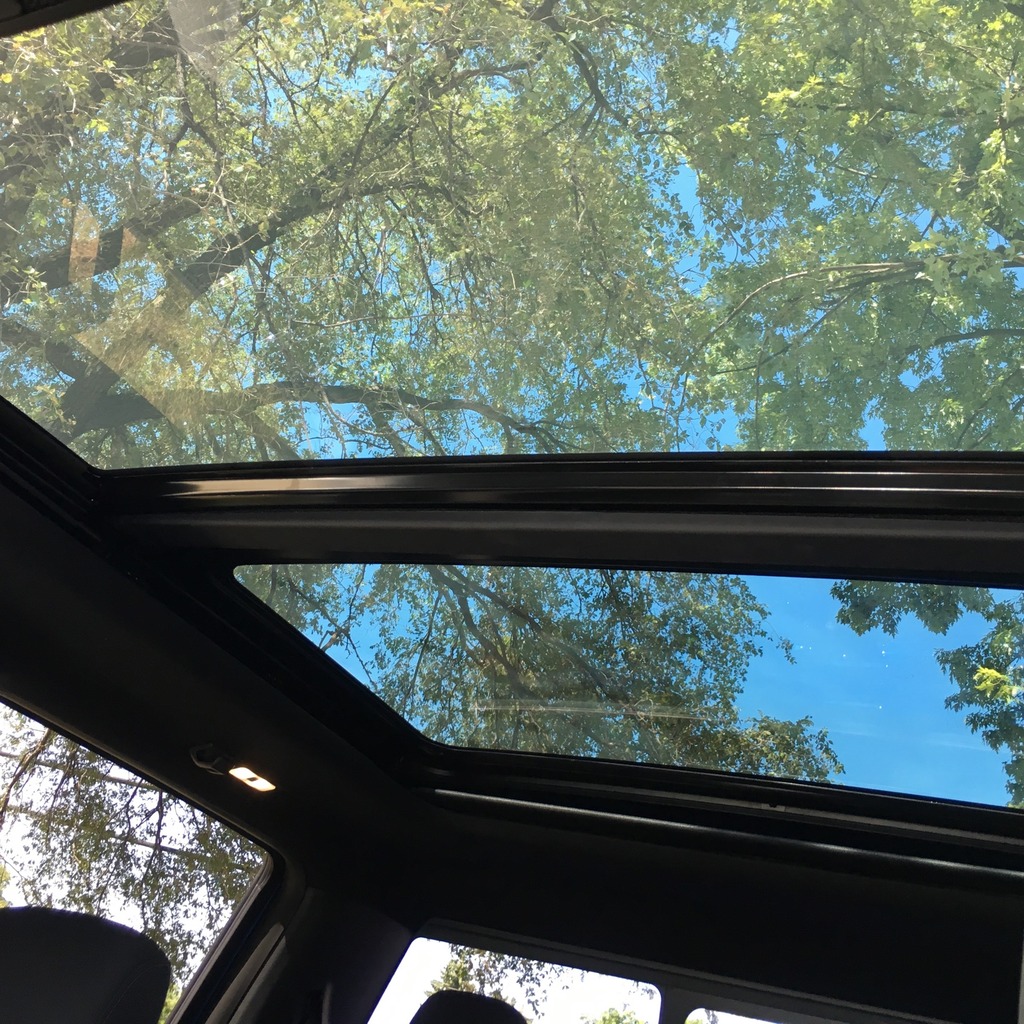
Moonroof
The 2016, as was the 2004, will serve as my daily so it won't get a crazy lift or anything along those lines, I have my Jeep for that. But, it will get nicely appointed to fill some of the gaps of where I think it could be improved. Or...where I wasn't willing to pay up for a King Ranch, Ford's option packages aren't the best for picking and choosing.
Anyway, here are a few photos of the new ride and a screen dump of the window sticker. MSRP was $47k and with A plan, that dropped it to just under $42k. I was then eligible for a little over $6000 in rebates and incentives so I'm quite happy overall.
Check back often and feel free to chime in with any comments, questions or suggestions!
General:
2016 F150 XLT SCREW
Blue Flame Metallic Paint
2.7L Ecoboost
6 speed automatic transmission
3.55 rear end
Equipment Group 302A
Moonroof


Last edited by KevinMac; 07-25-2016 at 11:26 AM.


 07-26-2016, 09:50 PM
#5
Member
Thread Starter
Thanks folks! Both the blue flame paint and moonroof were mandatory on my list of options, so this was a no brainier!
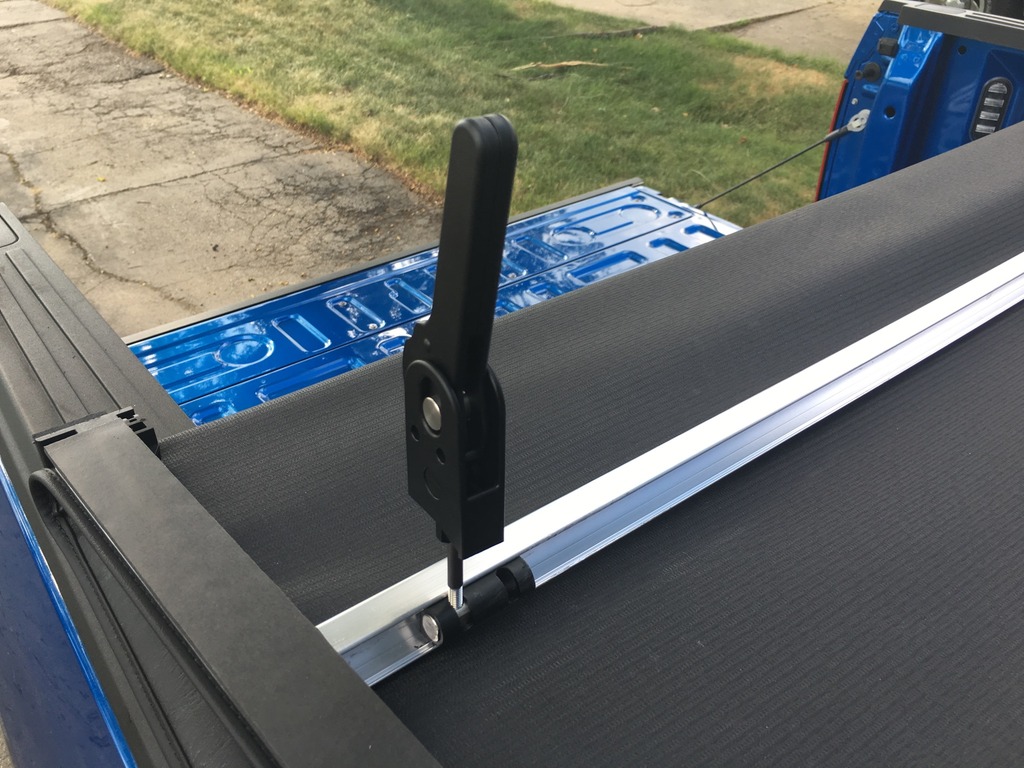
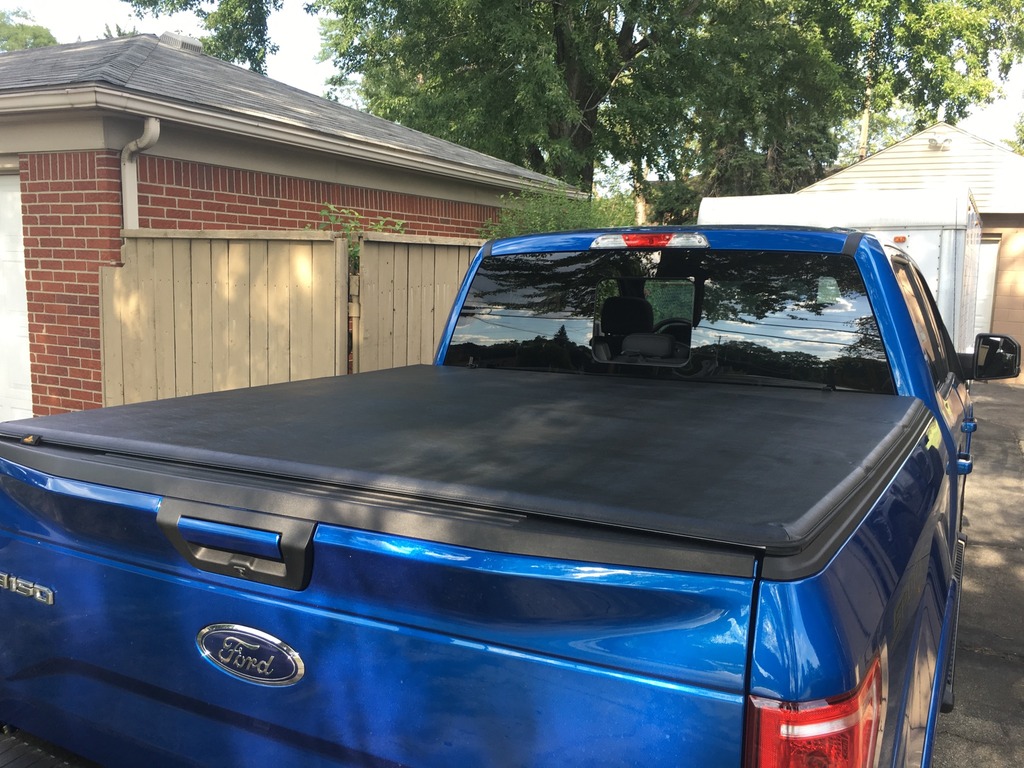
With that, I installed my 1st mod today, a tonneau cover! After having had a snap down cover on my 2004, I knew I wanted something else as they got harder and harder to snap as they got older. I loved the idea of a tri-fold and I wanted something simple. My decision was to go with a Bestop EZ Fold!
The install of this was supposed to be super easy, under 15 minutes. But, in reality it took closer to 25. The assembly is held down by 4 clamps that attach to the bed rail. The front 2 clamps worked exactly as advertised, the rear 2, not so much. The clamps float inside an aluminum extension. The problem was that they were so tight in the extrusion, they didn't float...at all.
  It took about a dozen blows with the hammer, per side, to move them outboard enough to actually engage the bed rails. Once they were positioned correctly, they worked as expected.
Close up of a rogue clamp!
In the folded position
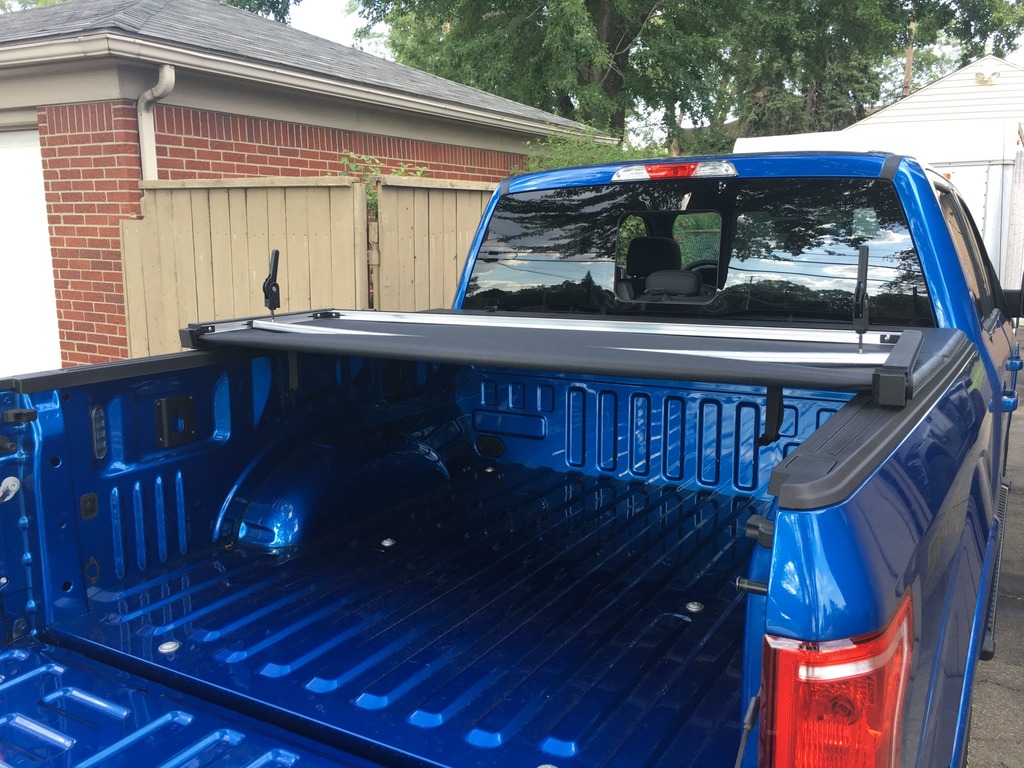
Installed photo
Install video
If you factor out the clamp issue, the install was pretty simple. Fit and finish was good, everything aligns well to the bed. The freeway test was also successful, the cover did not blow off during test speeds of 80mph+. �� Overall, I give it a thumbs up!! ��
Cost: $296 (Amazon)
With that, I installed my 1st mod today, a tonneau cover! After having had a snap down cover on my 2004, I knew I wanted something else as they got harder and harder to snap as they got older. I loved the idea of a tri-fold and I wanted something simple. My decision was to go with a Bestop EZ Fold!
The install of this was supposed to be super easy, under 15 minutes. But, in reality it took closer to 25. The assembly is held down by 4 clamps that attach to the bed rail. The front 2 clamps worked exactly as advertised, the rear 2, not so much.
The clamps float inside an aluminum extension. The problem was that they were so tight in the extrusion, they didn't float...at all. It took about a dozen blows with the hammer, per side, to move them outboard enough to actually engage the bed rails. Once they were positioned correctly, they worked as expected.Close up of a rogue clamp!

In the folded position

Installed photo

Install video
If you factor out the clamp issue, the install was pretty simple. Fit and finish was good, everything aligns well to the bed. The freeway test was also successful, the cover did not blow off during test speeds of 80mph+. �� Overall, I give it a thumbs up!! ��
Cost: $296 (Amazon)
Last edited by KevinMac; 07-27-2016 at 08:23 AM.
07-28-2016, 08:05 PM
#6
Member
Thread Starter
Next up, was a quick swap of the antenna. Like others have encountered, good luck getting into a garage or parking structure without dragging the stock antenna. 
So, a stop at Autozone was in store. They had this little stubby (about 7" long) on the shelf. It was a 5 minute install and the reception is still very good. Who could ask for more?
Stay tuned, LED's are on order and should be here early next week.
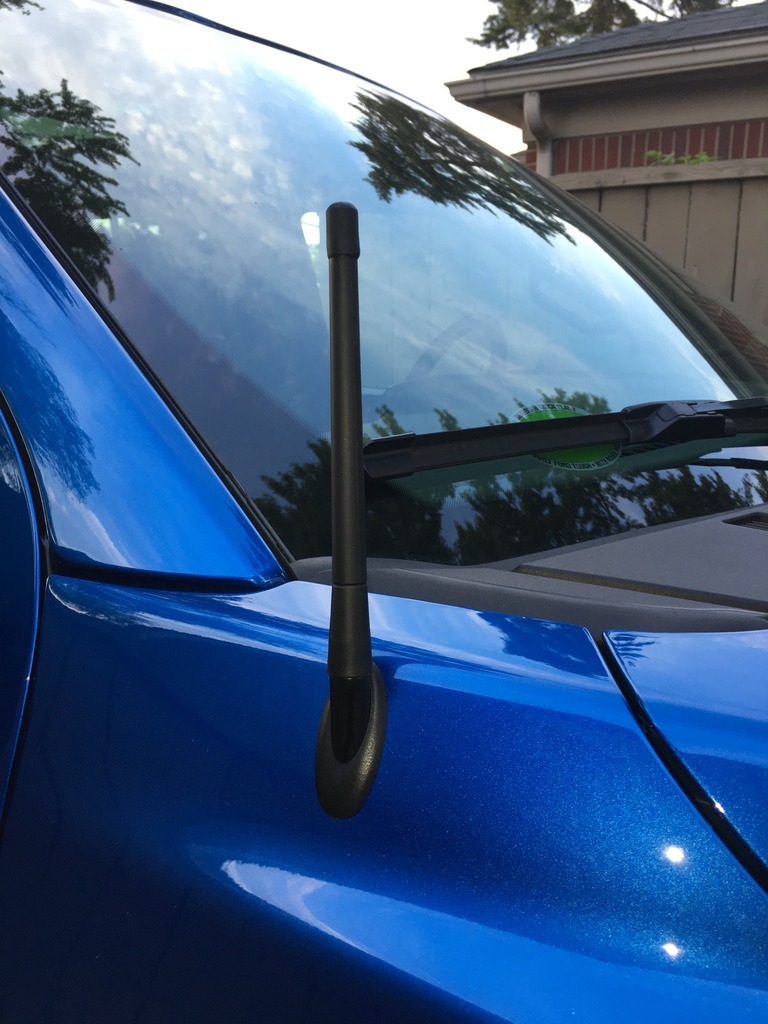
Cost: $14.99
So, a stop at Autozone was in store. They had this little stubby (about 7" long) on the shelf. It was a 5 minute install and the reception is still very good. Who could ask for more?
Stay tuned, LED's are on order and should be here early next week.

Cost: $14.99
Trending Topics
08-04-2016, 07:53 PM
#8
Member
Thread Starter
I am going with a mixture of things. F150LEDS.com has a couple of things I really like, the bed rail light kit and the console ambient light kit. For the exterior lighting, I am going with stuff from SuperBrightLEDs.com. I used SuperBright to replace all the bulbs on my Jeep build and I was really happy with them. Good quality, good pricing and fast shipping!
08-04-2016, 08:14 PM
#9
Member
Thread Starter
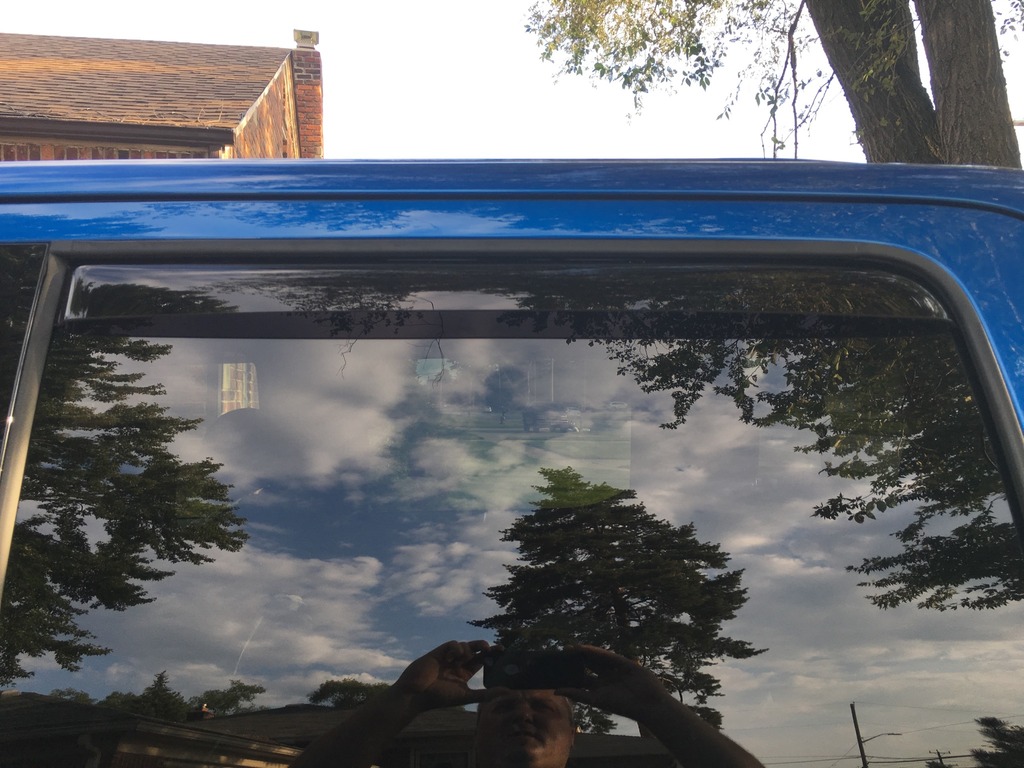
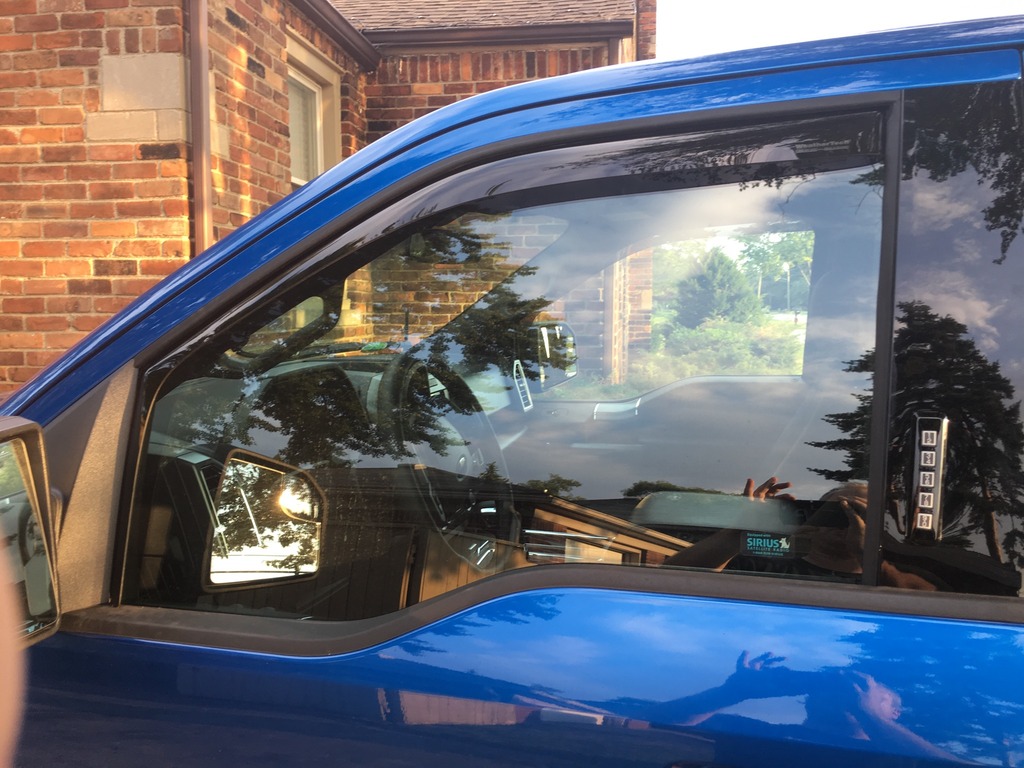
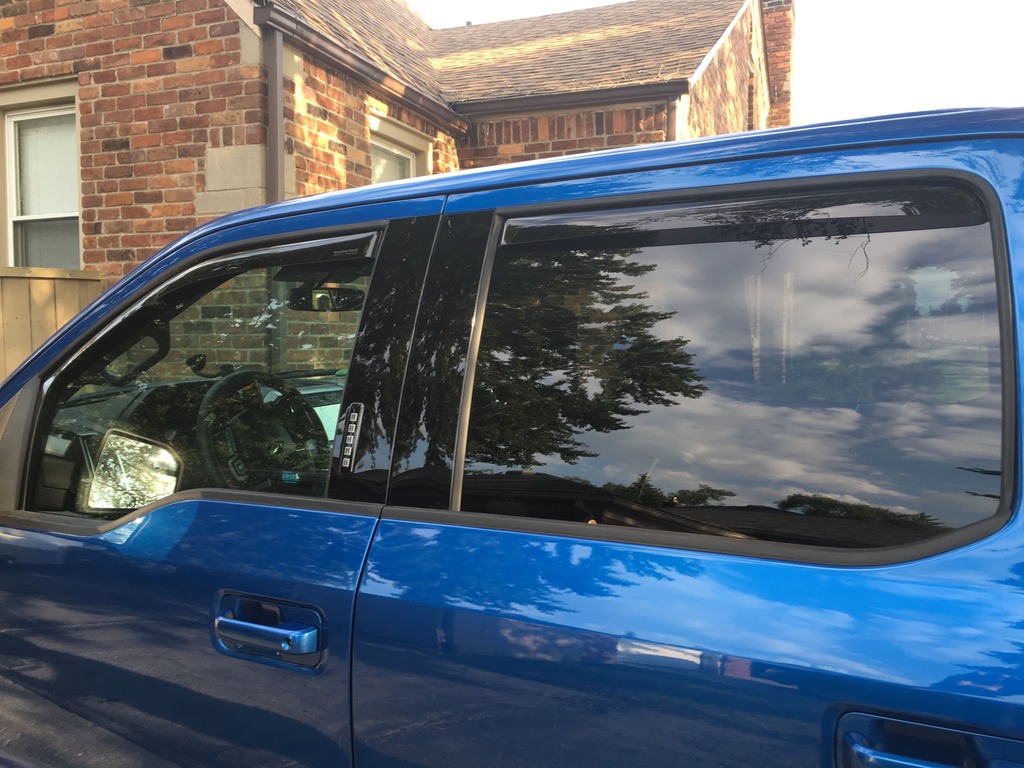
Today's upgrade was a set of Weathertech in channel vent visors. I have the AVS on my Jeep and was happy with them in general but I had seen a set of the Weathertechs on another's truck and was impressed with how low profile they were. They don't stick out nearly as far as their competitors. What wasn't as impressive was the price, about 40% more. 
The install was fairly straightforward. The rear doors were a snap, insert a couple of clips under the seal and slide the visor into the channel. It took me less than 5 minutes to do both rear doors.
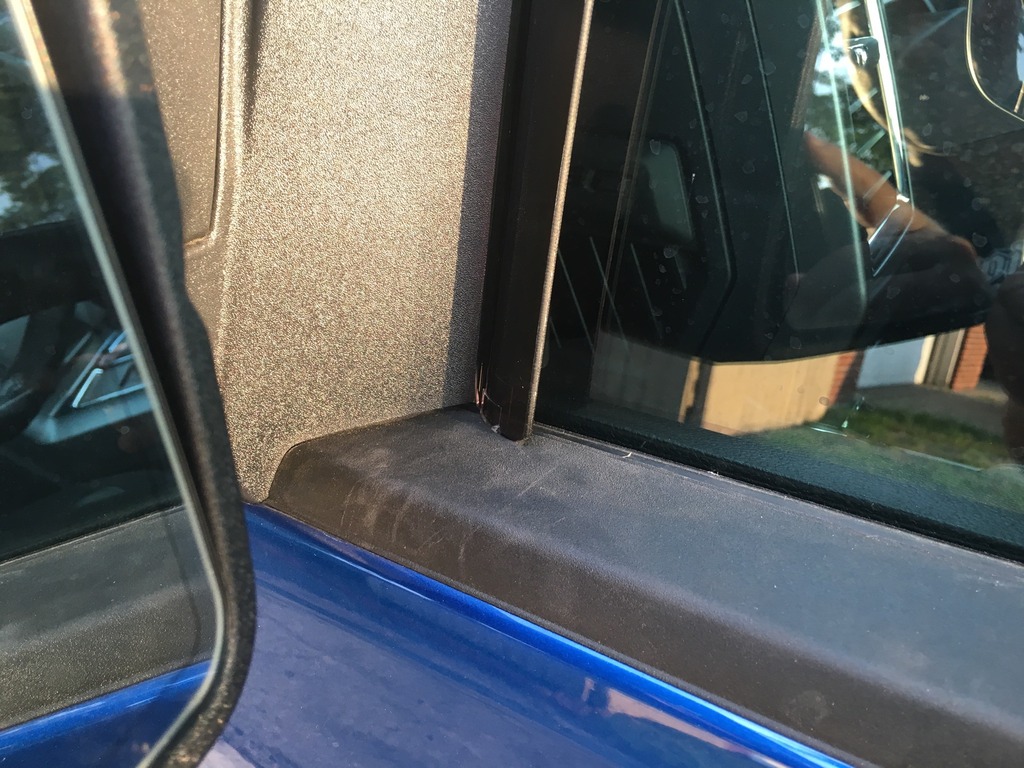
The front doors were a bit more complicated. The end closest to the mirror actually rests on the window sill, it does not go in the channel. This wasn't illustrated real well in the instructions, as drawn. An actual photo would have been a lot more useful. After about 3 or 4 tries I figured it out and got it to assemble correctly. Below is a close up photo for clarification.
A couple of additional notes. While you are working on getting the front area by the mirror squared away, be careful of the back end of the visor as it is kind of flopping around. If you aren't careful, it can scratch the black trim panels where your keypad is mounted. The other note is the some folks have reported the window reversing direction as it hits the visormwhenusing the 'auto-up' feature. Allegedly, this condition improves after a few days. Mine seem to be ok so far, so keep your fingers crossed!
Cost: $100
The install was fairly straightforward. The rear doors were a snap, insert a couple of clips under the seal and slide the visor into the channel. It took me less than 5 minutes to do both rear doors.

The front doors were a bit more complicated. The end closest to the mirror actually rests on the window sill, it does not go in the channel. This wasn't illustrated real well in the instructions, as drawn. An actual photo would have been a lot more useful. After about 3 or 4 tries I figured it out and got it to assemble correctly. Below is a close up photo for clarification.


A couple of additional notes. While you are working on getting the front area by the mirror squared away, be careful of the back end of the visor as it is kind of flopping around. If you aren't careful, it can scratch the black trim panels where your keypad is mounted.
The other note is the some folks have reported the window reversing direction as it hits the visormwhenusing the 'auto-up' feature. Allegedly, this condition improves after a few days. Mine seem to be ok so far, so keep your fingers crossed!Cost: $100
08-07-2016, 04:09 PM
#10
Member
Thread Starter
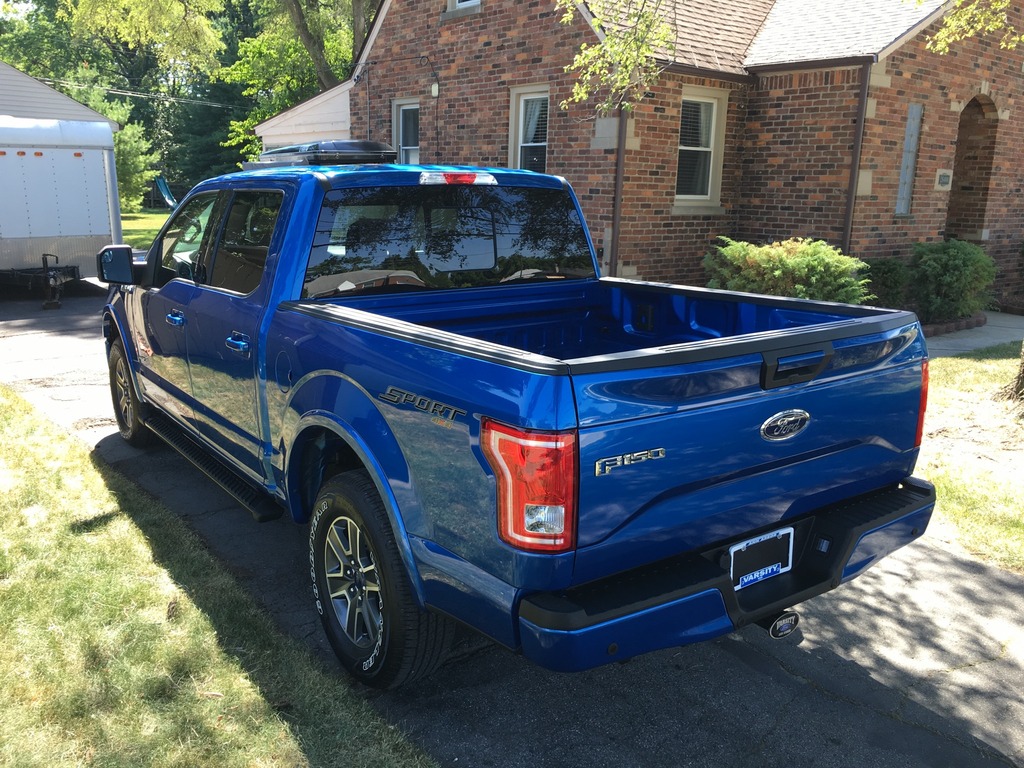
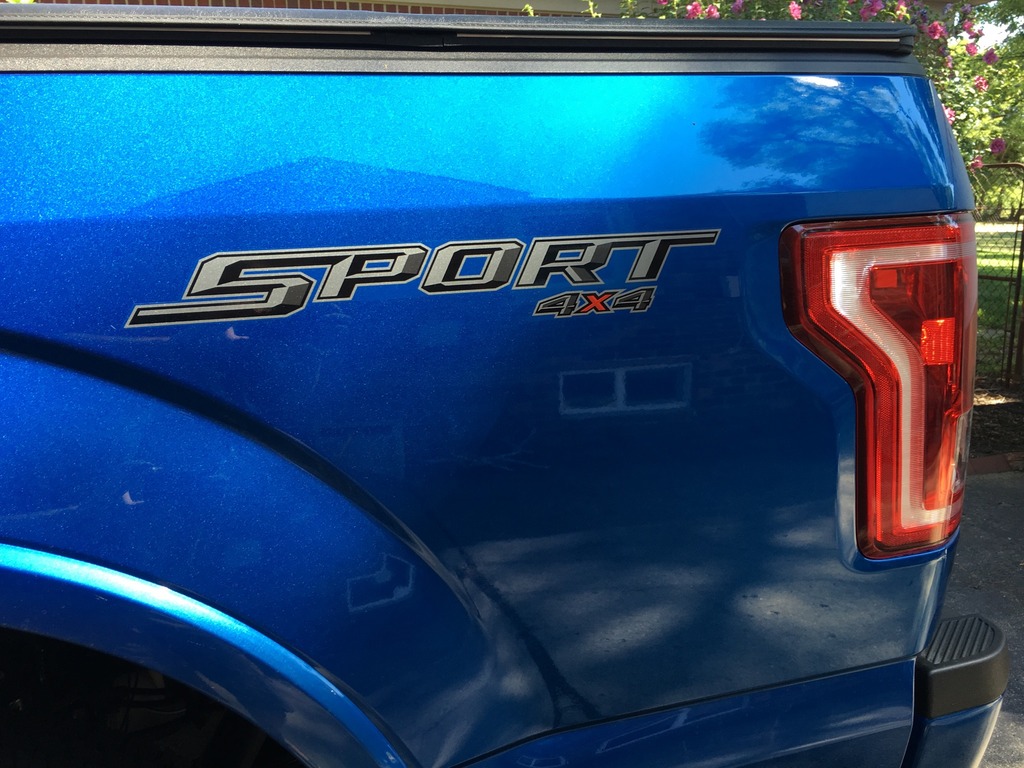
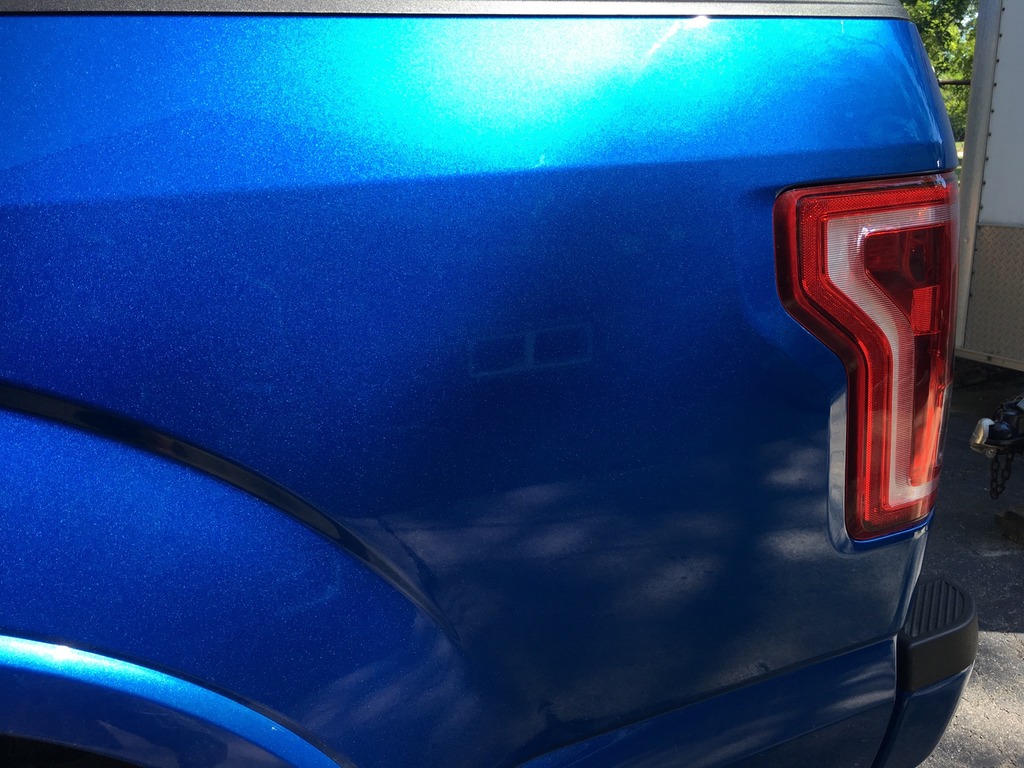
Badges? We don't need no stink'n badges!  Ok, we just need LESS badges! Today I peeled the "Sport" decals off the bed of the truck. My truck plays exactly zero sports. Therefore, it is not worthy.
Before:
After:
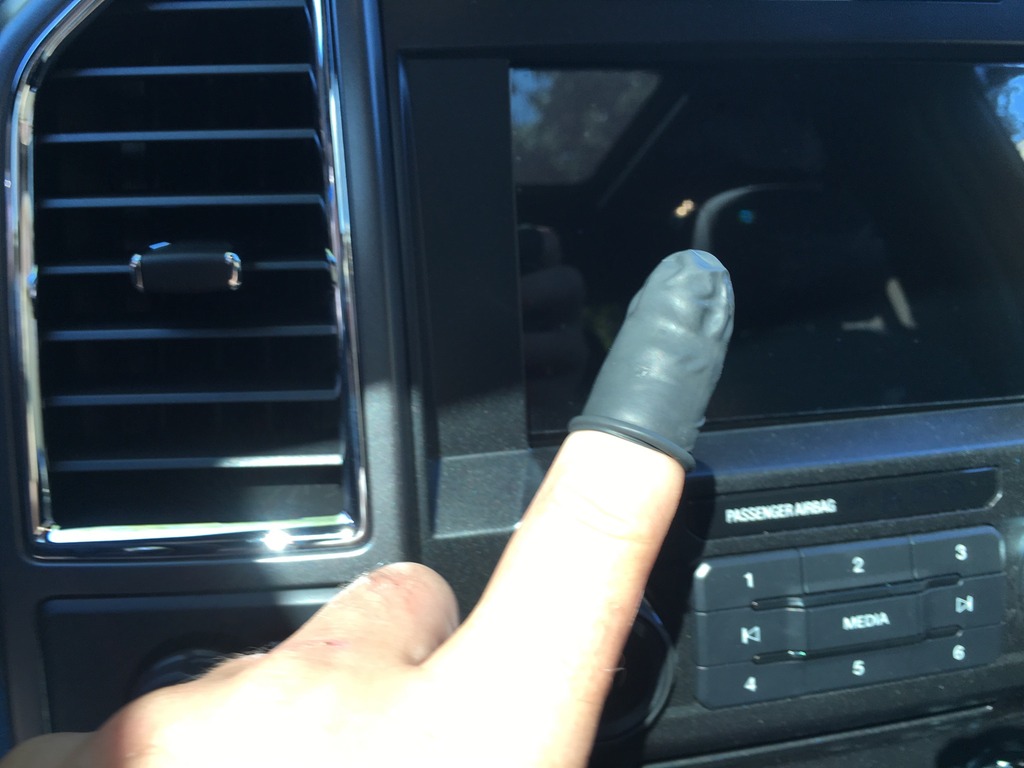
In addition, I installed the Lexerd screen protector for the center stack display. Fit was good but damn was it clingy! Make sure the windows are closed while installing, it attracts dust better then a Swifter! As an added bonus, they give you fun finger covers to wear during install!
Cost:
- Lexerd Screen Protector: $25
- Debadge: Freebie!
Ok, we just need LESS badges! Today I peeled the "Sport" decals off the bed of the truck. My truck plays exactly zero sports. Therefore, it is not worthy. Before:

After:

In addition, I installed the Lexerd screen protector for the center stack display. Fit was good but damn was it clingy! Make sure the windows are closed while installing, it attracts dust better then a Swifter!
As an added bonus, they give you fun finger covers to wear during install! 
Cost:
- Lexerd Screen Protector: $25
- Debadge: Freebie!