Gangster to Gordon Build


 02-17-2015, 10:41 AM
#12
I have ordered up a OE Honeycomb grill that I believe I will give the "patman" treatment as it seems to be known as.
I will also be ordering raw materials for a custom prerunner bumper I will be fabricating. 2"x.125" tubing, .125" plate (both steel and aluminum), and some Tabzone tab mounts.
I will also be ordering raw materials for a custom prerunner bumper I will be fabricating. 2"x.125" tubing, .125" plate (both steel and aluminum), and some Tabzone tab mounts.
Last edited by BryanPendleton; 02-17-2015 at 06:04 PM.
02-18-2015, 10:07 AM
#14
Just wiped them down with some denatured alcohol. No sanding though. The weathered bed caps were so porous that they soaked up that Krylon, so I applied several coats with only minutes between each coat. No clear coat though.

 02-18-2015, 01:16 PM
#16
02-19-2015, 02:01 PM
#17
In an effort to clean up the visuals of the truck and give it a sportier, more racey, look I have been working over some late model F-150 emblems for my truck. I love the 09+ font, as it is clean and the italic font looks sporty, but I wanted to shave the model designation.
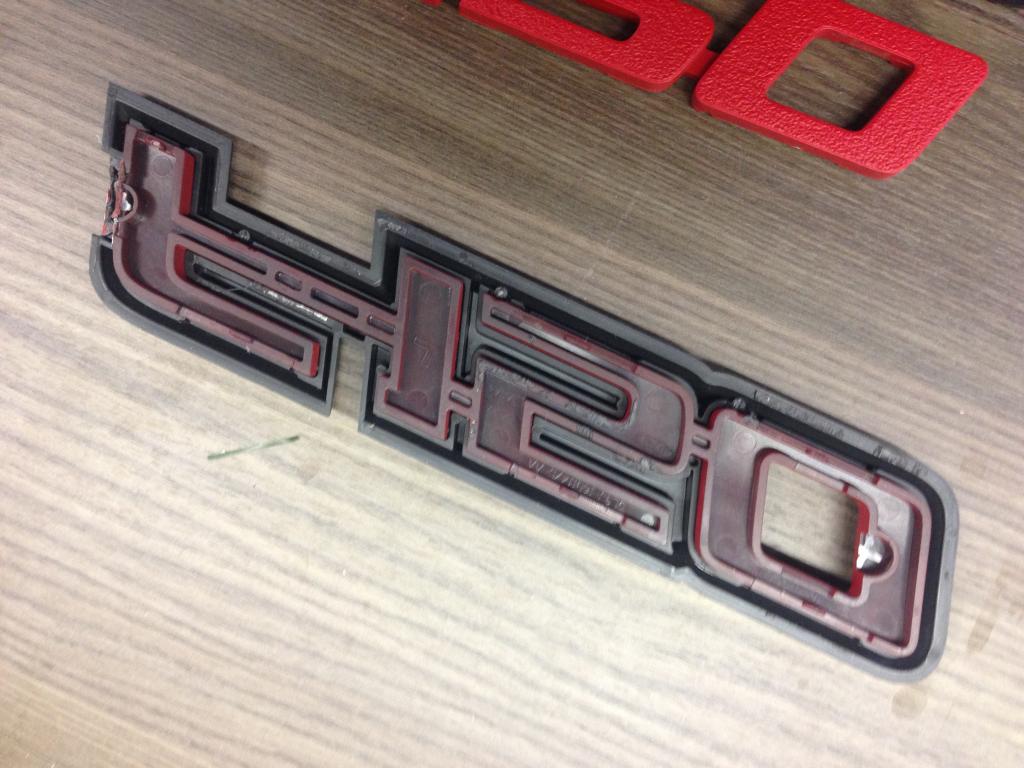
First step was removing the OE adhesive. Then separating the red inside portion from the emblem frame. This was tricky, as you have to be patient. before doing anything, inspect the back side of the emblems. Note that the inside snaps to the emblem frame by multiple latches at the top of bottom of each letter. Also, inspect closely for any signs of a glue on these latches, as one of my emblems had some spots of glue.
With a small bladed screwdriver you can open the each latch and gently disengage the latch by pushing the inside emblem out of the emblem frame just enough to disengage the latch. Start and one end and work your way to the opposite end. If there is glue, you may need to get aggressive with prying the latch. You should hear the glue bond break, then you know you should be free. Note that you are NOT using the screwdriver to pry the inside emblem from the emblem frame, you are only opening the latch, and with the latch open, you use your hand to push the inside emblem out of the emblem frame.

 02-19-2015, 03:50 PM
#18
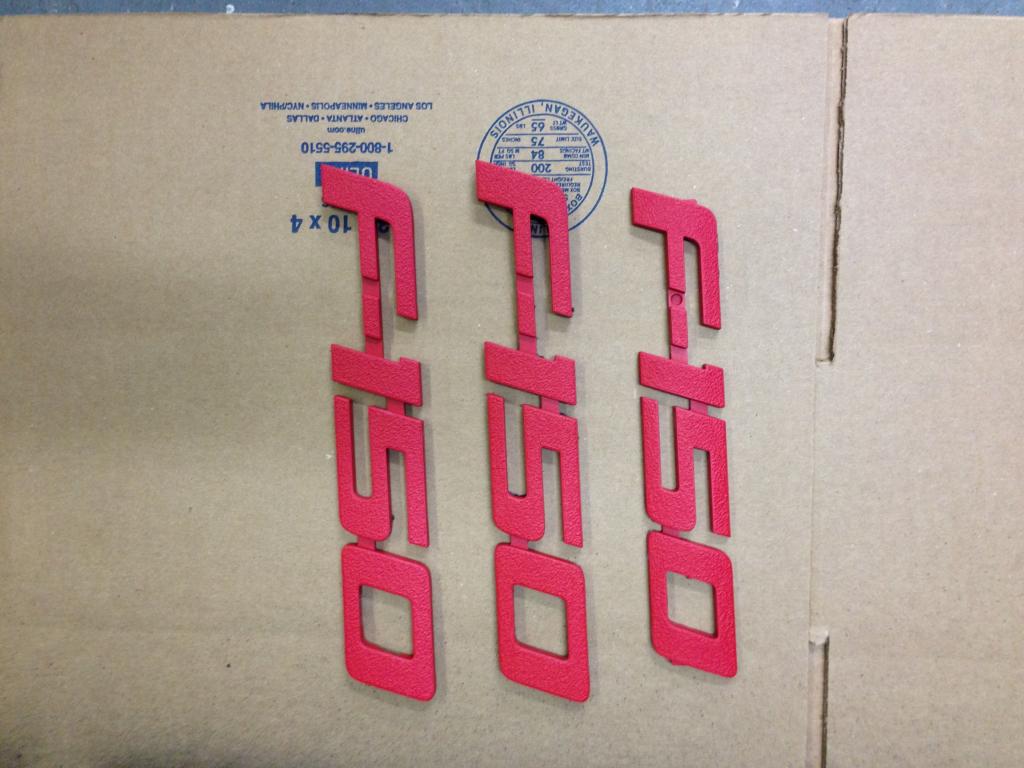
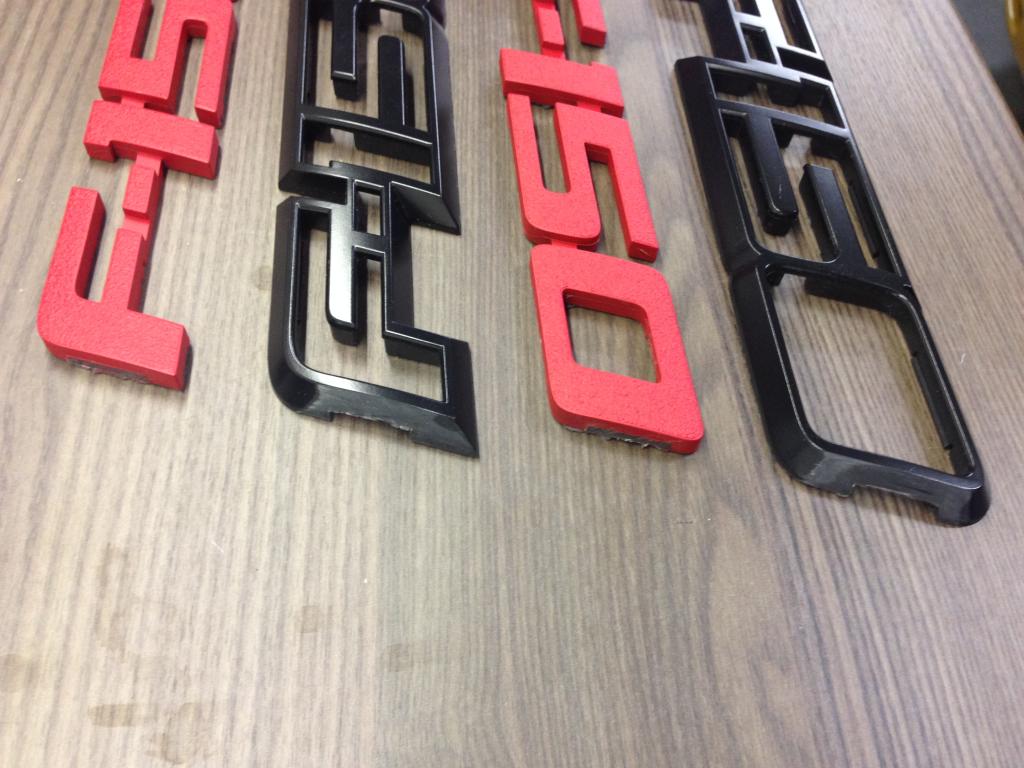
The next task, while not particularly hard, but more tedious, was removing the model designation from the fender emblems. I started by cutting it off with a cut-off tool such as a dremel. I left a 1/8" or so on the emblem frame, to give me enough material to slowly knock it down. The unfortunate problem with this process is when you cut off the model designation, is you get a hole in the side, as shown below. Anyway, once the cut off the model designation, I then used a bench grinder to take knock it down a little closer, then a hand file, and finally sand paper. I knocked it down flush with 150-grit. Then I used a plastic epoxy to fill in the hole. If I had to do it over, I would use JB Weld, as the product I used was crap. The bond seems OK, but the the drying time was way to long, and the too thin to apply it to a local spot. I also believe the material has very different thermal expansion properties than the plastic on the emblem. Once I had the hole filled with the epoxy, I then began knocking it down with hand files and sand paper. Once I got everything flush, I then used a 3M automotive spot putty to coat the sanded surfaces and smooth with 400-grit, followed by 600-grit. I used a multiple layers of primer as well, and sanded with 600-grit, until it was shaped and smoothed to my liking. Then came the paint. I used the Krylon Fusion Satin Black for the final finish, and I love the final finish. Oddly, as I mentioned above, I wish I had just used JB Weld. One of the holes on the emblems raised every so slightly. I don't know if its thermal expansion or if the epoxy expanded from socking up the spray paint or what happened. No one will ever know, as its extremely difficult to see, but certainly not suitable for the Riddler Award at SEMA or anything. 


Last edited by BryanPendleton; 02-19-2015 at 03:52 PM.
02-19-2015, 03:58 PM
#19
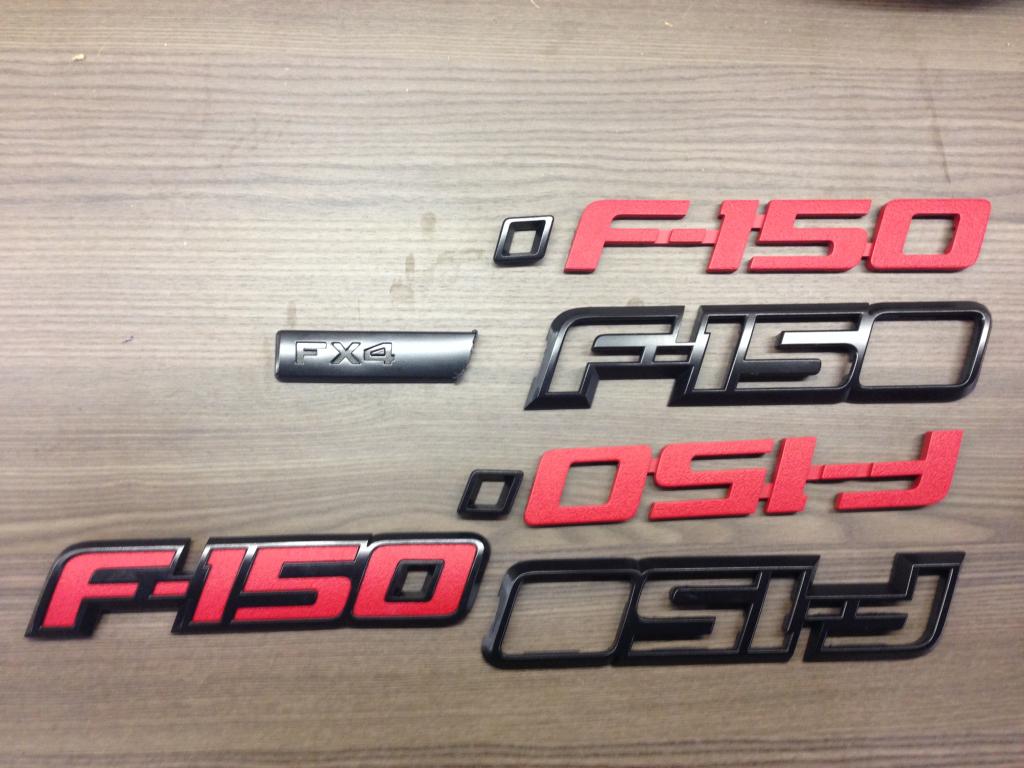
For the tailgate emblem, there is no model designation which is good, but unfortunately the emblem is countoured to fit the channel groove on the 09+ F150's. For this emblem, I simply kept the emblem fully assembled. Then sanded the back side with a table sander until it was flat. To get this emblem flat, you have to sand off a lot of materal. This process actually removed the latches that retain the inside emblem in the emblem frame.
All pieces were sanded with 600-grit to improve adhesion of Krylon Fusion. As mentioned earlier, the emblem frames where Satin Black. The inside emblems were painted a charcoal gray.
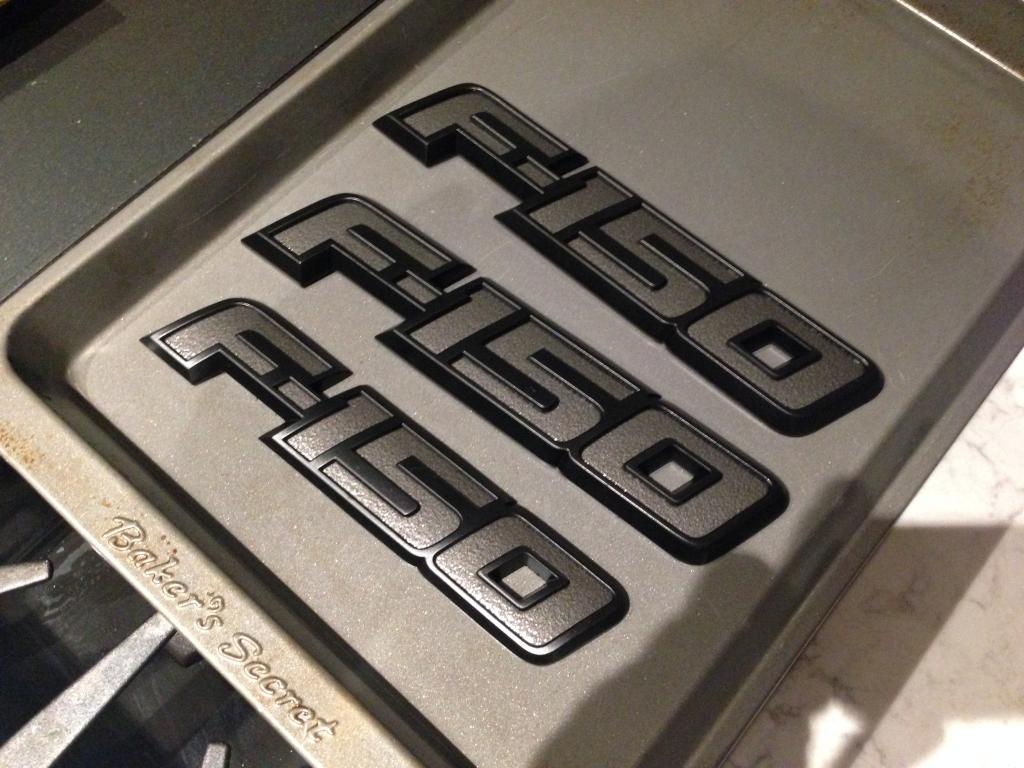
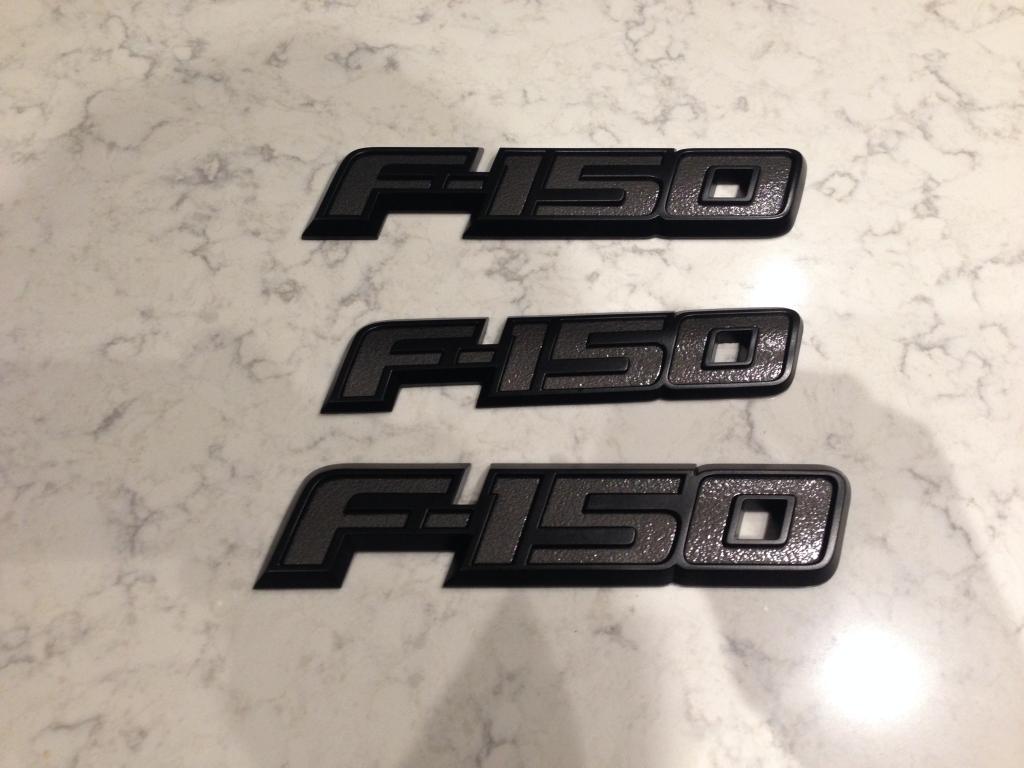
All pieces were sanded with 600-grit to improve adhesion of Krylon Fusion. As mentioned earlier, the emblem frames where Satin Black. The inside emblems were painted a charcoal gray.

