Topic Sponsor
Members Builds See any build threads created by members to track progress of their projects.
Sponsored by:
Sponsored by:

Frankentruck and other oddities from Firerunner's World

Thread Tools
 
Search this Thread
 
Old 04-20-2018, 06:09 AM
  #571  
Senior Member
 
KillinTime's Avatar
 
Join Date: Mar 2018
Location: Thibodaux, La
Posts: 1,336
Received 765 Likes on 462 Posts

Default

Aw crap..... Here he goes again (as if he ever stopped). Lol. You're going to cost me more money. I just spent a small fortune but I REALLY want 360 cameras. Lol.

I can't wait to see how it turns out.
Old 04-20-2018, 09:01 AM
  #572  
Tommy

Thread Starter
iTrader: (3)
 
Firerunner's Avatar
 
Join Date: Nov 2012
Location: Greenville, North Carolina
Posts: 6,022
Received 4,265 Likes on 2,183 Posts

Default

Originally Posted by KillinTime
Aw crap..... Here he goes again (as if he ever stopped). Lol. You're going to cost me more money. I just spent a small fortune but I REALLY want 360 cameras. Lol.

I can't wait to see how it turns out.
lol..This was one of those things that was supposed to be finished before the headlights, wheels, etc. but I never had the free time. I got confirmation that I will be taking vacation next week - so break open the wallet, because it's finally going to be installed
Old 04-20-2018, 09:14 AM
  #573  
Senior Member
 
jpmst3's Avatar
 
Join Date: Nov 2015
Posts: 471
Received 65 Likes on 52 Posts
Default

Ouch $300+ just for the front camera! I guess I will have to live without it.
Old 04-20-2018, 11:55 AM
  #574  
Senior Member
iTrader: (1)
 
2016BoostedGreyGoose's Avatar
 
Join Date: Jun 2016
Location: Florida
Posts: 5,621
Received 2,417 Likes on 1,272 Posts

Default

Originally Posted by Ryan B
The Side Cameras and associated hardware are about $120 IIRC. I paid $175 for my IPMB and though I got a deal....
Firerunner and I were talking about this a while back... I bought mine for $90.00.... still think I got a deal.
Old 04-20-2018, 01:37 PM
  #575  
Tommy

Thread Starter
iTrader: (3)
 
Firerunner's Avatar
 
Join Date: Nov 2012
Location: Greenville, North Carolina
Posts: 6,022
Received 4,265 Likes on 2,183 Posts

Default

Since it has been well documented (at least in this thread) that I can't keep any secrets regarding my upcoming projects I thought I would share this...
Originally I purchased this camera switch to use in the install:


But having a truck that is equipped with Start/Stop technology I was perplexed as to how I was going to use it. I didn't want to disable the Start/Stop since as you know I'm all about factory options, but I didn't want to mount the new switch in a odd area (ie: in the cubby with the USB hub)

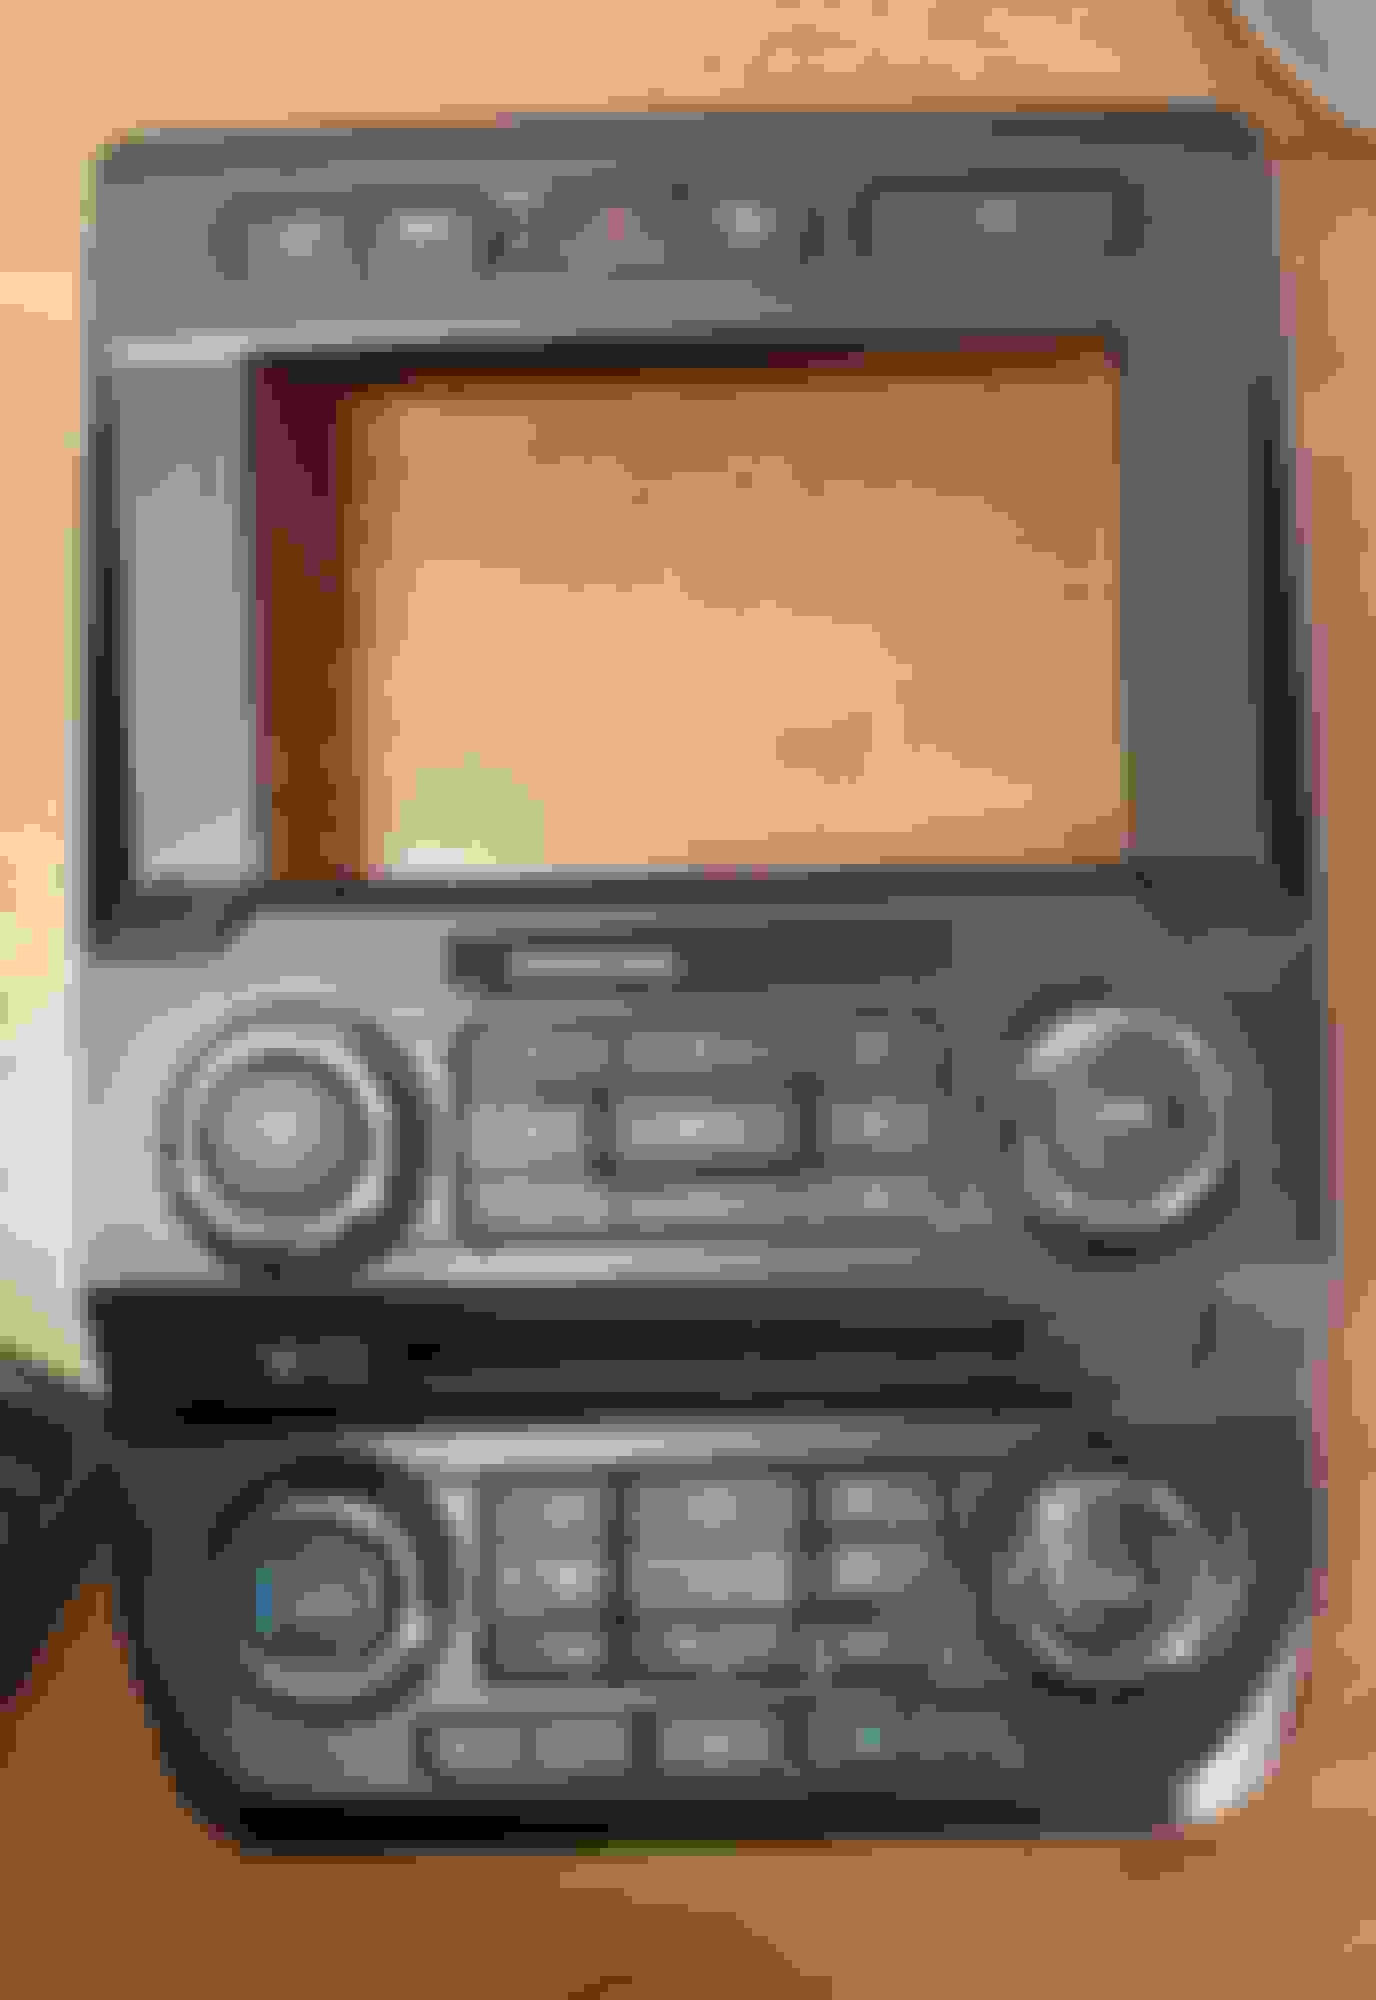
So this is my solution, It came from a 2017 F250 that looked like a Mack truck had ran into the side of it:


The only issue with this is I cannot enable all of the functions on the panel to work on my XLT. To correct this in my mind, my chosen solution is to marry the center panel components of my FCIM with this FCIM. I plan to disassemble both FCIMs and install my controls into this panel, then on the bottom I'm hoping to cut some plexiglass to fill the area where the heated & cooled seat buttons are now. If this works I'll paint the back of the plexiglass black so that it appears to be the same as the top piece that has the airbag info displayed.

Edit: This is not possible because the temperature **** has a clear piece of plastic preventing it from fitting in the New bezel. Guess I'll have to live with buttons that don't work on the bottom Sorry Goose, I'm gonna have to keep that button

Last edited by Firerunner; 04-20-2018 at 03:40 PM.
Old 04-20-2018, 01:40 PM
  #576  
Senior Member
iTrader: (1)
 
2016BoostedGreyGoose's Avatar
 
Join Date: Jun 2016
Location: Florida
Posts: 5,621
Received 2,417 Likes on 1,272 Posts

Default

Lol, Fire, can I PLEASE get the fan control button on the bottom of the bezel...between the heated/cooled seat buttons?
Old 04-20-2018, 01:43 PM
  #577  
Tommy

Thread Starter
iTrader: (3)
 
Firerunner's Avatar
 
Join Date: Nov 2012
Location: Greenville, North Carolina
Posts: 6,022
Received 4,265 Likes on 2,183 Posts

Default

Sorry Goose....didn't work

Last edited by Firerunner; 04-20-2018 at 03:41 PM.
Old 04-20-2018, 05:12 PM
  #578  
Senior Member
iTrader: (1)
 
2016BoostedGreyGoose's Avatar
 
Join Date: Jun 2016
Location: Florida
Posts: 5,621
Received 2,417 Likes on 1,272 Posts

Default

What didnt work? I literally just want 5he fan button. It pops off with a small flat head screw driver placed at the top or bottom.
Old 04-20-2018, 05:13 PM
  #579  
Senior Member
iTrader: (1)
 
2016BoostedGreyGoose's Avatar
 
Join Date: Jun 2016
Location: Florida
Posts: 5,621
Received 2,417 Likes on 1,272 Posts

Default

Oh...I just read above that.
Old 04-20-2018, 05:27 PM
  #580  
Tommy

Thread Starter
iTrader: (3)
 
Firerunner's Avatar
 
Join Date: Nov 2012
Location: Greenville, North Carolina
Posts: 6,022
Received 4,265 Likes on 2,183 Posts

Default

Originally Posted by 2016BoostedGreyGoose
Oh...I just read above that.
Don't completely give up hope on your button yet...I'm on the prowl for another (CHEAP) XL / XLT FCIM that I can experiment with to see if I can make the temp **** work in the tight confines of the new bezel. If I'm successful, I gladly put that button in the mail with your name all over it
The following users liked this post:
2016BoostedGreyGoose (04-20-2018)


Quick Reply: Frankentruck and other oddities from Firerunner's World


All times are GMT -4. The time now is 05:55 PM.