When you click on links to various merchants on this site and make a purchase, this can result in this site earning a commission. Affiliate programs and affiliations include, but are not limited to, the eBay Partner Network.
Here's mine. I painted the tailgate handle surround. I sanded it down and used high fill primer, so it started out light colored. I ended up painting it three times and using a whole can of paint in the process, it kept coming out darker than the factory. I tried heavy coats and many light coats. Didn't seem to make any difference. I wet sanded it and polished it to a mirror finish. Still the same. I have noticed in the shade it looks darkest and in direct sunlight it looks exactly like the factory color. The handle was factory painted and I use as a reference. I think what it is, with metallic paint how the flake settles makes a big difference including holding the panel the same way it would attach to the truck, in other words very difficult to match. I did have my front bumper painted after I got the truck due to transport scratches and they matched it perfectly. I'm going to let my go for now and see if time makes a difference.
I think on these very heavy metallic colors like J7 Magnetic it's the way the paint goes down and how it reflects light. Plus the spray pattern from a rattle can is not the same as a gun and that might make a difference.
I've never been happy with rattle cans and most of the time refuse to use them when I try to do a color match. I'm old school though and set in my ways. Solid colors non-metallic colors are a different story.
I can only imagine how hard it is to match the tinted clear coat colors like Ruby Red.
Just put them on, nobody but you will ever notice.
This afternoon I made one more comparison, then said to hell with it....I've spent to much on these bumpers not to use them so the swap began....
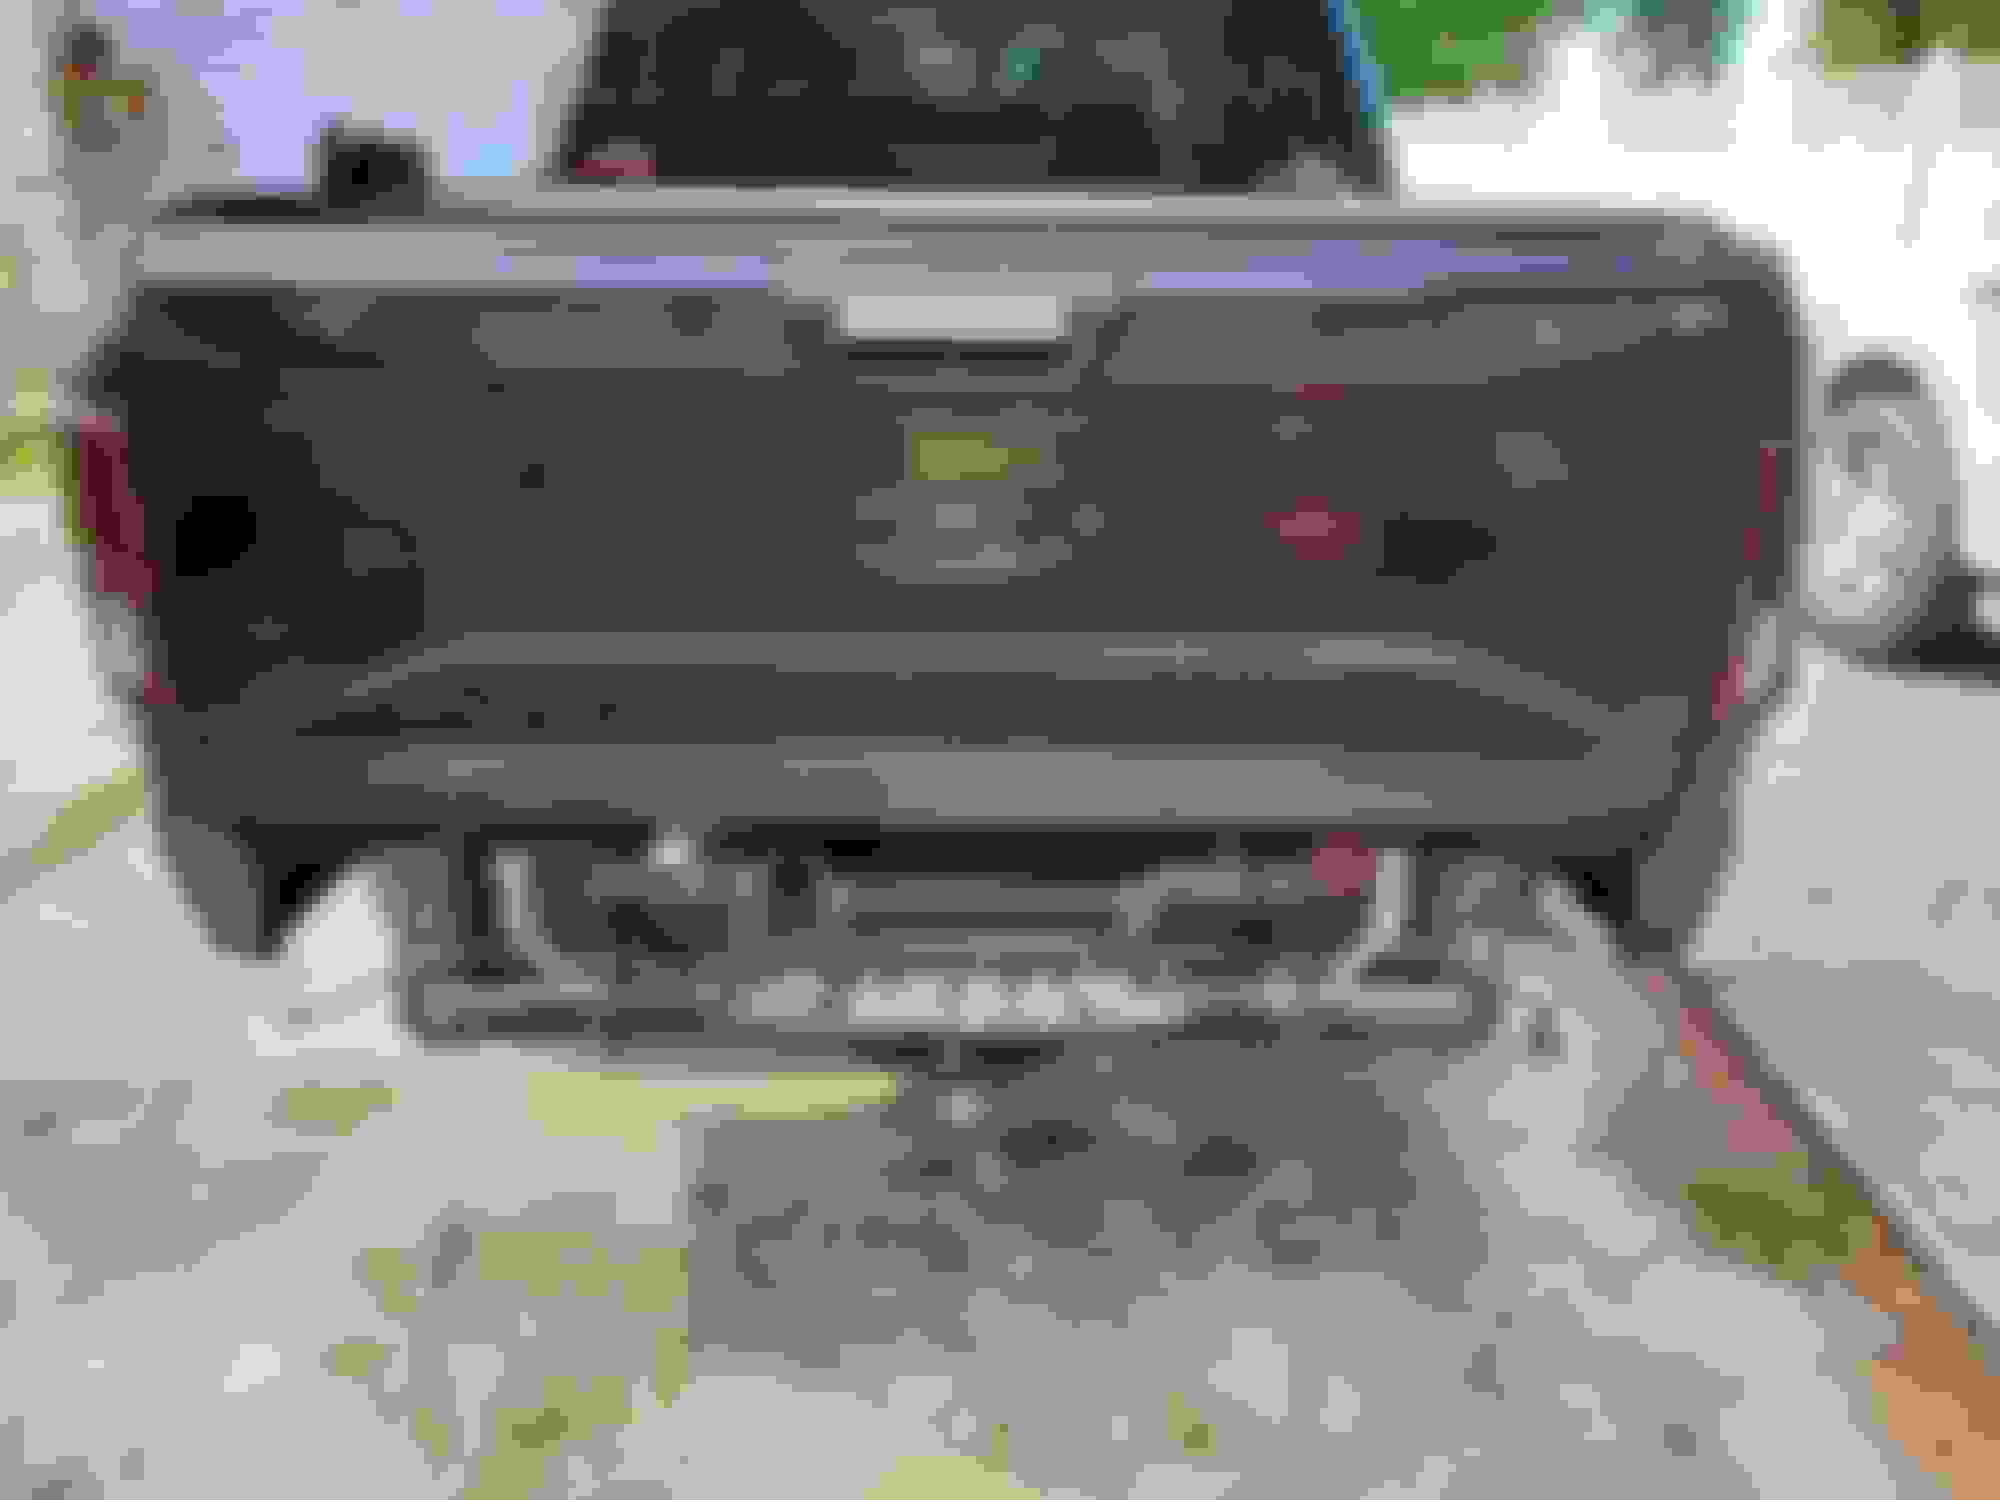
Final Comparison photo
First off, let me say if someone tells you that you HAVE to remove the entire bumper assembly to change out these panels, they are mistaken... I completed this panel exchange in 1 1/2 hours, including taking the picture above. It could most likely be completed even quicker with two people or if you weren't concerned with reusing the plastic step The only tools required are a pair of pliers & a 13mm socket / ratchet.
First I removed everything from the plastic bumper step... License plate, light bezels, tow plugs, reverse sensors. Then working from one side I mashed the clips with a pair of needle nose pliers while pushing up on the plastic step with my other hand. I did this until all of the clips were loose. I could then simply lift the plastic step off of the two panels
Next I unbolted the two chrome panels from the bumper assembly -
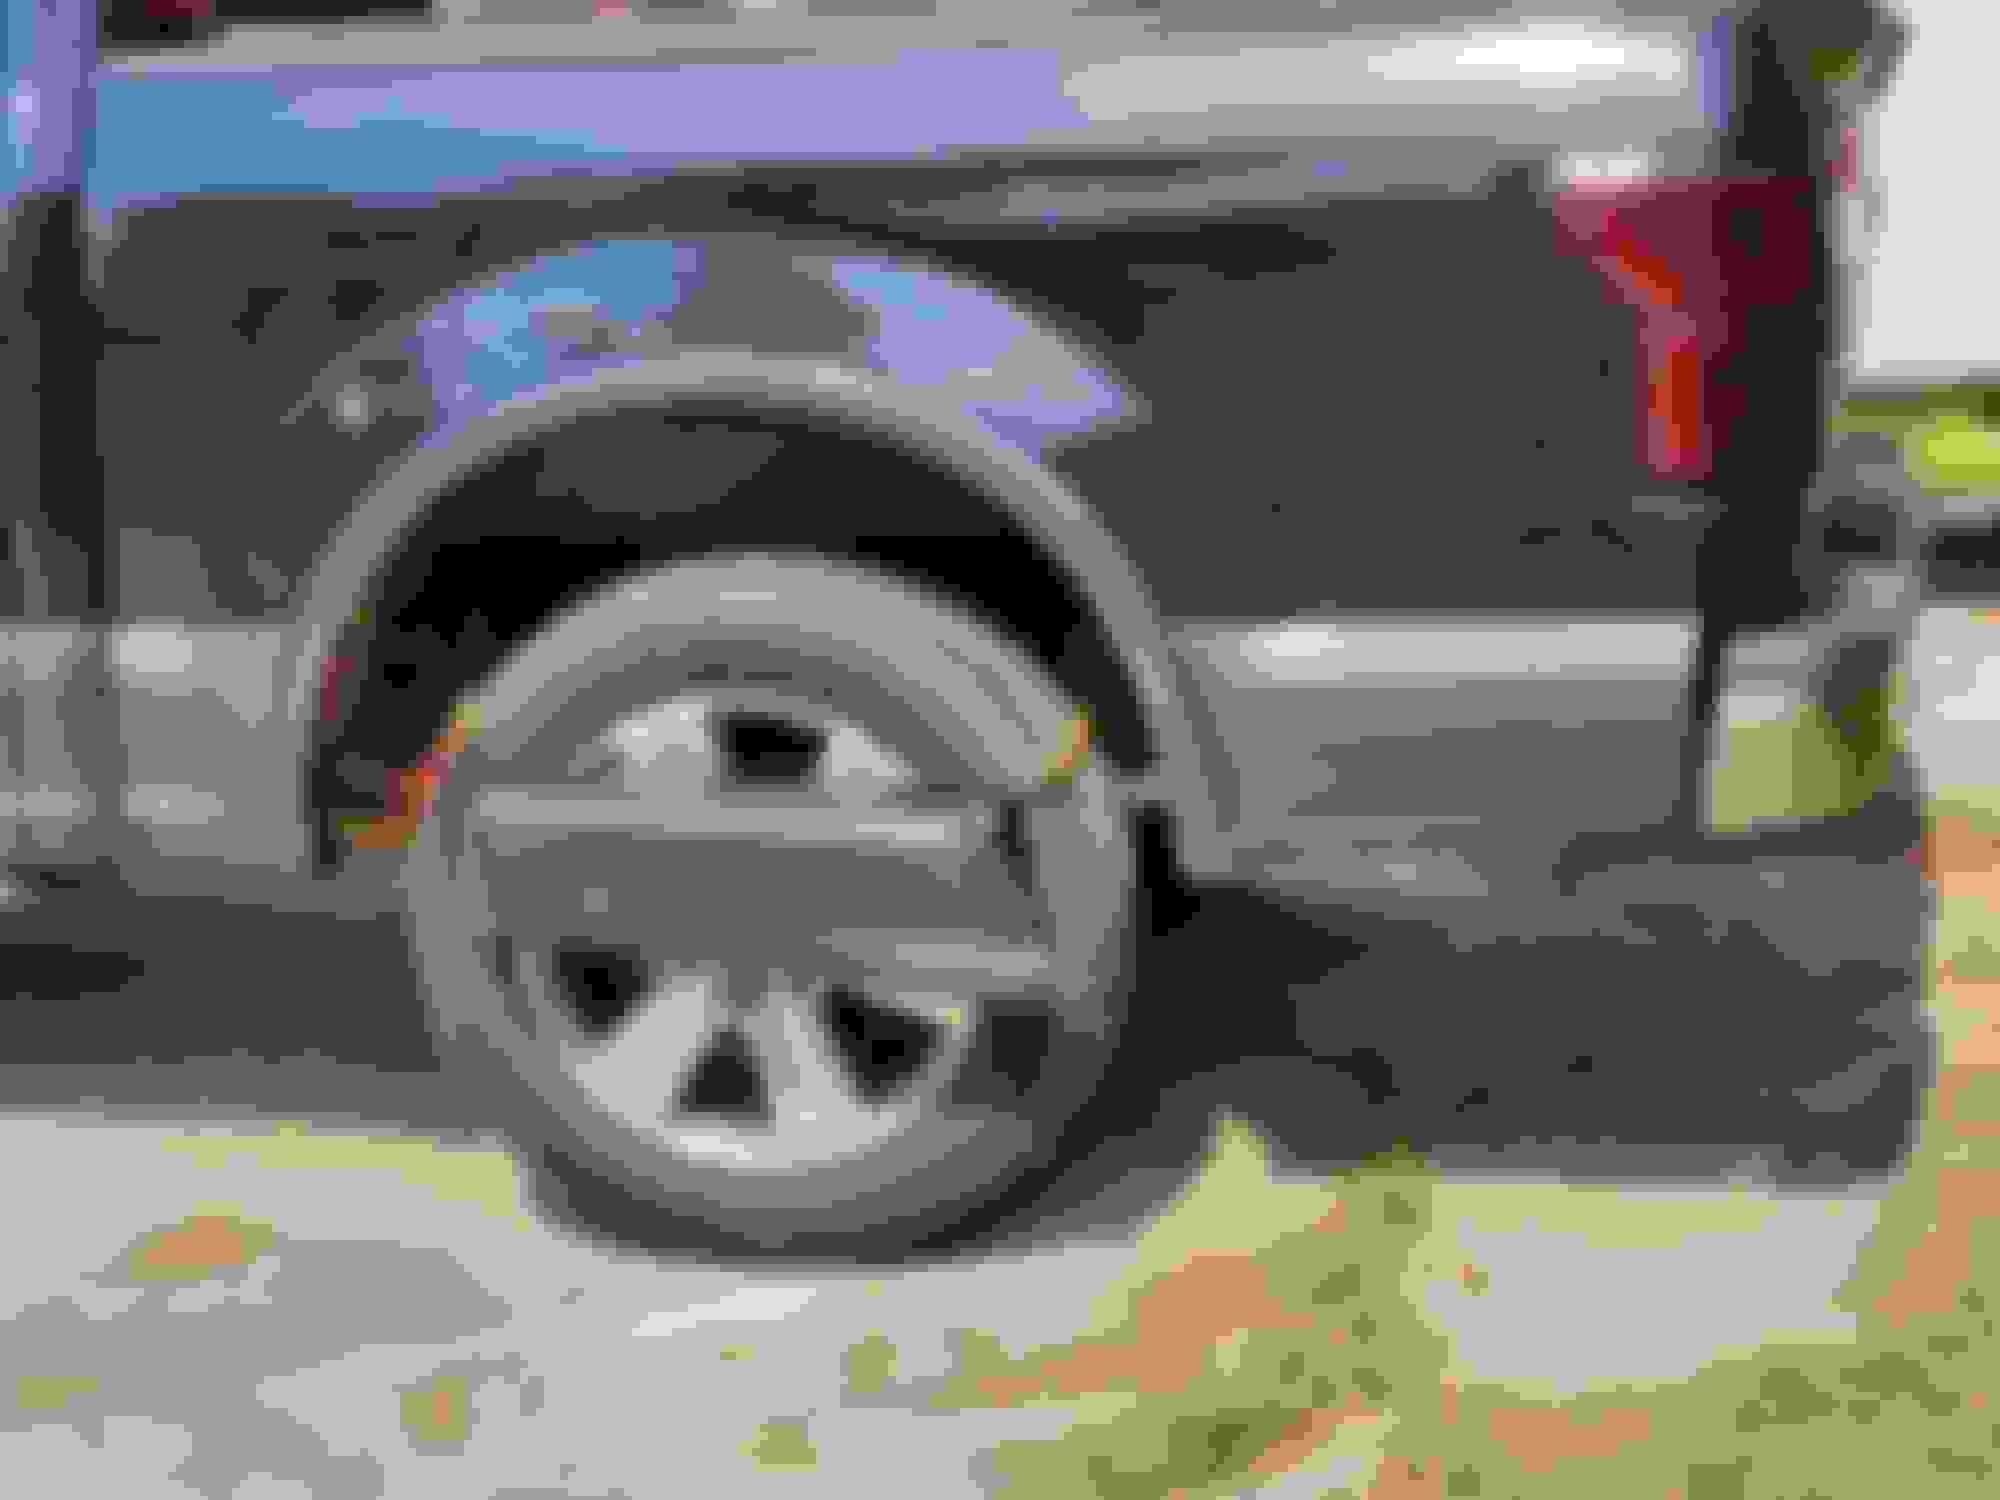
This is what our trucks look like without the bumper panels if you were ever curious....
You will need to transfer the one outside brace & all of the nut clips from the old bumper to your new one
Then just reverse the process for installation. When reinstalling the plastic step, MAKE SURE all of the clips are lined up with their respective holes before trying to lock it in place.....Ask me how I know!!
Here is the completed installation - of course the Sun hates me, so it went behind some clouds before I could take a completed pic.
Last edited by Firerunner; 04-25-2019 at 06:11 PM.
I'll bet it looks good Tommy. Something I've noticed on mine, and I think it has to do with the flakes, is that certain parts look off, although they aren't in certain light angles. My badges are a good example of that, especially when I take a photo.
I'll bet it looks good Tommy. Something I've noticed on mine, and I think it has to do with the flakes, is that certain parts look off, although they aren't in certain light angles. My badges are a good example of that, especially when I take a photo.
Thanks John, That's why I was hoping for the sun to stay out long enough to get a final picture....It does look better when the sun hits it
 04-24-2019, 06:27 PM