Eco-BEAST Build Thread
 04-12-2014, 01:40 AM
#971
Member
Haha thanks man, to be honest that one has been off for about a year now,lazy ***. and I do love the look of it, makes the face sink in a little more.
Whatd you do to paint that nasty lookin hole in the center after? I appreciate it man
Whatd you do to paint that nasty lookin hole in the center after? I appreciate it man

 04-12-2014, 06:20 PM
#973
Just here for the MPG's
Thread Starter
Just some flat black Rustoleum paint and a brush.
04-15-2014, 06:14 PM
#974
Just here for the MPG's
Thread Starter
Now that i have the truck back i wanted to knock out some projects i haven't had time to do lately. The first being, installing a few Quick Fists into the side of the bed to mount one of my E-tools and the handles for my Race Jack. I had too much clutter under the back seat and with the amount of space i need to put all my gear in every morning it was getting old.
Tools: Ratchet or Screwdriver
Time: 5 minutes per item to be mounted
Tips: Go easy on drilling through the side and always look before you drill.
Quick Fists:
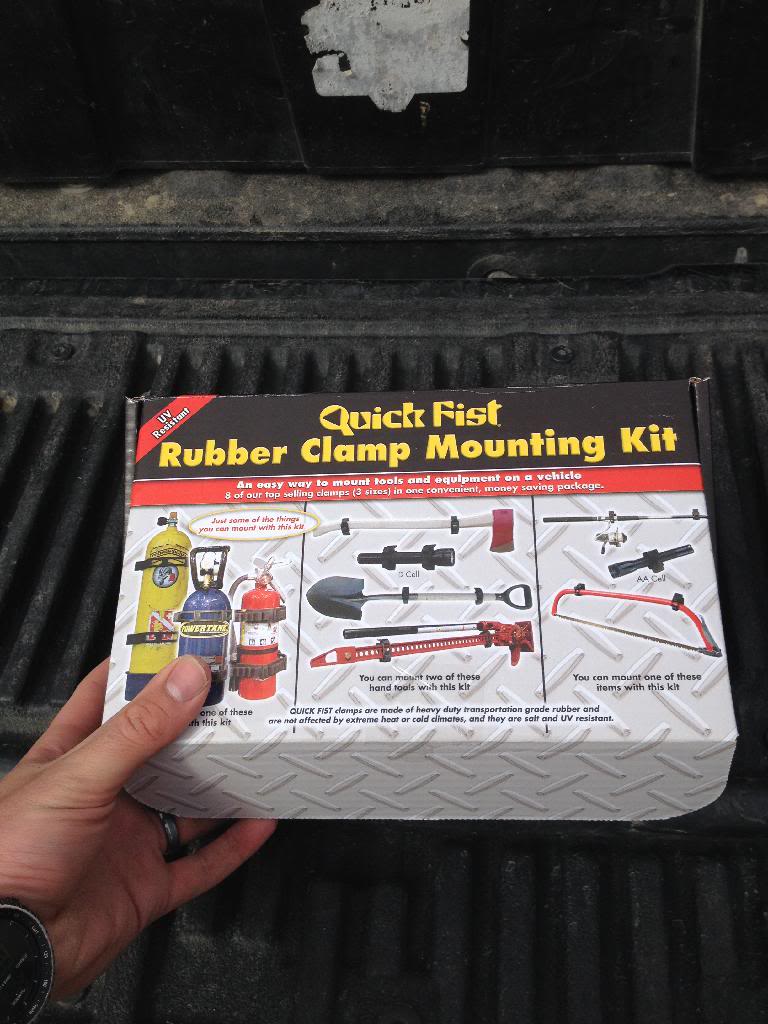
I picked these up on Amazon and i couldn't be happier. It such a simple system and they are so versatile.
As i said in the "tips" i went under the truck and planned out my spots to be drilled to ensure i wouldn't be close to the fenders and possibly make the awful mistake of drilling through them.
Here is what i was able to see:
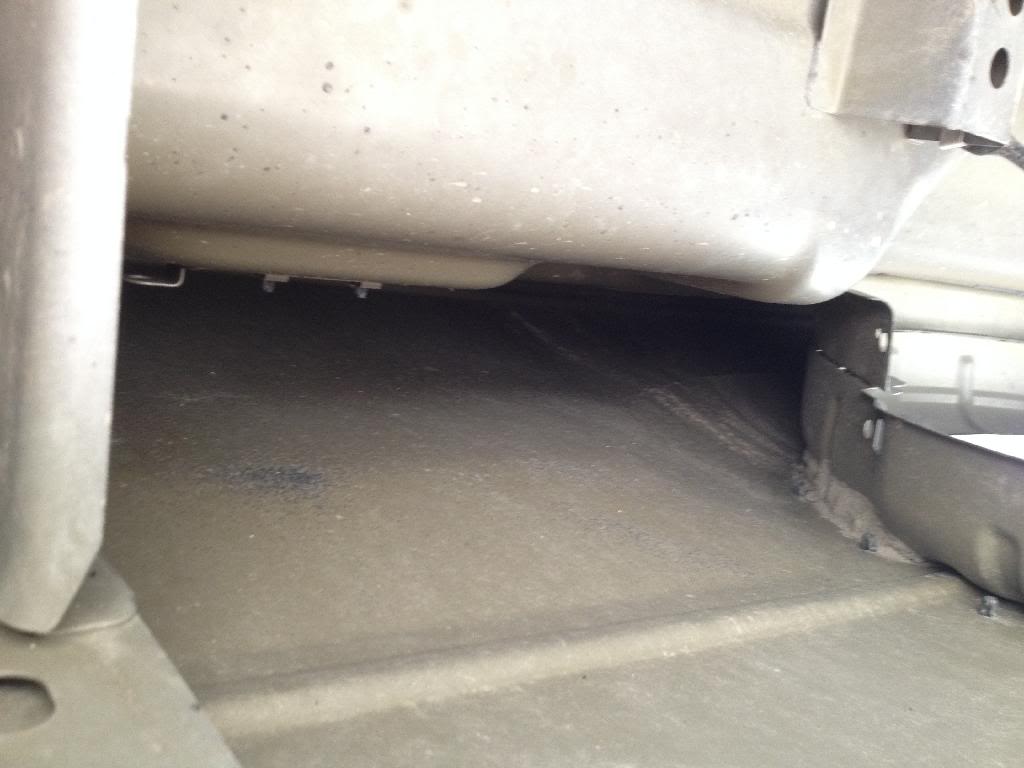
I was glad to see i had plenty of room!
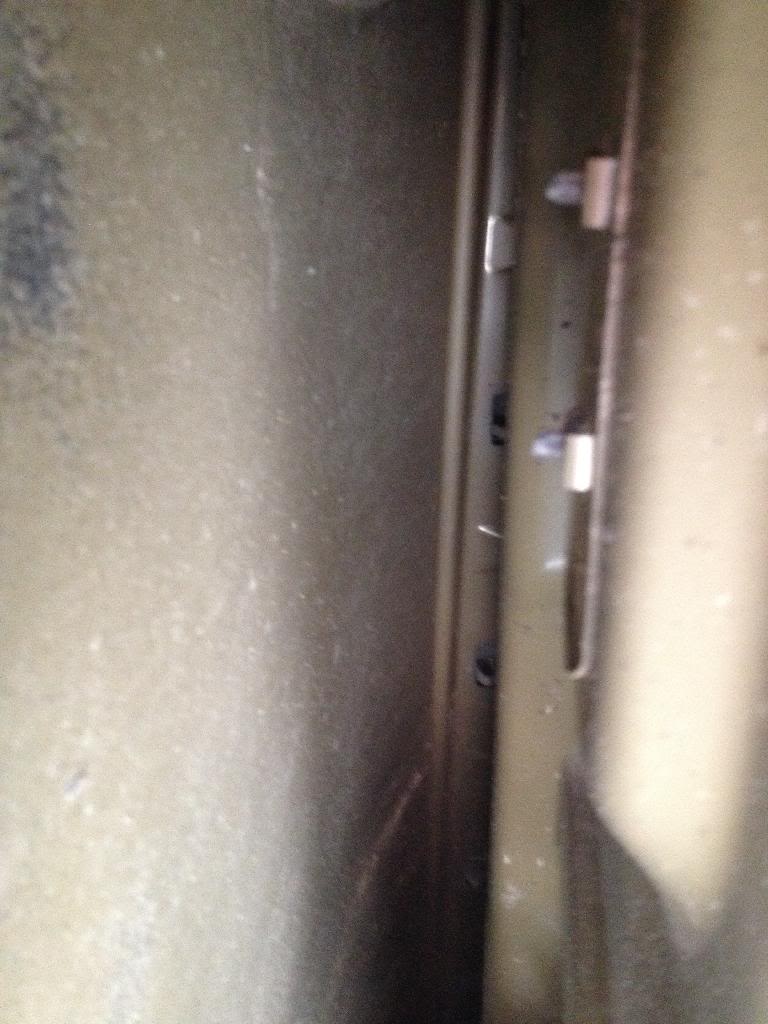
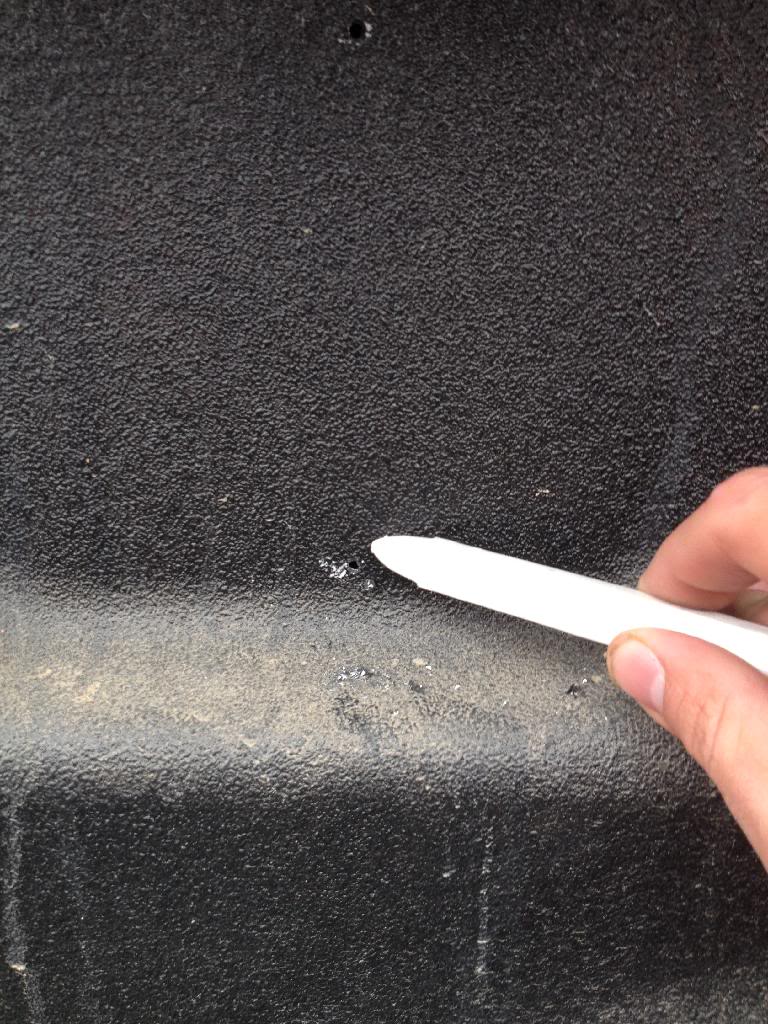
Next i mocked up where i wanted to mount my items and then using a tire marker, made a small mark for a reference on where i wanted to drill.
Tools: Ratchet or Screwdriver
Time: 5 minutes per item to be mounted
Tips: Go easy on drilling through the side and always look before you drill.
Quick Fists:
I picked these up on Amazon and i couldn't be happier. It such a simple system and they are so versatile.
As i said in the "tips" i went under the truck and planned out my spots to be drilled to ensure i wouldn't be close to the fenders and possibly make the awful mistake of drilling through them.
Here is what i was able to see:
I was glad to see i had plenty of room!
Next i mocked up where i wanted to mount my items and then using a tire marker, made a small mark for a reference on where i wanted to drill.
04-15-2014, 06:17 PM
#975
Just here for the MPG's
Thread Starter
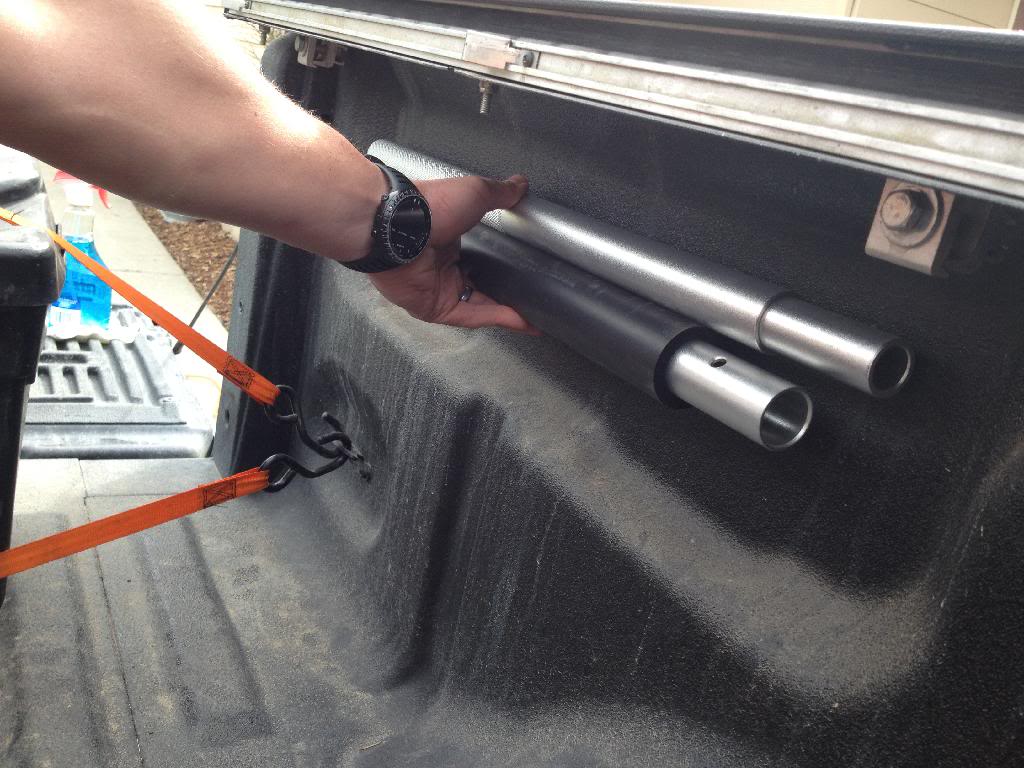
After that i grabbed a few self tapping screws and used those to secure the mounts, pretty self explanatory from here on out.
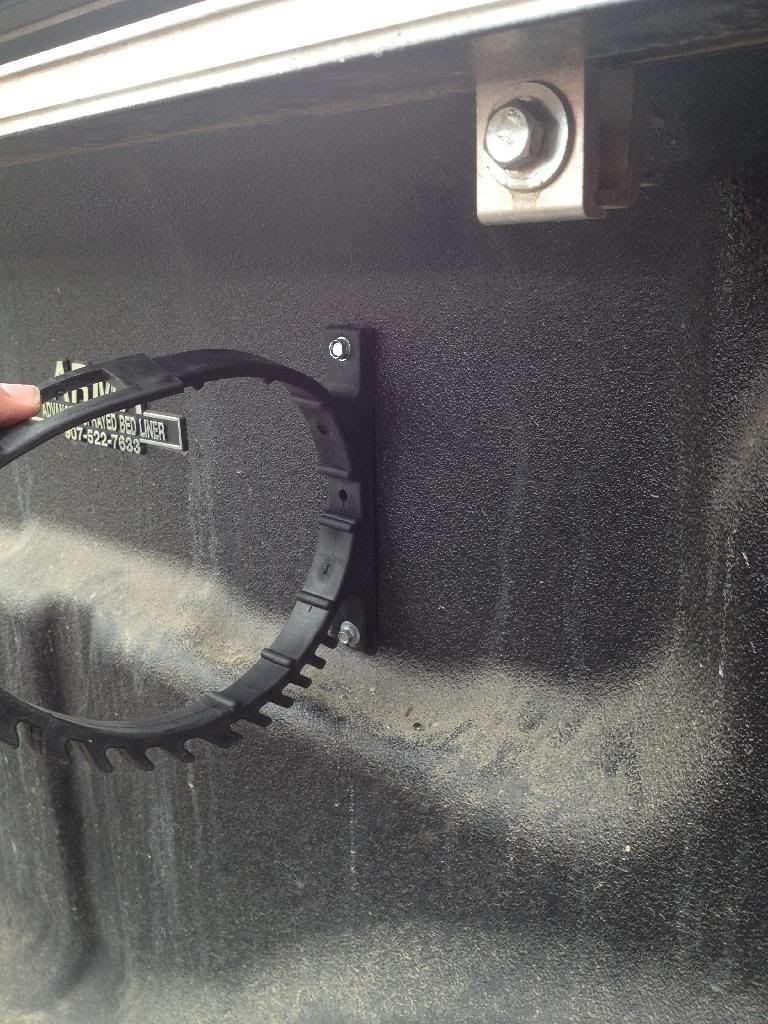
Here is how it looks:
Repeated those steps on the other side for one of my E-tools:
Here is how it looks:
Repeated those steps on the other side for one of my E-tools:
04-15-2014, 06:20 PM
#976
Just here for the MPG's
Thread Starter
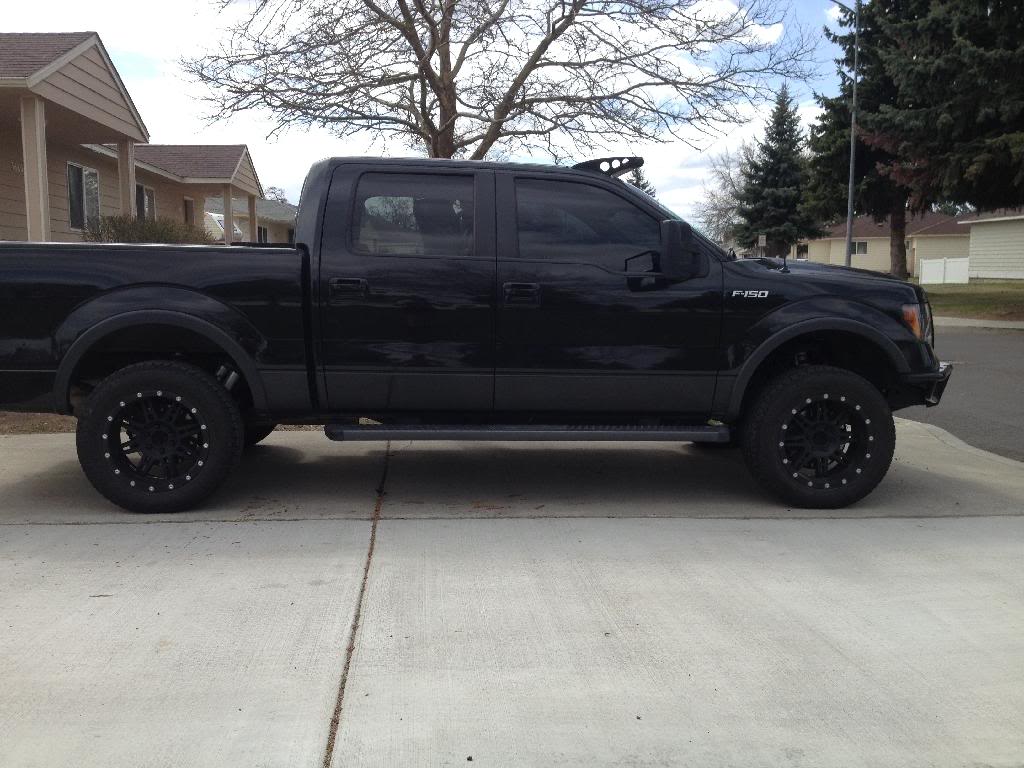
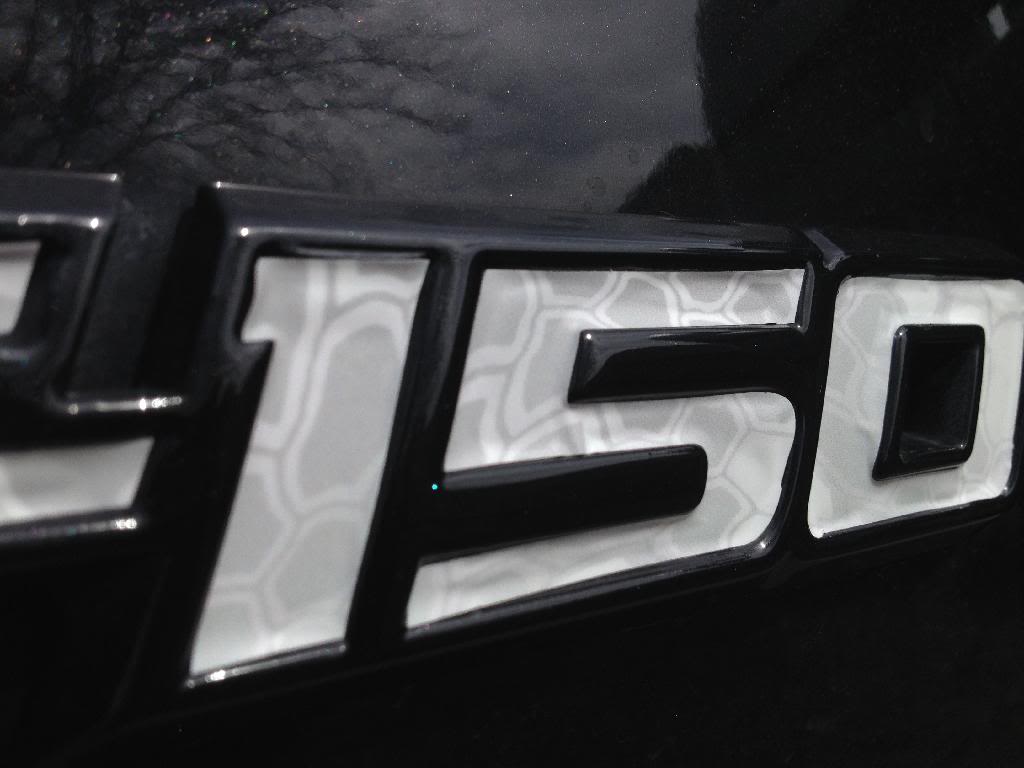
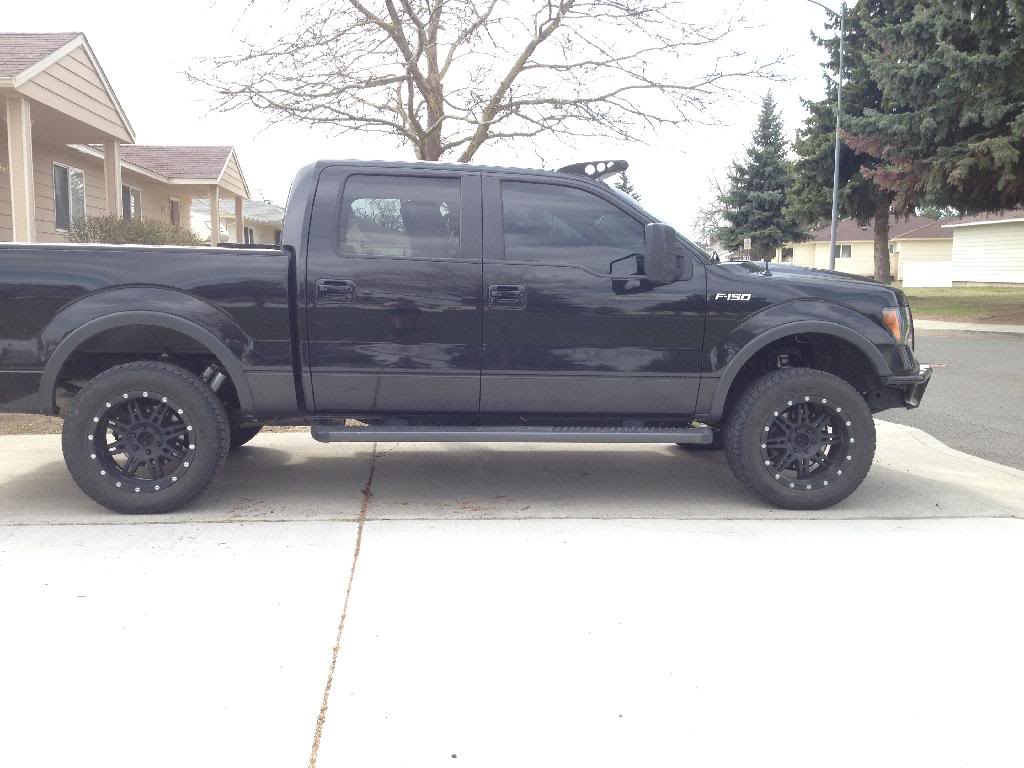
Finished off the decals on the side of the truck. I am really loving this Kyrptek camo pattern and can't wait to show you guys where it's going to show up next!
Up close view before i heated them up and really made them stick
Up close view before i heated them up and really made them stick
Last edited by Eco-BEAST 28; 04-15-2014 at 07:14 PM.
The following users liked this post:
modblack (08-15-2014)
04-15-2014, 06:31 PM
#977
Confused Member
 04-15-2014, 06:38 PM
#979
Just here for the MPG's
Thread Starter
Well after a massive failure on my part i had to swallow my pride and turn this project over to Hazzard Fab Worx. They were great, and even corrected my mistakes. I have to say this is becoming one of my favorite mods I've done so far.
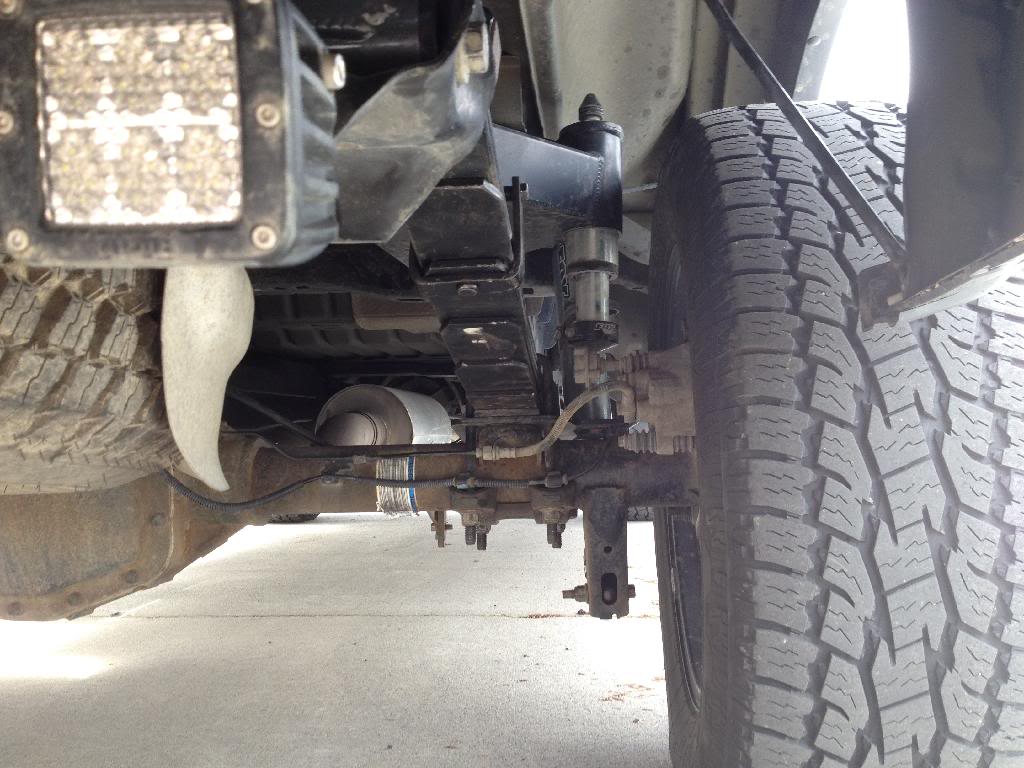
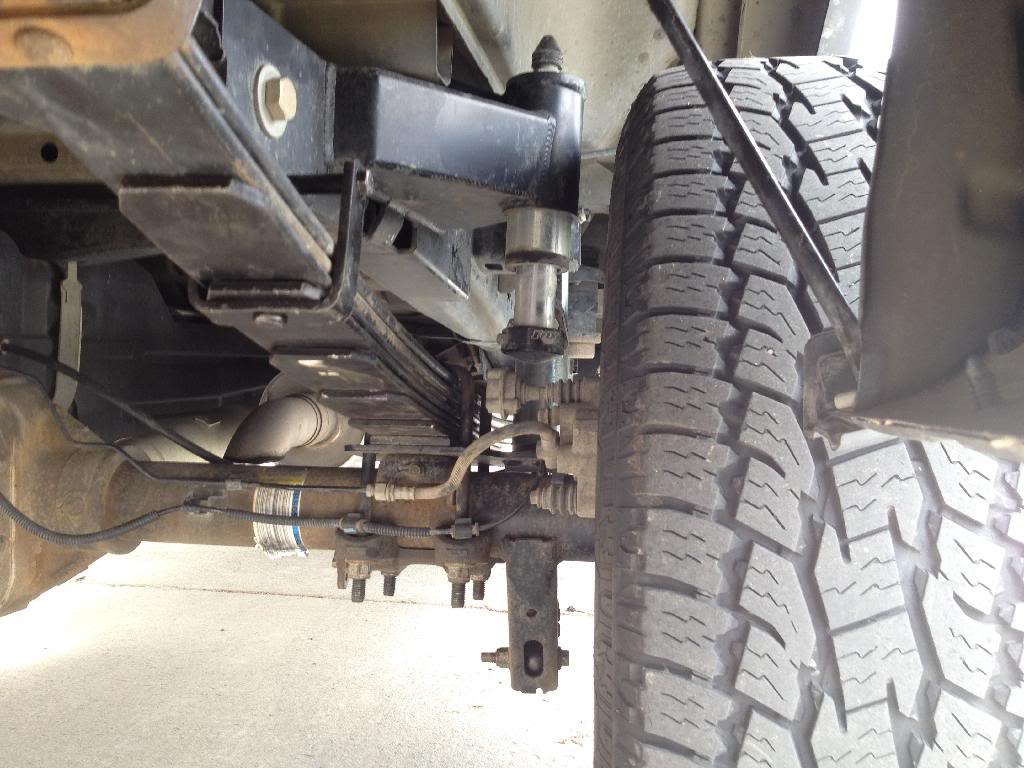
I like the fact that the LT shackle gives me another inch of droop and that the polyurethane bushing allows more movement versus the old factory rubber bushing. I could be wrong about this but if my research serves me right, this is the first set of Synergy Raptor LT shackles on a normal F150. There is also a very good reason if this is true. It is a B**** to get this thing to fit into the stock shackle position. They are "kind" of close to the same width but it takes a LOT of work to get them in. This was the part in the project where i was ruined lol I have no clue how they got them in but I'm glad it wasn't me.
Synergy Raptor LT Shackle:
Also on the install list was the Deaver +2 Raptor Mini Pack. The only place i could get this was through Vegas Dezert Fab because the owner knows the owner of Deaver quite well. Since then Wes and a few others have also been able to contact VDF and get these made up but beware the lead time is roughly 3-4 weeks. I was in no rush so the lead time didn't bother me at all. I have really been wanting to get rid of my stock FX4 block in the rear and have nothing but "spring" back there. Its nice actually having the rear level with the front again all though I'm sure it will settle a little. Based on the advice of 1intheoc i am running a little over 150lbs of gear in the bed of the truck to give the leaf's just a little bit of pre-load. Well, of course i had to see how this new set up felt off road so i went out just for a quick run at the local ORV park and holy cow is there a difference! Im not slamming off the RPG kit as much as i was and the truck just feels more planted to the ground in the rear end. I know this isn't as good as a full progressive leaf replacement pack but this was less then half the $$ and I'm very happy with the results. I'd recommend this to anyone who wants to give the stock leafs a little help, get rid of being on a "block" in the rear, improve on/offroad ride quality, and remove the stock overload spring.
Here it is installed:
04-15-2014, 06:43 PM
#980
Just here for the MPG's
Thread Starter
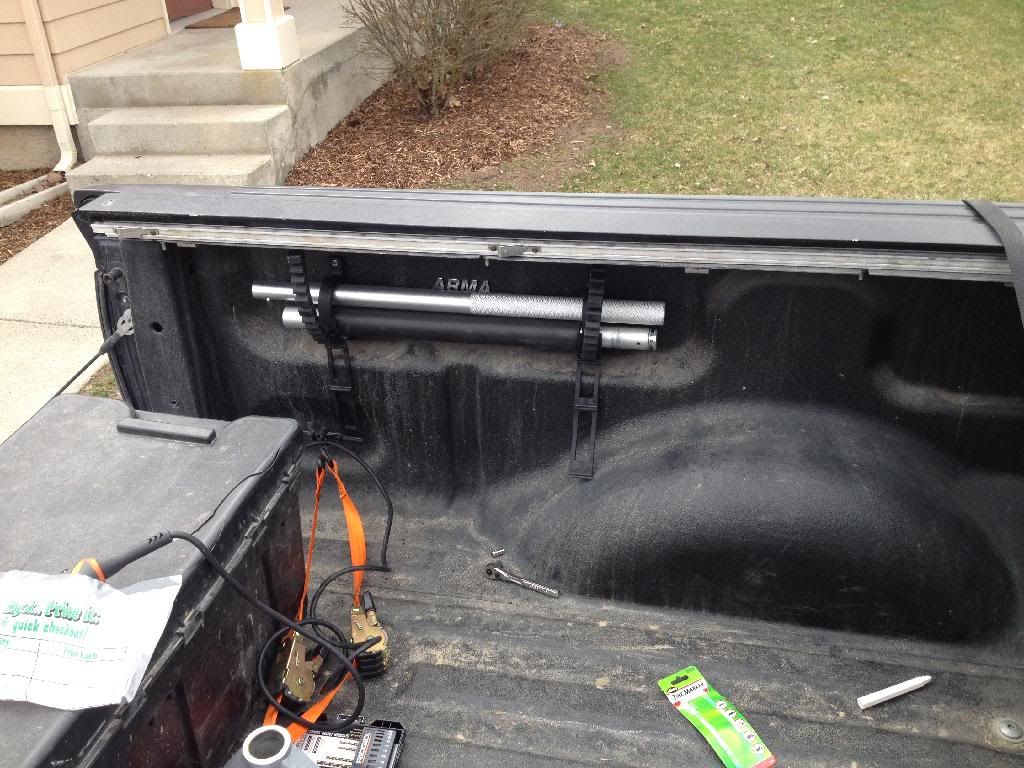
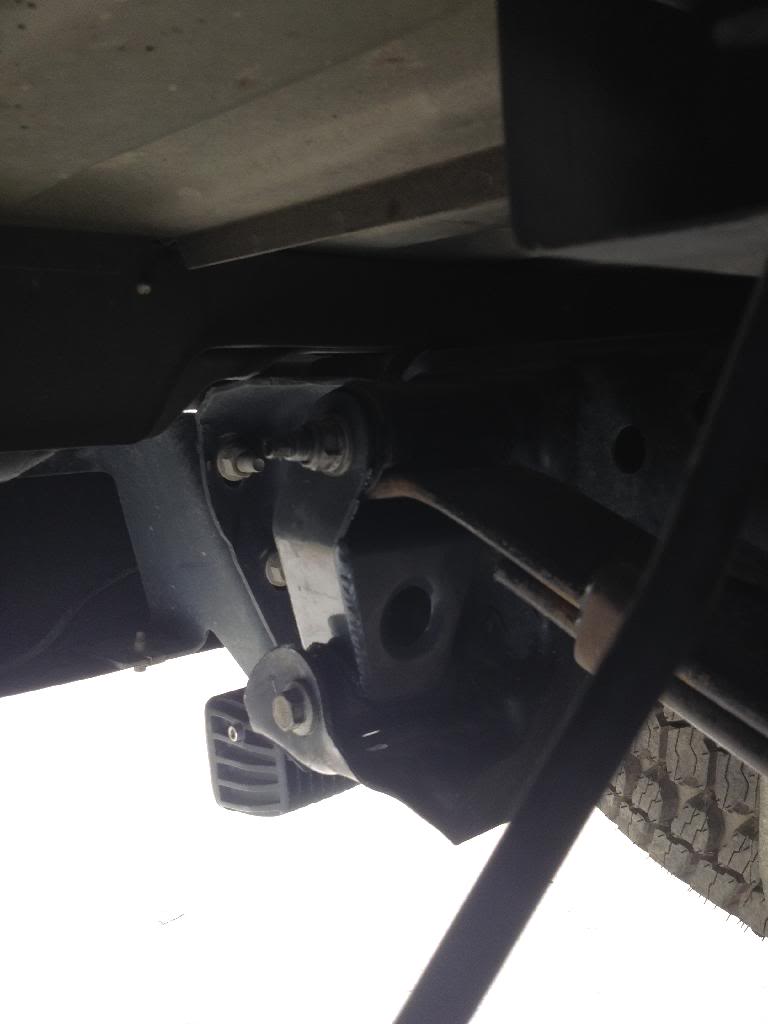
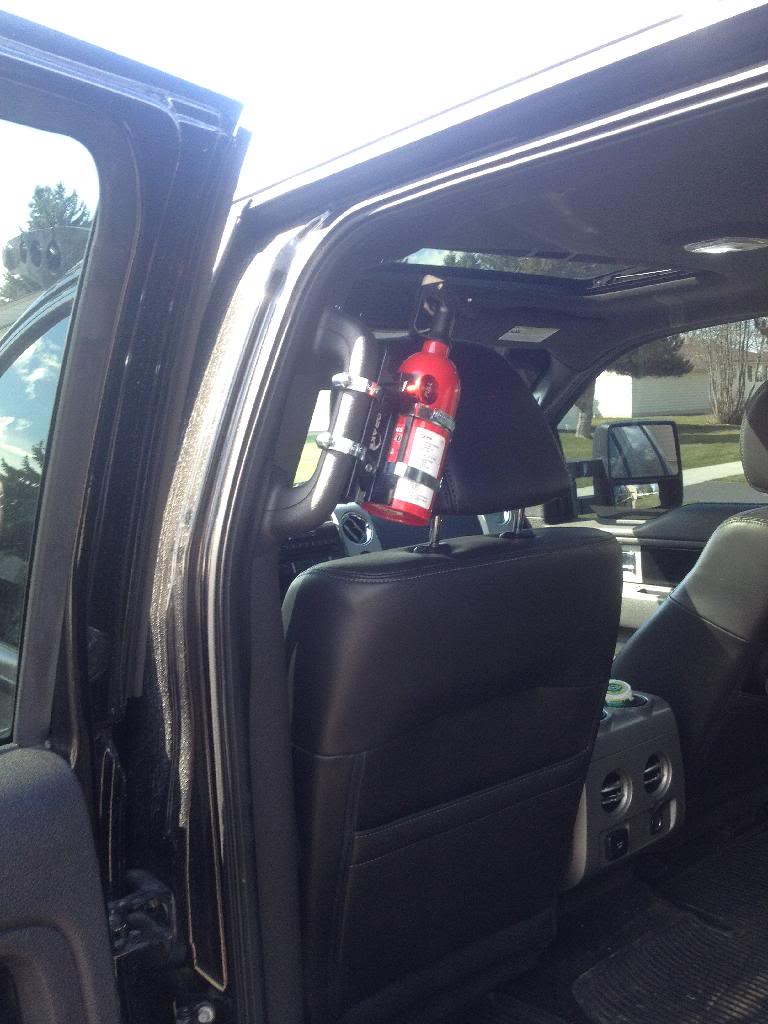
Last on the list today was temporarily mounting my Drake Fire Ext. mount in the truck. This is not the final location but simply the one i found to be the best today. Im still on the fence on whether this will be mounted on the light rack in the rear when I get it installed so thats why I went with just using hose clamps for mounting it for now. I think its pretty cool and of course now that i have a fire extinguisher in the truck..... I'm pretty much ready for the Mint 400, i mean come on, we all know that Fire Extinguisher=Race Truck  hahaha
hahaha
The following users liked this post:
Full-Race Geoff (05-05-2014)