The Build of ChuckNorris: '98 F150
 07-23-2014, 09:25 PM
#21
Junior Member
Thread Starter
Join Date: Jun 2014
Posts: 28
Likes: 0
Received 0 Likes
on
0 Posts
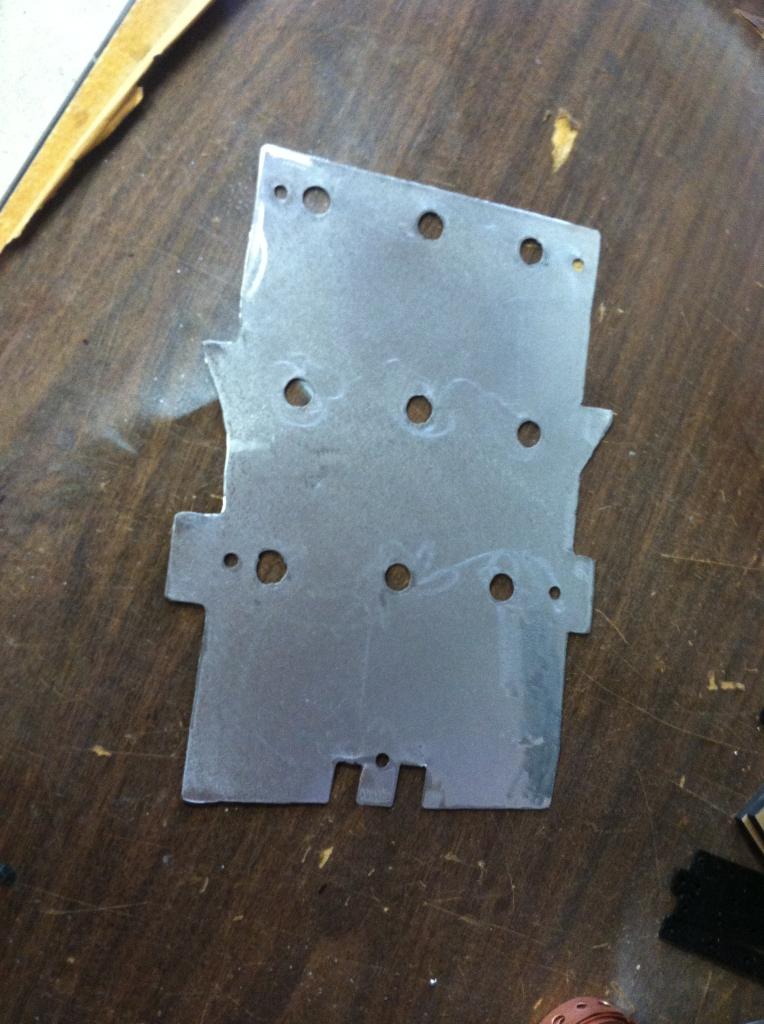
Update: High-Mount Light Switch Panel; Part One
I wanted a clean/unique way to mount the switch for my behind-the-grille driving lights. Plus, I know that I will eventually want to add a set of fog lights, and likely and LED bar in the front bumper opening. So, this past weekend, I set of to design a panel that could comfortably and cleanly mount three different switches.
I decided on a "high mount" panel, mounting it just above the rear view mirror, using the screw/mounting plate for the sun visor posts as a way of holding it in place.
I started with some paper, fooling around with a big of origami until I ended up with a design that I liked. Several trips back and forth from the kitchen table to the truck for test fitment, and I ended up with this prototype:
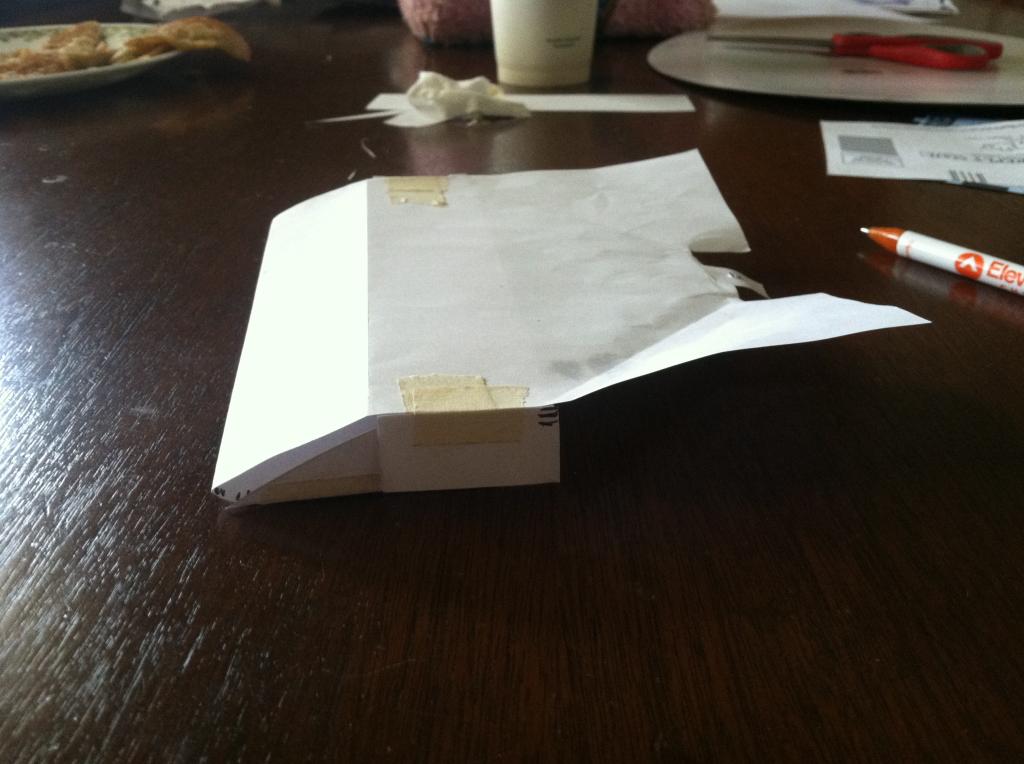
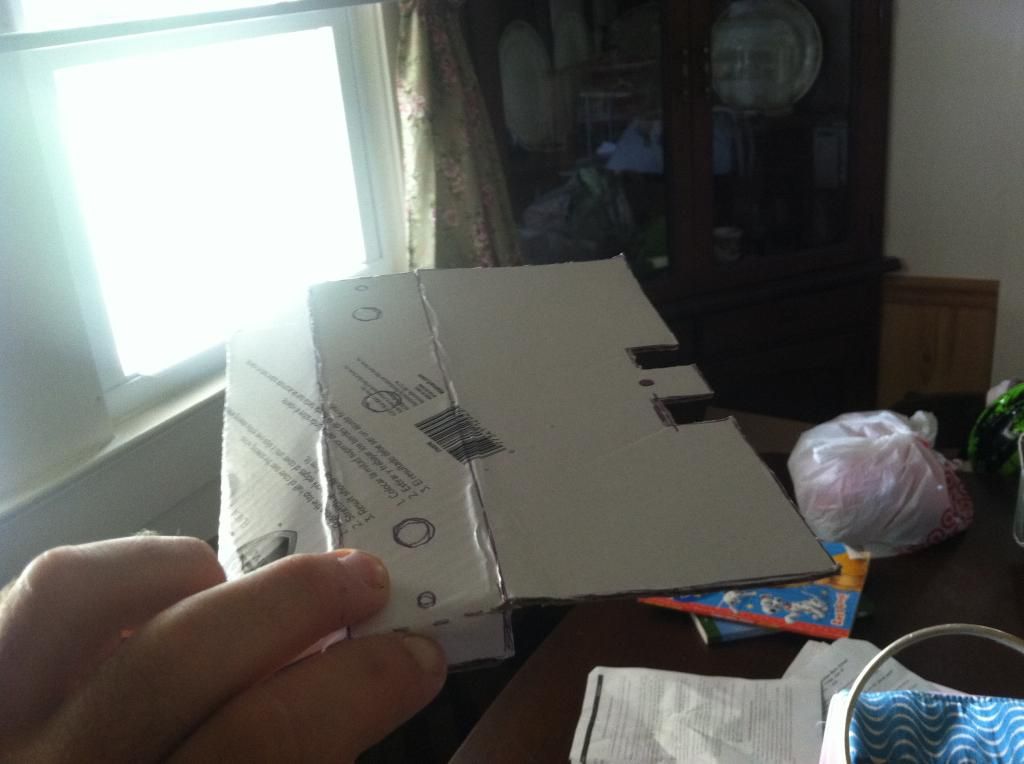
I then unfolded that, and traced the prototype design on to a piece of thin card-board, to mimic a "harder" material.
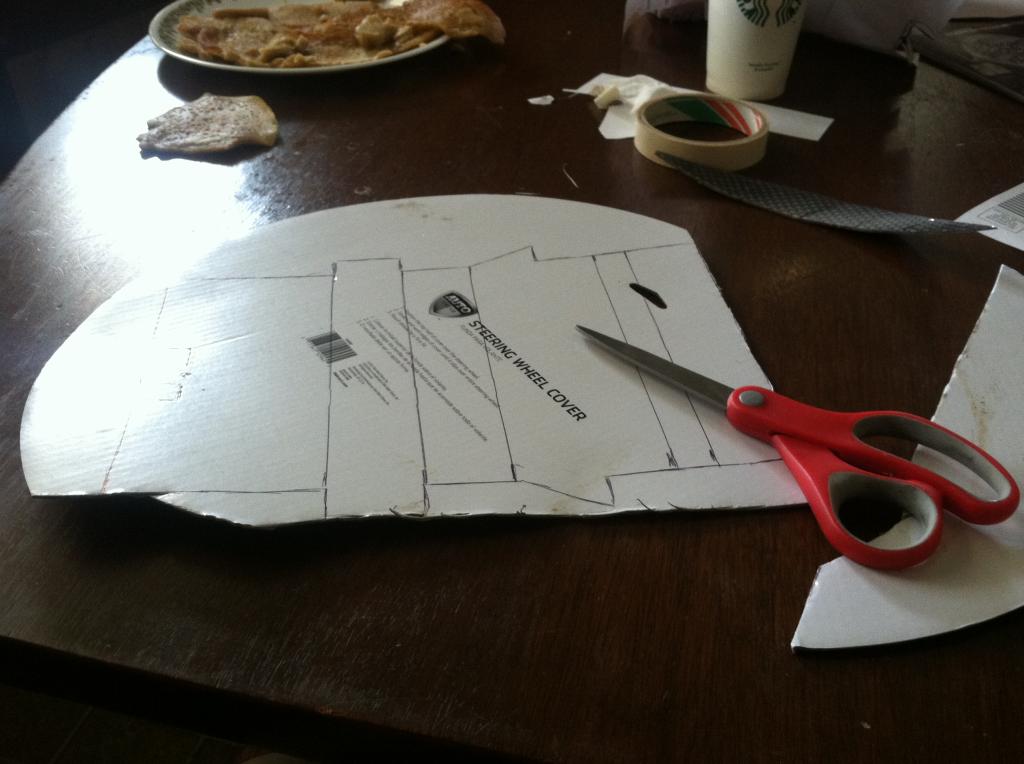
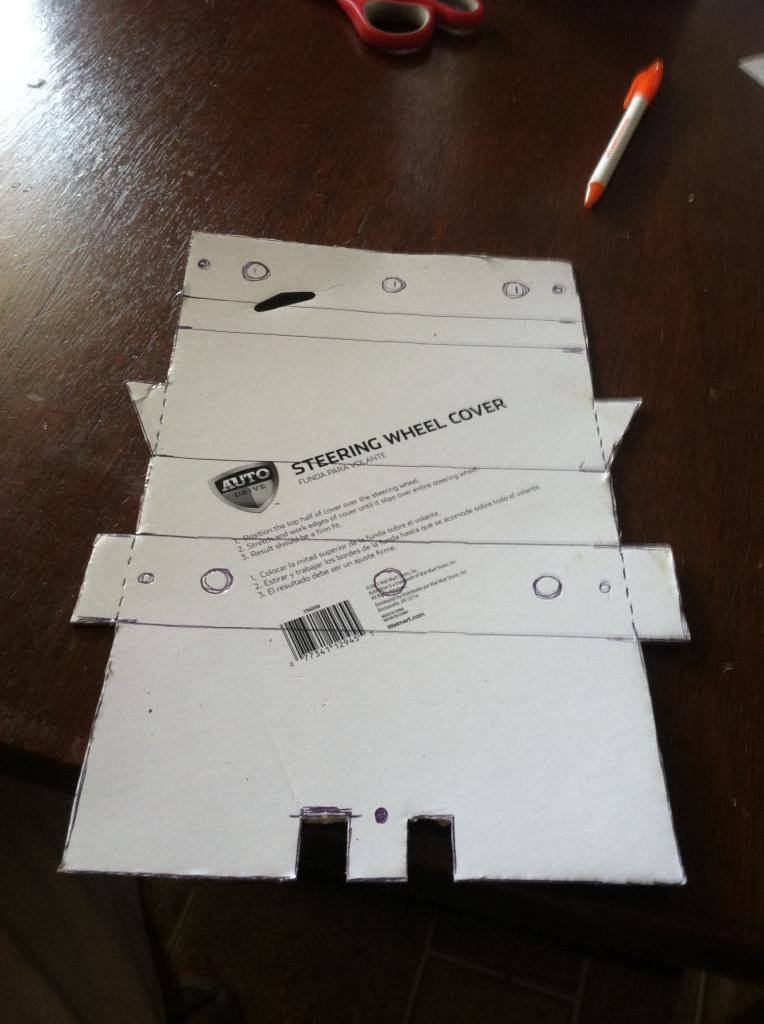
Next, I did my folds to see what I came up with:
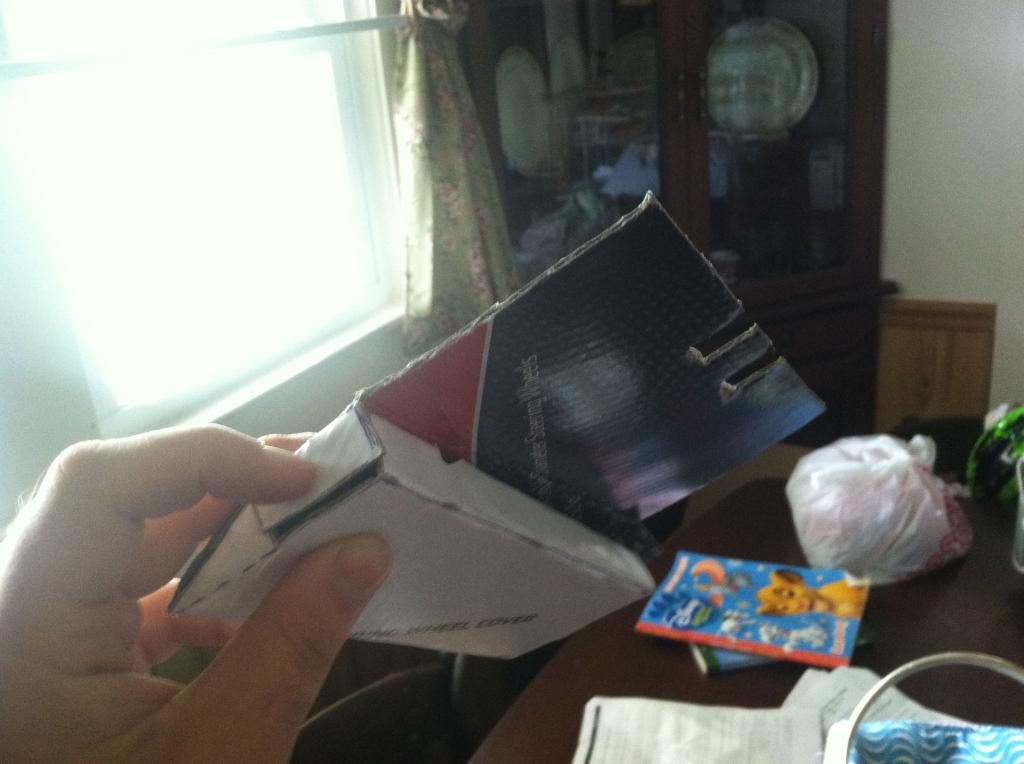
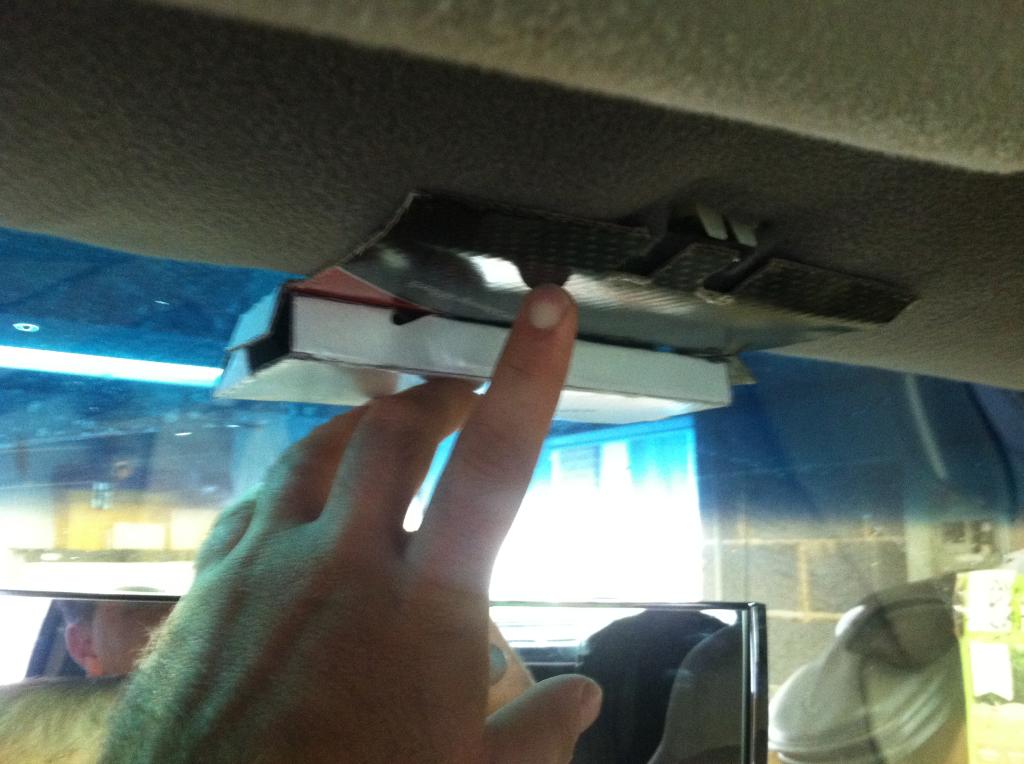
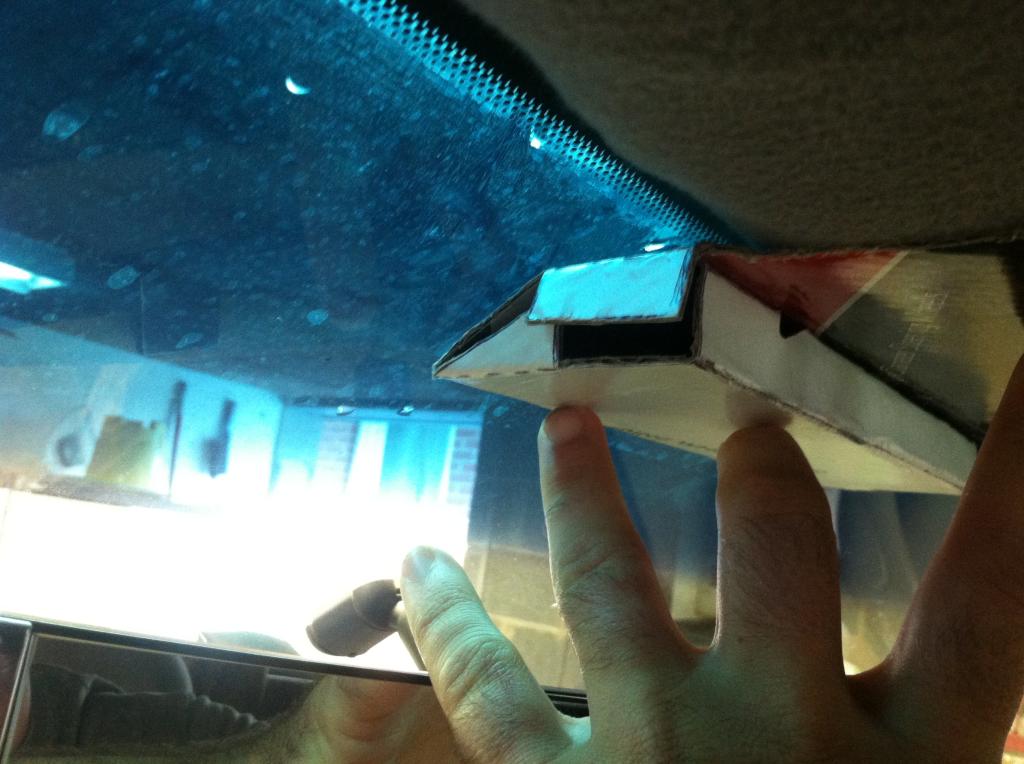
Here's the fitment against the windshield and headliner:
And this will be how the driving switch will mount.
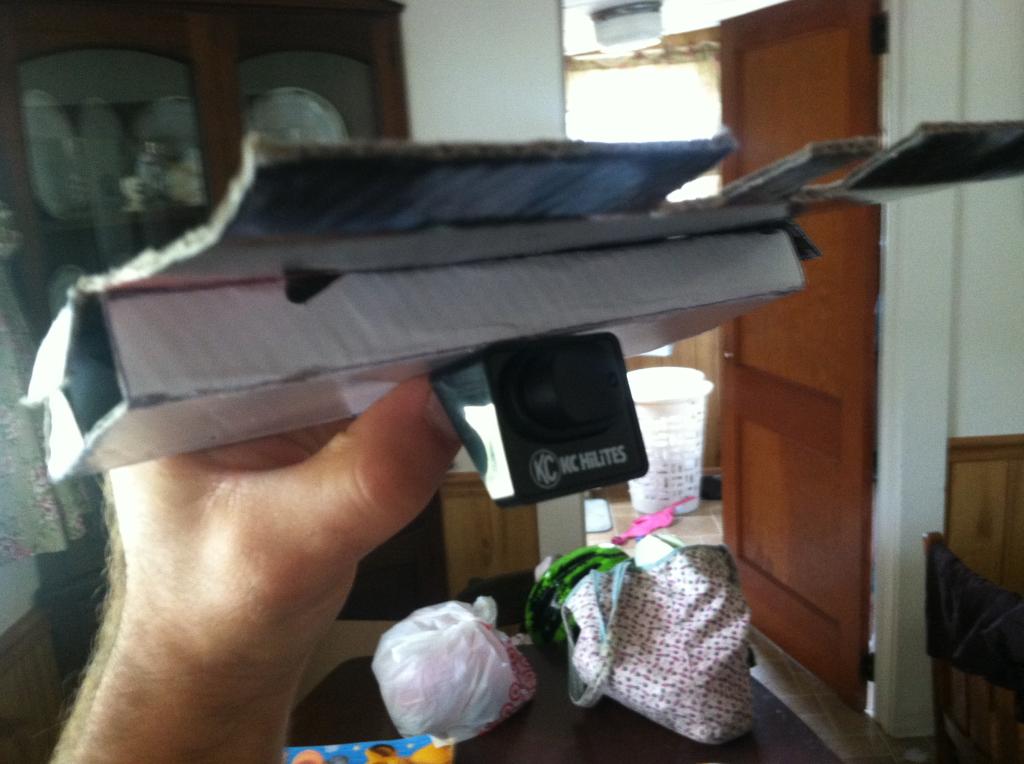
The wiring will be "hidden" by passing through holes strategic placed/drilled in the design of the panel, ran through the top of the headliner, and down the A-pillar/dash to the lights/battery.
Last pic for now:
More to come on this one. Thanks for following along...
I wanted a clean/unique way to mount the switch for my behind-the-grille driving lights. Plus, I know that I will eventually want to add a set of fog lights, and likely and LED bar in the front bumper opening. So, this past weekend, I set of to design a panel that could comfortably and cleanly mount three different switches.
I decided on a "high mount" panel, mounting it just above the rear view mirror, using the screw/mounting plate for the sun visor posts as a way of holding it in place.
I started with some paper, fooling around with a big of origami until I ended up with a design that I liked. Several trips back and forth from the kitchen table to the truck for test fitment, and I ended up with this prototype:

I then unfolded that, and traced the prototype design on to a piece of thin card-board, to mimic a "harder" material.


Next, I did my folds to see what I came up with:


Here's the fitment against the windshield and headliner:


And this will be how the driving switch will mount.

The wiring will be "hidden" by passing through holes strategic placed/drilled in the design of the panel, ran through the top of the headliner, and down the A-pillar/dash to the lights/battery.
Last pic for now:

More to come on this one. Thanks for following along...
 07-26-2014, 10:49 PM
#22
Junior Member
Thread Starter
Join Date: Jun 2014
Posts: 28
Likes: 0
Received 0 Likes
on
0 Posts
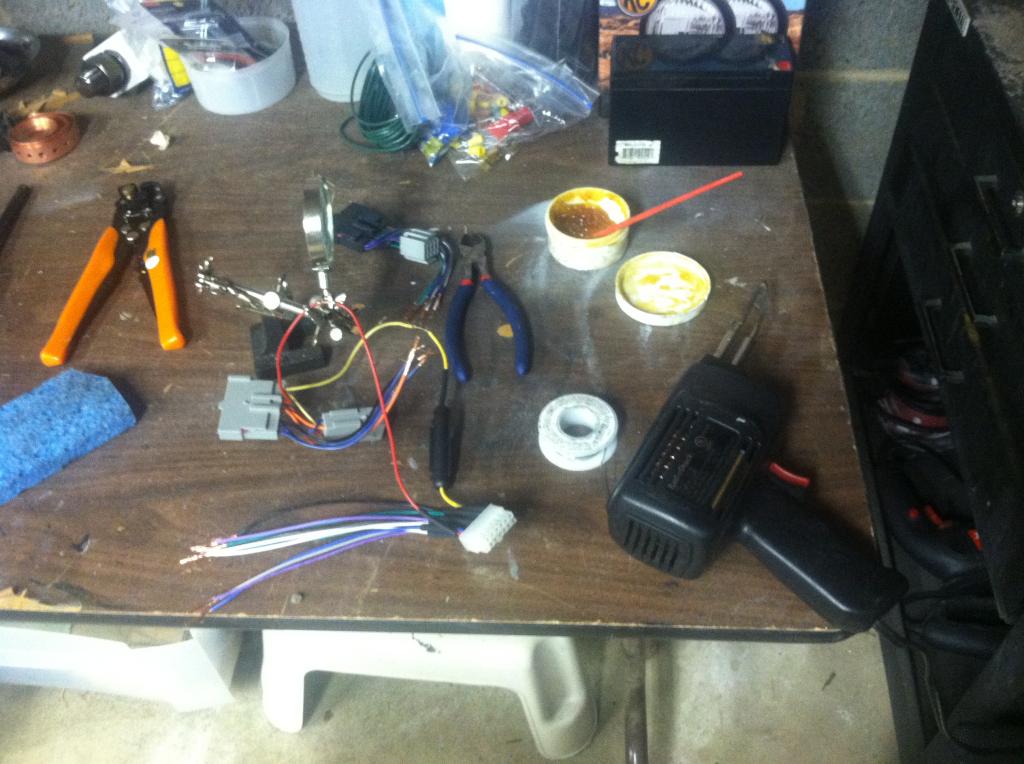
Update: Radio Install + LED Interior Lighting
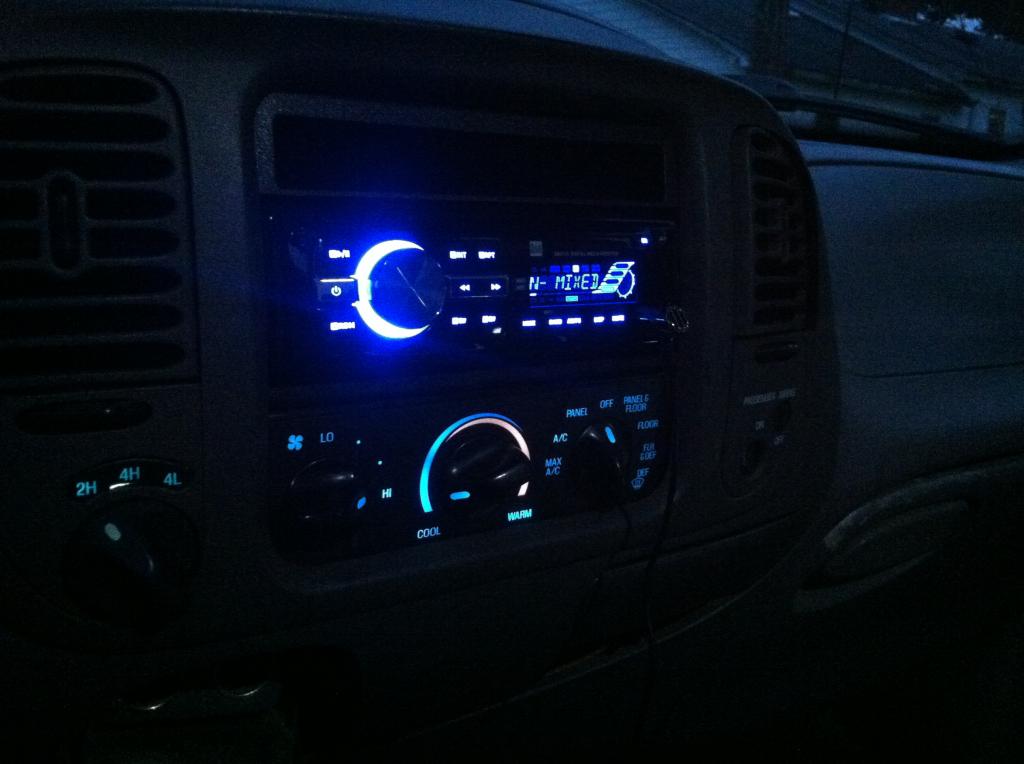
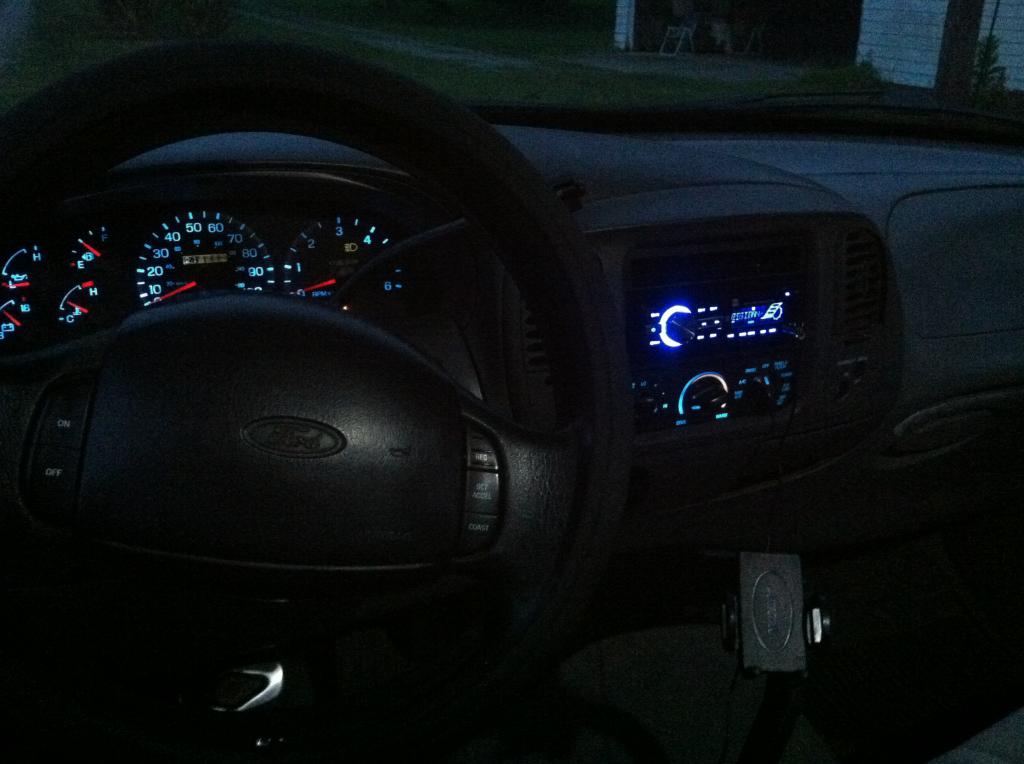
I have had the LED cluster/HVAC lights in for a week now, and love the look and output. I have since been on the hunt for an aftermarket head unit to match the blue LEDs on the dash, and I wanted a single din unit for fitment-reasons (I returned then double-din unit I had purchased earlier, after finding out the OEM unit is 1.5 dins and not 2). I came across a KILLER deal on a Dual headunit at my local Autozone. 50x4 (200) watts; USB/SD/Aux/Radio player (no CD, but who cares); nice display; clean/sleak look...and the best part, $49.99. Used a 20% off coupon plus a gift card I got for returning the buffer I bought from them that broke. Headunit comes me...$12
So far, really like it. VERY impressed with Dual so far. Seems they have come a long way. Sounds is amazing, and it looks great in the dash.
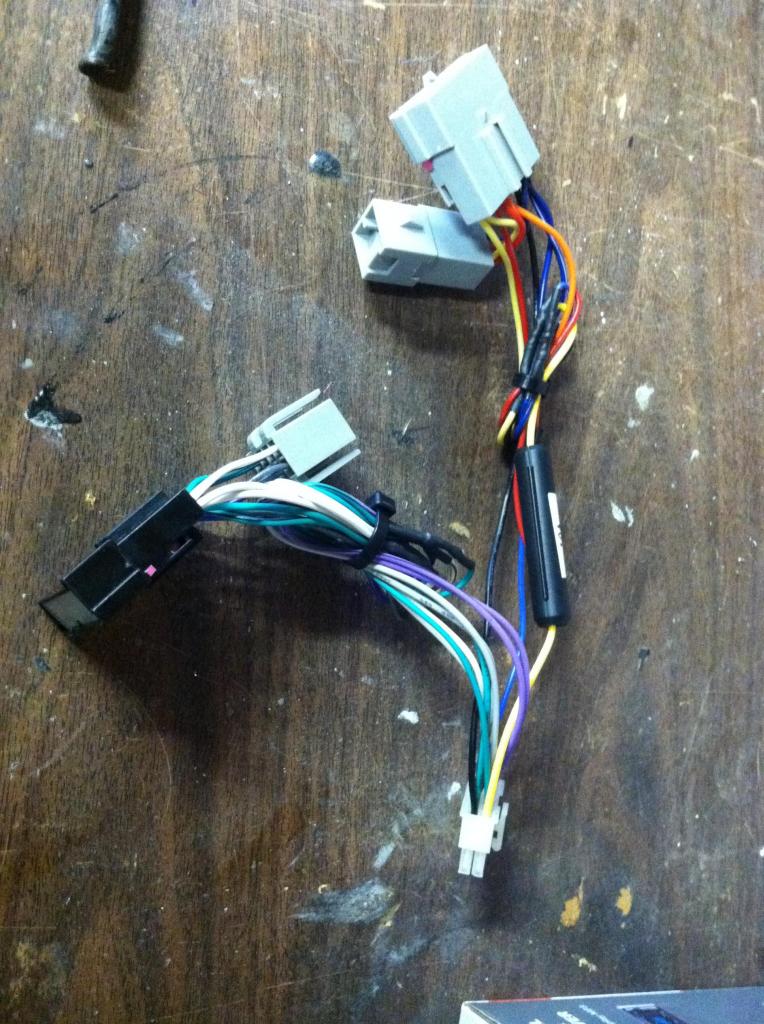
Used a Spectrum kit and harness from Wal-Mart. Harness was awesome. Dash kit...so-so. Soldered/heat-shrinked all the connections, as I always do.
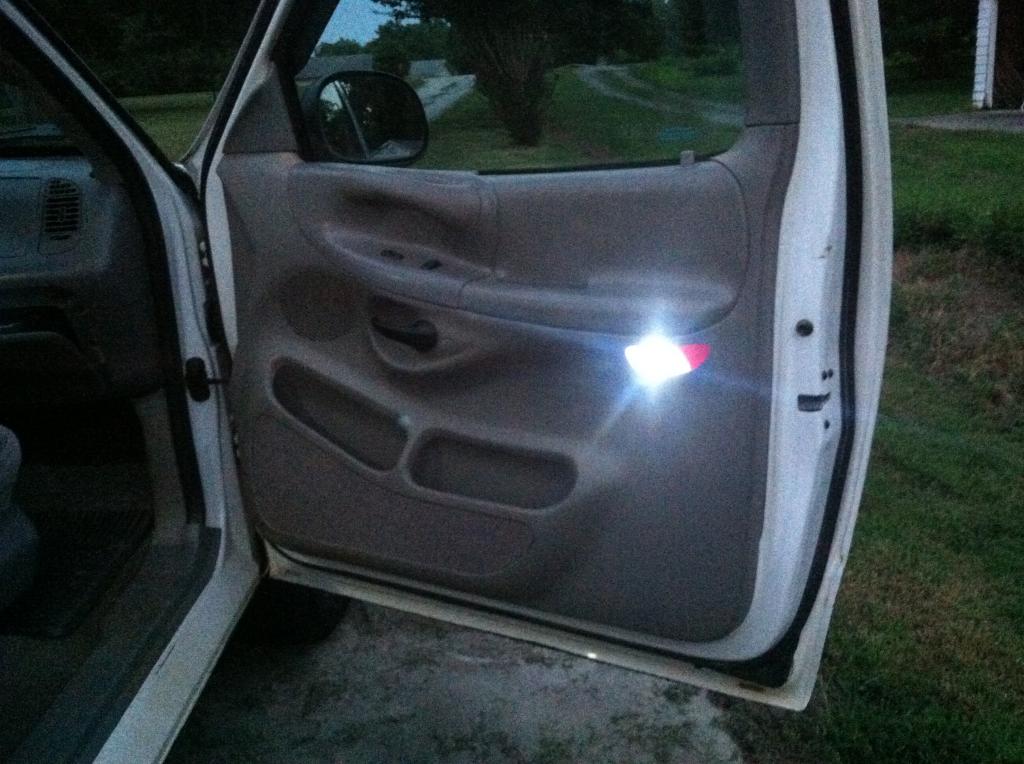
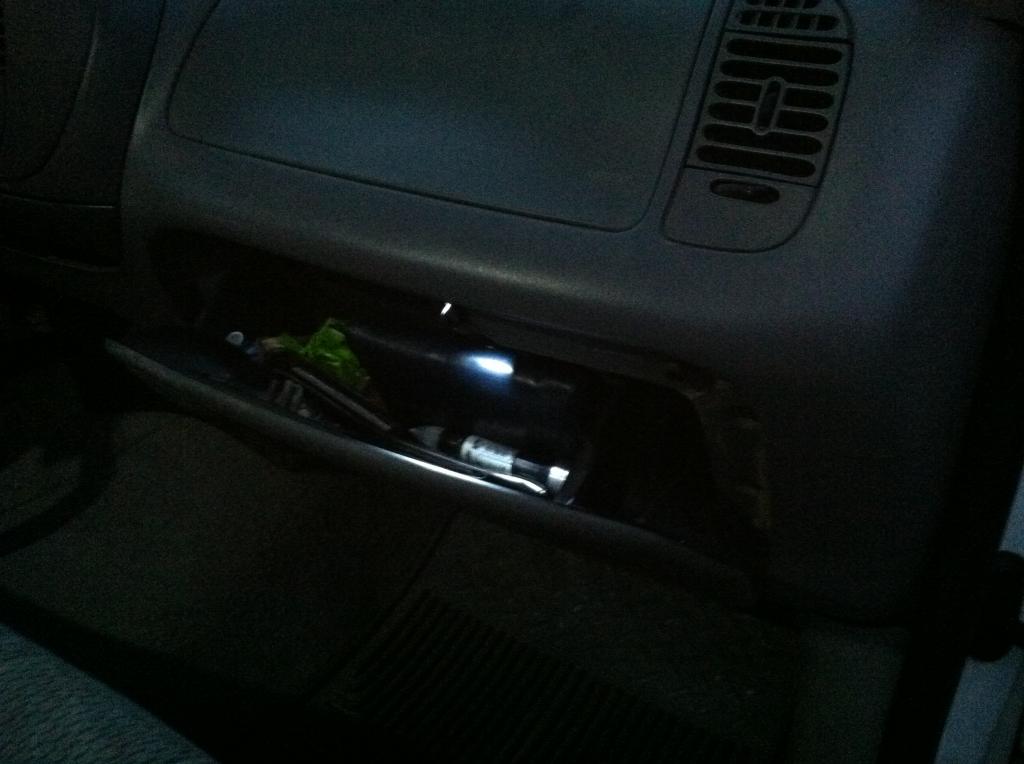
Finally, installed LED Dome, door panel, glove box, and (not pictured) engine bay bulbs.
Enough chit-chat. Here's some pics of the progress and outcome.

I have had the LED cluster/HVAC lights in for a week now, and love the look and output. I have since been on the hunt for an aftermarket head unit to match the blue LEDs on the dash, and I wanted a single din unit for fitment-reasons (I returned then double-din unit I had purchased earlier, after finding out the OEM unit is 1.5 dins and not 2). I came across a KILLER deal on a Dual headunit at my local Autozone. 50x4 (200) watts; USB/SD/Aux/Radio player (no CD, but who cares); nice display; clean/sleak look...and the best part, $49.99. Used a 20% off coupon plus a gift card I got for returning the buffer I bought from them that broke. Headunit comes me...$12
So far, really like it. VERY impressed with Dual so far. Seems they have come a long way. Sounds is amazing, and it looks great in the dash.
Used a Spectrum kit and harness from Wal-Mart. Harness was awesome. Dash kit...so-so. Soldered/heat-shrinked all the connections, as I always do.
Finally, installed LED Dome, door panel, glove box, and (not pictured) engine bay bulbs.
Enough chit-chat. Here's some pics of the progress and outcome.


 07-29-2014, 07:24 PM
#23

Subd. Work def paid off!
07-30-2014, 07:07 AM
#24
Junior Member
Thread Starter
Join Date: Jun 2014
Posts: 28
Likes: 0
Received 0 Likes
on
0 Posts
07-30-2014, 09:43 AM
#25

You have really transformed this truck....has been fun to watch the thread.
Good job! Have a question on the user name....you into martial arts? (The picture I posted is from my early 20's back in the late 70's).
Good job! Have a question on the user name....you into martial arts? (The picture I posted is from my early 20's back in the late 70's).
07-31-2014, 04:55 PM
#26
Junior Member
Thread Starter
Join Date: Jun 2014
Posts: 28
Likes: 0
Received 0 Likes
on
0 Posts
More to come!
07-04-2015, 12:01 PM
#27
Junior Member
Thread Starter
Join Date: Jun 2014
Posts: 28
Likes: 0
Received 0 Likes
on
0 Posts
Bump! Build on this truck is now done.
The truck is for sale now! Hoping to sell it to a great new owner.
Details on my CL link below
http://charlotte.craigslist.org/cto/5099770185.html
The truck is for sale now! Hoping to sell it to a great new owner.
Details on my CL link below
http://charlotte.craigslist.org/cto/5099770185.html