Topic Sponsor
Members Builds See any build threads created by members to track progress of their projects.
Sponsored by:
Sponsored by:

BlackBullXLTs Road Warrior Project

Thread Tools
 
Search this Thread
 
Old 06-02-2017, 10:21 PM
  #281  
Super Moderator

 
03f15012's Avatar
 
Join Date: Jan 2013
Location: North Charleston, SC
Posts: 13,490
Received 548 Likes on 427 Posts

Default

Originally Posted by OhioLariat
If you don't post some pics of that &^%$ truck pretty soon, I'm gonna hunt you down and take some myself!

Andy
I have a name, state, and phone number, LOL.
Old 06-02-2017, 10:33 PM
  #282  
Now an XLT in Colorado
 
OhioLariat's Avatar
 
Join Date: Aug 2016
Location: Woodland Park, CO
Posts: 5,290
Received 2,311 Likes on 1,502 Posts

Default

Originally Posted by 03f15012
I have a name, state, and phone number, LOL.
We'll see if my threat takes hold first.
Old 06-04-2017, 03:08 PM
  #283  
Senior Member

Thread Starter
 
BlackBullXLT's Avatar
 
Join Date: Feb 2015
Location: San Diego, CA USA
Posts: 228
Received 25 Likes on 21 Posts
Default Some Interior Detail Work

Just little bits and pieces here and there that needed some refreshing:

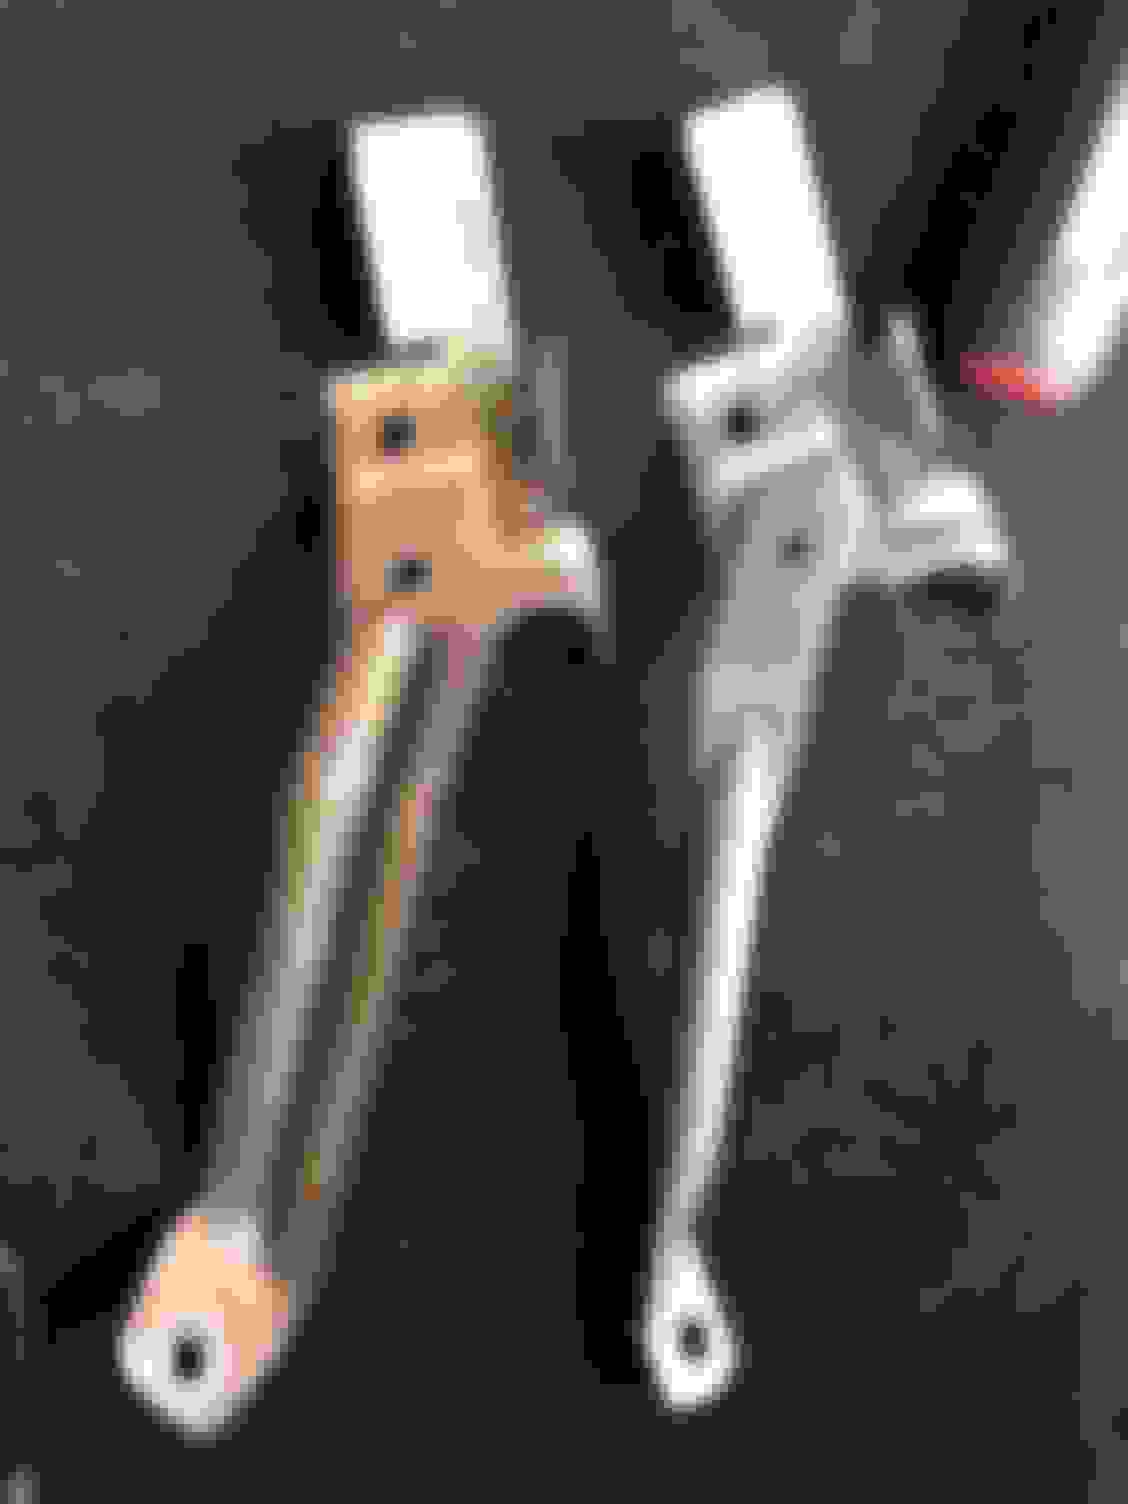
I painted the bar that acts as a brace for the frame that holds the A/V and A/C controls. You'll notice that they are a little bit different (flat v round) but the angle is the same and so are the mounting points. I just don't like seeing that surface rust.

I also painted the front seat mounting points and passenger side seat release bar.


Flat v Round and rust v titanium colored paint.


Same part number other than the last digit A-B

I painted the front seat mounting points as they were looking the worse for wear as well.


Last edited by BlackBullXLT; 06-04-2017 at 03:16 PM.
Old 06-04-2017, 03:14 PM
  #284  
Senior Member

Thread Starter
 
BlackBullXLT's Avatar
 
Join Date: Feb 2015
Location: San Diego, CA USA
Posts: 228
Received 25 Likes on 21 Posts
Default LEDs for the A/C Controls

I finally got around to adding some Blue LED bulbs for the A/C controls. Therefore it will match the blue leds on the speedometer and eventually the accessory buttons that I still need to install as well. (backside pic because it was daytime, I'll shoot some front side interior pics soon).


It takes two 194 bulbs and just reuse the current socket to twist and lock them in place.

Last edited by BlackBullXLT; 06-04-2017 at 03:17 PM.
Old 06-12-2017, 03:59 PM
  #285  
Mountain Man
 
squishware's Avatar
 
Join Date: Nov 2013
Location: Grand Canyon, AZ
Posts: 121
Received 7 Likes on 7 Posts

Default

I just went through your whole thread and I am more inspired to get my build in gear (pun intended) Reupholstering is on my list and I am in Carlsbad. Who is your apholsterer? Please PM if you don't want it in the thread. Thanks and keep up the top shelf work!
Old 06-13-2017, 06:22 PM
  #286  
Senior Member
 
ZebraFord's Avatar
 
Join Date: Mar 2014
Posts: 2,217
Received 45 Likes on 41 Posts

Default

You still sitting on the supercharger parts? I'm trying to get mine ready for it soon
Old 05-06-2019, 05:52 PM
  #287  
Senior Member
 
Buck0's Avatar
 
Join Date: Aug 2018
Location: MntLk Ter Wa
Posts: 343
Received 262 Likes on 164 Posts
Default

Any new progress on this old thread? It was great while it lasted.


Quick Reply: BlackBullXLTs Road Warrior Project


All times are GMT -4. The time now is 03:35 PM.