Topic Sponsor
Members Builds See any build threads created by members to track progress of their projects.
Sponsored by:
Sponsored by:

2011 to 2017 Full Raptor Swap - another crazy build

Old 09-04-2016, 08:24 PM
  #11  
Senior Member
Thread Starter
 
mikegmang's Avatar
 
Join Date: Oct 2011
Posts: 1,248
Received 346 Likes on 144 Posts

Default

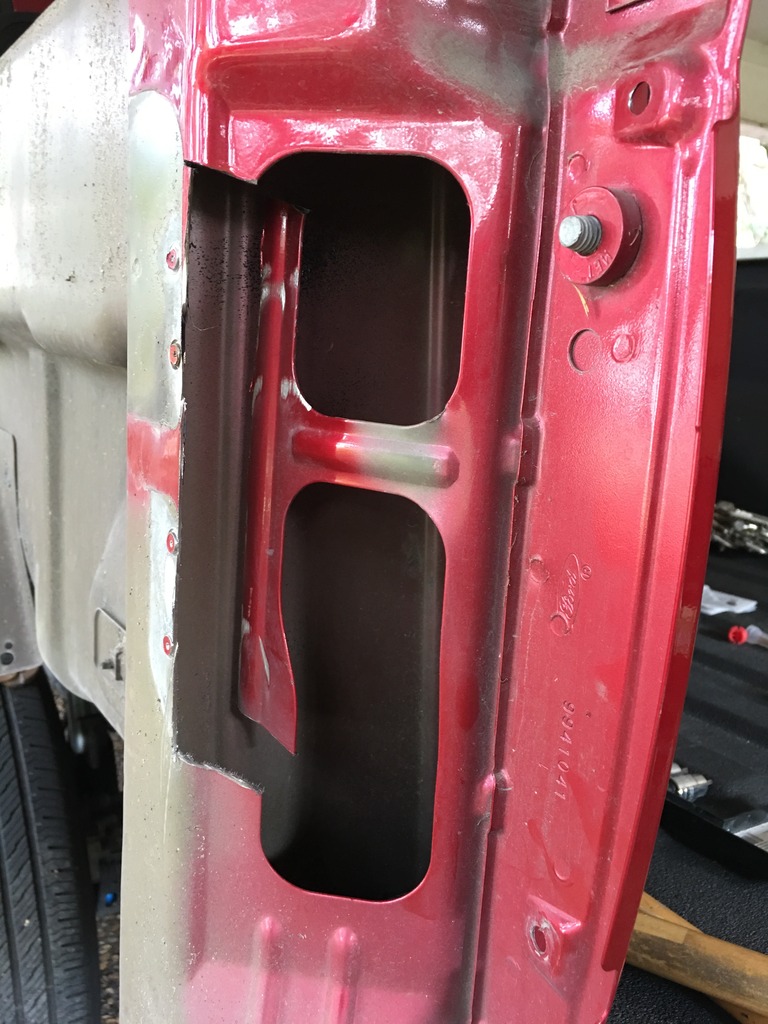
You need to cut the taillight metal piece to fit the 15 lights

Name:  1A899D9C-DAEE-4477-AA20-C61D553DCAB9_3.jpg
Views: 2524
Size:  209.6 KB
Old 09-04-2016, 08:26 PM
  #12  
Senior Member
 
WarSurfer's Avatar
 
Join Date: May 2010
Location: DC
Posts: 16,109
Received 500 Likes on 383 Posts

Default

You're a hard working m'fer
Old 09-04-2016, 08:26 PM
  #13  
Senior Member
Thread Starter
 
mikegmang's Avatar
 
Join Date: Oct 2011
Posts: 1,248
Received 346 Likes on 144 Posts

Default

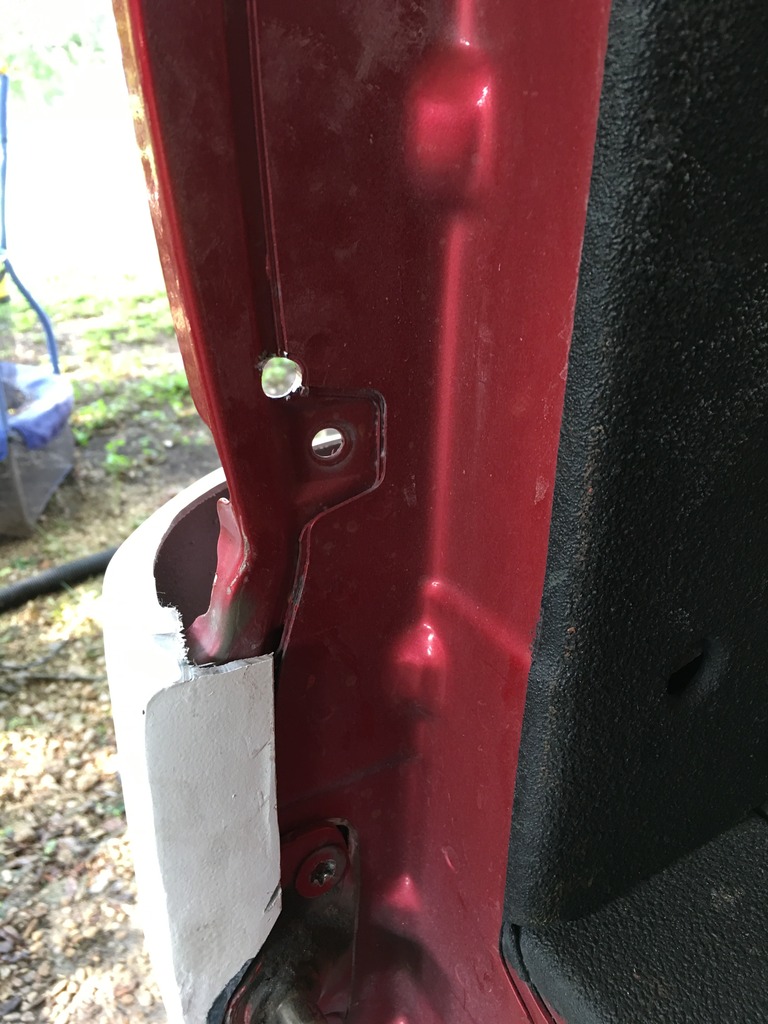
Drill new holes for the lights to mount since the 15 is a completely new design

Name:  B35E47CB-4286-4FB7-9367-BBBBE64F8C75_2.jpg
Views: 2463
Size:  193.2 KB
Old 09-04-2016, 08:28 PM
  #14  
Senior Member
Thread Starter
 
mikegmang's Avatar
 
Join Date: Oct 2011
Posts: 1,248
Received 346 Likes on 144 Posts

Default

Name:  0E82FB46-E039-464B-8667-C918F587A0CE.jpg
Views: 2433
Size:  144.7 KB
Old 09-04-2016, 08:32 PM
  #15  
Senior Member
Thread Starter
 
mikegmang's Avatar
 
Join Date: Oct 2011
Posts: 1,248
Received 346 Likes on 144 Posts

Default

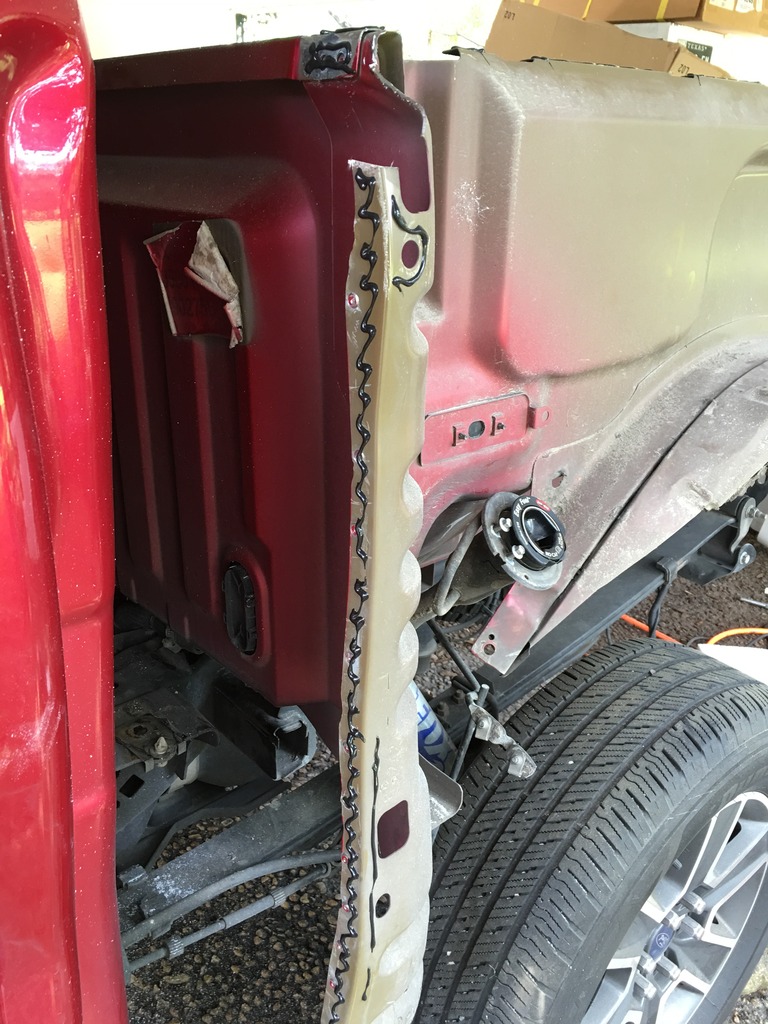
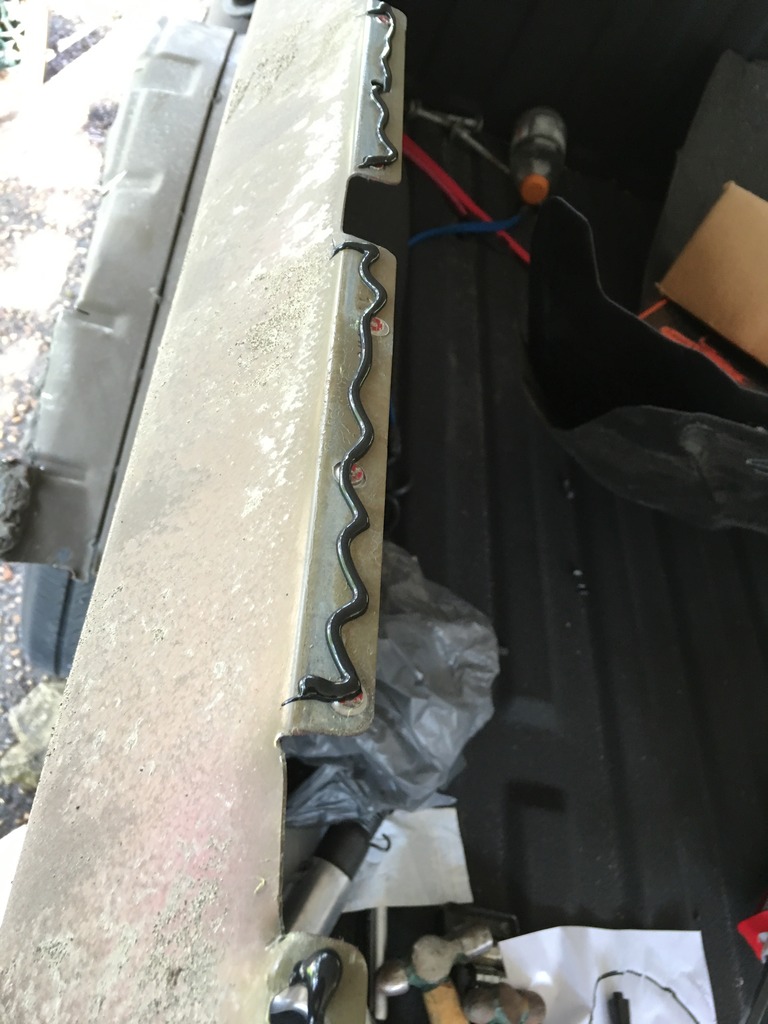
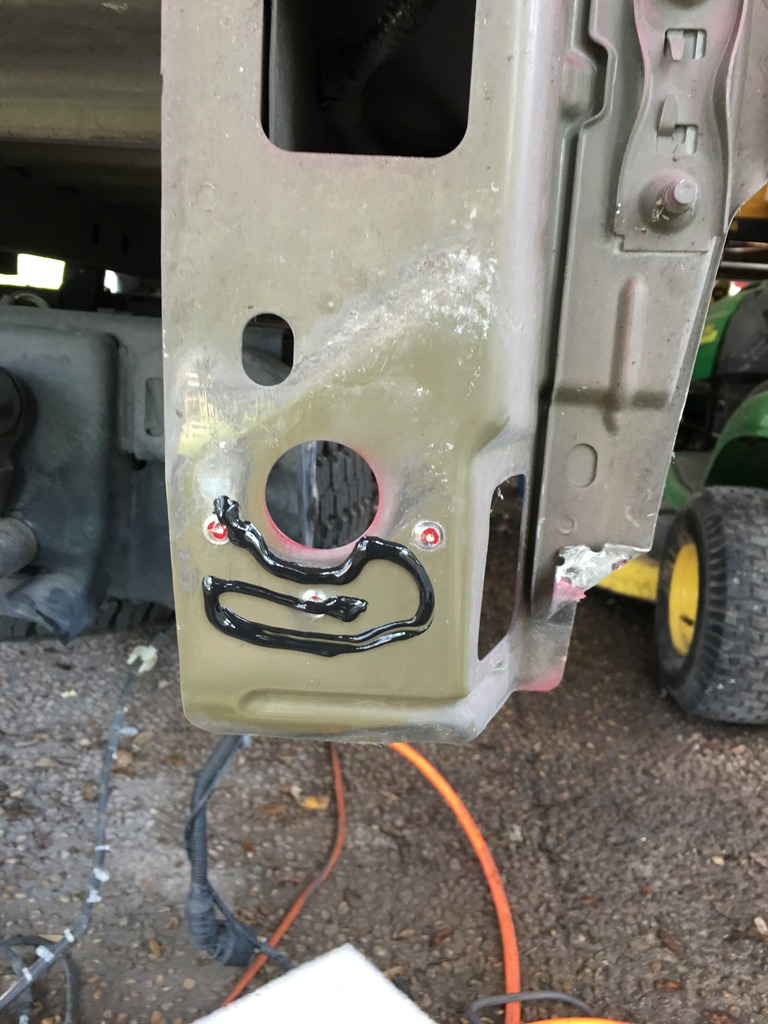
The bed is attached with a 3m panel bonding 2 part glue

Name:  3C4C6B12-8F9D-48BA-9E35-425487A7438B_2.jpg
Views: 2471
Size:  245.1 KB

Name:  157C3D64-15C6-4A71-9296-FB859B8F19B6_2.jpg
Views: 2475
Size:  160.5 KB

Name:  9DCBCBE5-B602-4F68-BF17-A62039E885C6.jpg
Views: 2466
Size:  192.9 KB
Old 09-04-2016, 08:35 PM
  #16  
Senior Member
Thread Starter
 
mikegmang's Avatar
 
Join Date: Oct 2011
Posts: 1,248
Received 346 Likes on 144 Posts

Default

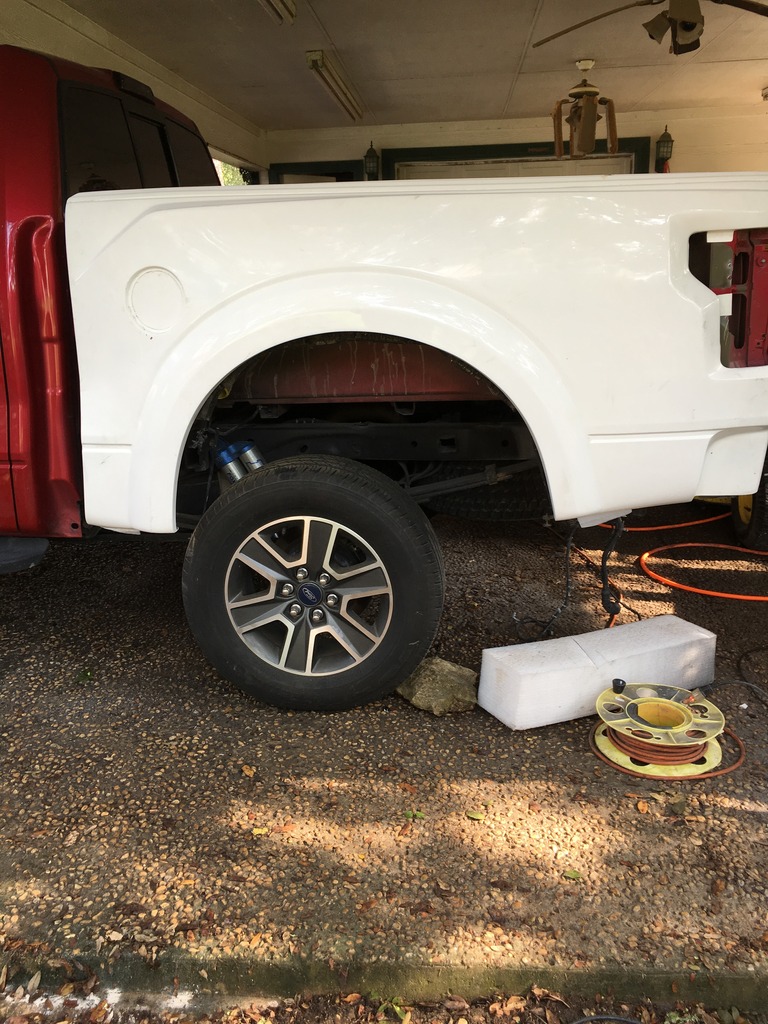
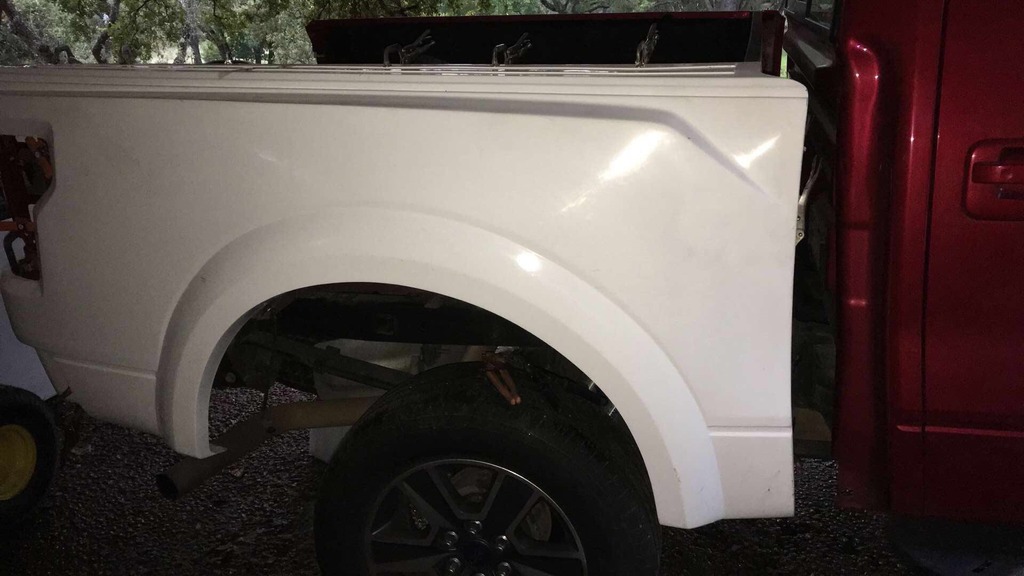
You set the bed and cut any pieces that prevent it from sitting right on. Then you clamp the parts that are glued for 6 hours to cure

Name:  70EF59E9-C8EF-4E0D-A3C7-8FF46F0AE55D_2.jpg
Views: 2467
Size:  269.6 KB

Name:  726B287B-8921-416C-AFF8-49CEBC4E10B1_2.jpg
Views: 2463
Size:  111.7 KB
Old 09-04-2016, 08:39 PM
  #17  
Senior Member
Thread Starter
 
mikegmang's Avatar
 
Join Date: Oct 2011
Posts: 1,248
Received 346 Likes on 144 Posts

Default

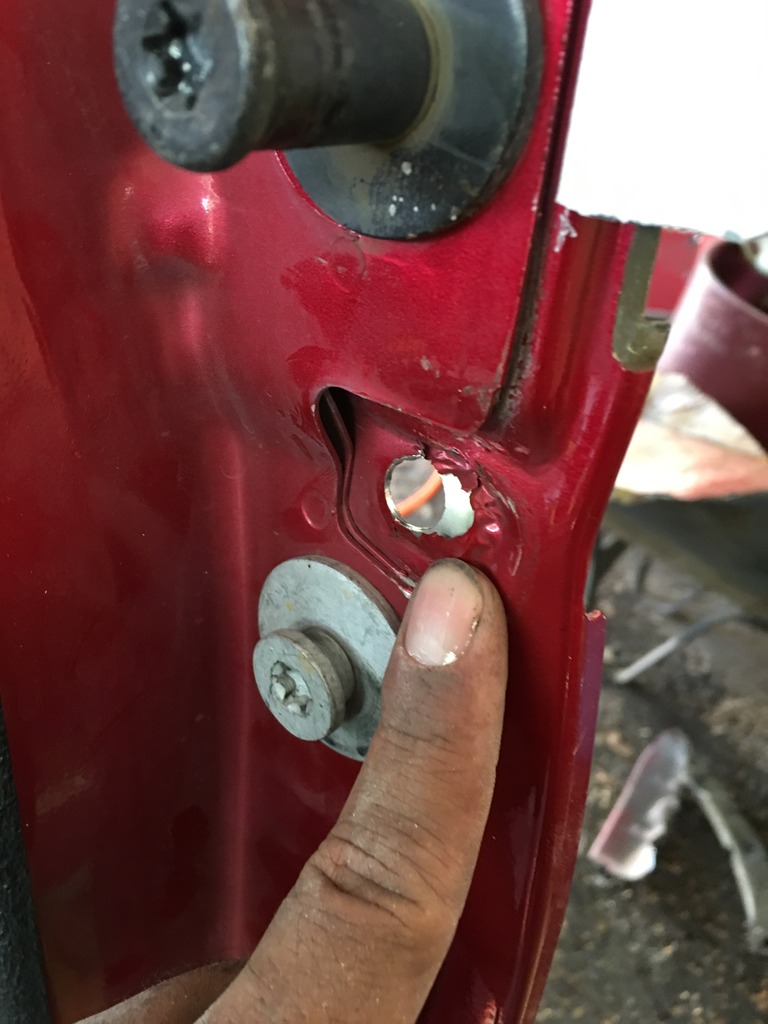
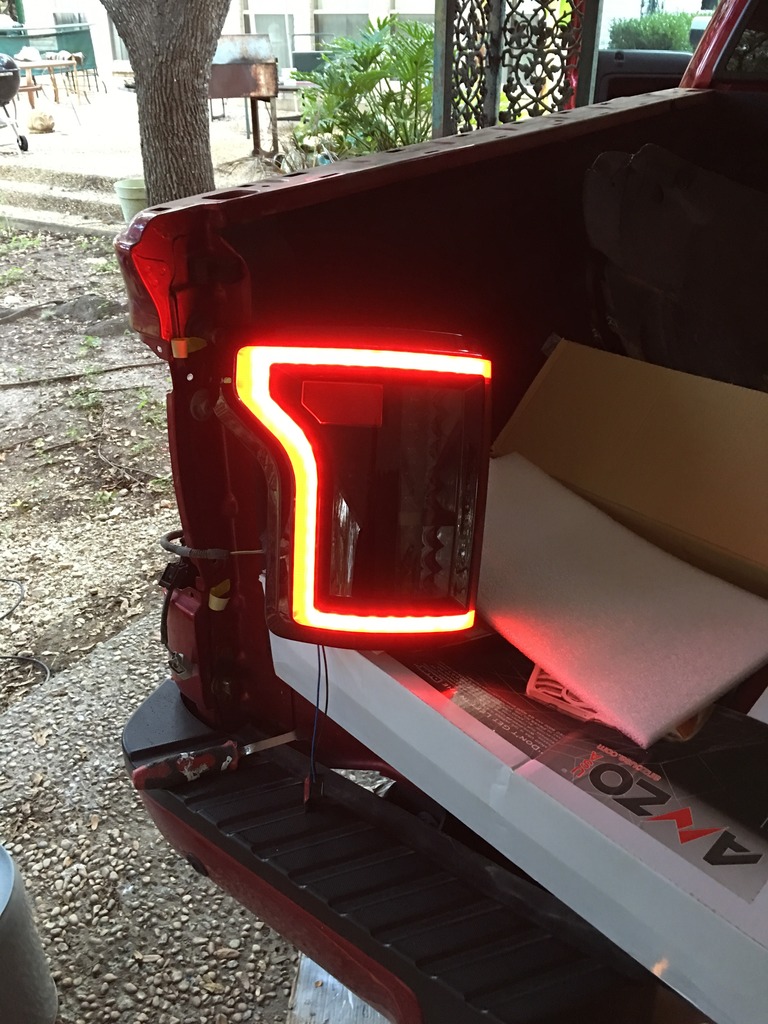
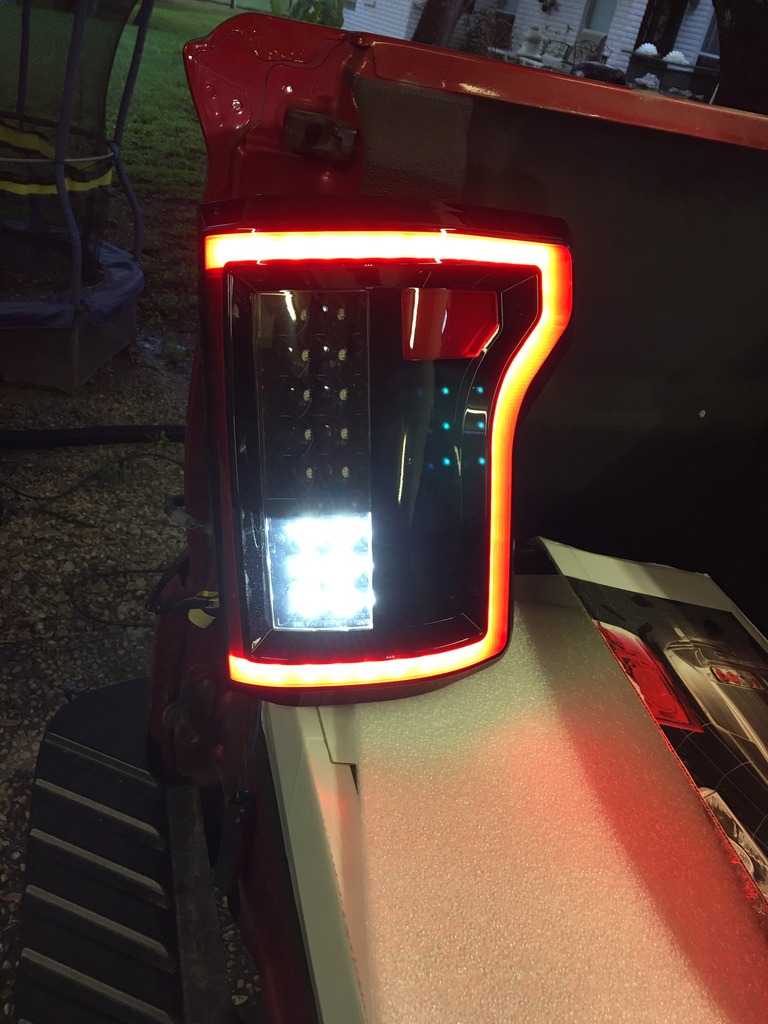
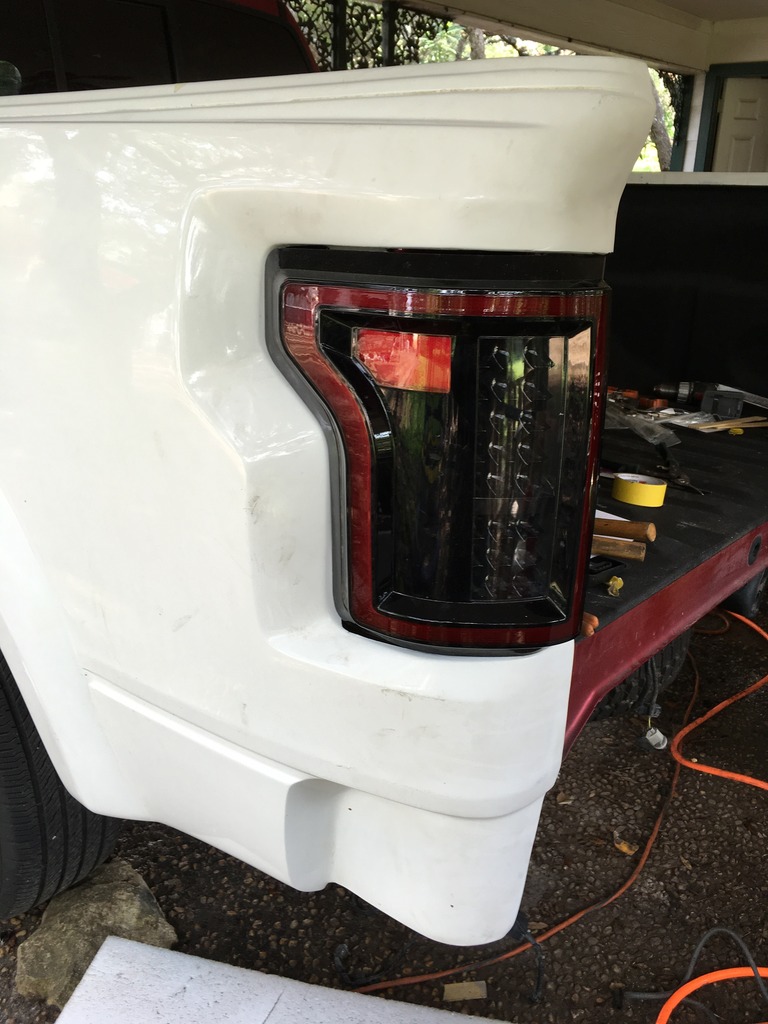
Cut some tabs on the factory taillight connectors to make them for the 15 connectors.
Got some anzo tails to set off the whole look.

Name:  57EA26C2-EB0A-4818-8F4D-9CC37F1F461C_2.jpg
Views: 2451
Size:  234.7 KB

Name:  B92F7140-A09D-4F86-A559-A33DC25CB18B_2.jpg
Views: 2455
Size:  177.4 KB

Name:  3B694EF8-2FDE-48EC-9C70-8AAAF18706CB_2.jpg
Views: 2477
Size:  174.1 KB
Old 09-05-2016, 12:11 PM
  #18  
Member
 
97JEEPTJ's Avatar
 
Join Date: Aug 2016
Location: Fort Worth, TX
Posts: 74
Received 5 Likes on 4 Posts
Default

Is the bed slid backwards on the frame for the install, or are you going to have to center the rear axle under the wheel wells?
Old 09-05-2016, 05:30 PM
  #19  
Junior Member
 
Fx4_Boost11's Avatar
 
Join Date: Sep 2016
Posts: 26
Received 0 Likes on 0 Posts
Default

That is amazing! nice work can't wait to see the end result
Old 09-05-2016, 06:18 PM
  #20  
Senior Member
Thread Starter
 
mikegmang's Avatar
 
Join Date: Oct 2011
Posts: 1,248
Received 346 Likes on 144 Posts

Default

Originally Posted by 97JEEPTJ
Is the bed slid backwards on the frame for the install, or are you going to have to center the rear axle under the wheel wells?
The bed is off the truck

Thread Tools
Search this Thread
Quick Reply: 2011 to 2017 Full Raptor Swap - another crazy build


All times are GMT -4. The time now is 09:43 AM.