How to Fold Down A Super Crew Backseat
 08-18-2012, 12:46 PM
#31
Senior Member
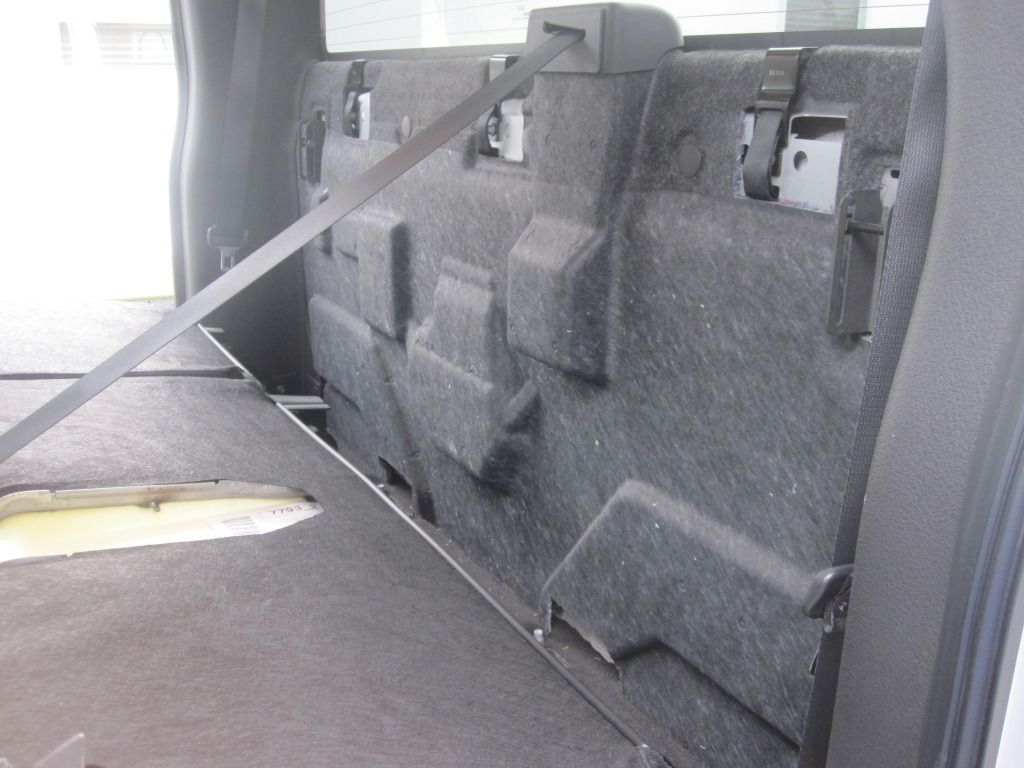
Here are some pics. In my opinion, if you're gonna mount an amp back there its nice to be able to do this, other wise there is not much useful about this. But I put straps on the posts anyways....
Passenger side...
Driver side...
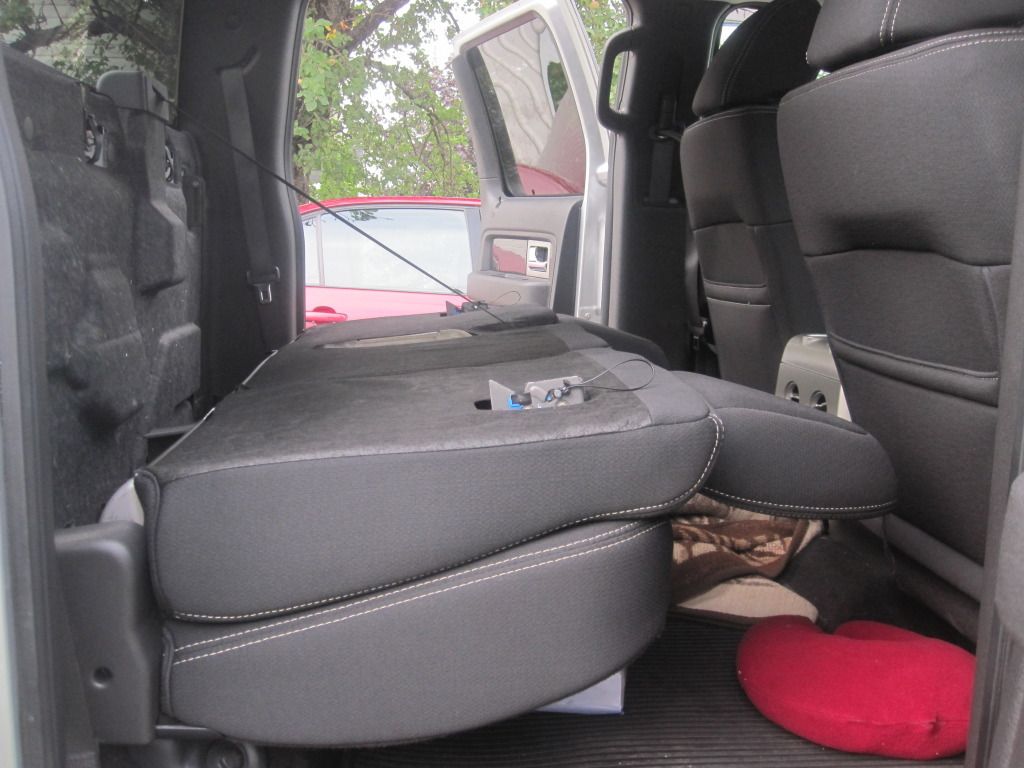
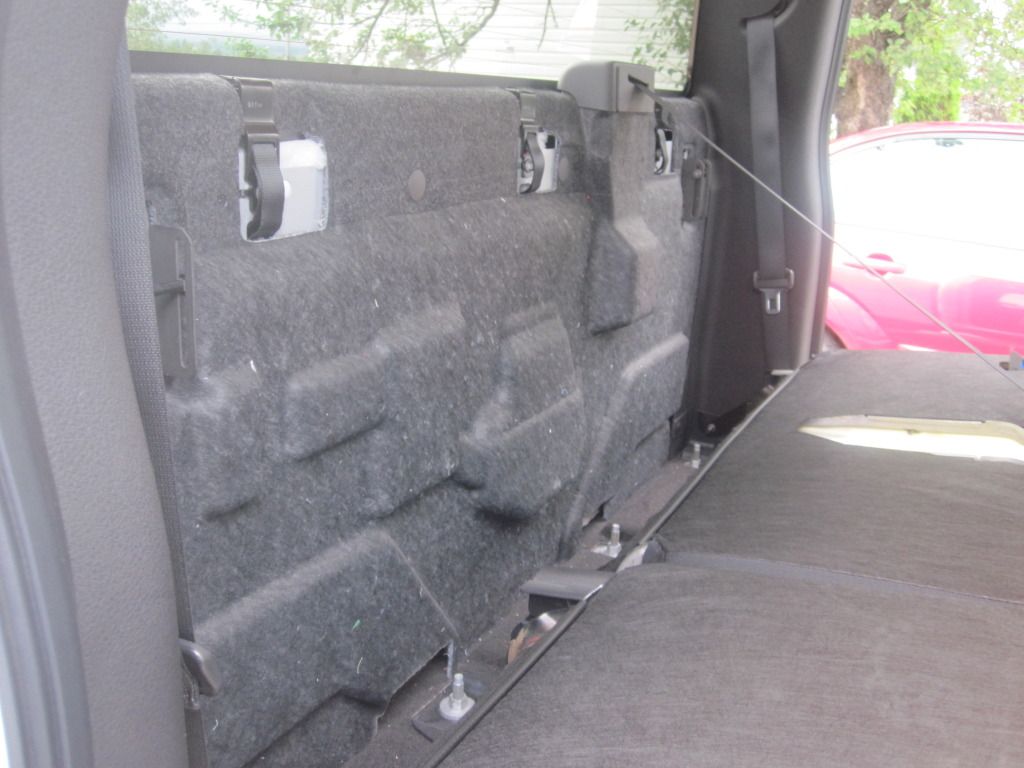
Seats down passenger side....
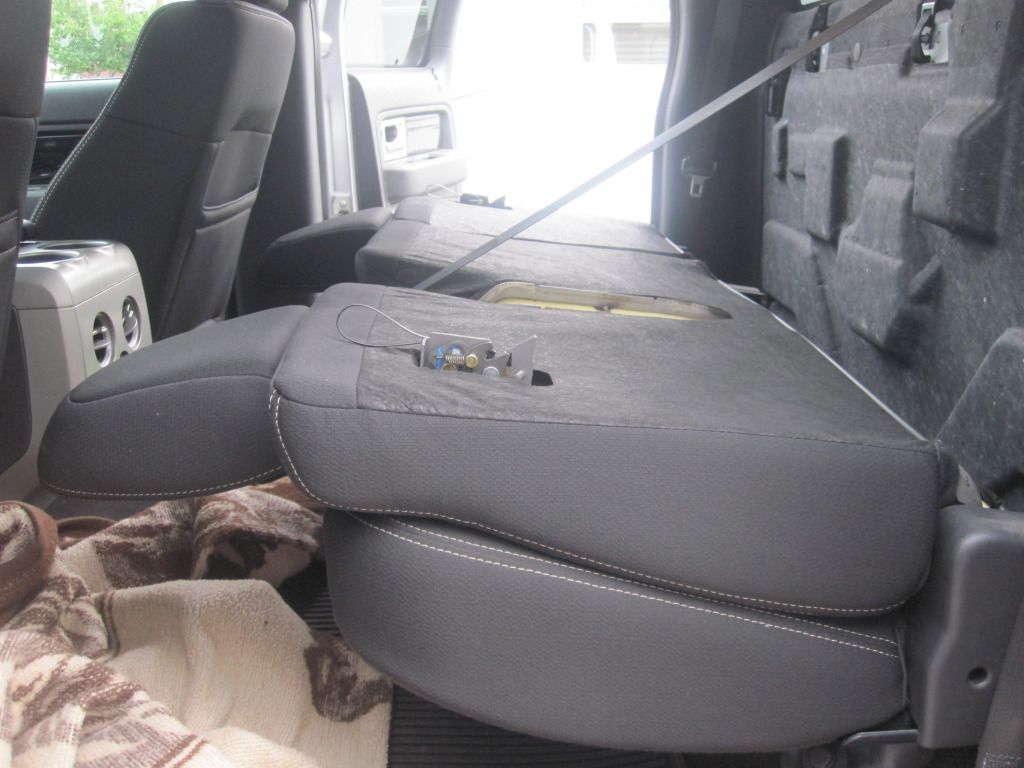
Seats down Drivers side..
Back of seat...
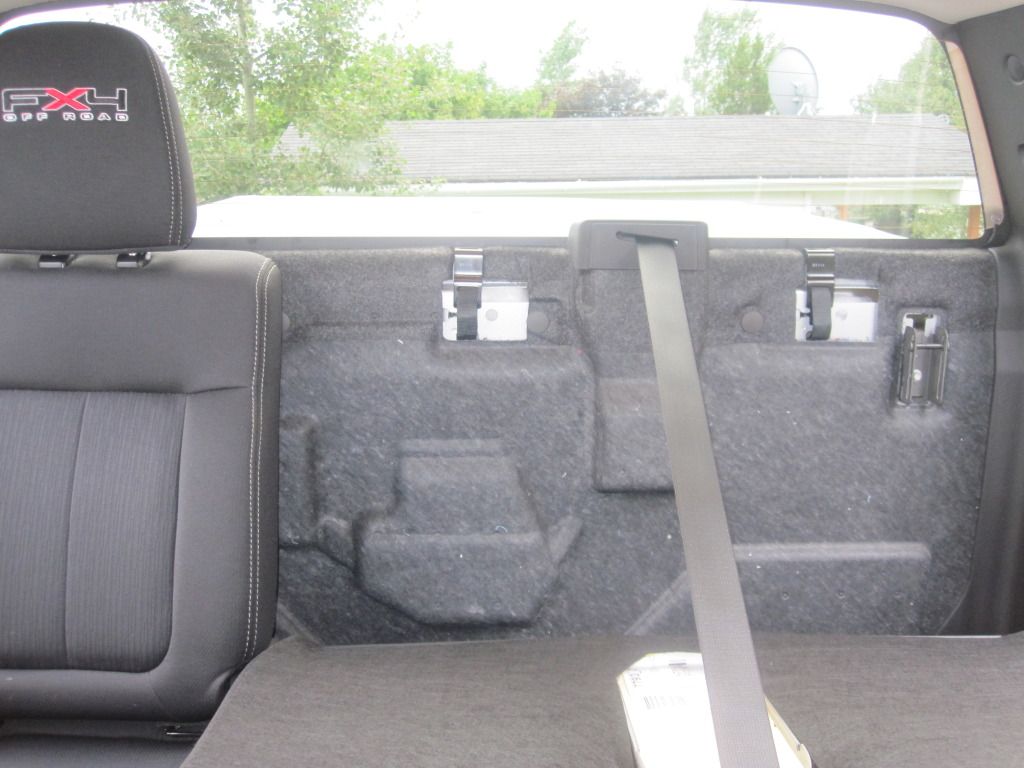
Other good thing was..... I was able to push the child seat straps down though the mounts and now are not seen from the seat top. As can be seen in the pic directly above......
Passenger side...
Driver side...
Seats down passenger side....
Seats down Drivers side..
Back of seat...
Other good thing was..... I was able to push the child seat straps down though the mounts and now are not seen from the seat top. As can be seen in the pic directly above......
LOVE THE HEADREST!!!!!!!!!! WHERE DID YOU GET THEM DONE?

 08-18-2012, 04:01 PM
#32
2013 Ruby Red FX4 SCrew
 08-18-2012, 11:13 PM
#33
...is a sweet ride
This is a neat mod to have the flexibility.
I have a 2009 Screw...but I can't see what I can use the space for against the back of the cab wall other than emergency towels or a spread out sleeping bag? The amp idea is good, but I didn't understand about the first aid kit and jumper cables....I think you could hang a tool 'apron' against the back wall and have a compliment of small hand tools?
I'm coming down from a 2003 F250 Crew Cab....so it's a little different, you had entirely under the seat and behind the seat for about the bottom half of the seat back before it started to meet the cab wall. Lotta stuff fit back there.
08-19-2012, 04:21 PM
#34
Senior Member
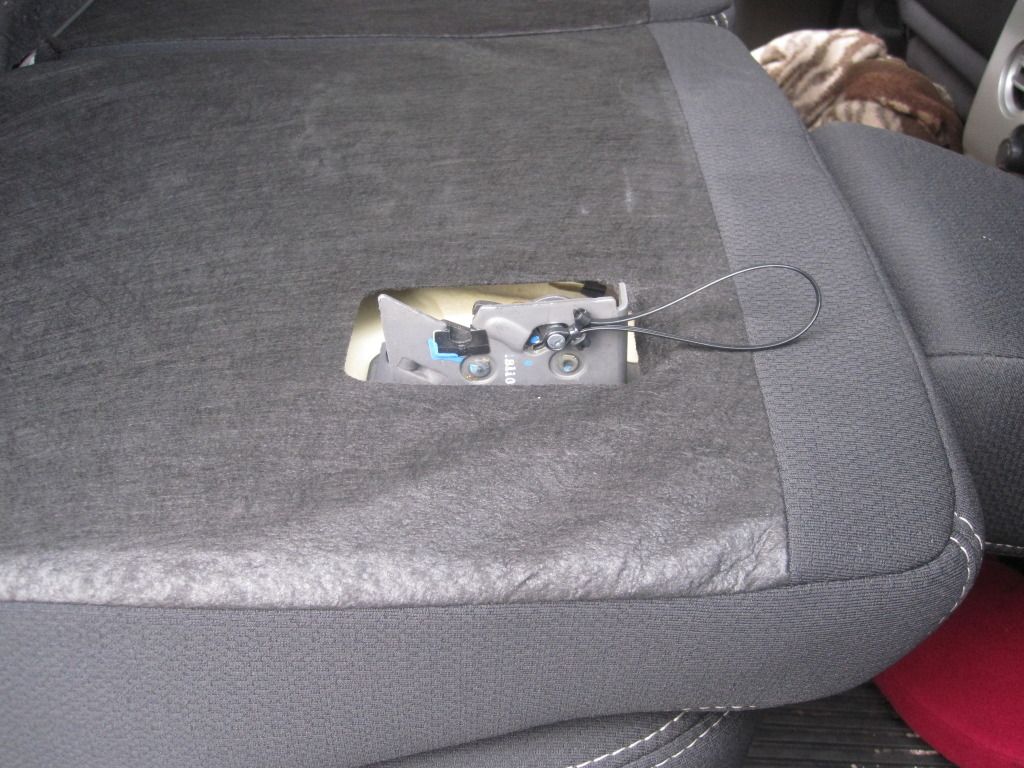
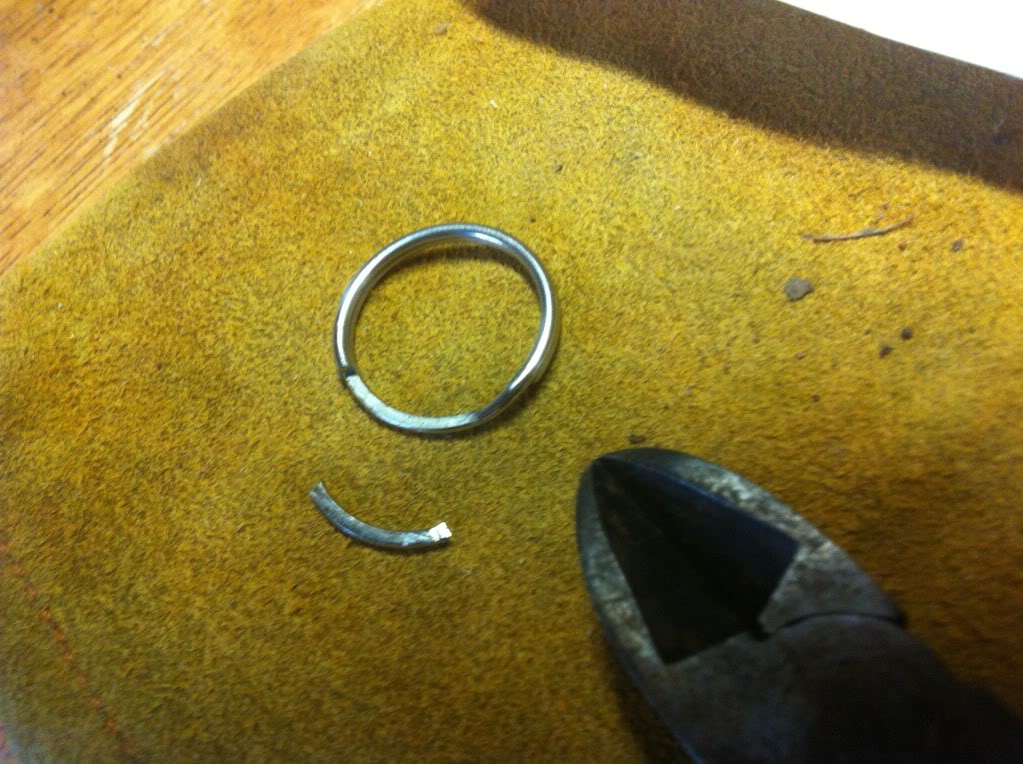
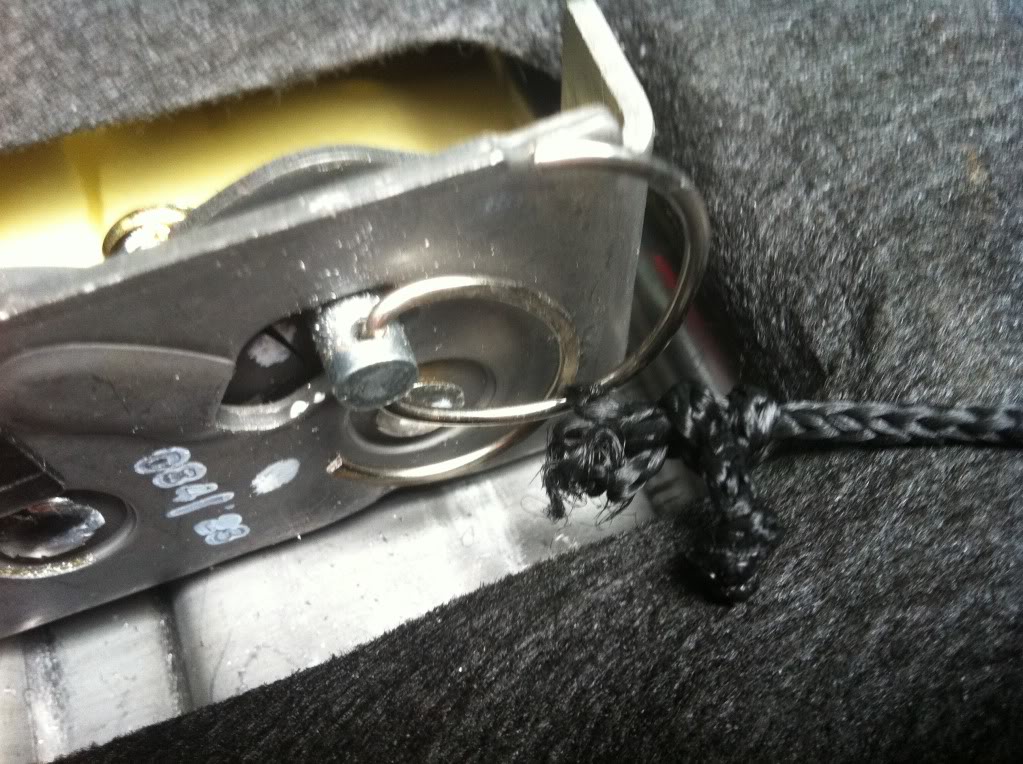
I used two small split rings, off of old key rings, nylon tether from an inflatable frosty the snowman yard decoration  and a drill... Here's the pics! FYI, if you use the same method, make sure that the split ring stays in the upright position!! If it falls horizontal, it can contact the mount and crush the ring, yeah I did that!
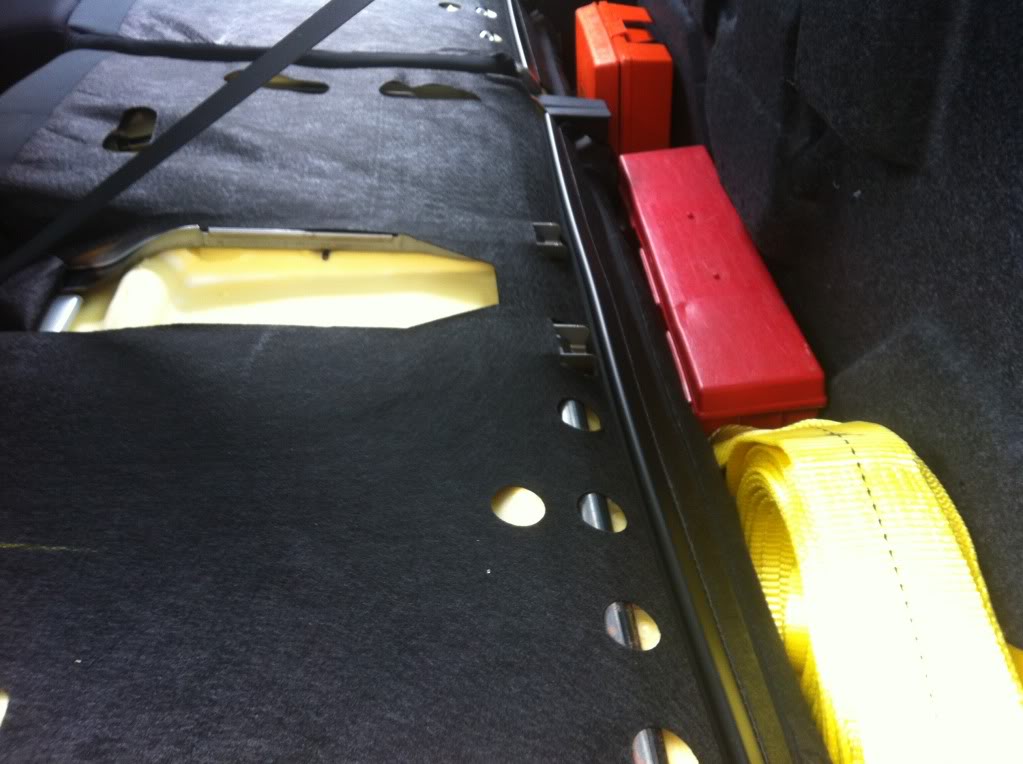
Got a good bit of stuff back there, huge recovery strap (for towing out my Dad's Ram) A set of hazard triangles and an air compressor.
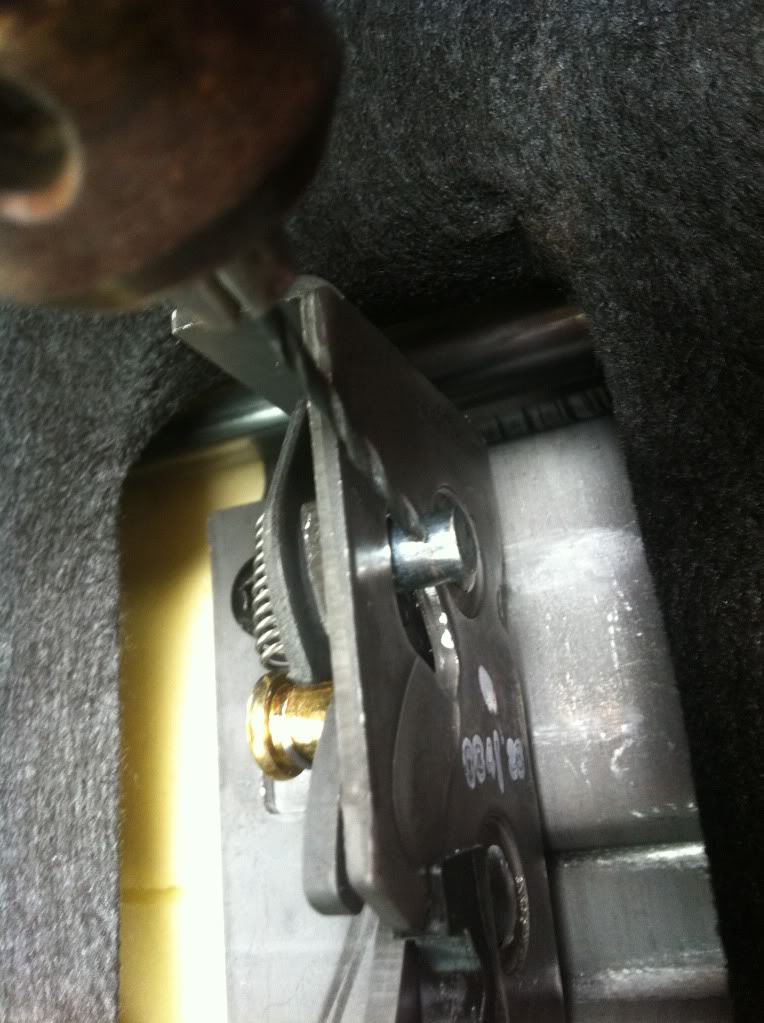
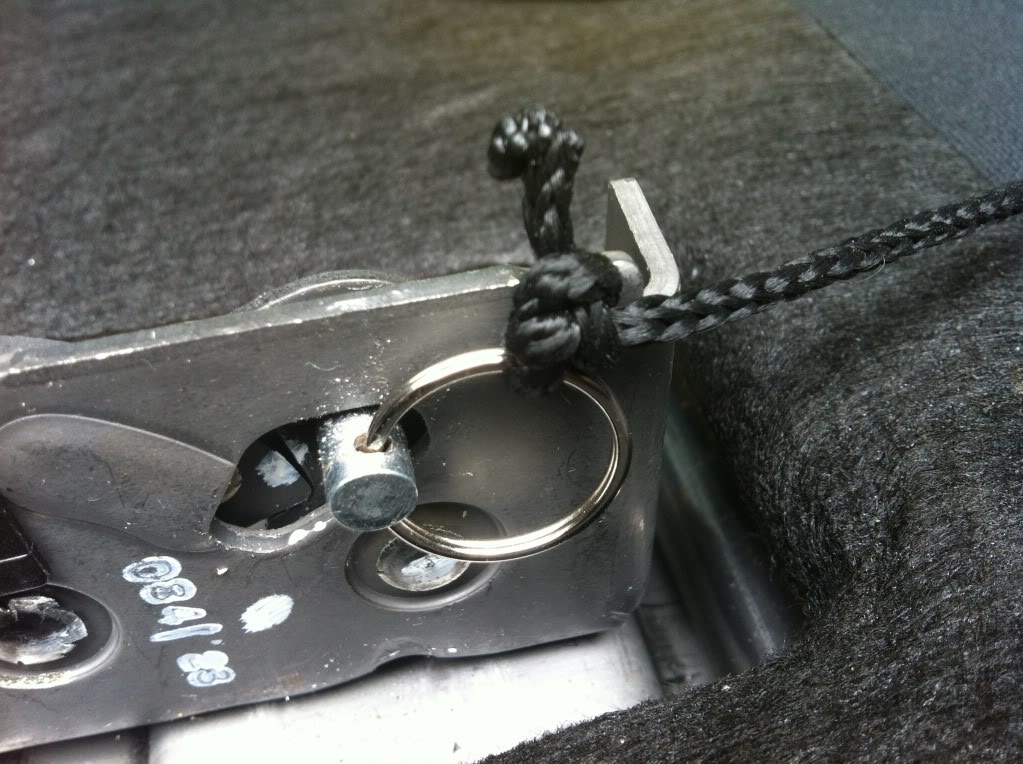
Make sure it sits like this!!
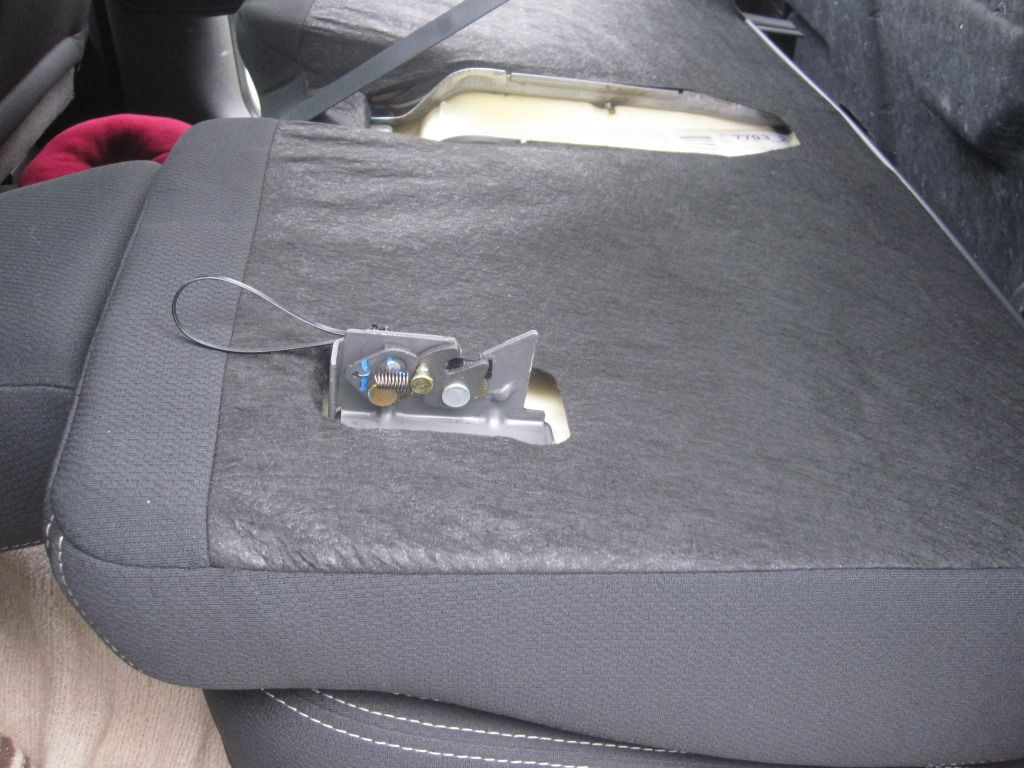
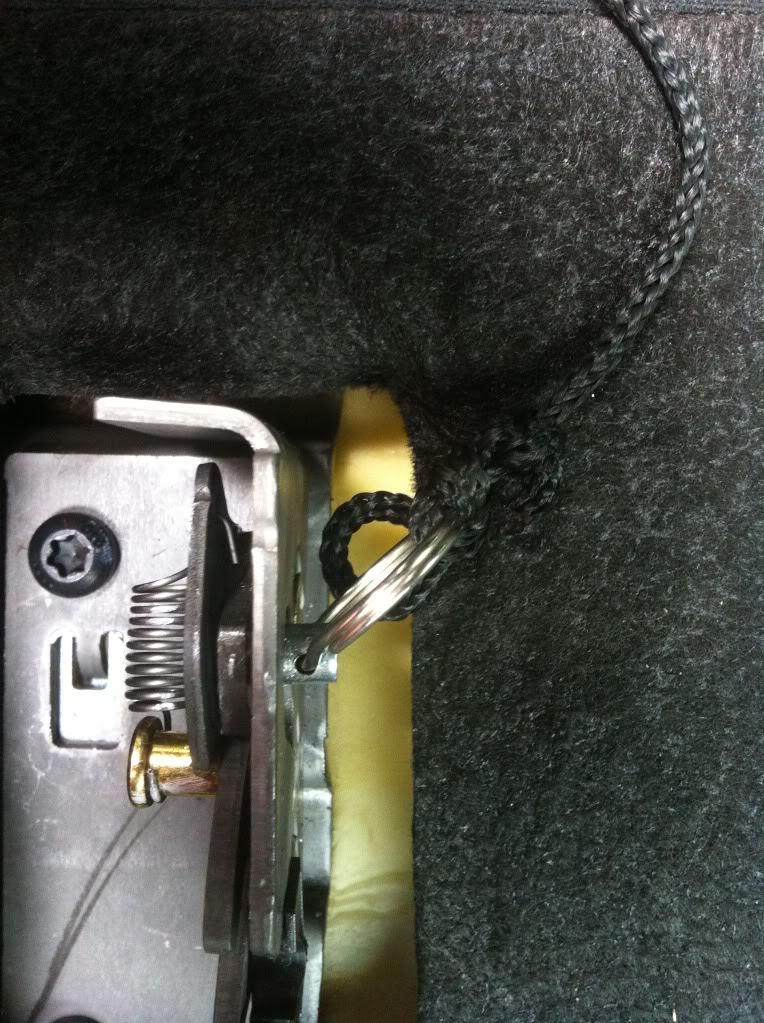
Not like this!!!
Or you will end up having this!
The gear
and a drill... Here's the pics! FYI, if you use the same method, make sure that the split ring stays in the upright position!! If it falls horizontal, it can contact the mount and crush the ring, yeah I did that! Got a good bit of stuff back there, huge recovery strap (for towing out my Dad's Ram) A set of hazard triangles and an air compressor.
Make sure it sits like this!!
Not like this!!!
Or you will end up having this!
The gear
08-19-2012, 04:40 PM
#35
I only had time to do this to one side and it works great. But I'm having an issue getting it to lock back up. It always takes me 2 seconds to pull it down but 5 minutes to get it to lock back into place. Any tips or thoughts of what I'm doing wrong.
08-19-2012, 05:31 PM
#36
2013 Ruby Red FX4 SCrew
08-19-2012, 10:12 PM
#37
Senior Member
Originally Posted by Chids14
I only had time to do this to one side and it works great. But I'm having an issue getting it to lock back up. It always takes me 2 seconds to pull it down but 5 minutes to get it to lock back into place. Any tips or thoughts of what I'm doing wrong.
The following users liked this post:
Fire Mist (08-20-2012)
08-20-2012, 05:49 PM
#38
Thanks, I did notice the pin on the back wall moving but didn't have time to study it. Thanks for the words of advice... I get off Wednesday morning and will go figure it out and also do the passenger side.
08-20-2012, 08:57 PM
#39
Senior Member
09-05-2012, 12:07 AM
#40
Senior Member


Did this a few weeks ago and love the added space.
Jumper cables, spare change of clothes, spare jacket, gloves, etc.
Not sure if this was mentioned, but it was far easier to remove to the head rest before doing this.
I drilled out as mentioned earlier and hooked one end to the head rest, but I used heavy fishing line. The pull is a bit too hard so I will be changing to parachute cord as the fishing line digs into your hand too much.
Thanks again for the instructions!