When you click on links to various merchants on this site and make a purchase, this can result in this site earning a commission. Affiliate programs and affiliations include, but are not limited to, the eBay Partner Network.
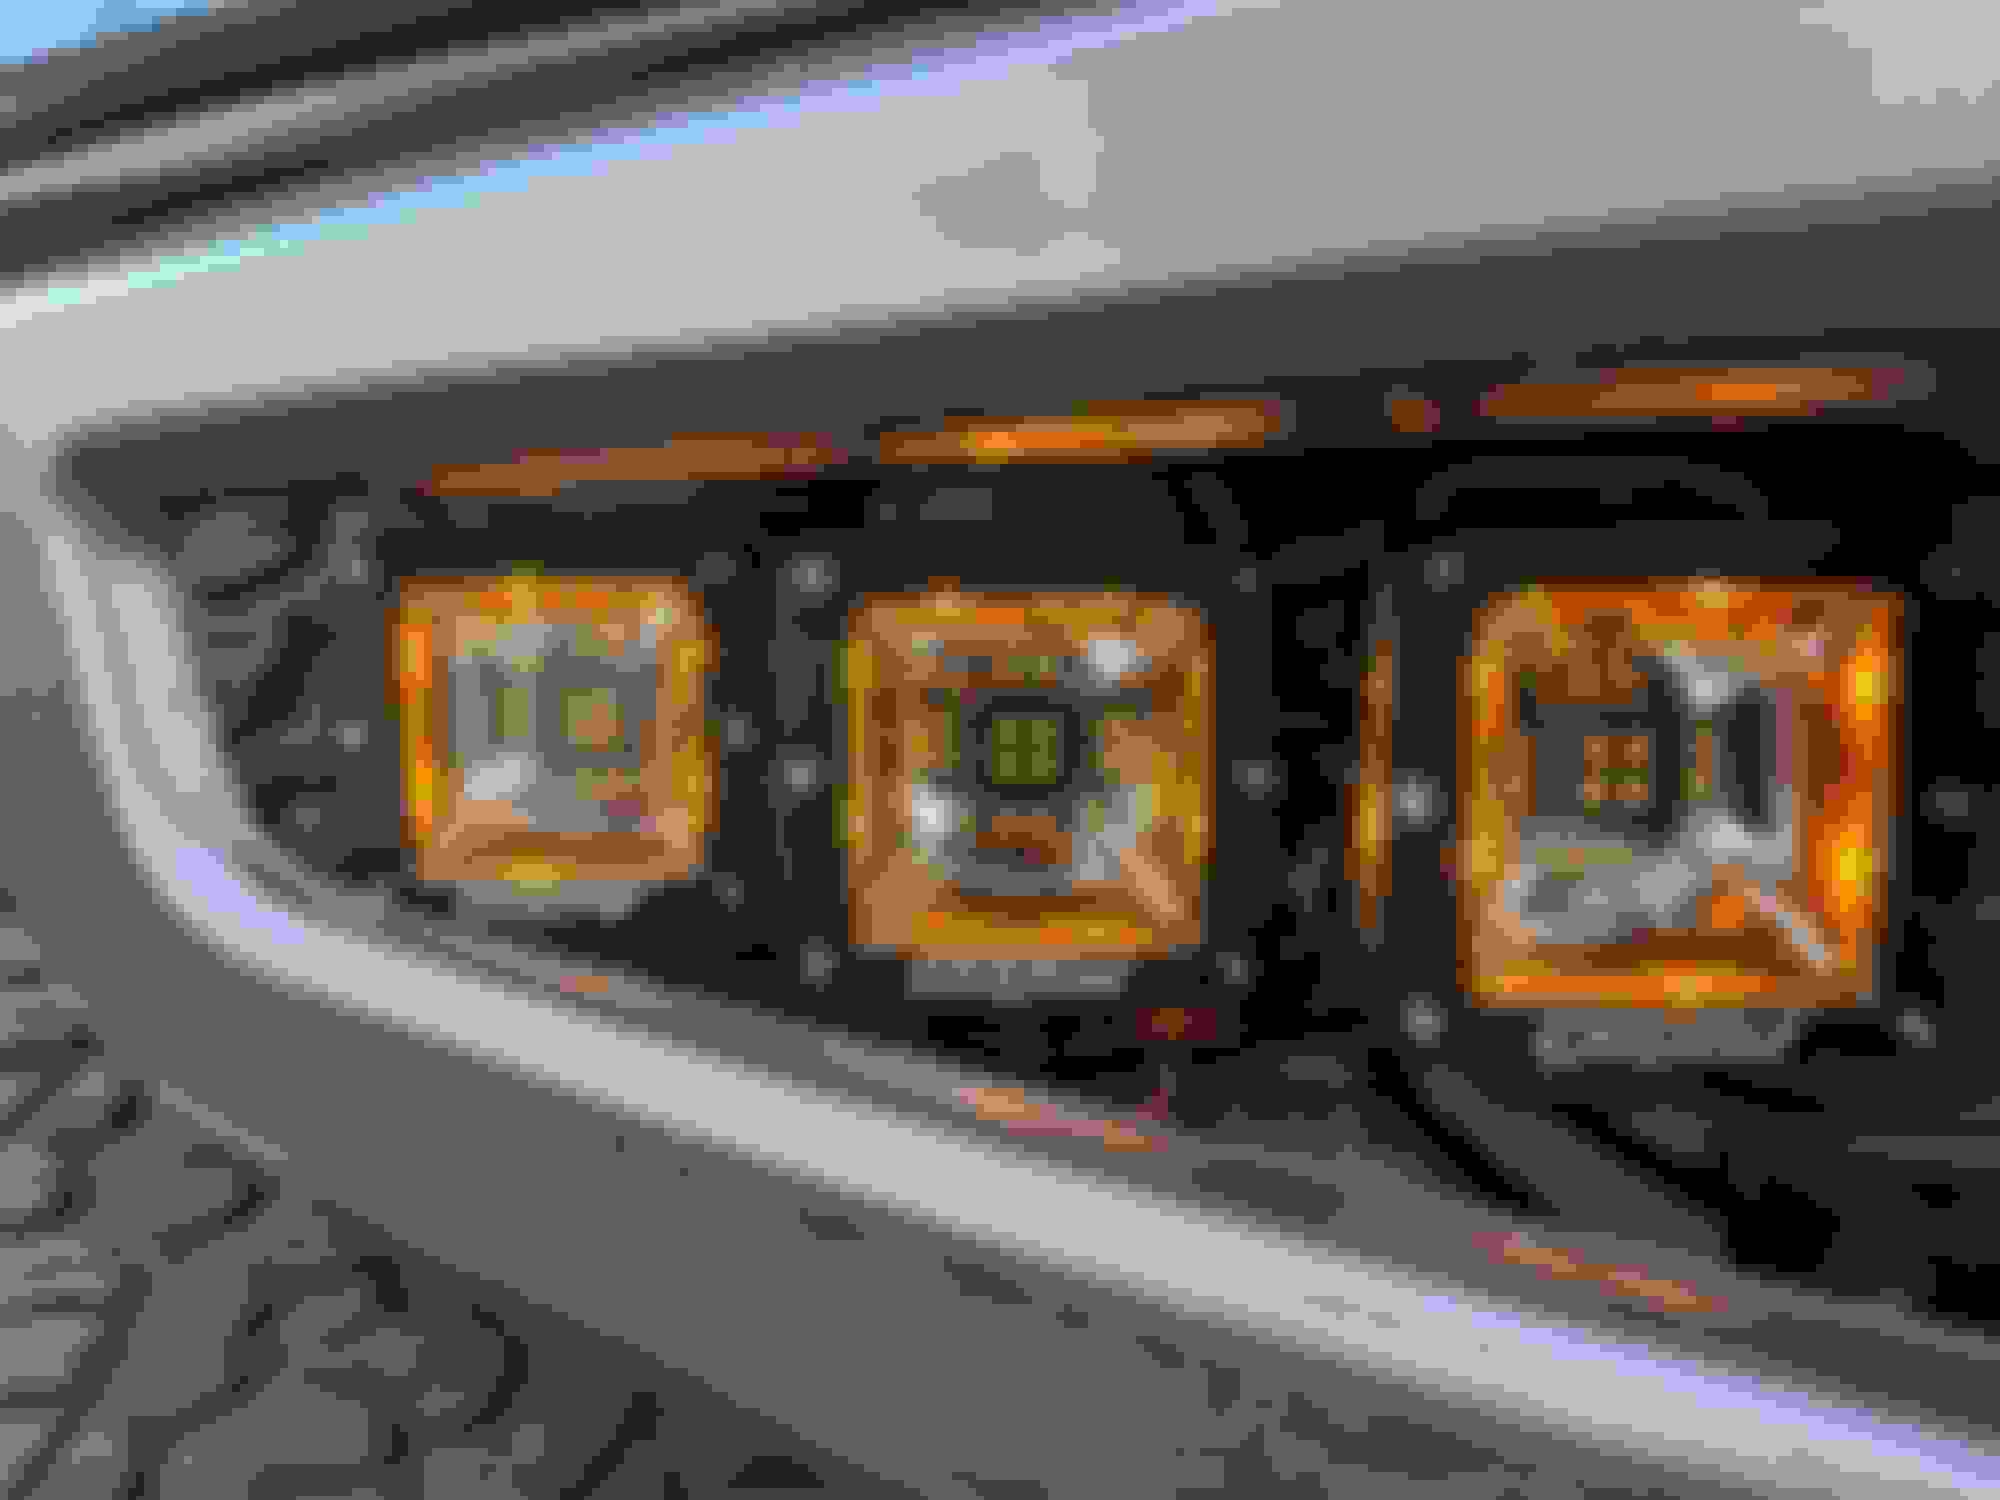
Installing Rigid Radiance POD Lights on my 2018 Raptor. Looking for tips where to tap power for the amber lights used with the Daytime Running Lights. I will wire the spot lights to one of the aux switches but looking for a place to wire the amber lights so the work with the running lights.
Installing Rigid Radiance POD Lights on my 2018 Raptor. Looking for tips where to tap power for the amber lights used with the Daytime Running Lights. I will wire the spot lights to one of the aux switches but looking for a place to wire the amber lights so the work with the running lights.
thanks in advance...
I wired mine to the radio feed wire (Red) powers on when the Ignition turs on, and off when its turned off.
I bought mine from specialtyperformanceparts team, and their instructions and kit were very well thought out. They include a wire insert that taps into an existing 12v ACC power source under the glove box and builds into into a factory harness. No goofy vampire taps or anything like that. This way you can connect to one of the AUX bypass wires (not the switches, the bypass wires in the same area). The other end of the wire is near the AUX feeds in the engine bay, connect that up to the Radiance wire and you get the radiance feature on for ACC automatically without tapping into any of the power from the regular lighting. It's a few more steps, but safer especially if you are drawing for more lights - in my case 6 of the Radiance would draw too much power from a direct tap into the front factory lighting feed.
You can probably find their instruction PDF on the website. They also sell the tap kit as a $10 bag of goodies you can buy separately if you already have your lights.
I'm curious - why did you hang your lights upside down? Could they not be installed right side up?
Just make sure you flip the lights bezels back around if you ever need to send them in for warranty service from Rigid. They'll void your warranty for removing the outer bezel.
As for where to tap, I always hit the side marker lights wiring on our installs.

 07-07-2018, 02:54 PM