When you click on links to various merchants on this site and make a purchase, this can result in this site earning a commission. Affiliate programs and affiliations include, but are not limited to, the eBay Partner Network.
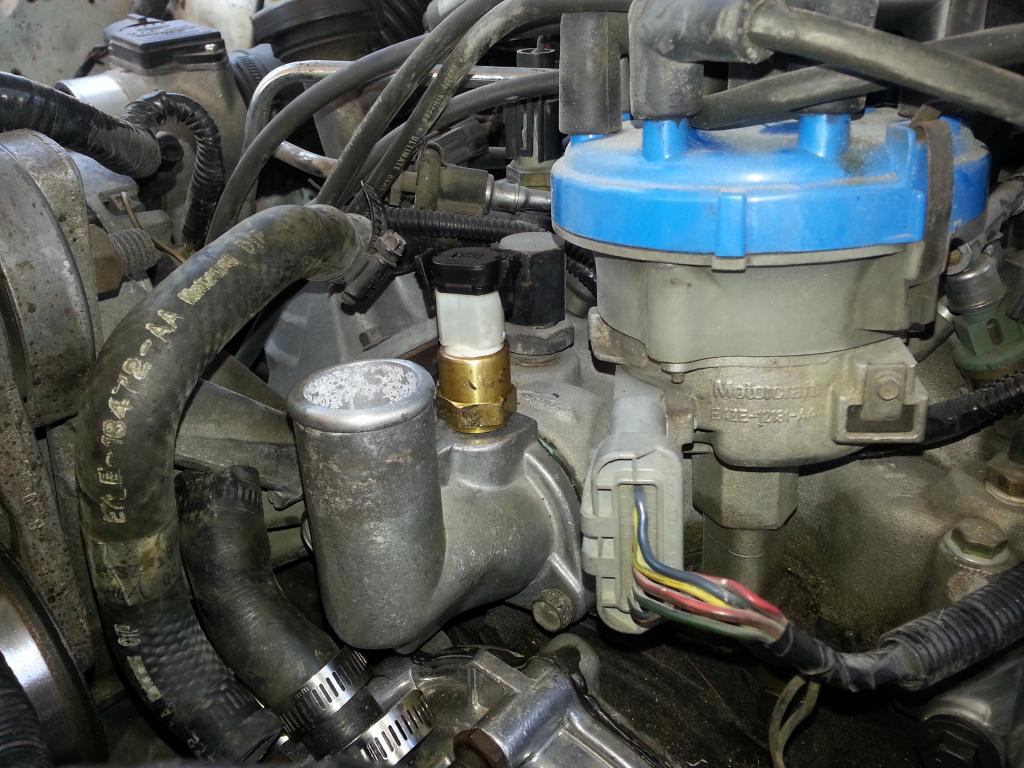
So my trucks in pieces and I just realized the Temp sensor that came with the Painless kit does not fit in the hose adapter. Not sure what I'm going to do tonight.
Should I find a temp sensor that fits a 1/4npt port or Tap the fitting to fit the 3/8npt sensor that came with the Painless kit?
So my trucks in pieces and I just realized the Temp sensor that came with the Painless kit does not fit in the hose adapter. Not sure what I'm going to do tonight.
Should I find a temp sensor that fits a 1/4npt port or Tap the fitting to fit the 3/8npt sensor that came with the Painless kit?
I went through the same deal when I converted my Mustang to a Taurus fan. I had to get a metric tap and make an adapter. As I recall, the BMW sensor is an M14 X 1.5 thread.
BTW, just in case there's anything here that could help you. Here's the link to the thread I made on the conversion:
I couldn't find a new tap locally except for Harbor fookus so I'll just head to Fasenal in the morning to get a 1/4" Male NPT x 3/8" Female NPT Brass Straight Adapter as suggested by #Blown Ford
All I've got left to do now is the VSS, Ignition and A/C override wires.
Also SInce I went over the fender & through the passenger door secondary grommet I need to make sure it's waterproof since the ECU is right there. I've got some Butyl goo a try first.
This is where I mounted vehicle Speed shut off set button and the switch. This is to the right of the Glove Box in the cubby hole.
Since I can't reach it from the drivers seat I'll just need a passenger to push the button for the initial setting. I mounted it here because I'll likely never need it again; or at least very often.
 01-04-2016, 05:37 PM