How to replace sway bar bushings and spacer
 04-18-2013, 02:29 AM
#1

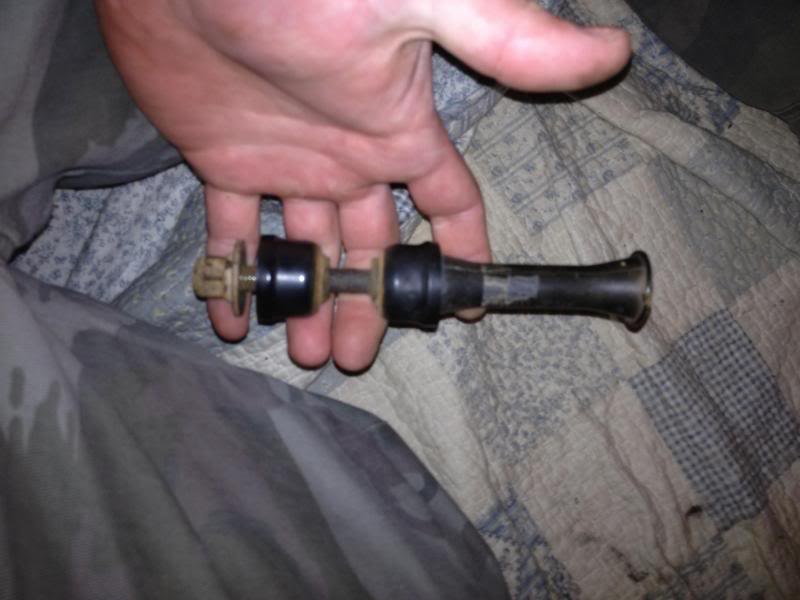
Why replace linkage ?
I know our trucks seem to have alot of issues with the factory sway bar linkage(bushings). I think this is because of the parts Ford decided to use in the front end. The factory bushings and spacers are all plastic coated with (looks like a grade 5) bolts. I was actually very upset to see the plastic spacer and the poor quality of bushings/bolts Ford used for this application. Both sides of my front end(sway bar) had broken completely off.
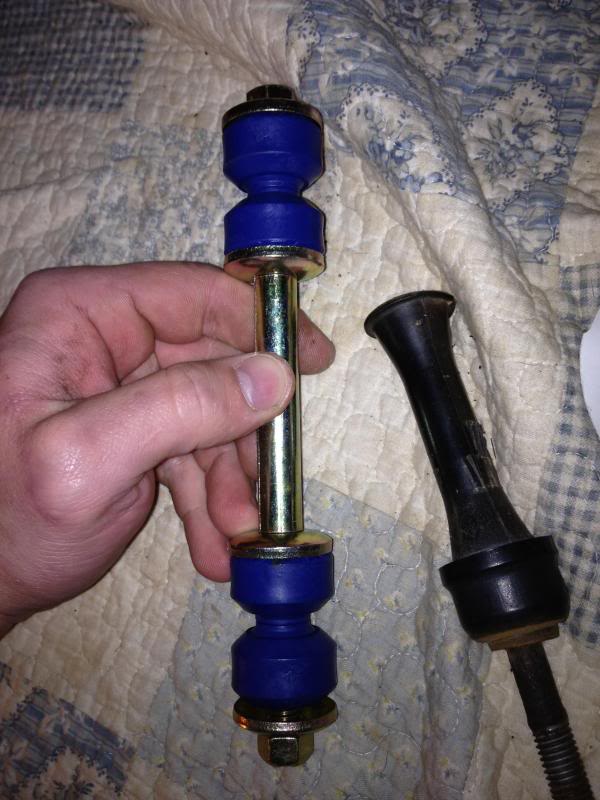
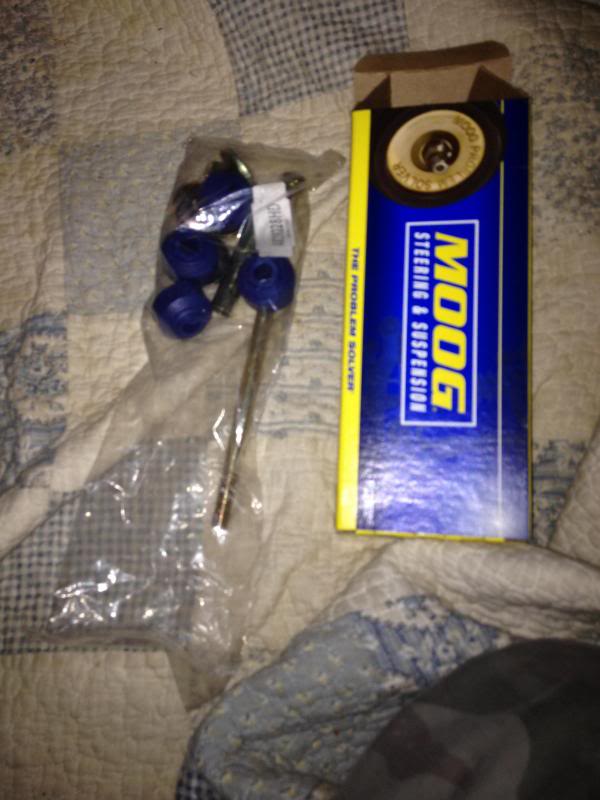
So I highly recommend upgrading the factory ones, even if you haven't had any issues yet. If you do alot of off-roading or hauling heavy loads, you really need to do this. I chose to use the "Moog" sway-bar kit for my install. For $6.00 you cant beat the quality. Moog uses Grade 8 bolts and spacers, along with grade 8 spacers and bushing couplers to help from wearing the rubber out. Check out the pics below for comparison of factory to aftermarket.
Materials:
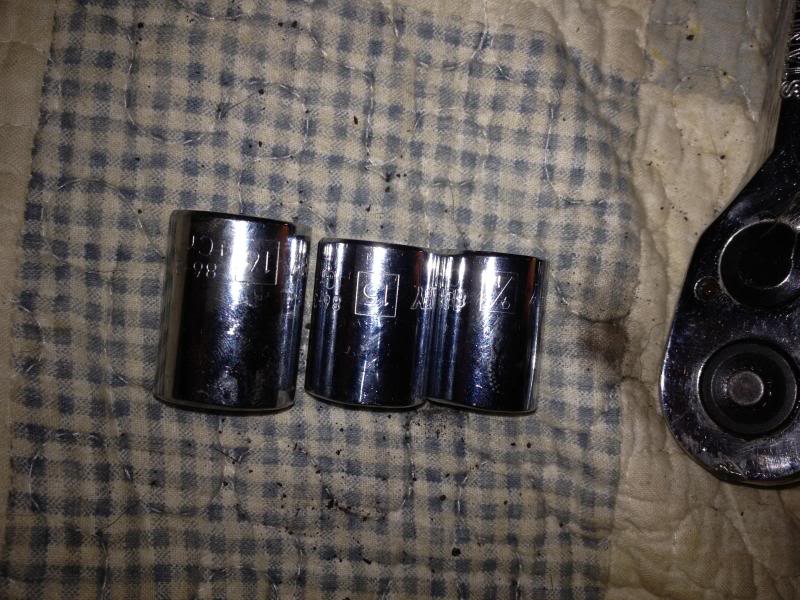
1) Ratchet 3/8 drive (or any socket kit with deep well)
2) 15mm socket (For factory bottom nut)
3) 16mm socket (For factory top bolt)
4) 9/16 socket(For new Moog kit)
5) Channel Locks/Vise grips (helping to remove factory plastic spacer)
6) Hammer (to knock loose and remove the factory bolt front lower arm)
7) Adjustable wrench (helps if you don't have a deep well socket to fit)
8) New linkage (I used Moog)

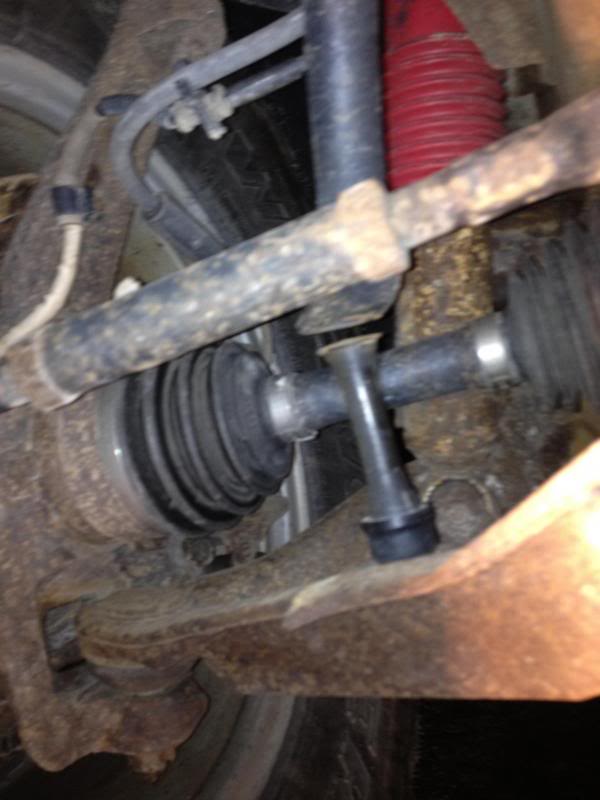
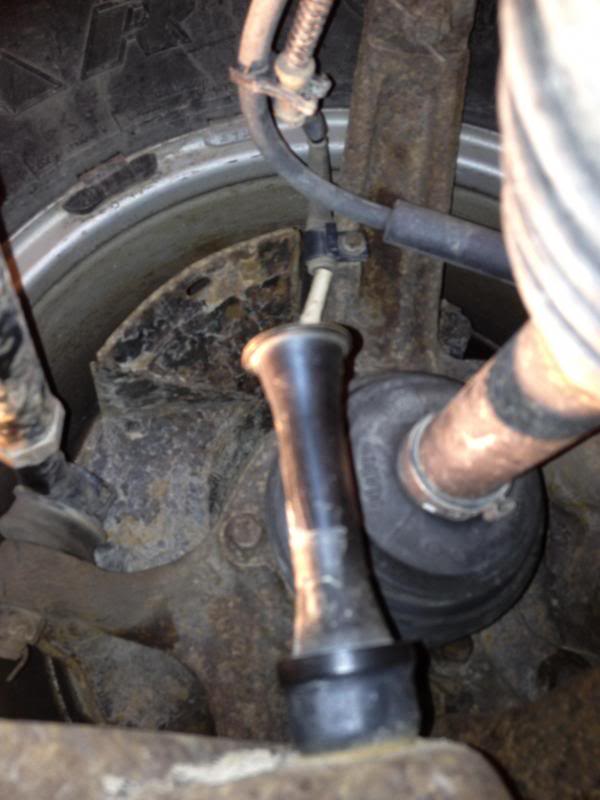
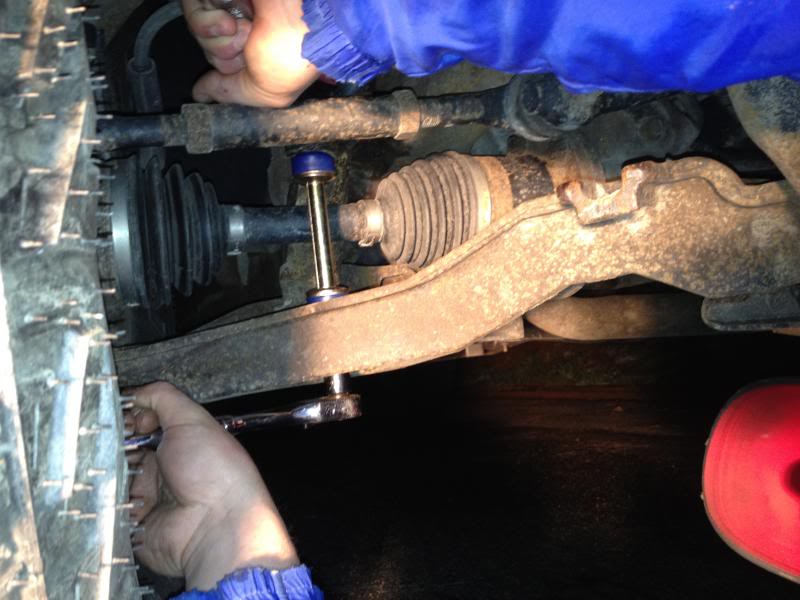
Removing factory linkage:
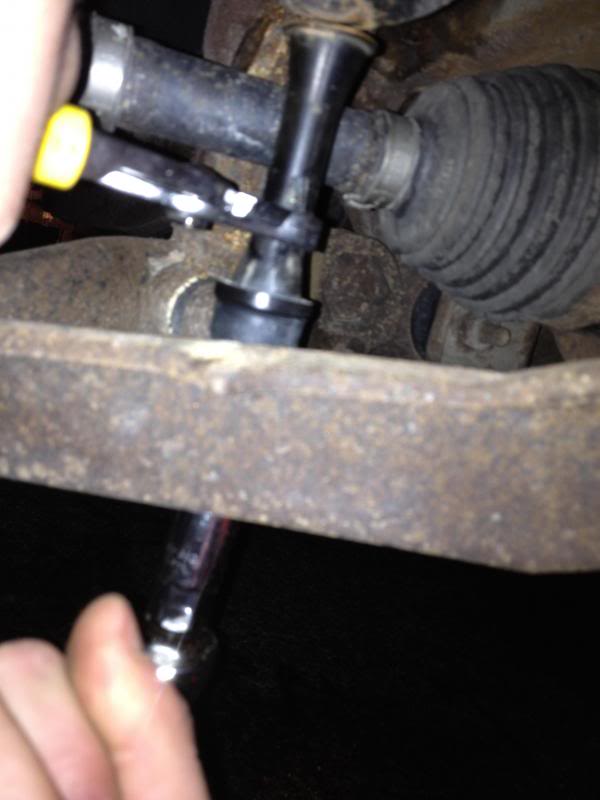
If your factory linkage is all intact (mine was broke in half) use a 16mm socket on the top bolt and the 15mm socket on the bottom nut to break loose the factory setup. Once you take the bottom nut off, you will have to use a hammer and possible pliers to knock up the factory bolt so you can remove it. After several years these plastic ones tend to get mud and rust in them, so it can be a task to get them loose. Once you knock it loose from the lower arm, do the same thing with the two bushings on the sway bar.
My linkage was already snapped, so I had use channel locks to grip the spacer to loosen the bottom bolt. Once I got the bottom nut off, I used a hammer to help me finish removing the factory linkage.
Installing new linkage
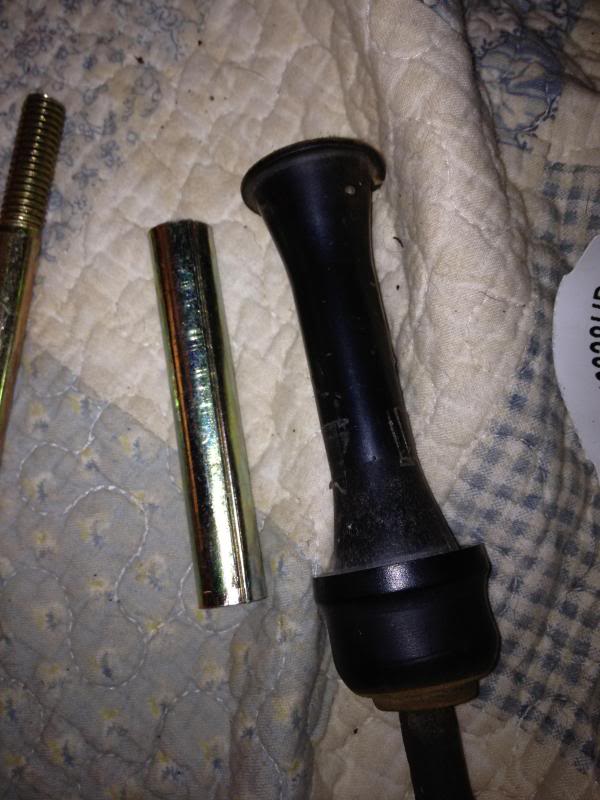
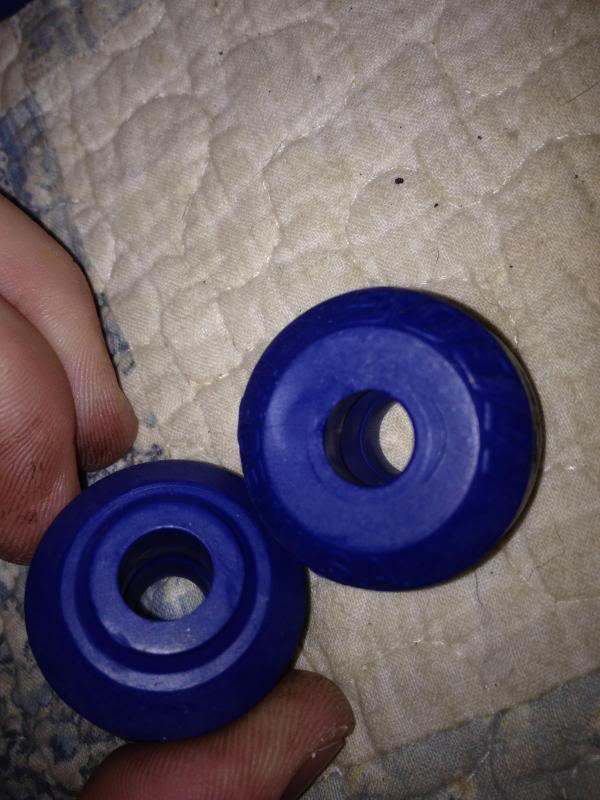
For reference (here is both side of the bushing)
I know our trucks seem to have alot of issues with the factory sway bar linkage(bushings). I think this is because of the parts Ford decided to use in the front end. The factory bushings and spacers are all plastic coated with (looks like a grade 5) bolts. I was actually very upset to see the plastic spacer and the poor quality of bushings/bolts Ford used for this application. Both sides of my front end(sway bar) had broken completely off.


So I highly recommend upgrading the factory ones, even if you haven't had any issues yet. If you do alot of off-roading or hauling heavy loads, you really need to do this. I chose to use the "Moog" sway-bar kit for my install. For $6.00 you cant beat the quality. Moog uses Grade 8 bolts and spacers, along with grade 8 spacers and bushing couplers to help from wearing the rubber out. Check out the pics below for comparison of factory to aftermarket.

Materials:
1) Ratchet 3/8 drive (or any socket kit with deep well)
2) 15mm socket (For factory bottom nut)
3) 16mm socket (For factory top bolt)
4) 9/16 socket(For new Moog kit)
5) Channel Locks/Vise grips (helping to remove factory plastic spacer)
6) Hammer (to knock loose and remove the factory bolt front lower arm)
7) Adjustable wrench (helps if you don't have a deep well socket to fit)
8) New linkage (I used Moog)


Removing factory linkage:
If your factory linkage is all intact (mine was broke in half) use a 16mm socket on the top bolt and the 15mm socket on the bottom nut to break loose the factory setup. Once you take the bottom nut off, you will have to use a hammer and possible pliers to knock up the factory bolt so you can remove it. After several years these plastic ones tend to get mud and rust in them, so it can be a task to get them loose. Once you knock it loose from the lower arm, do the same thing with the two bushings on the sway bar.
My linkage was already snapped, so I had use channel locks to grip the spacer to loosen the bottom bolt. Once I got the bottom nut off, I used a hammer to help me finish removing the factory linkage.

Installing new linkage
For reference (here is both side of the bushing)

Last edited by ibd2328; 04-18-2013 at 02:32 AM.

The following 2 users liked this post by ibd2328:
BillSF9c (03-03-2024),
LordOfTheFords (05-27-2013)
04-18-2013, 02:30 AM
#2
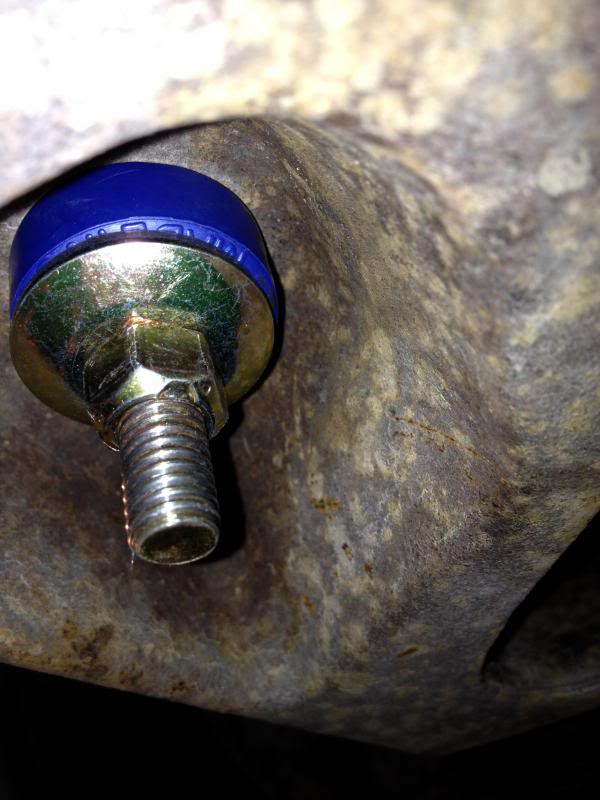
The metal piece goes on the flat side on the bushing as seen below
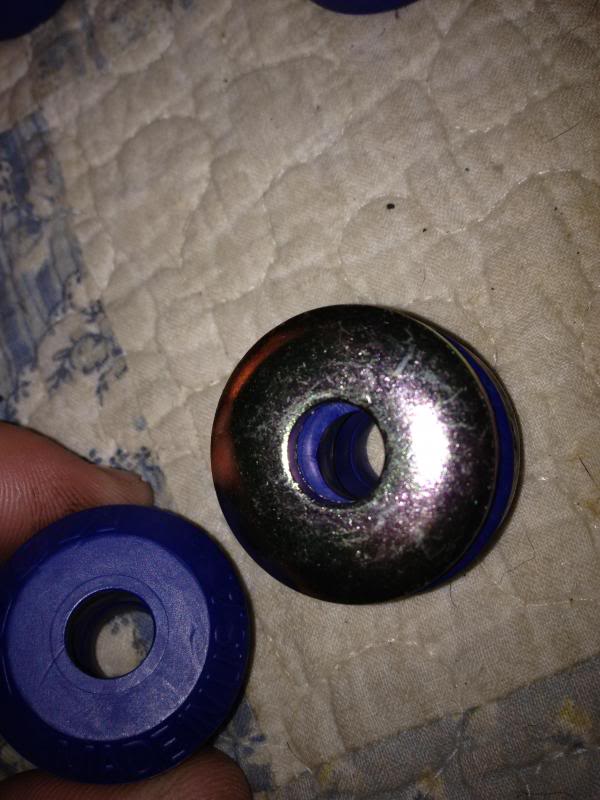
You want to start by placing the grade 8 bushing spacer on the large side of the rubber bushing(the other side will have grooves that fit into the sway bar itself). The very thing grade 8 spacer on top helps prevent the bolt from going through the bushing.
Now slide the bushing with the spacer on the top, onto the grade 8 supplied bolt. The metal spacer on the bushing should be touching the top of the bolt head. once you have that single bushing on, slide the bolt through the top of the sway bar end.
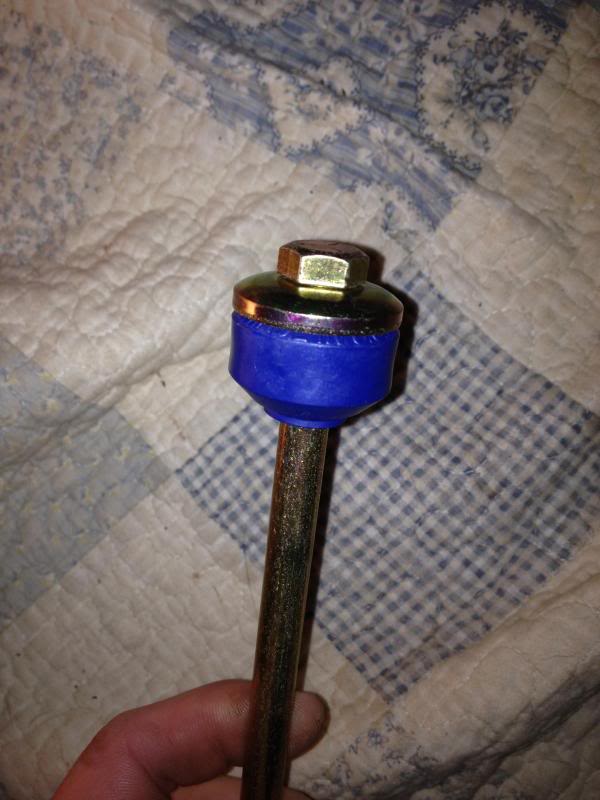
Once you have the bolt (with one bushing on top ) through the sway bar end, place another bushing(with the groove facing up into the sway bar end) onto the bolt with the thin spacer on the flat side of the bushing. At this point you should have two bushings installed, one on each side of the sway bar end. The thin metal spacers (procteting the bushings) should be on the very top, and very bottom.
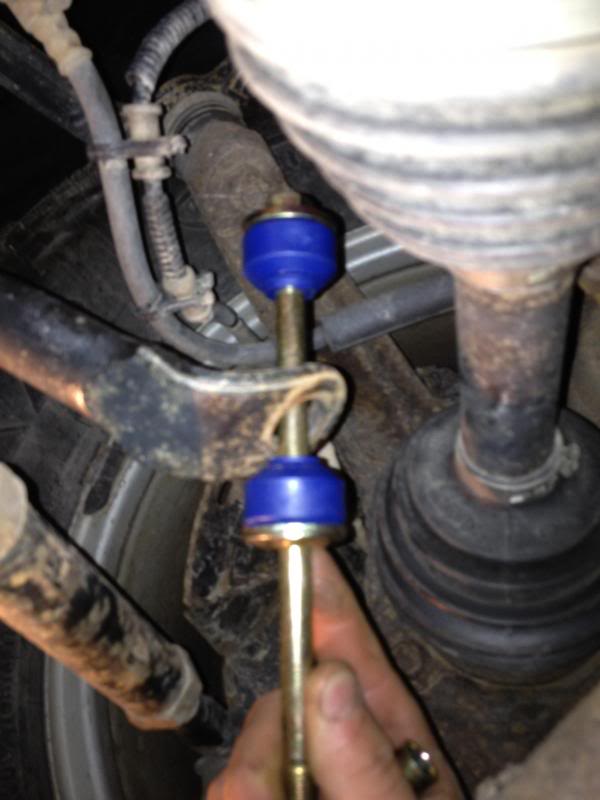
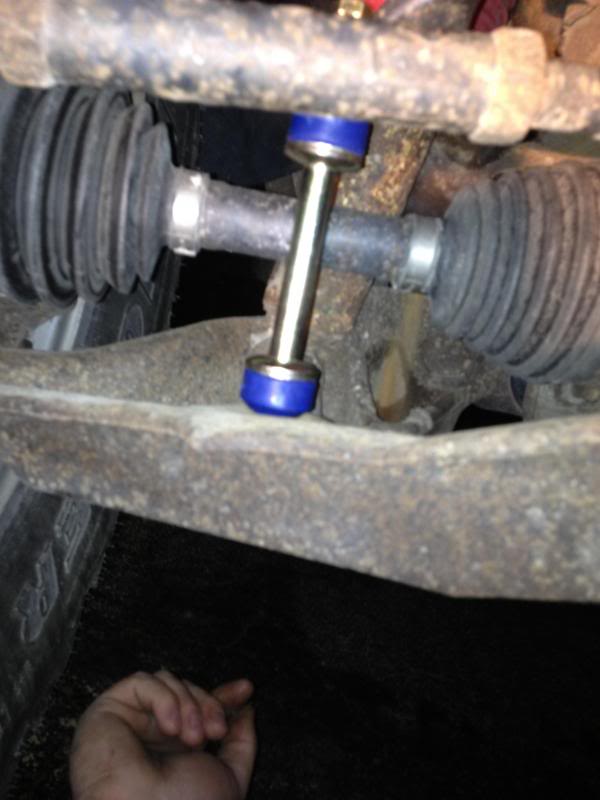
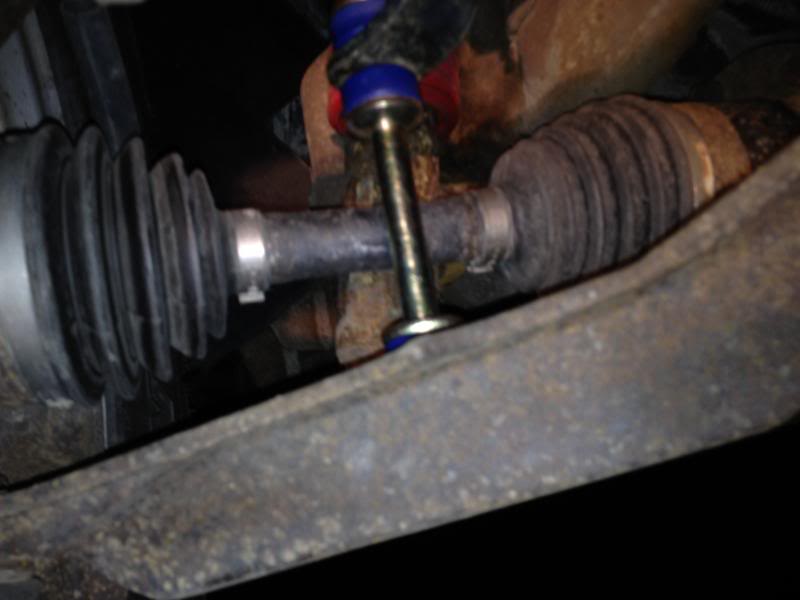
Now you want to slide the (approx.) 4in grade 8 spacer on the bolt. The spacer will push up against the bushing protector on bottom of the sway bar end.
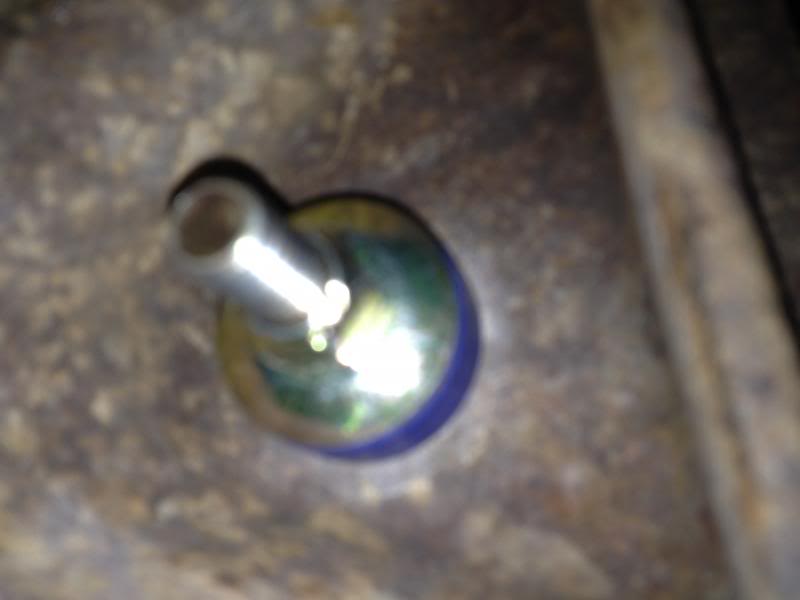
Once you slide the spacer on the bolt, place another bushing (with the metal/large side up) on to the bottom end of the large spacer. The grooved side of the spacer should be point down, such that it can fit into the lower arm.
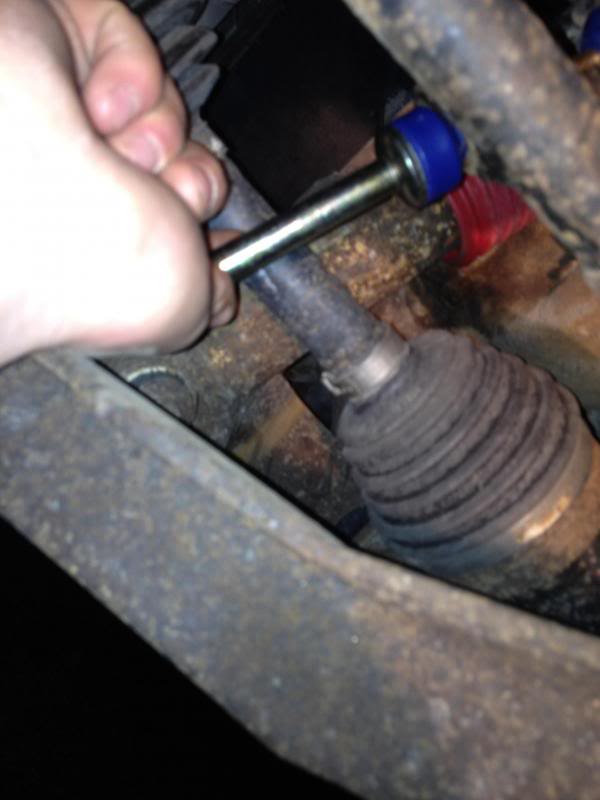
Once you have the bushing hitting the lower control arm, push the bolt all the way down so that you can see the end of the bolt out of the lower control arm. Then place your last bushing on the bolt and slide it to the bottom of the control arm (grooved side facing up). Now use the 9/16 bolt to secure the linkage. Use a couple of sockets to tighten the bolt on the bottom, while making sure you dont squeeze the bushing too hard).

You want to start by placing the grade 8 bushing spacer on the large side of the rubber bushing(the other side will have grooves that fit into the sway bar itself). The very thing grade 8 spacer on top helps prevent the bolt from going through the bushing.
Now slide the bushing with the spacer on the top, onto the grade 8 supplied bolt. The metal spacer on the bushing should be touching the top of the bolt head. once you have that single bushing on, slide the bolt through the top of the sway bar end.

Once you have the bolt (with one bushing on top ) through the sway bar end, place another bushing(with the groove facing up into the sway bar end) onto the bolt with the thin spacer on the flat side of the bushing. At this point you should have two bushings installed, one on each side of the sway bar end. The thin metal spacers (procteting the bushings) should be on the very top, and very bottom.

Now you want to slide the (approx.) 4in grade 8 spacer on the bolt. The spacer will push up against the bushing protector on bottom of the sway bar end.

Once you slide the spacer on the bolt, place another bushing (with the metal/large side up) on to the bottom end of the large spacer. The grooved side of the spacer should be point down, such that it can fit into the lower arm.


Once you have the bushing hitting the lower control arm, push the bolt all the way down so that you can see the end of the bolt out of the lower control arm. Then place your last bushing on the bolt and slide it to the bottom of the control arm (grooved side facing up). Now use the 9/16 bolt to secure the linkage. Use a couple of sockets to tighten the bolt on the bottom, while making sure you dont squeeze the bushing too hard).


The following 3 users liked this post by ibd2328:
04-18-2013, 06:22 AM
#3
F150 Manic
Very good write up. And your right both mine were snapped too and it would have been so much easier to fix it before that happened and the newer ones seem a ton better quality.
