How-To install Electric Fans

Thread Starter
call me Randy
iTrader: (1)
Joined: Nov 2010
Posts: 6,502
Likes: 175
From: Salisbury, NC
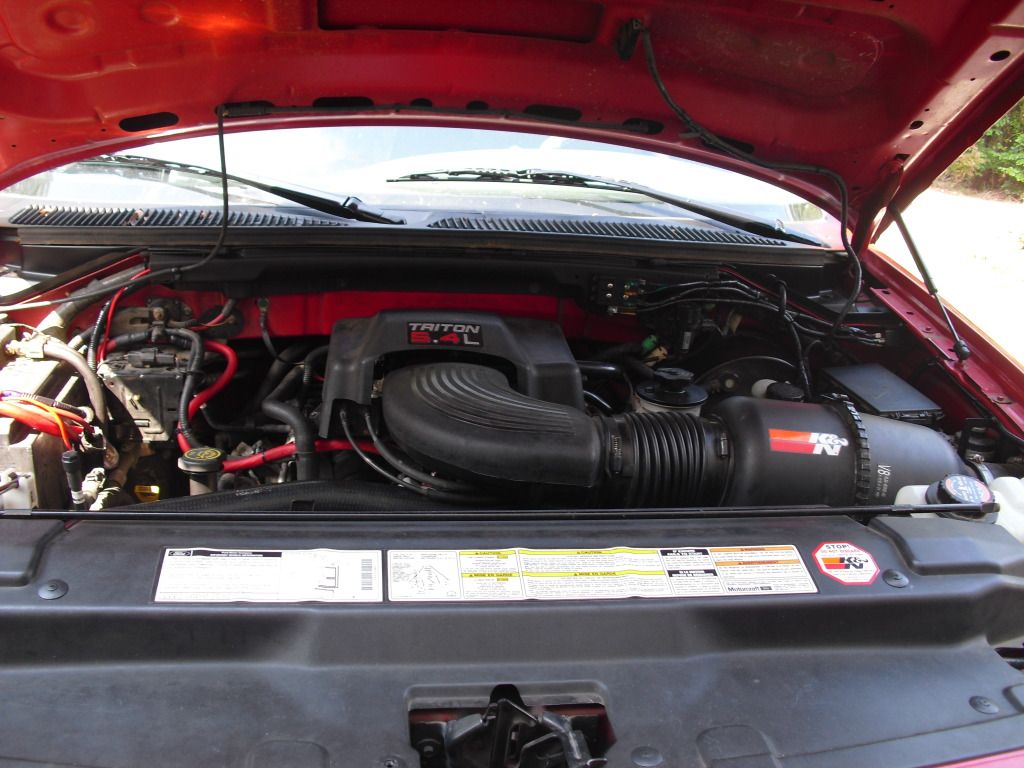
For all the people wanting to add efans this will be a little guide of how i did mine.
WHY??
When adding electric fans your removing the stock clutch fan which is driven off of the engine. The stock fan adds an unnecessary load on the engine which can be freed up with efans since their driven from the battery and not the engine. With doing this mod you will be see a slight horsepower increase (i dont remember the exact number), better fuel economy (I gained about 2mpg), an increased water pump life, and just extra room to service the belt and the whole front of the engine.
The Fans...
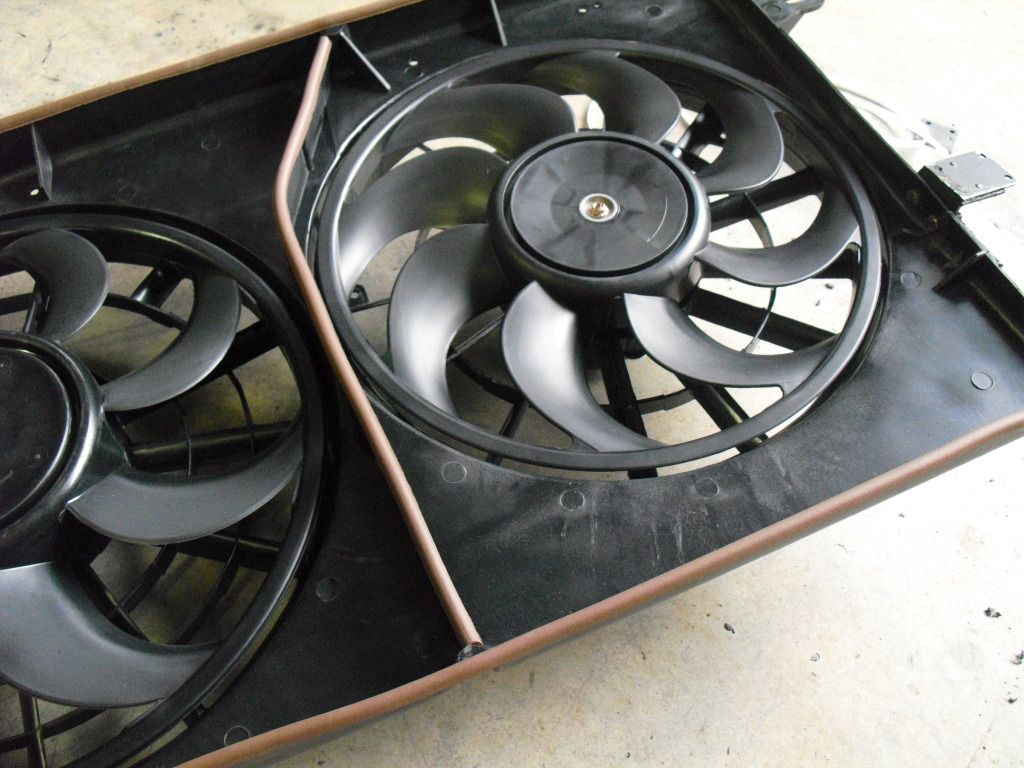
There are many options to go with when picking your fans, it is always better to have a shroud on them. A good choice is a 2 speed fan from a Ford Taurus with the 3.8l engine. However, a Ford Windstar fan is actually dual fans, one 2 speed 16 inch and one high speed 14 inch fan. I chose the windstar fans since they are shrouded and are almost a perfect fit over the radiator.
The Controller...
There are also many options when choosing a fan controller. You can get one from $20 to over $100. Its best to pick one that is wired how you desire, and dont cheap out since this is what controls your fans to turn on and off, and if they dont turn on then your in trouble. A popular controller is a DC controller for 2 speed fans, I had a bad experience with them and never received the controller, but you can try them if you want. I ordered a madcontroller from madenterprise.com, its a great designed controller and he (Mike) will wire it specially for your fans.
Materials needed...
set of Fans http://www.partsgeek.com/catalog/1996/ford/windstar/cooling_system/radiator_fan_assembly.html
Controller http://www.madenterprise.com/All_F150.asp
extra wire if needed
metal for brackets
weatherstripping
maybe more odds and ends
Step 1.
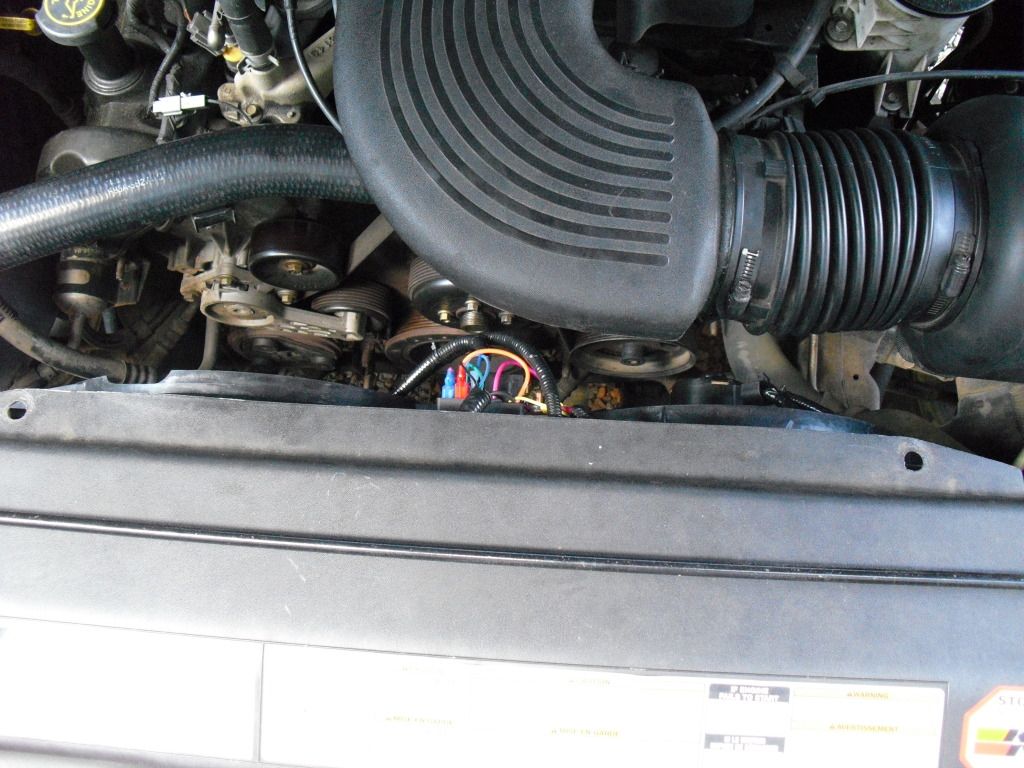
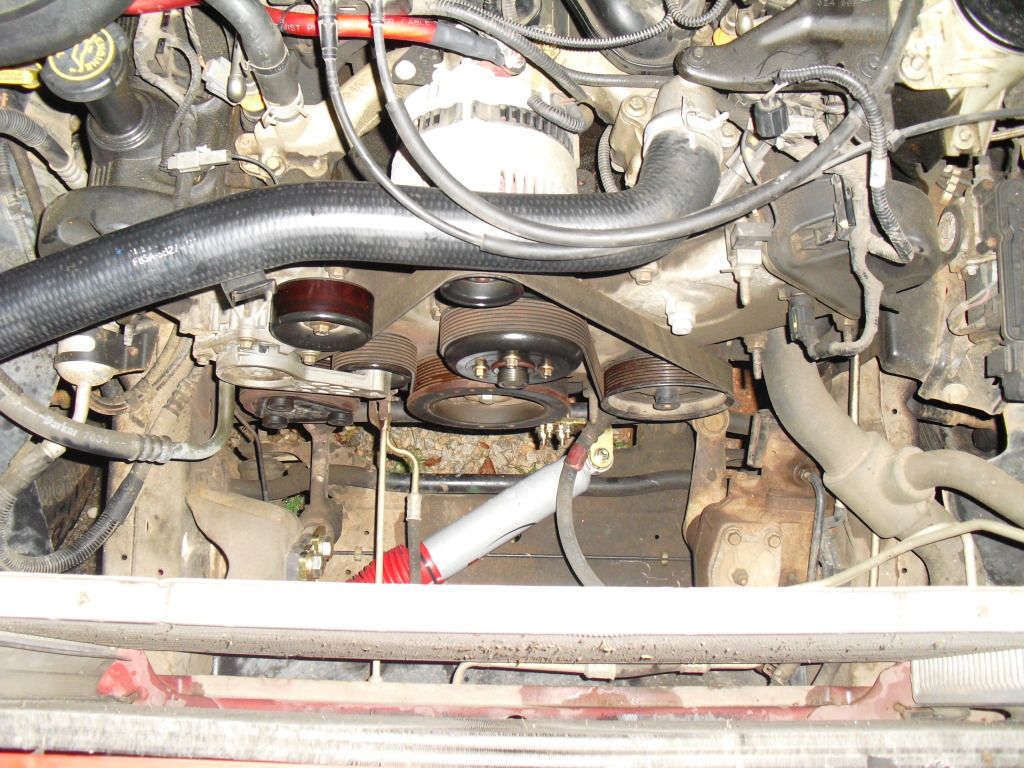
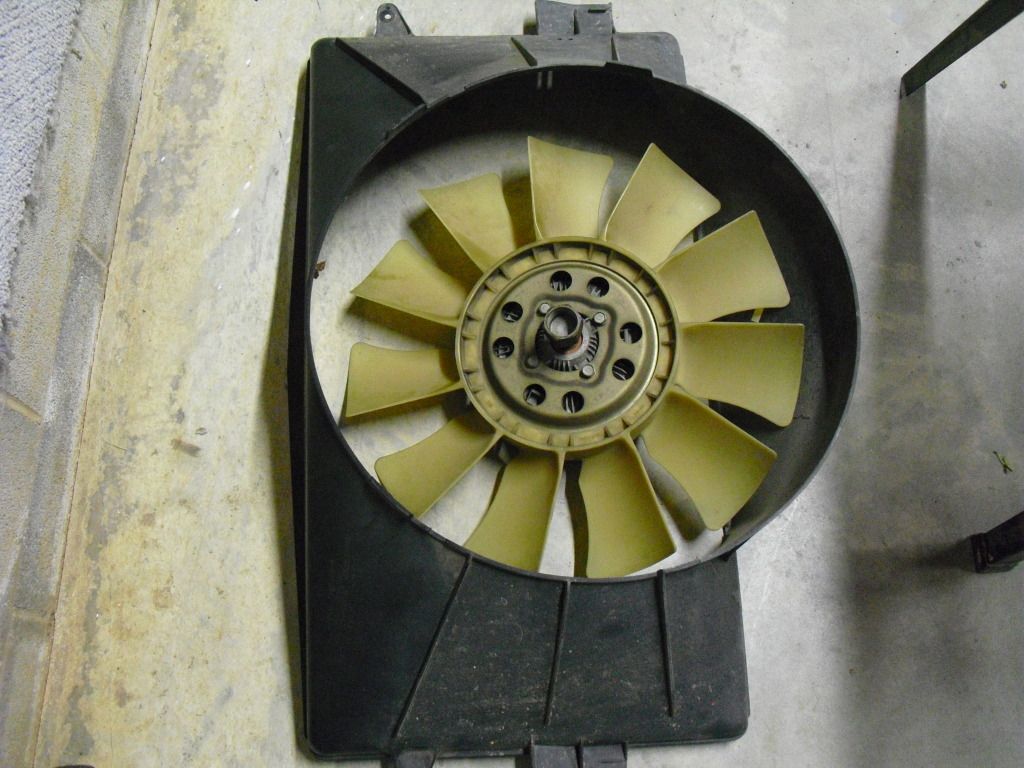
I rented a fan puller from advance auto, hold the 4 bolts on the water pump and turn the nut lefty loosy. Spin the fan off and let it drop in the shroud. Remove the 2 bolts (takes 8mm socket) on the shroud and remove it with the fan. should look like this.
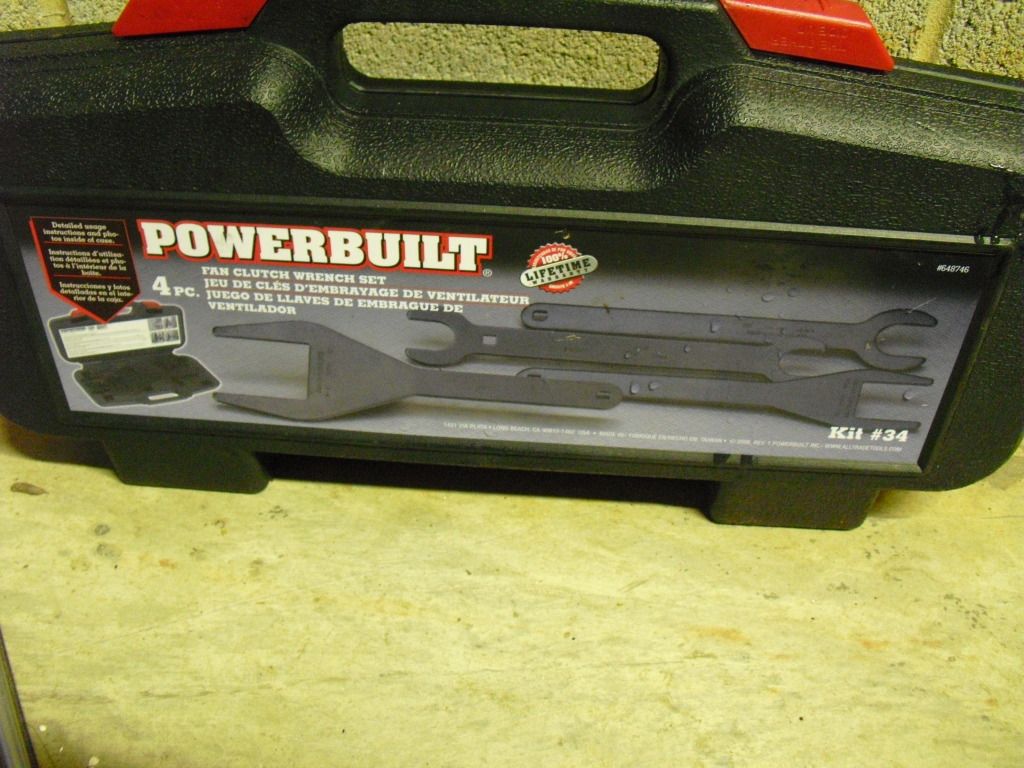
Fan puller I used
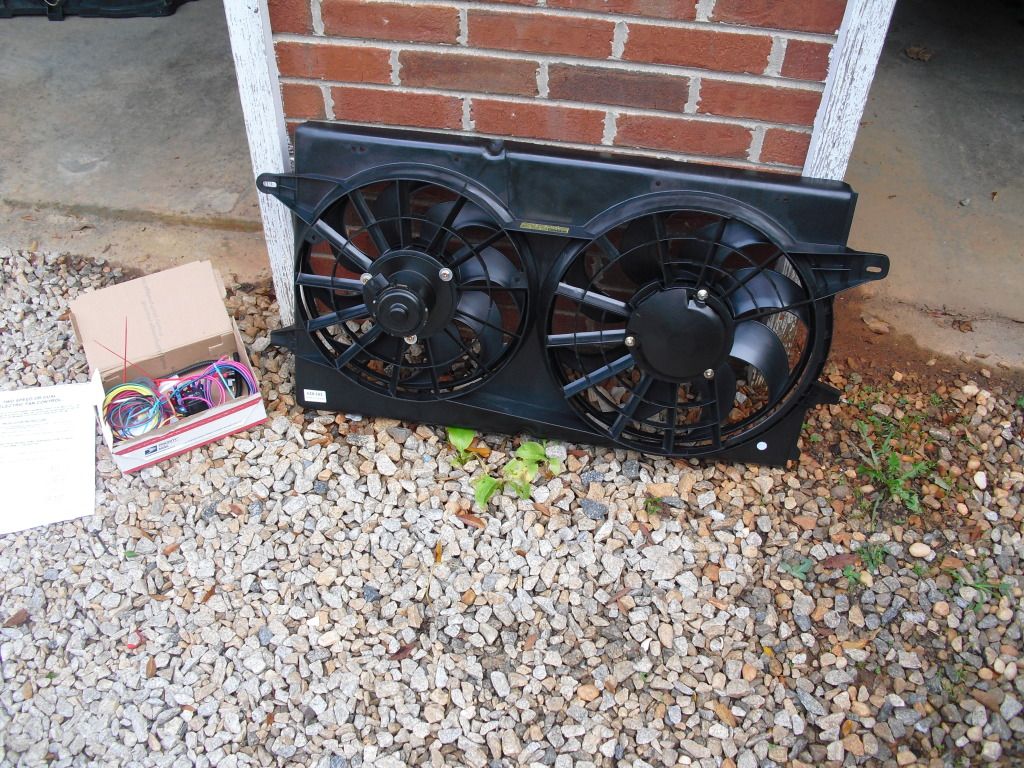
Fans and controller...
Step 2...
Stick the fans in there to see what you need for brackets, the drivers side bolts up, the passenger side doesnt, and neither bottom mounts lines up

Step 3...
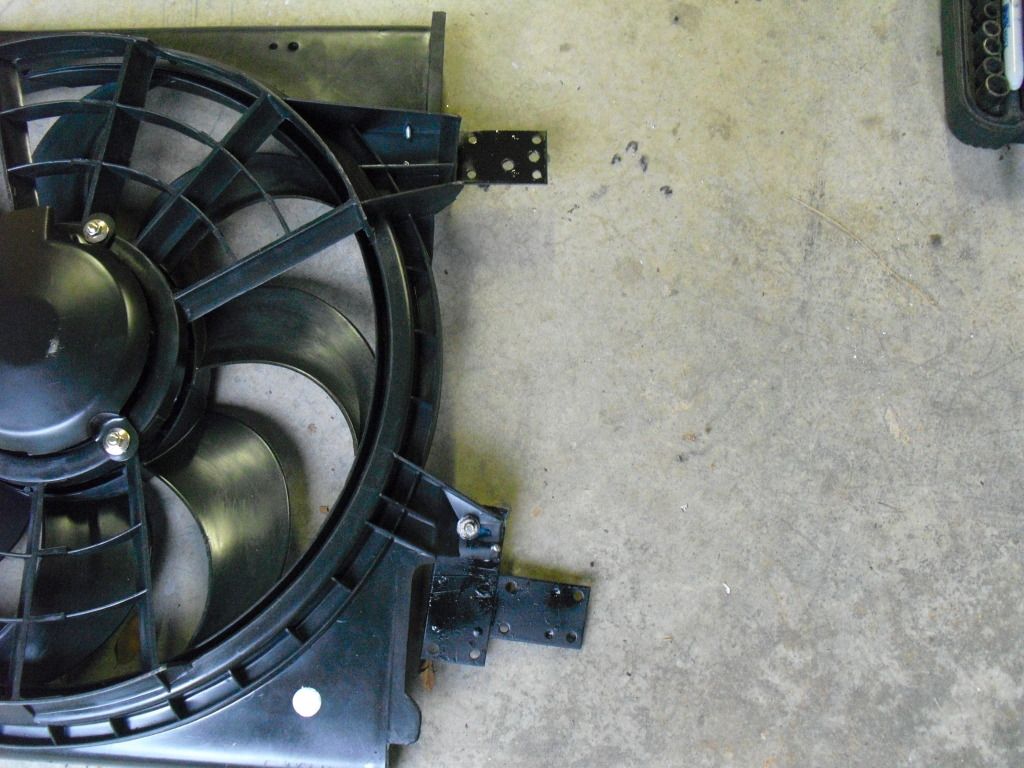
figure out what kind of brackets you want to make, you can just zip tie the top and leave it like that, but im an overachiever.
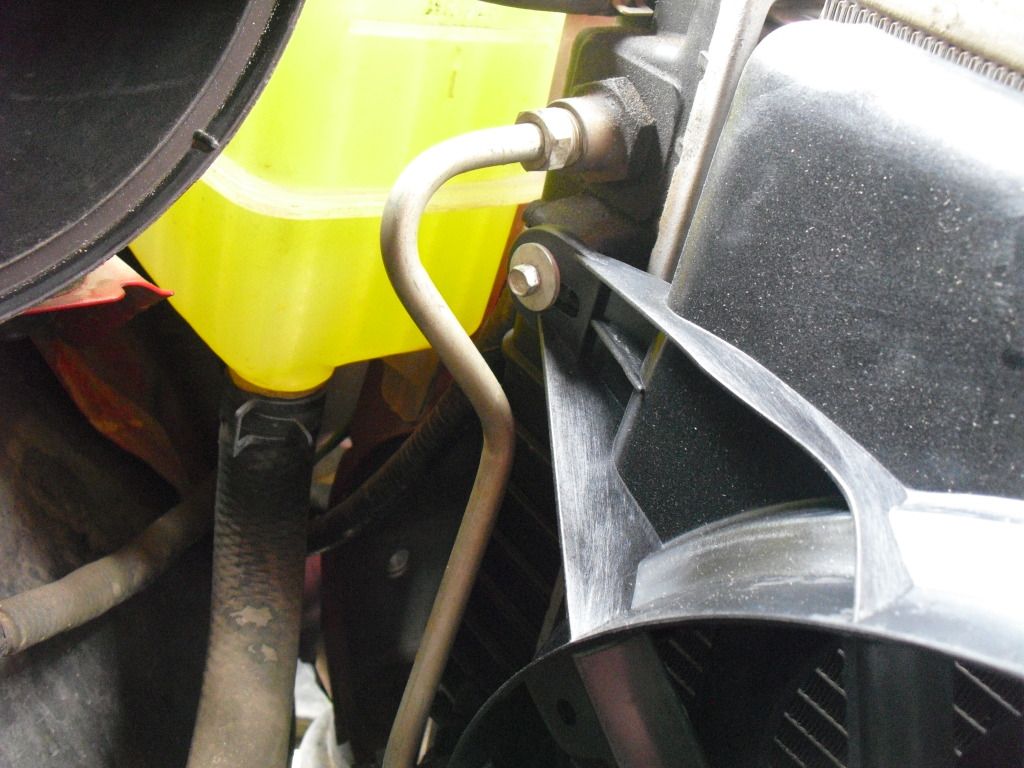
Top Pass side.. I cut the mount off the fans and screwed my new one straight to the inside of the shroud, that solved the length and height problem so now it will bolt up on both sides
Cont..
WHY??
When adding electric fans your removing the stock clutch fan which is driven off of the engine. The stock fan adds an unnecessary load on the engine which can be freed up with efans since their driven from the battery and not the engine. With doing this mod you will be see a slight horsepower increase (i dont remember the exact number), better fuel economy (I gained about 2mpg), an increased water pump life, and just extra room to service the belt and the whole front of the engine.
The Fans...
There are many options to go with when picking your fans, it is always better to have a shroud on them. A good choice is a 2 speed fan from a Ford Taurus with the 3.8l engine. However, a Ford Windstar fan is actually dual fans, one 2 speed 16 inch and one high speed 14 inch fan. I chose the windstar fans since they are shrouded and are almost a perfect fit over the radiator.
The Controller...
There are also many options when choosing a fan controller. You can get one from $20 to over $100. Its best to pick one that is wired how you desire, and dont cheap out since this is what controls your fans to turn on and off, and if they dont turn on then your in trouble. A popular controller is a DC controller for 2 speed fans, I had a bad experience with them and never received the controller, but you can try them if you want. I ordered a madcontroller from madenterprise.com, its a great designed controller and he (Mike) will wire it specially for your fans.
Materials needed...
set of Fans http://www.partsgeek.com/catalog/1996/ford/windstar/cooling_system/radiator_fan_assembly.html
Controller http://www.madenterprise.com/All_F150.asp
extra wire if needed
metal for brackets
weatherstripping
maybe more odds and ends
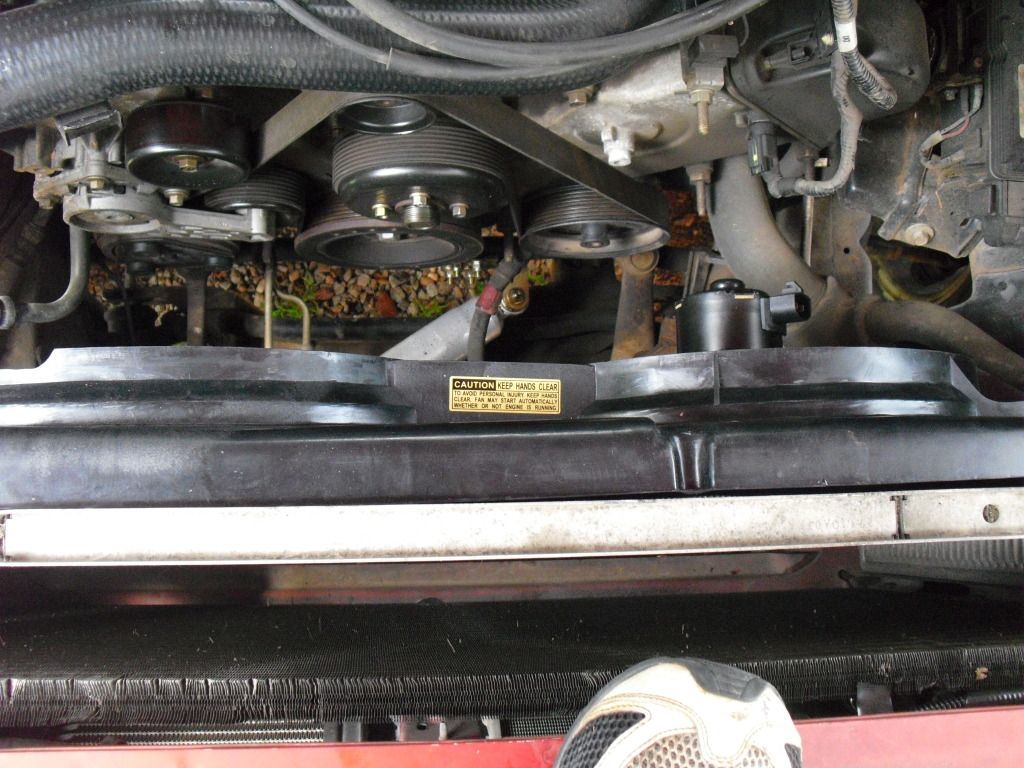
Step 1.
I rented a fan puller from advance auto, hold the 4 bolts on the water pump and turn the nut lefty loosy. Spin the fan off and let it drop in the shroud. Remove the 2 bolts (takes 8mm socket) on the shroud and remove it with the fan. should look like this.
Fan puller I used
Fans and controller...
Step 2...
Stick the fans in there to see what you need for brackets, the drivers side bolts up, the passenger side doesnt, and neither bottom mounts lines up
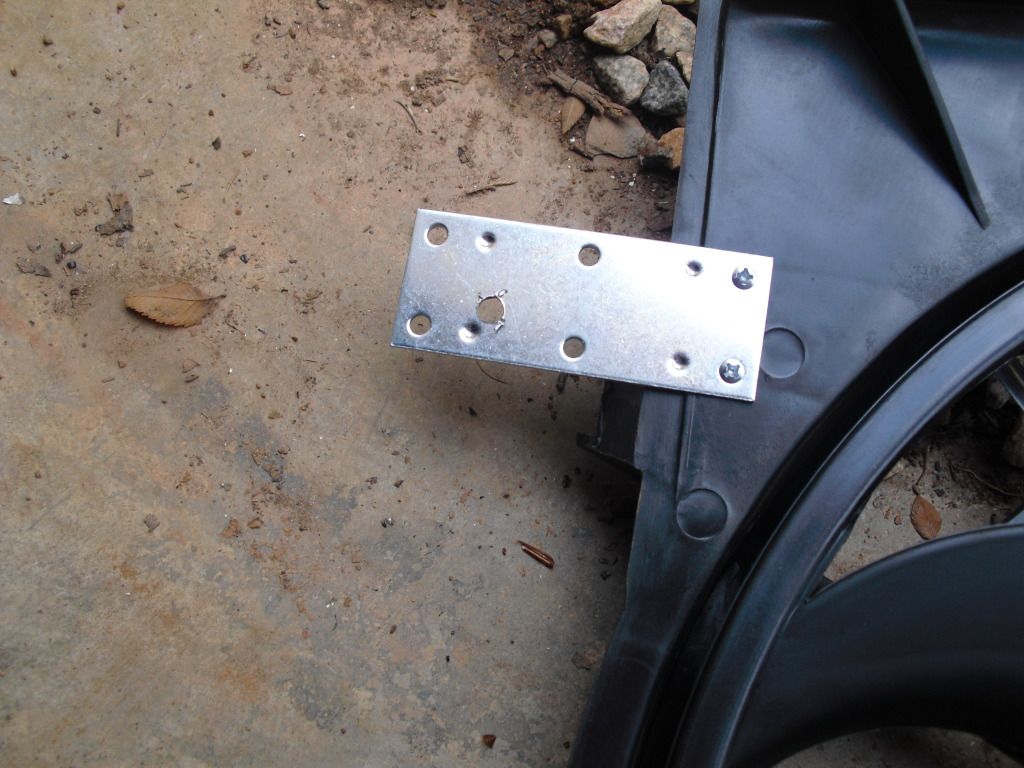
Step 3...
figure out what kind of brackets you want to make, you can just zip tie the top and leave it like that, but im an overachiever.
Top Pass side.. I cut the mount off the fans and screwed my new one straight to the inside of the shroud, that solved the length and height problem so now it will bolt up on both sides
Cont..
Thread Starter
call me Randy
iTrader: (1)
Joined: Nov 2010
Posts: 6,502
Likes: 175
From: Salisbury, NC
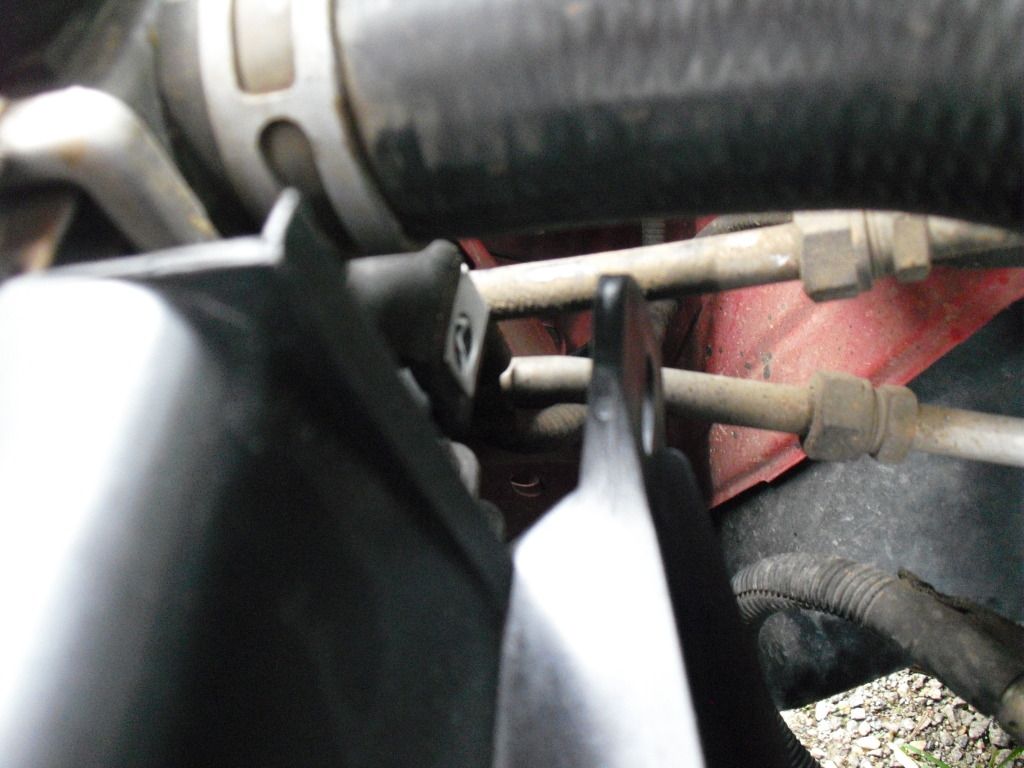
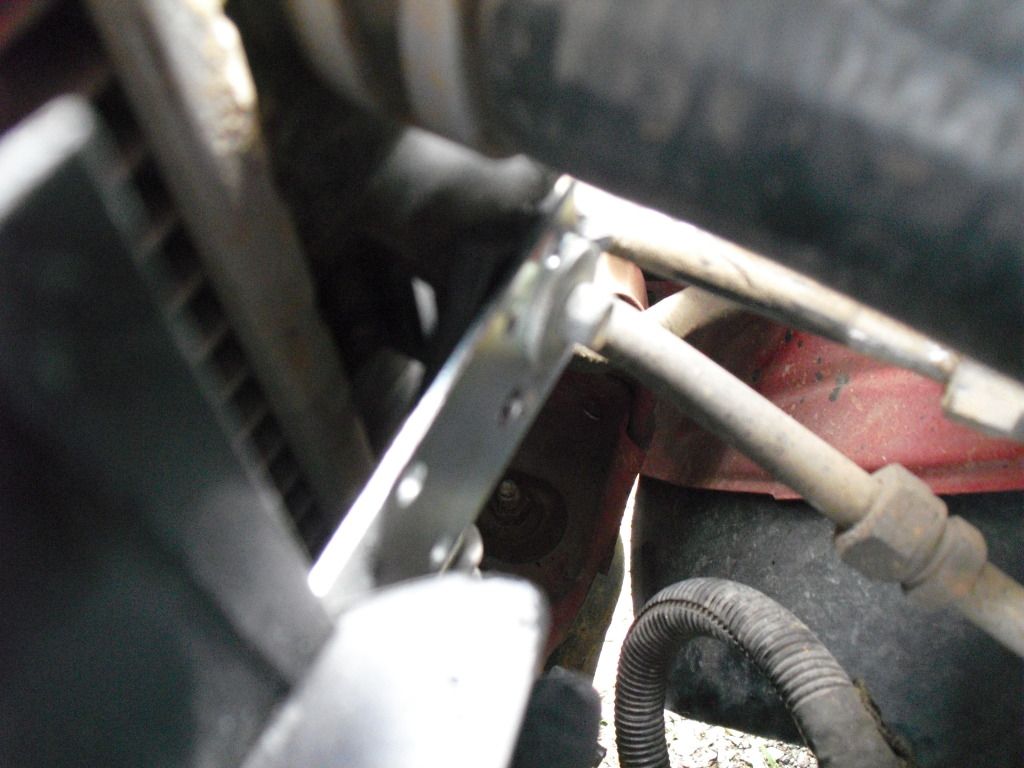
cont. from Step 2...
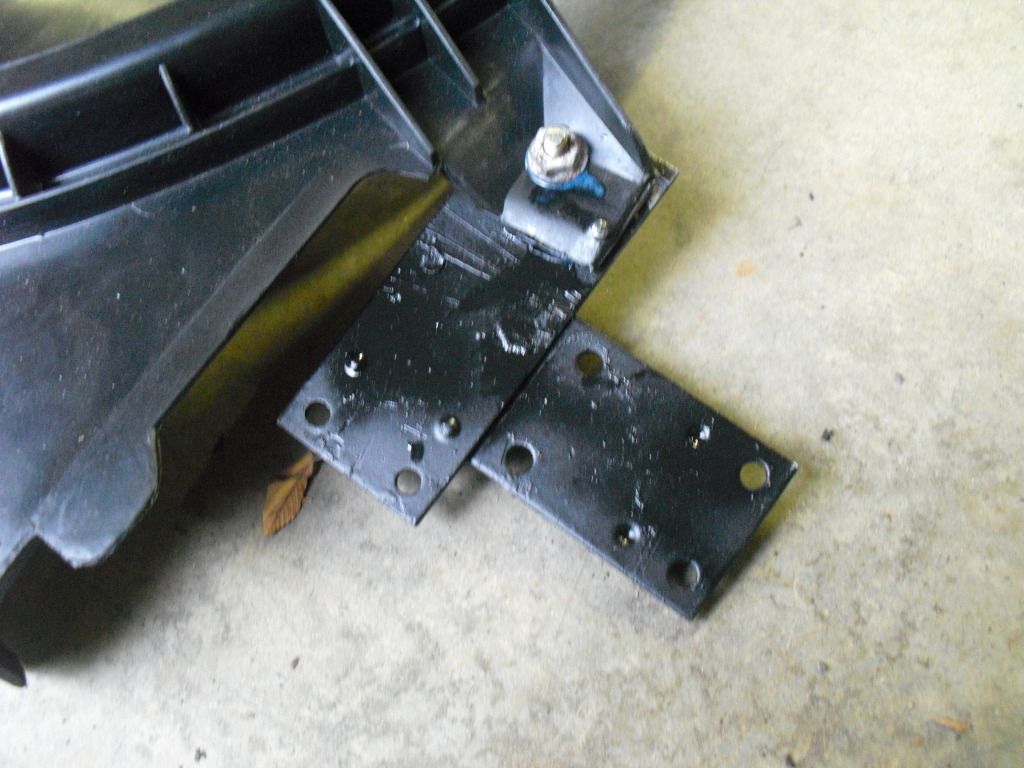
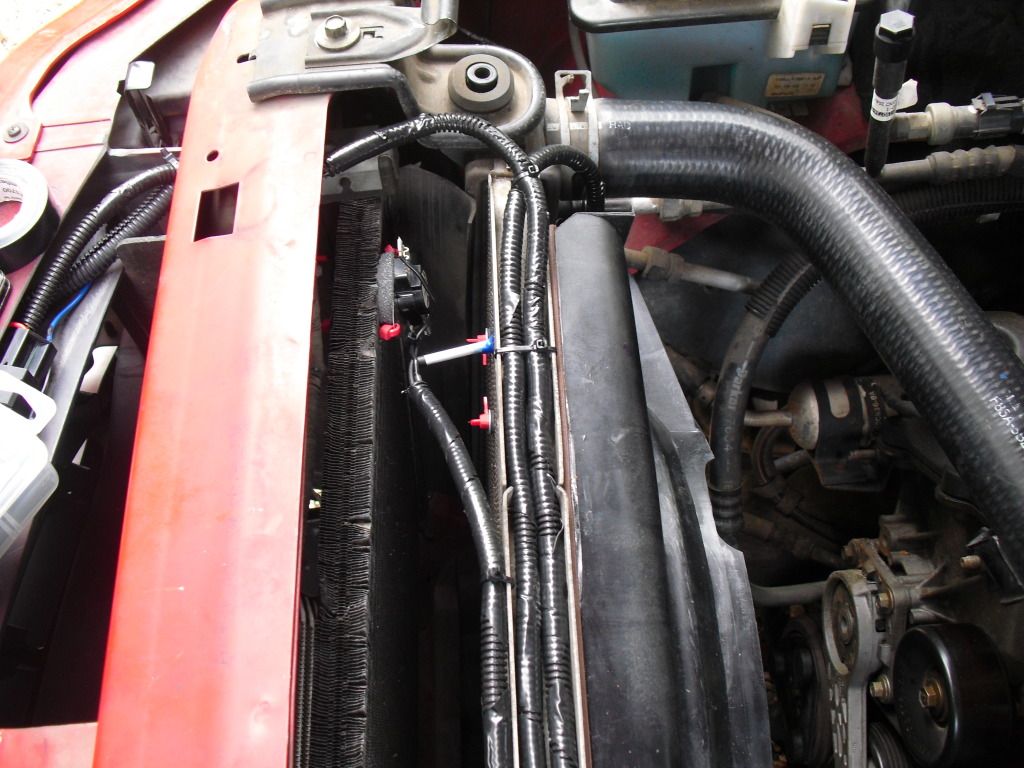
lower drivers side... For this I cut off the support on the fans and bolted up my bracket so it slides in the groove to help hold the fans up like the factory shroud

Lower pass side...
for this i trimmed part of the support on the fans so I could bolt on my bracket to slide in the groove to help hold the fans up and keep them pulled close to the radiator.
Step 3...
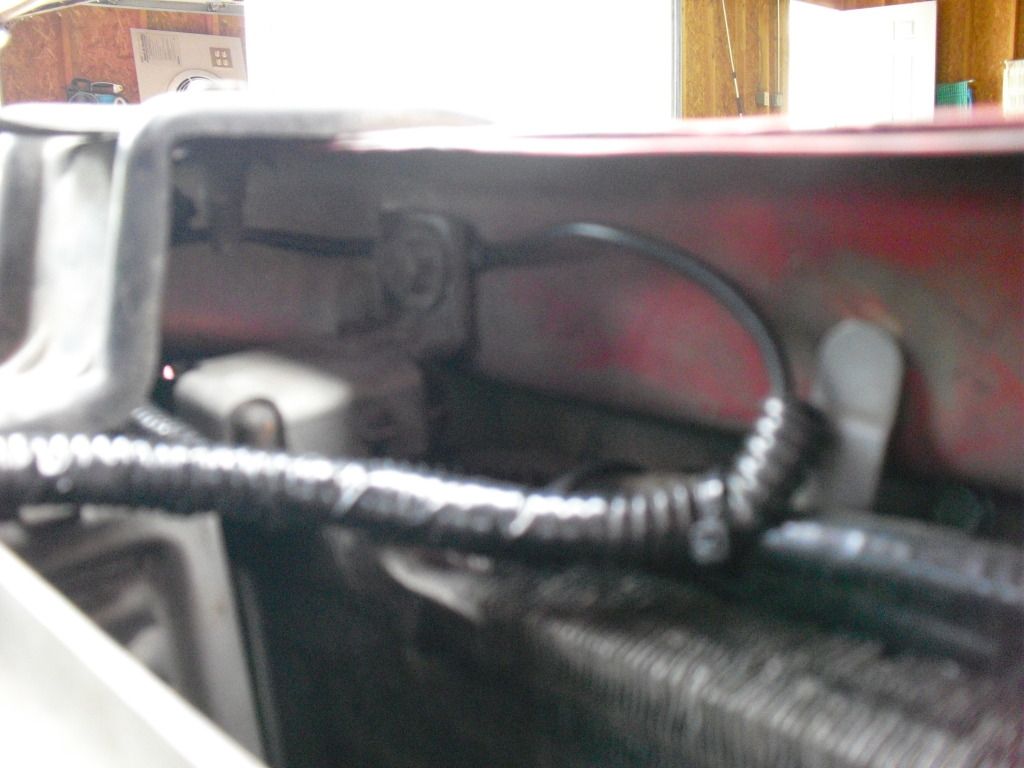
I used weatherstripping around the edges of the shroud to keep it sealed against the radiator for maximum air flow through the rad. This is an optional step, if you dont want to do this its not necessary.
Now the Fun part... WIRING
Step 4...
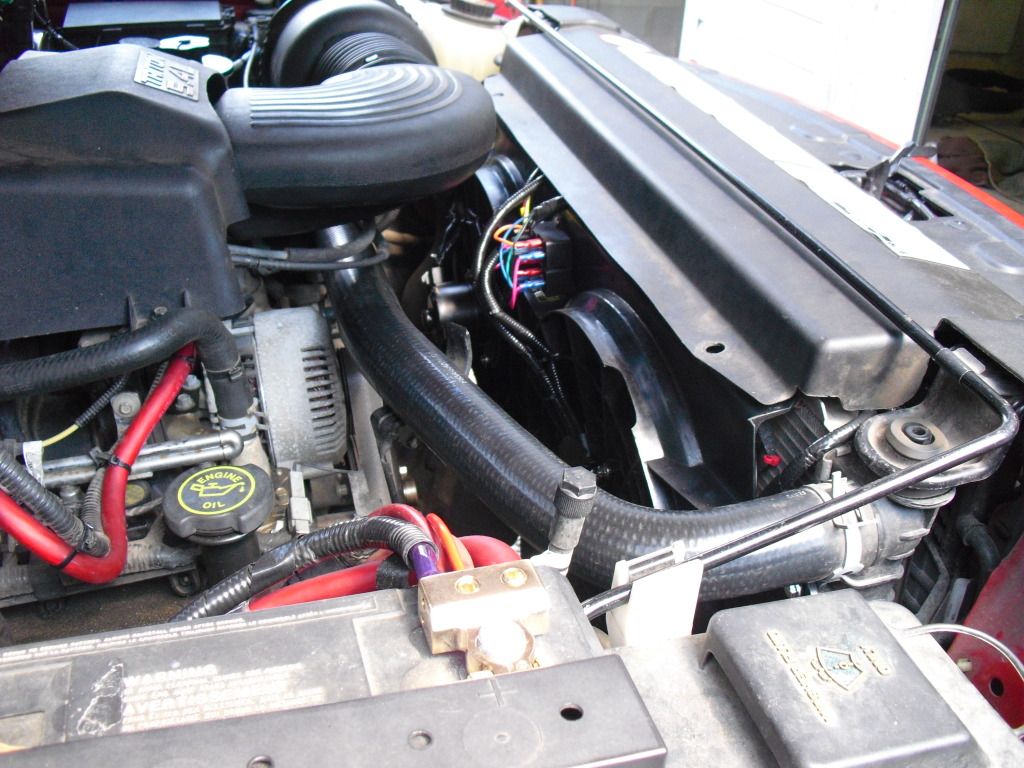
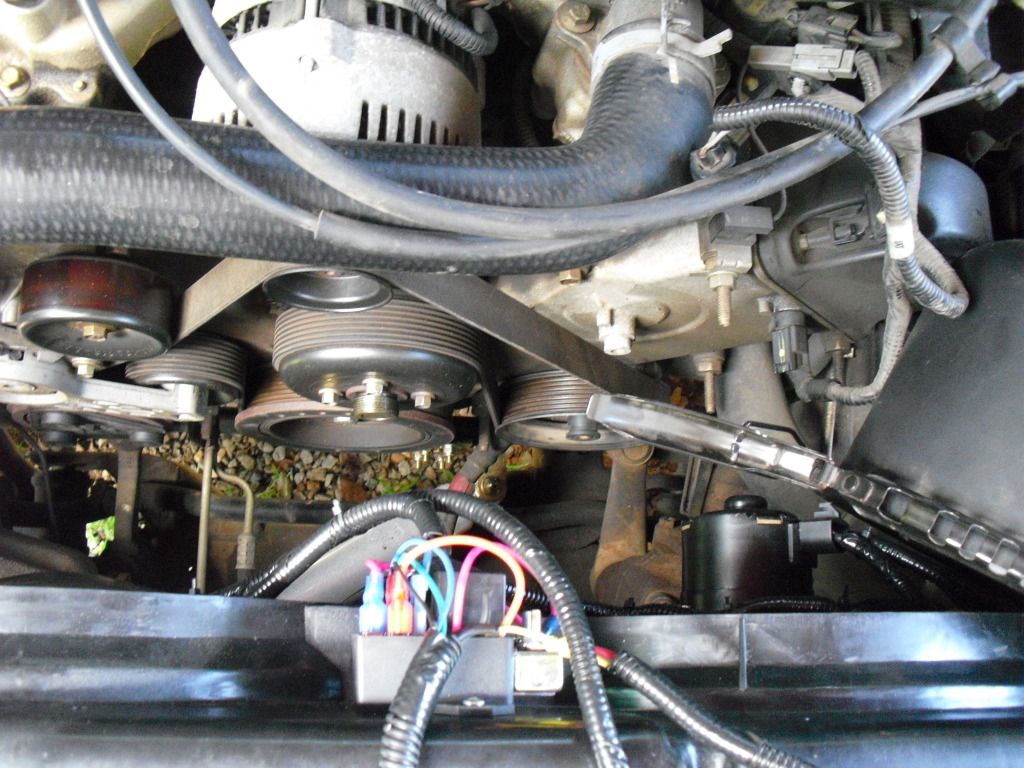
The controller I got came with a wiring diagram and instructions so it was pretty straight forward. Mainly you need to connect the pos and neg to the fans, hook the power wire to the battery, Hook up the sensors, switched ignition source, and ground the controller.
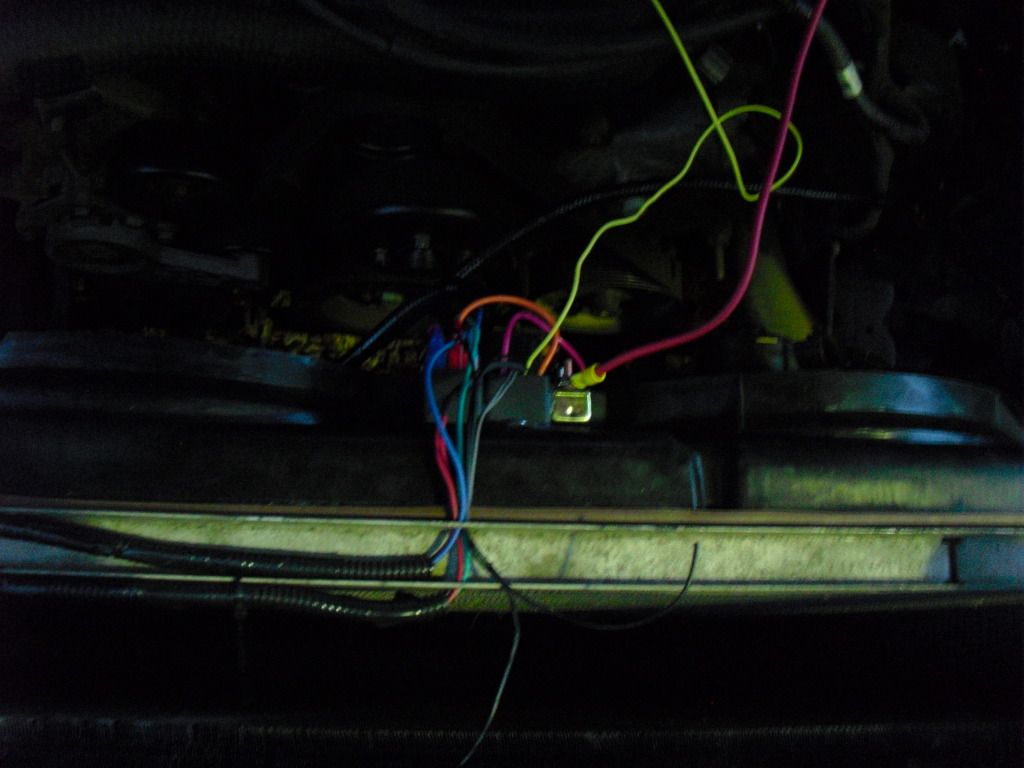
I grounded the Controller to the pass side AC condenser mount and both fans to the drivers side AC condenser mount. This keeps them out of the way and hidden.

Finished Wiring
Now after you get all the wires covered and hidden you can put everything back together and test it out. If you hold down the odometer button with ign off and turn key to 'on' then release the button you can go through by pressing the odometer button until you see 'dE6C XXX' to see the engine temp in degrees centigrade. then you can adjust the controller to your desired turn on temp.
Switched Ignition source... i used a wire under the dash, its dark blue w/ light green stripe and is maybe a 12ga wire.
Finished pics in next post.
lower drivers side... For this I cut off the support on the fans and bolted up my bracket so it slides in the groove to help hold the fans up like the factory shroud
Lower pass side...
for this i trimmed part of the support on the fans so I could bolt on my bracket to slide in the groove to help hold the fans up and keep them pulled close to the radiator.
Step 3...
I used weatherstripping around the edges of the shroud to keep it sealed against the radiator for maximum air flow through the rad. This is an optional step, if you dont want to do this its not necessary.
Now the Fun part... WIRING
Step 4...
The controller I got came with a wiring diagram and instructions so it was pretty straight forward. Mainly you need to connect the pos and neg to the fans, hook the power wire to the battery, Hook up the sensors, switched ignition source, and ground the controller.
I grounded the Controller to the pass side AC condenser mount and both fans to the drivers side AC condenser mount. This keeps them out of the way and hidden.
Finished Wiring
Now after you get all the wires covered and hidden you can put everything back together and test it out. If you hold down the odometer button with ign off and turn key to 'on' then release the button you can go through by pressing the odometer button until you see 'dE6C XXX' to see the engine temp in degrees centigrade. then you can adjust the controller to your desired turn on temp.
Switched Ignition source... i used a wire under the dash, its dark blue w/ light green stripe and is maybe a 12ga wire.
Finished pics in next post.