Last edit by: IB Advertising
DIY ABS Module Rebuild - ABS Pump Won't Shut Off - Issue Solved
#81
Hi, I read through this thread to solve my ABS pump running all the time failure and noticed that Chris said the mosfet SUM90N06-4M4P was discontinued and out of stock from the supplier listed at the start of the thread. I searched around and found another supplier that still has at last check 73 of them in stock.
http://www.mouser.com/ProductDetail/...wonSGPug%3d%3d
I ordered 4 when they had 81 in stock cause I was worried I would screw up one trying the repair. I got them in the mail and will be doing the repair over the weekend. Since I ordered mine, someone else picked up 4 more leaving 73 currently in stock. Get em while they are hot. heh I have a spare ABS controller from a junked 2000 Expedition to use as a test module but have to fix mine as it is a special odd ball part used only in the 7700 pound payload version of the F-150. ( I think every part on this dang truck is unique to the 7700 grrr. ) I noticed when I opened up the test / guinea pig module that the mosfet leads directly to 2 of the large pins of the external connectors of the module. I plan on testing the good one against the bad one before I start and if it turns out like I suspect, there should be a easy way to test if the mosfet is shorted before you even open up the module. I will try to post details and photos of my effort. Hope this parts source helps while the supply lasts.
#82
Bruski
99 F150 XLT Sport 5.4 with 4WABS. Pump would whine while idle and a little when driving then for about 2min after I killed the truck. Throwing codes for dump valves (don't remember the exact codes but it was for multiple dump valves). I removed the fuse hoping to stop the whine but it didn't stop. I was wondering if there was anyway to clean the dump valves in case they were stuck partially open?? Not trying to buy a new pump if I don't have to.
#83
Hi, I read through this thread to solve my ABS pump running all the time failure and noticed that Chris said the mosfet SUM90N06-4M4P was discontinued and out of stock from the supplier listed at the start of the thread. I searched around and found another supplier that still has at last check 73 of them in stock.
http://www.mouser.com/ProductDetail/...wonSGPug%3d%3d
I ordered 4 when they had 81 in stock cause I was worried I would screw up one trying the repair. I got them in the mail and will be doing the repair over the weekend. Since I ordered mine, someone else picked up 4 more leaving 73 currently in stock. Get em while they are hot. heh I have a spare ABS controller from a junked 2000 Expedition to use as a test module but have to fix mine as it is a special odd ball part used only in the 7700 pound payload version of the F-150. ( I think every part on this dang truck is unique to the 7700 grrr. ) I noticed when I opened up the test / guinea pig module that the mosfet leads directly to 2 of the large pins of the external connectors of the module. I plan on testing the good one against the bad one before I start and if it turns out like I suspect, there should be a easy way to test if the mosfet is shorted before you even open up the module. I will try to post details and photos of my effort. Hope this parts source helps while the supply lasts.
http://www.mouser.com/ProductDetail/...wonSGPug%3d%3d
I ordered 4 when they had 81 in stock cause I was worried I would screw up one trying the repair. I got them in the mail and will be doing the repair over the weekend. Since I ordered mine, someone else picked up 4 more leaving 73 currently in stock. Get em while they are hot. heh I have a spare ABS controller from a junked 2000 Expedition to use as a test module but have to fix mine as it is a special odd ball part used only in the 7700 pound payload version of the F-150. ( I think every part on this dang truck is unique to the 7700 grrr. ) I noticed when I opened up the test / guinea pig module that the mosfet leads directly to 2 of the large pins of the external connectors of the module. I plan on testing the good one against the bad one before I start and if it turns out like I suspect, there should be a easy way to test if the mosfet is shorted before you even open up the module. I will try to post details and photos of my effort. Hope this parts source helps while the supply lasts.
LOL....that was actually me that ordered the other 4! I found them last week on MOUSER...good stuff. So yeah, I have one job comming in to repair a module this next week, and I will have 3 remaining chips. I'm charging $75 if anyone is interested in sending in their module for rebuild. This charge will include return shipping. Message me if interested.
#84
Hey Chris glad to hear that you found them as well . After digging into this repair and seeing what all is involved , your price to do the repair is quite reasonable. I am just one of those guys that take perverse pleasure in fixing things that were never meant to be repaired, HEH. I have gotten about 3/4 of the way done with mine and took a lot of photos. I have several tips and details for those that want to take the task on themselves. I am going to post everything with details and photos as soon as the thermal adhesive arrives. I could not find it anywhere local and had to order it on E-bay. This place had it cheapest including shipping.
http://www.ebay.com/itm/221378467457
under 7 bucks including USPS 1st class mail.
Also I noticed that both of the controller modules I have use a different Mosfet than the one that the OP listed in his write up. The Mosfet in both of mine is a Infineon technologies BUZ111S . Both of my controllers were build in 2000. Here is the data sheet for the BUZ111S in case someone needs to find a different replacement once the current stock of theSUM90N06-4M4P are used up .
http://alltransistors.com/pdfview.ph...dire=_Infineon
The suggested Mosfet is a little more heavy duty than the BUZ111S so I would get it if its still available since we have several successes using it. Sourcing out another suitable part shouldn't be too hard if they all get used up though.
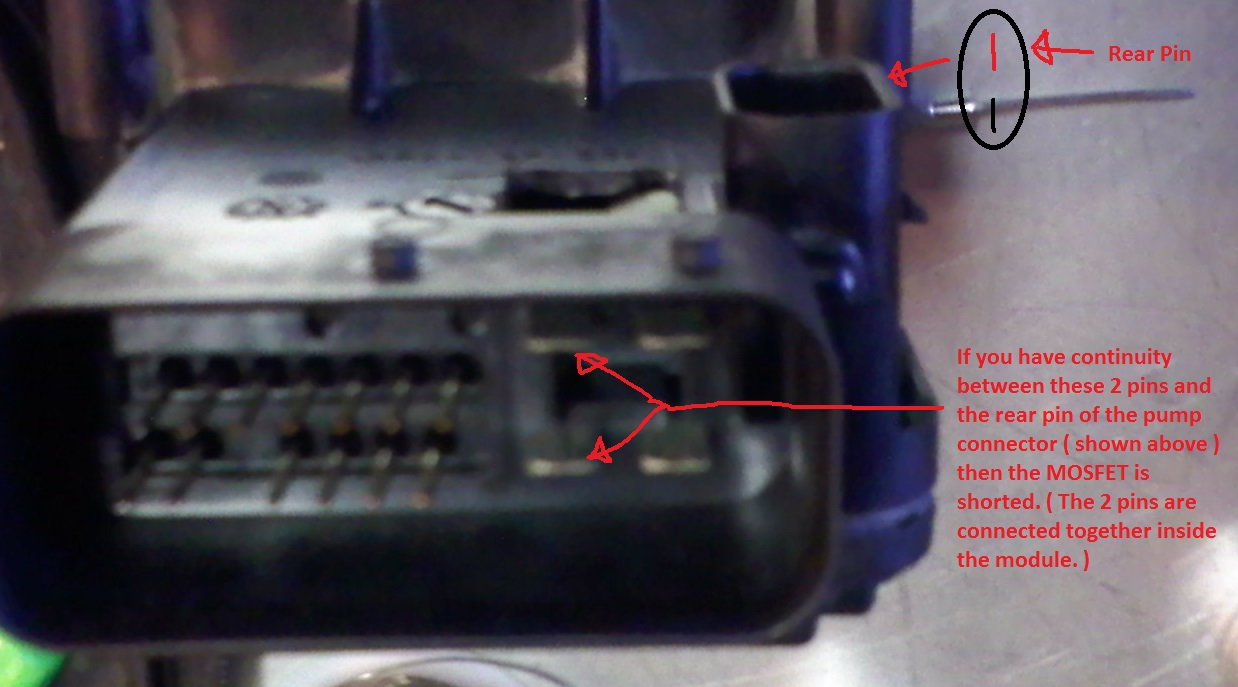
As I suspected , you can test for a shorted mosfet without taking the controller case apart. This will only tell you if the mosfet is shorted or not. It will not be certain that this is the only problem in your controller. Once you have the controller off the ABS unit, there are 2 pins that should not give a connection using a meter. If they do, then the mosfet is shorted. That is what the OP found in his trouble shooting and started this thread for correcting. I just plan on adding more details and photos to help those who are thinking about trying this to decide if they are up for it or want to give Chris a chance fixing it.
The hardest parts to the job is cutting through the underside of the case to access the heatsink and removing the heatsink. I wish I had done that before trying to take off the old mosfet .It would have been easier to get the mosfet off after taking the heatsink off so the soldering iron didn't have to heat the heatsink as well as the chip. I found a work around but had to crush the old mosfet to get the heatsink off. then the mosfet came off easy.There is a very thin circuit trace that goes around 2 sides of the mosfet very closely and avoiding damage to it is the trickiest part. Remember that protecting the circuit board is the most important part of the job, the old mosfet is bad anyway so destroying it is no big deal if it helps you avoid damage to the circuit board. If anyone wants more details just post a reply and I will try to get everything posted quick. Otherwise it might take me a few days or week to get around to it.
#85
99 F150 XLT Sport 5.4 with 4WABS. Pump would whine while idle and a little when driving then for about 2min after I killed the truck. Throwing codes for dump valves (don't remember the exact codes but it was for multiple dump valves). I removed the fuse hoping to stop the whine but it didn't stop. I was wondering if there was anyway to clean the dump valves in case they were stuck partially open?? Not trying to buy a new pump if I don't have to.
#87
I am going to go through the steps I used to take the module off, test it, open it up, remove the old MOSFET , and replace it with the new one. I have photos of many of the details but not sure if anyone is interested in that much detail. If someone wants me to, I will post the photos.
Section 1 is removal of the module. Make sure you disconnect the negative battery cable before you start to keep from zapping the module as you pull the connectors off and plug them back in.
1. removing the module was pretty easy for me since I live in the dry SW USA and have very little rust or corrosion on my truck. I did remove the air filter housing and MAF assembly to make access easier. I left the MAF plugged in and just laid it up on the fuse box. I did use a Torx T-20 bit and 1/4" socket with a small hammer to strike several blows on the top of each bolt before trying to turn them. This can help break loose the threads before hand. If you live in a rust belt area and your bolts are rusted up, I would use lots of rust buster / penetrating oil and let it set overnight at the minimum. Remember that the bolts screw into the ABS manifold, they just pass through the module so the threads need to be oiled where the module meets the manifold, not up at the bolt head area. For best results just drill out or grind off the bolt heads 1st and after you lift off the module, use penetrating oil around the bolt holes . Let it set several hours and add more as needed. small taps with a hammer from time to time on the bolts will also help break them loose. Do the module repair while the bolts soak in oil and you are more likely to get all of them out. When ready, use locking pliers to slowly turn the bolts out. a few taps with a hammer on the tops of the bolts as you turn can help. Better to work out the bolts slowly than bust them off and spend hours trying to get the rest out of the hole.
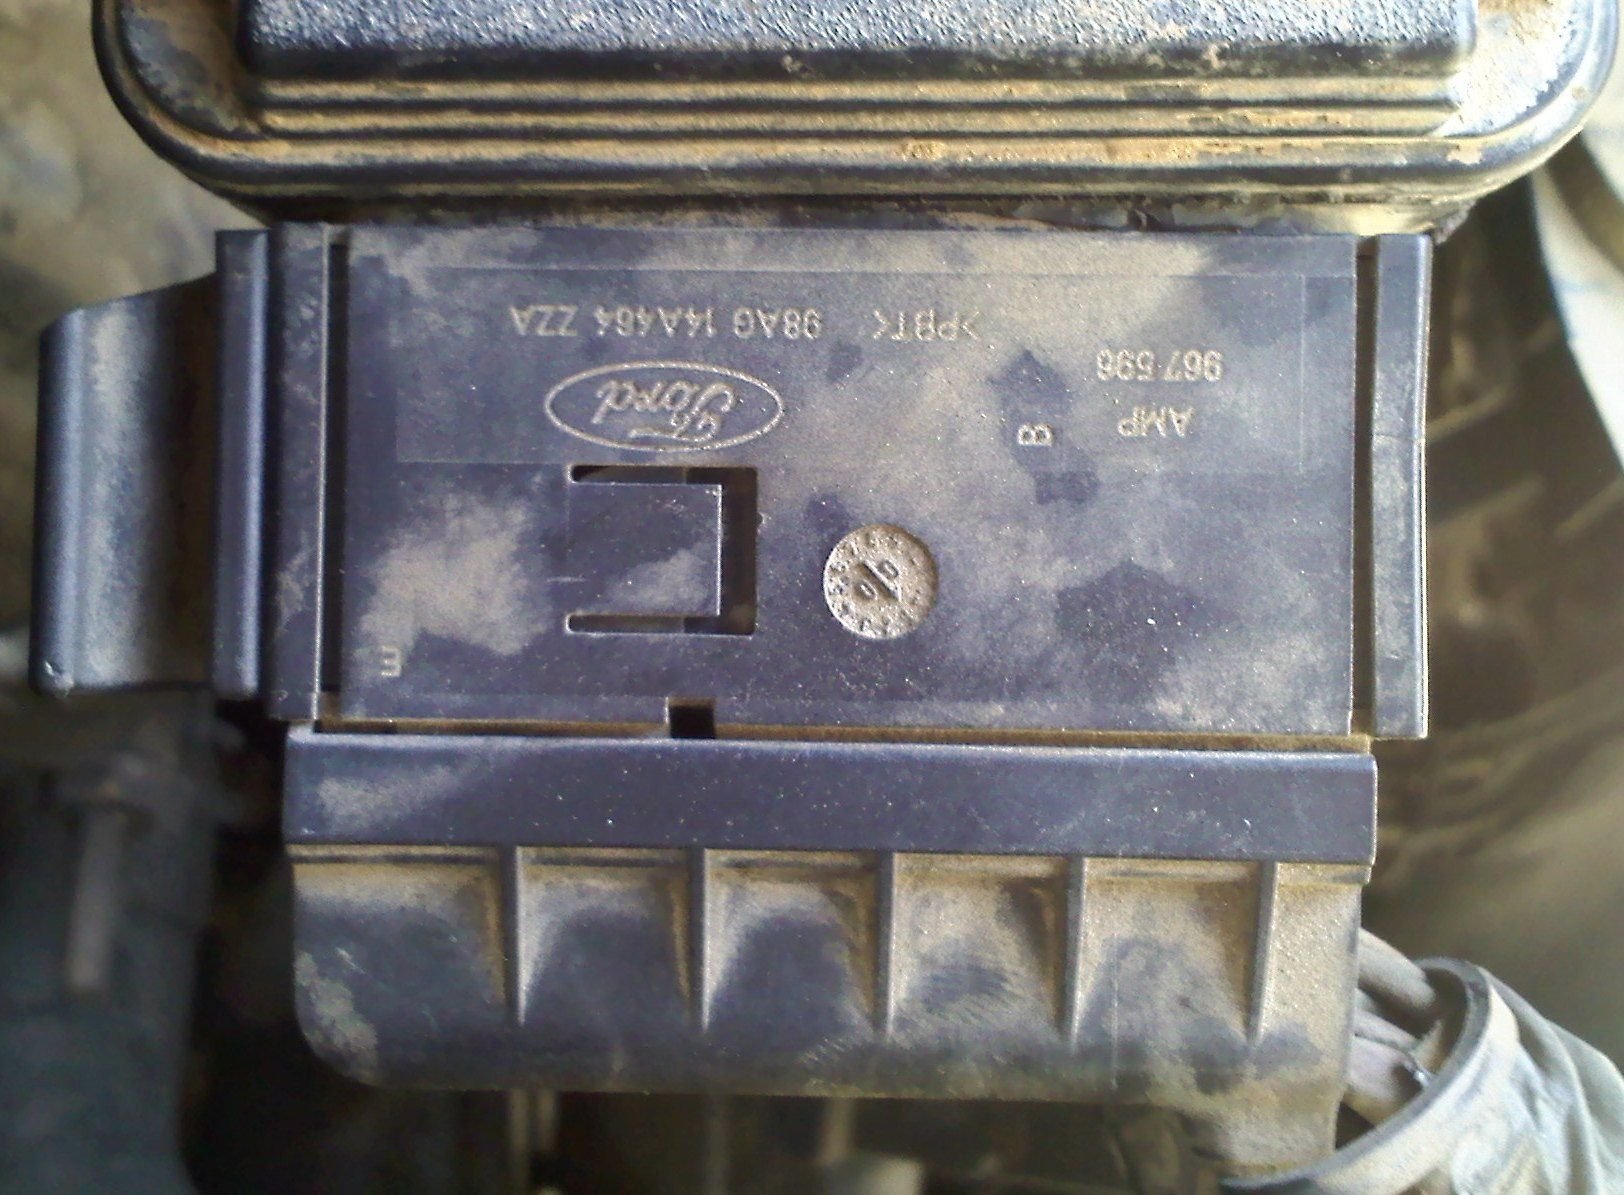
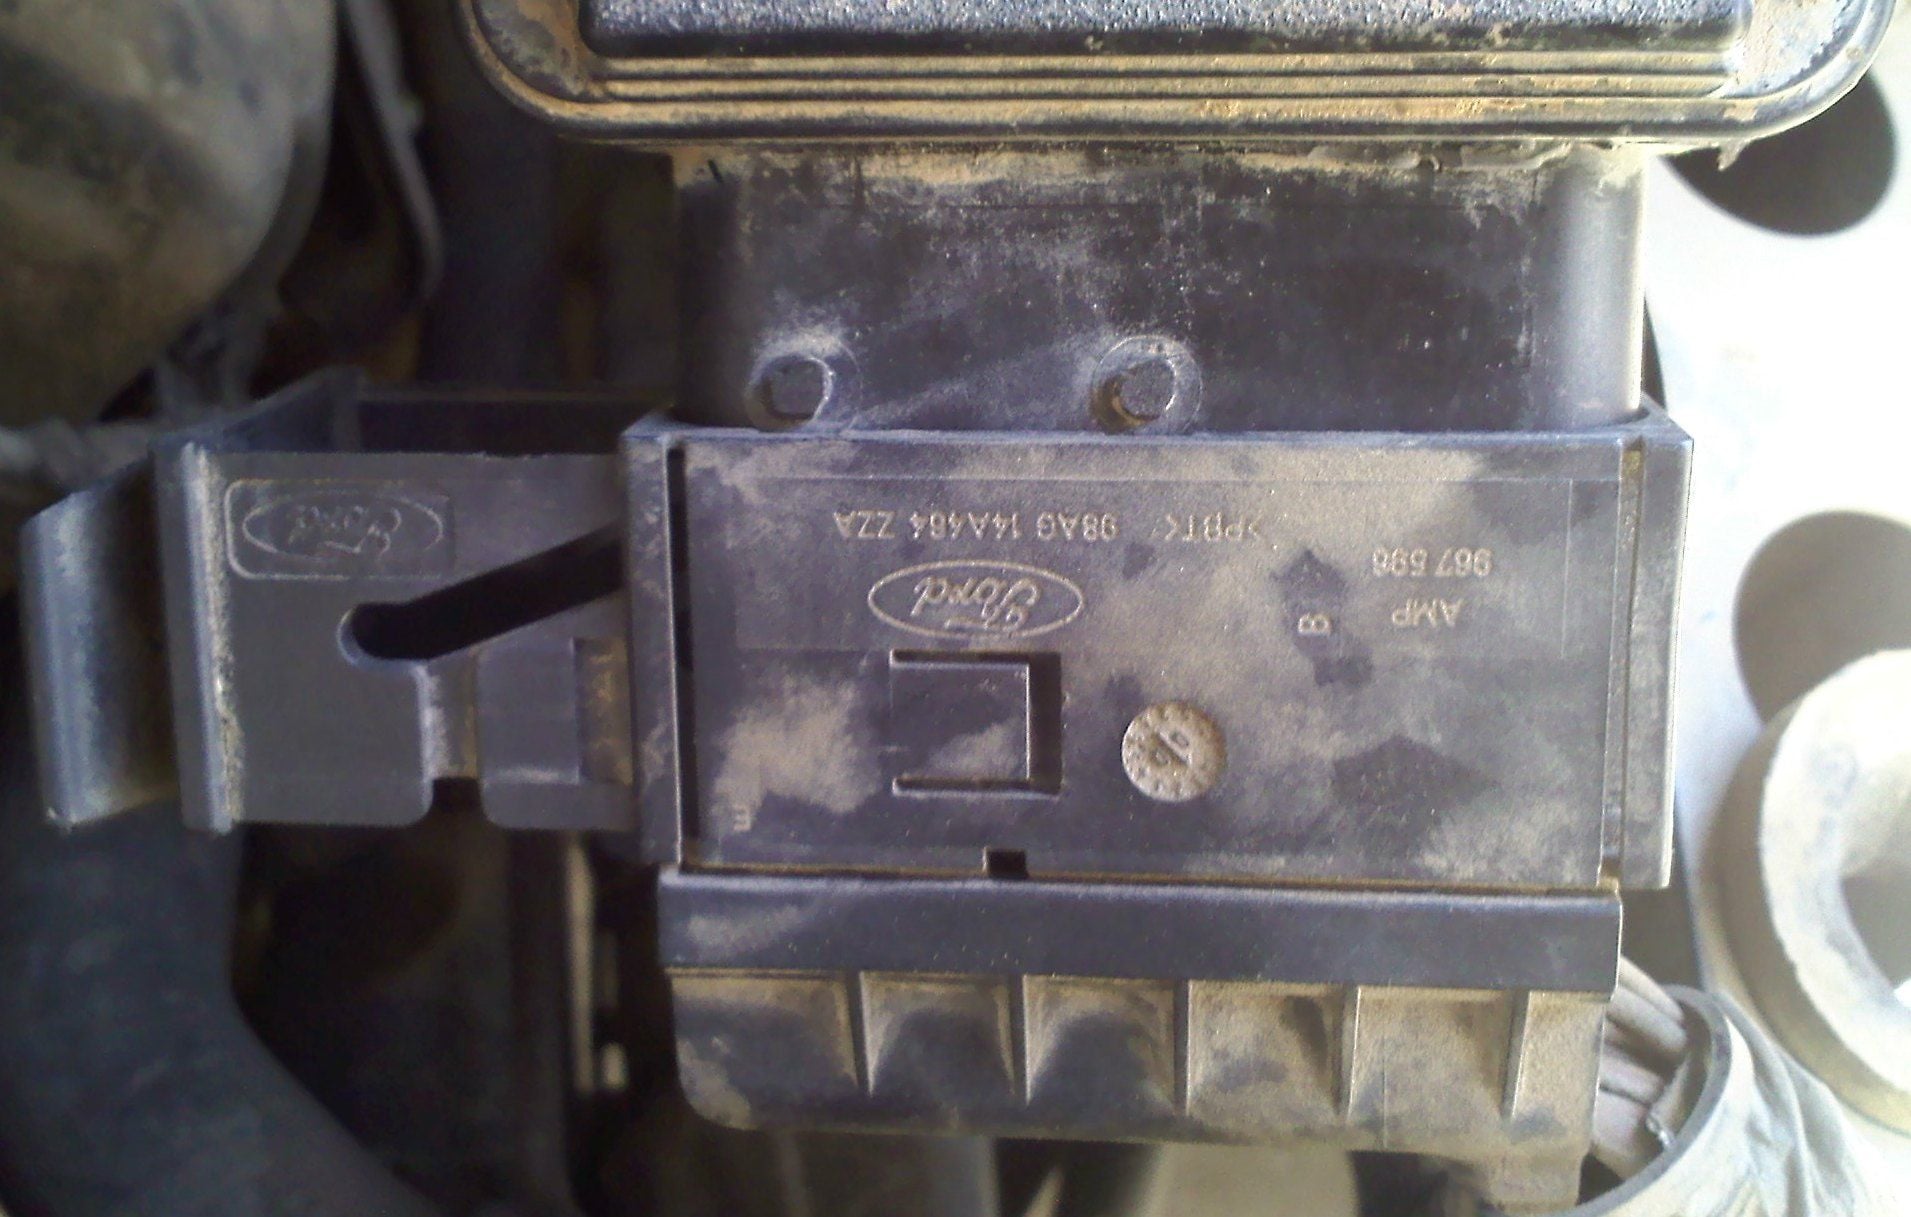
2. The front wiring connector is an odd type that I had not seen on a Ford before. You have to pull the handle on the engine side of the connector towards the engine as you pull the connector towards the front of the truck. There are 2 sets of pins on the module that ride in a angled groove in the connector handle. As you pull the handle to the side it lets you pull the connector farther forward till it comes off. Putting it back on it the reverse, just make sure you get the handle all the way in to the latched position as that compresses the water tight gasket in the connector to keep out water. Be careful that the gasket does not fall out of the connector as you take it off the module. Mine almost dropped under the truck before I noticed it was halfway out of the connector. It is a white silicone gasket that fits down in the connector. The pump connector is on the bottom of the module and it comes off by lifting the tab over the bump as you pull down on it. putting it back in takes a strong pressure as it has a gasket around it.
#88
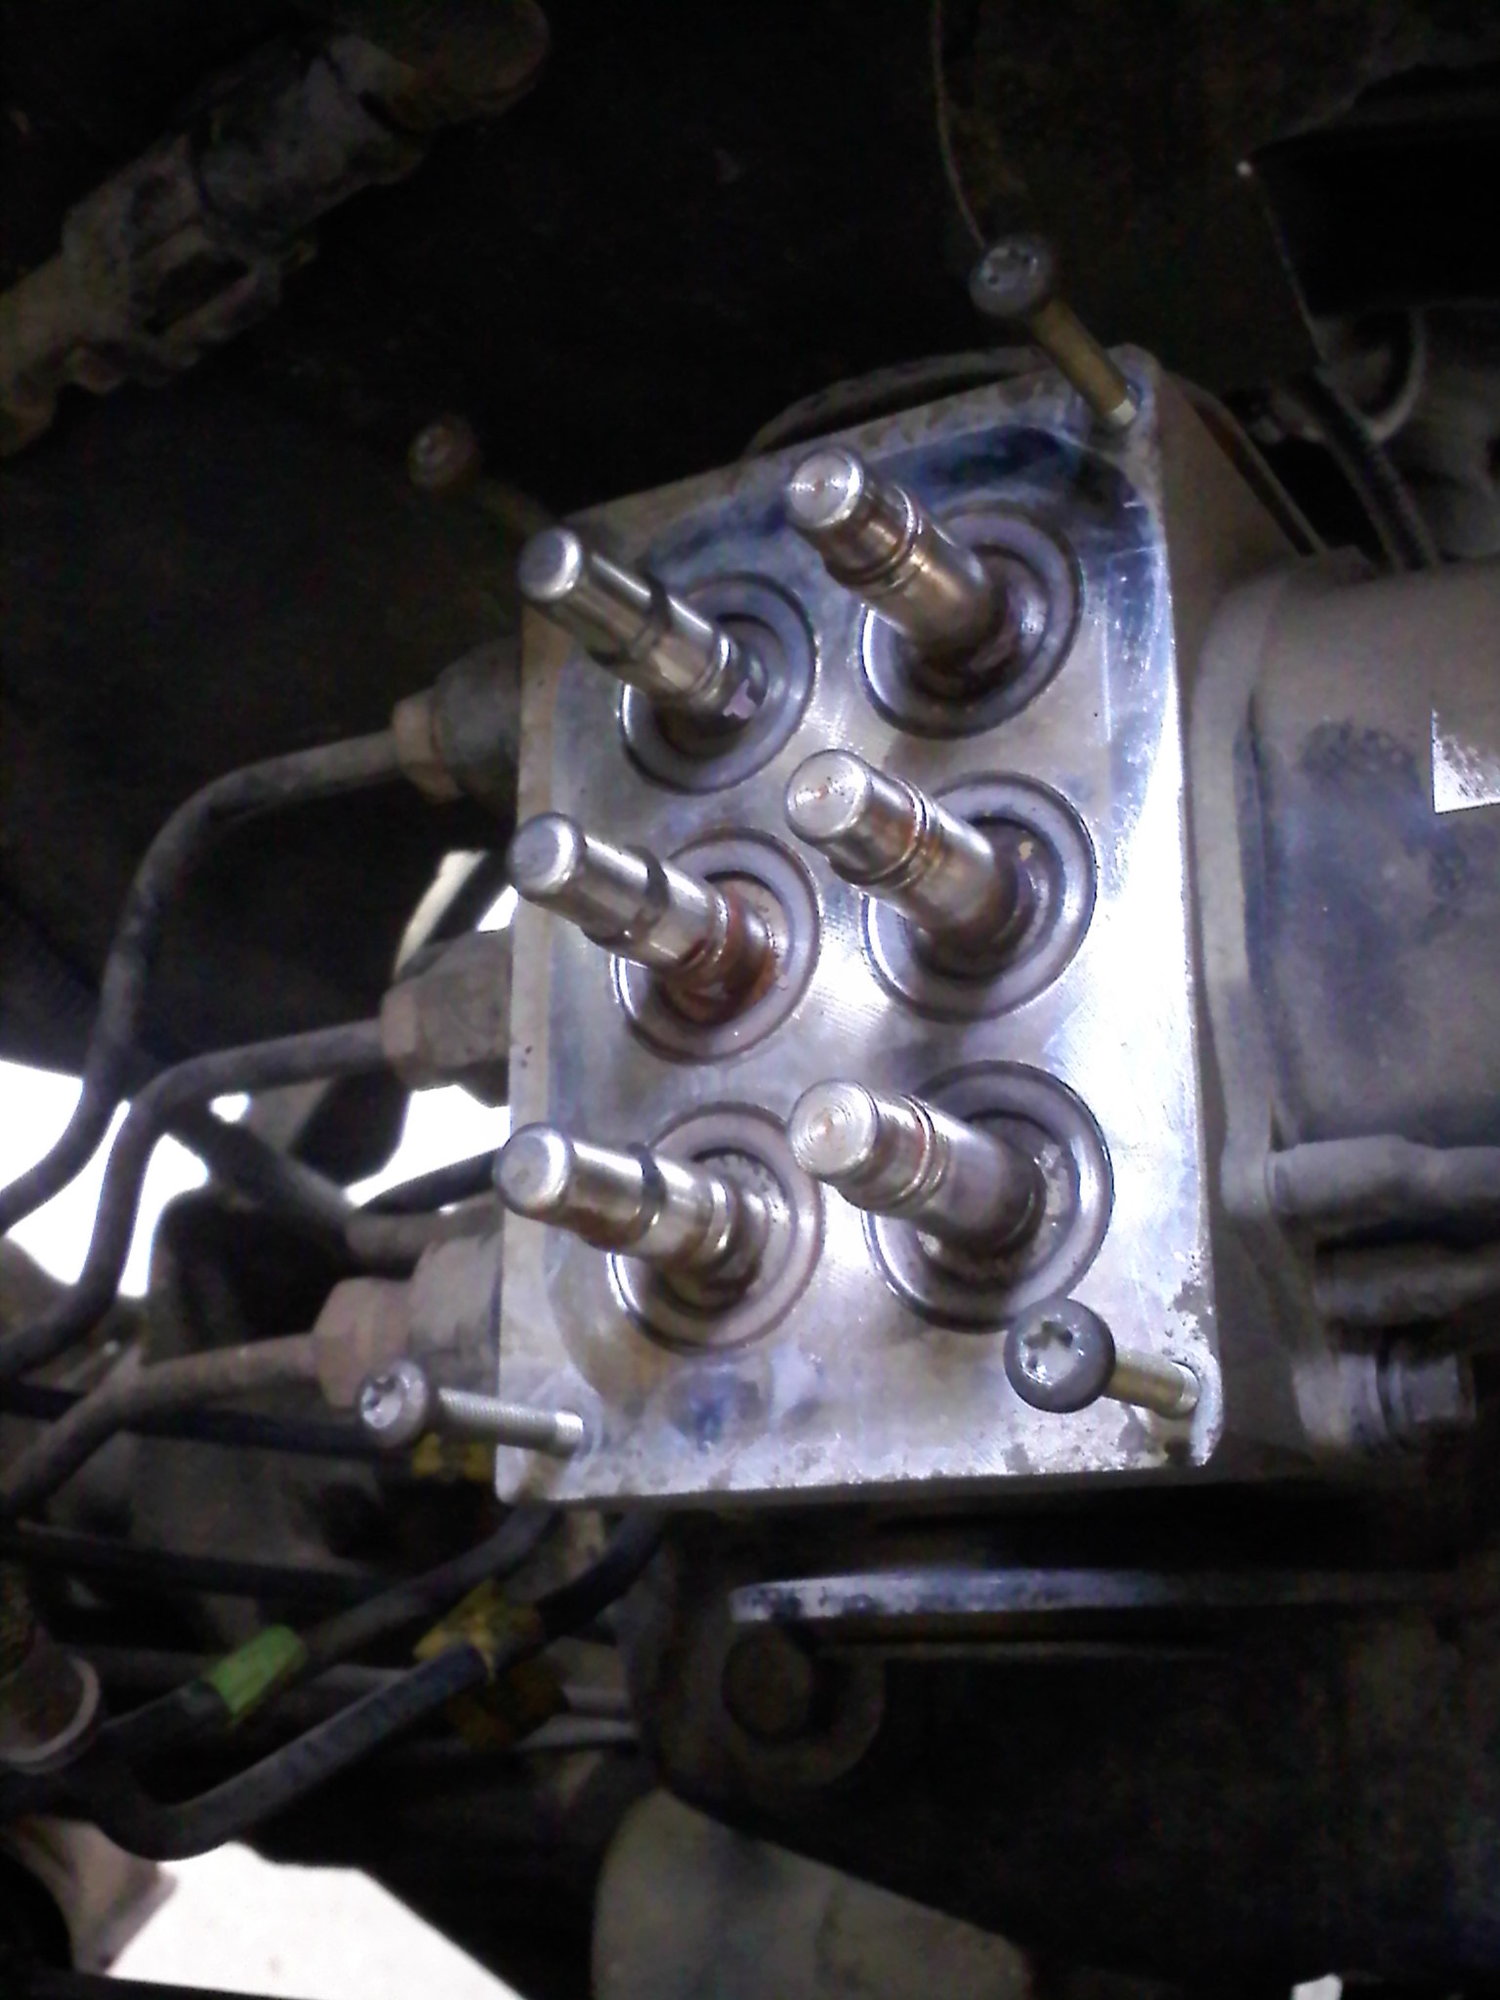
one step to do before you start taking the module off that makes things easier as you go along is to carefully and thoroughly clean off the outside of the module. get all the mud, gunk and grease off . make sure you clean the bottom very good as you will be cutting a hole through that area and then have to glue a patch over the hole to keep out water when you are done. It is much harder to clean the module after its off the manifold because the case is open to the circuit board around the 6 electro magnets and if you wash it after taking it off, you must be very careful to not let water or cleaning chemicals get into the module around the area it connects to the manifold.
My module was fairly clean but it still took me 30 very careful minutes running a dribble of hot water over the case while always keeping the electromagnet area free of water. My spare module has caked mud dried all over it. mostly on the bottom and it would be a pain if I was trying to get it ready to repair.
I also noticed that I started with removal of the bolts but it actually would be better if you removed the front connector while the module is still bolted to the manifold, then the bolts and last the pump connector. Sorry about that.


