When you click on links to various merchants on this site and make a purchase, this can result in this site earning a commission. Affiliate programs and affiliations include, but are not limited to, the eBay Partner Network.
What exactly is "Demon eyes"? Well to be simply put, it is a small led that rest in between the proctor and the shroud to illuminate the projector any color of your choice. It has no real purpose other than to look "cool".
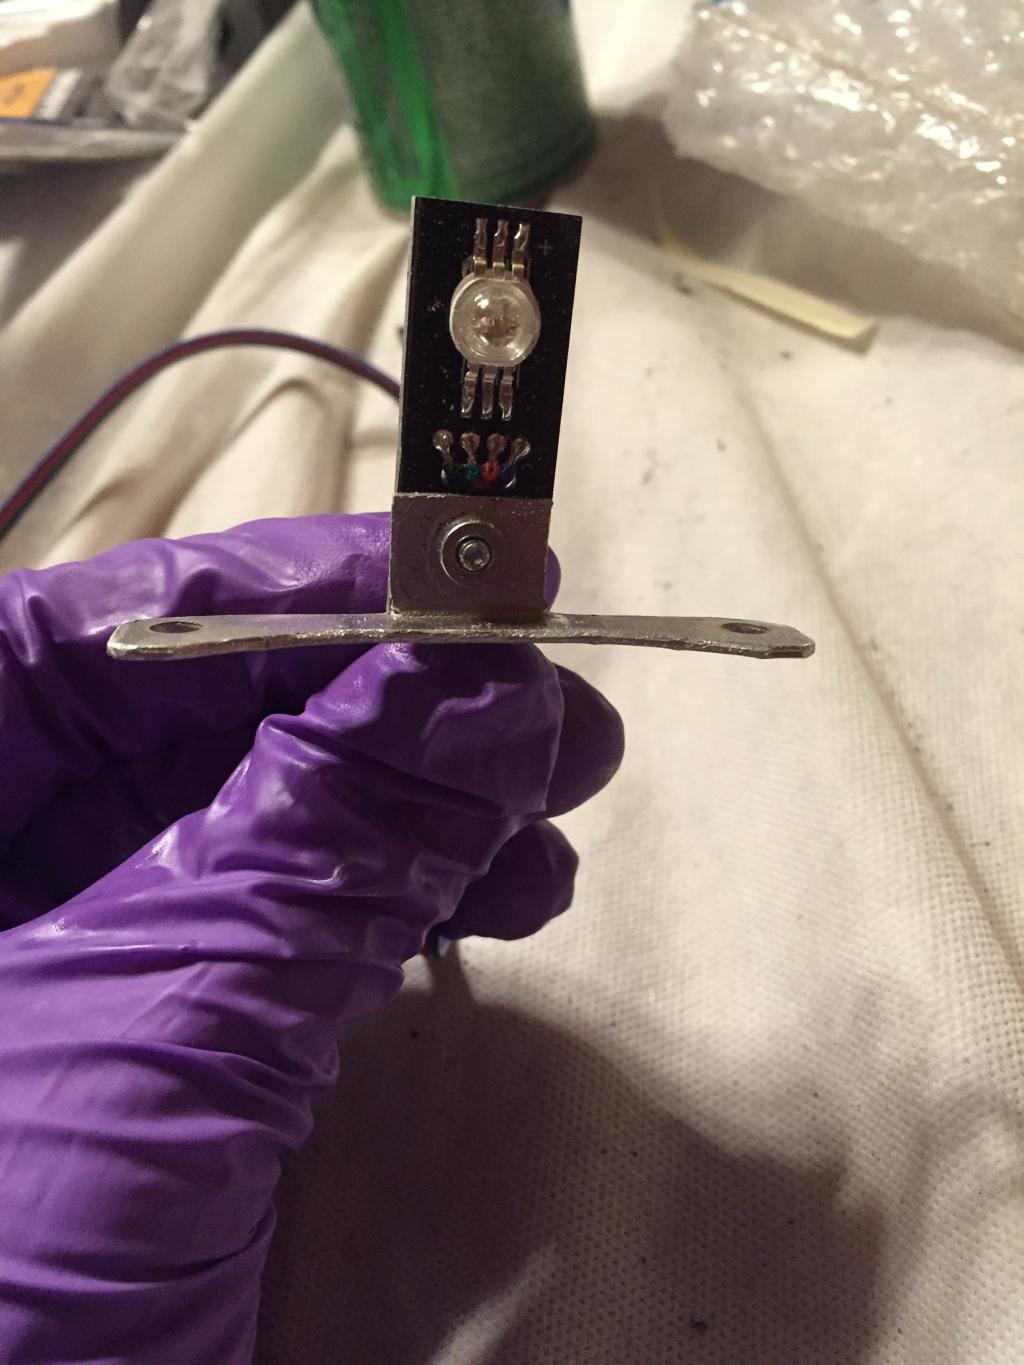
I purchased from LED Concepts, and I will highly recommend them based on their products and great customer service. Some Demon Eye kits want you to glue the led on to the cutoff shield of the projector. Which I was afraid the high heat that the hid puts off would melt the glue, causing the led to fall, ruining the time and effort put into it. The LED Concepts Demon Eyes screw on to the projector, so no worries of falling off in the future.
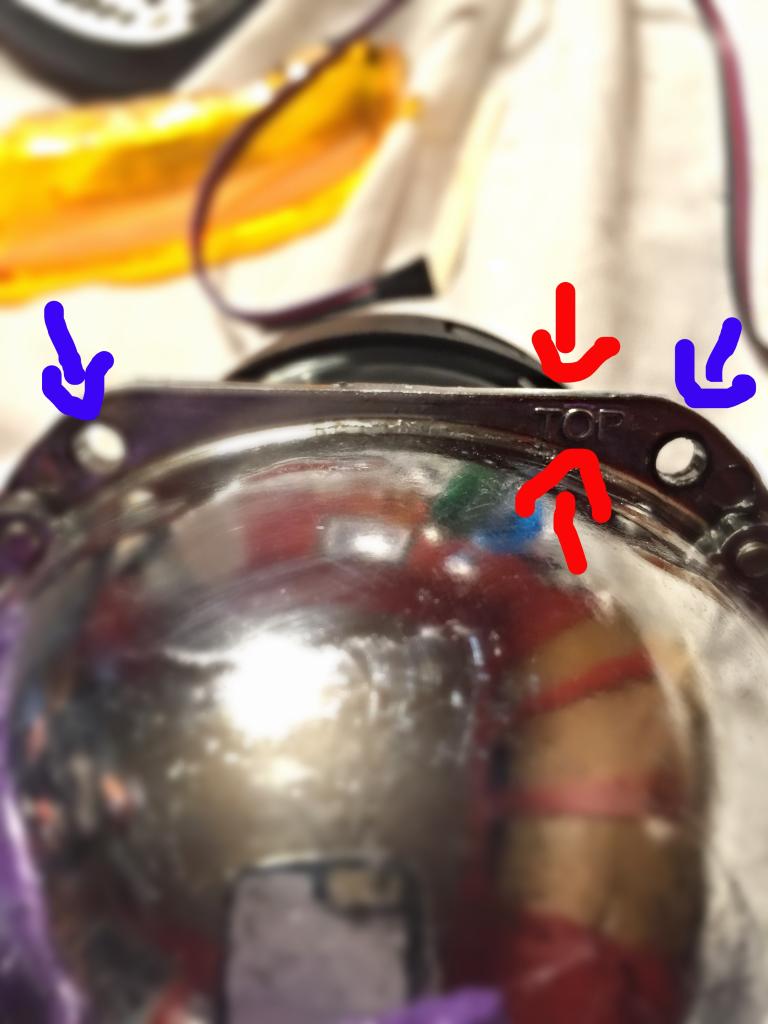
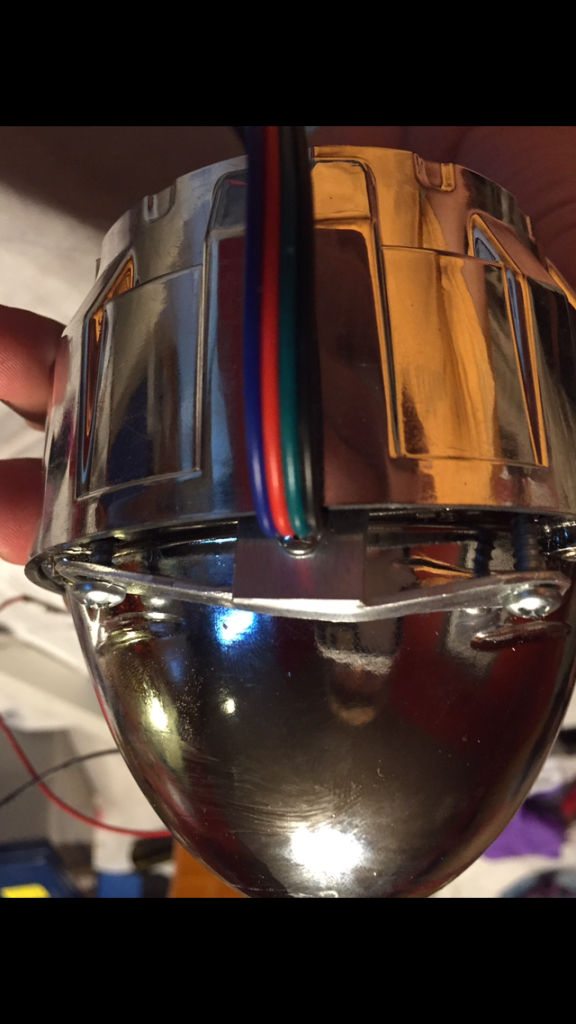
To begin, take a look at the backside of projector. It will be labeled "Top". (It's the opposite side of the cutoff shield wires.). The led light will align close, not exact, to the holes on the projector.
The led goes on the bottom of the projector like so.
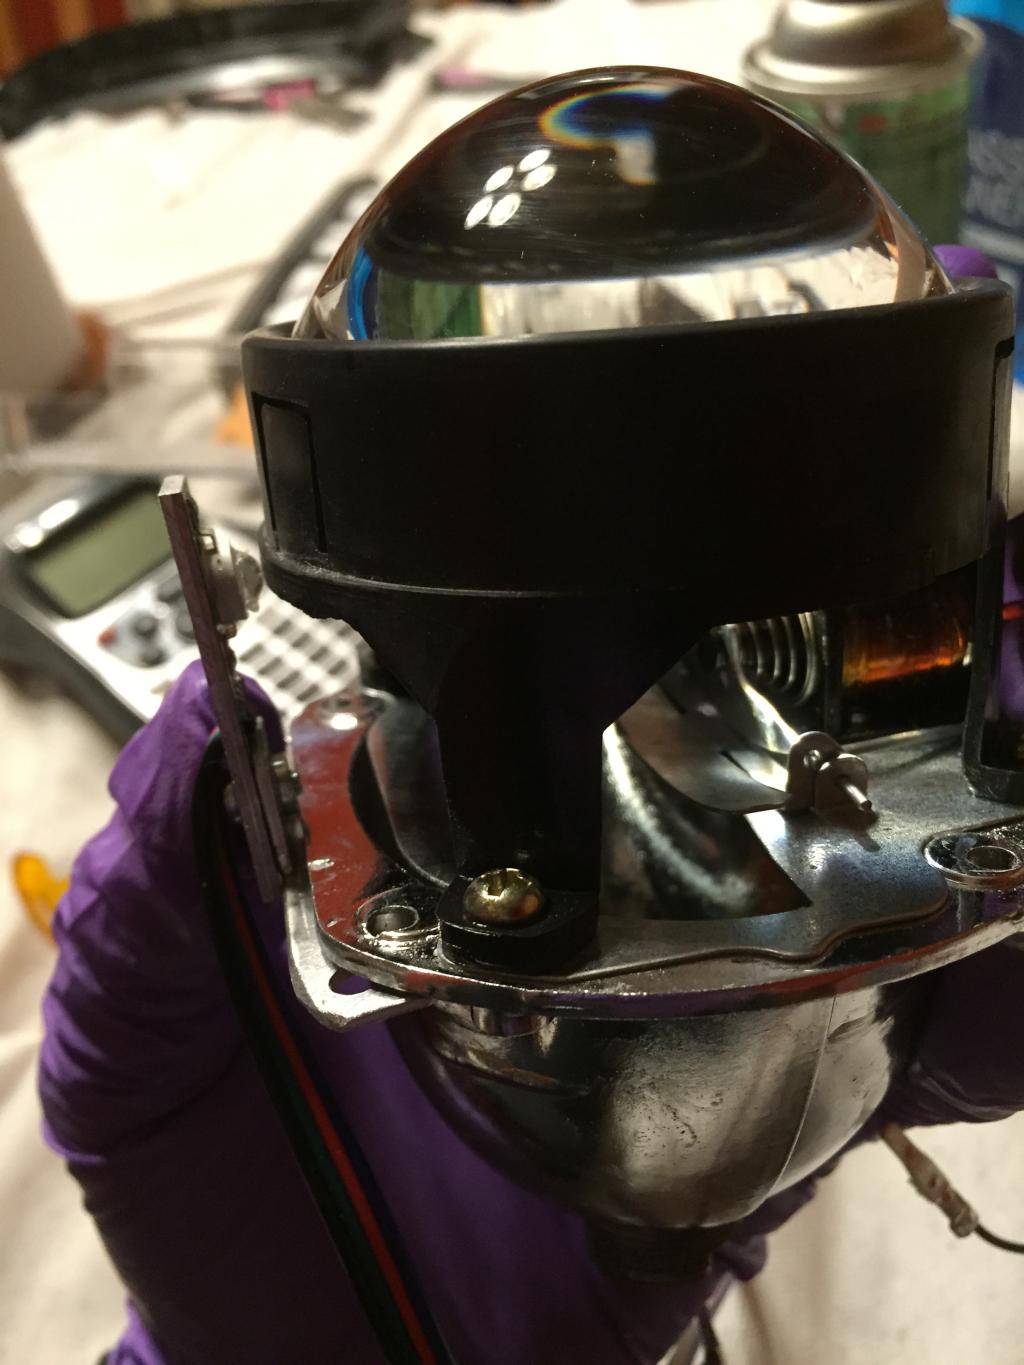
Now set the shroud around the led and projector. The led is going to be in between the shroud and the projector.
Now use the supplied screws that came with the projector kit to screw the led to the projector. I suggest tightening them up a little at a time, in the pattern you would use to tighten up a tire.
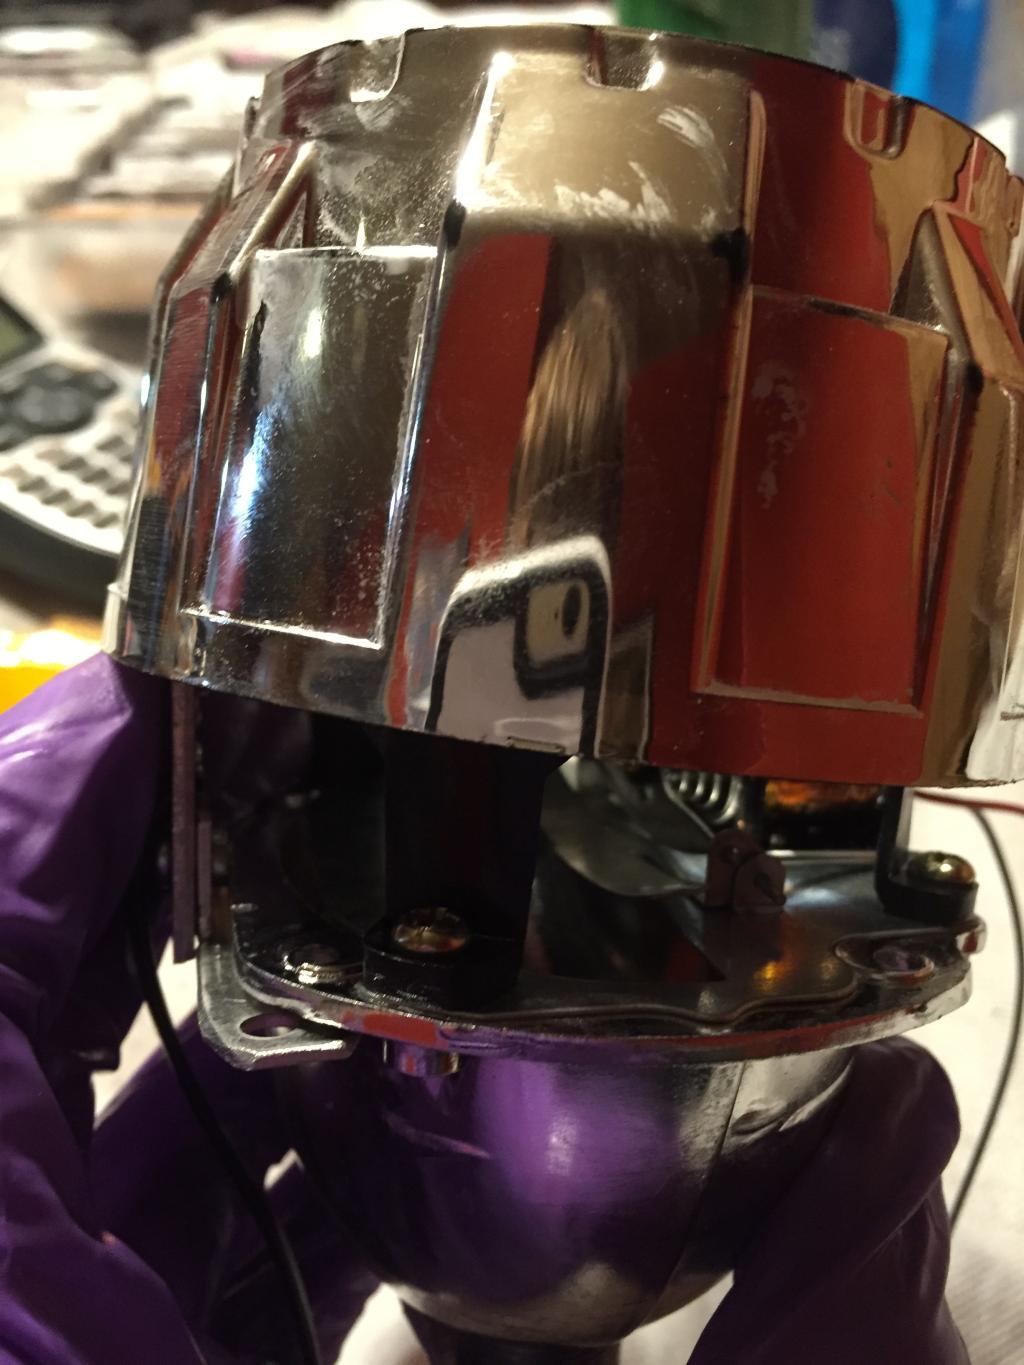
The Led brackets do bend! whether if they are suppose to bend or not, im not too sure. That was the only way I could get the holes to align.
I have done this 2 times now (a total of 4 projectors) so far there has been no problems with bending the bracket.
Now you are going to have to run the wires through the housing, I did not get a picture of this, but I drilled a hole and trimmed it so it will be wide enough to fit the led wires and the cutoff shield wires through. Now follow the rest of browningScrew's guide to put the projector on and reseal. Then after it gets out of the oven and cools off, I taped up the backside so the hole won't be as big and silicone it up.
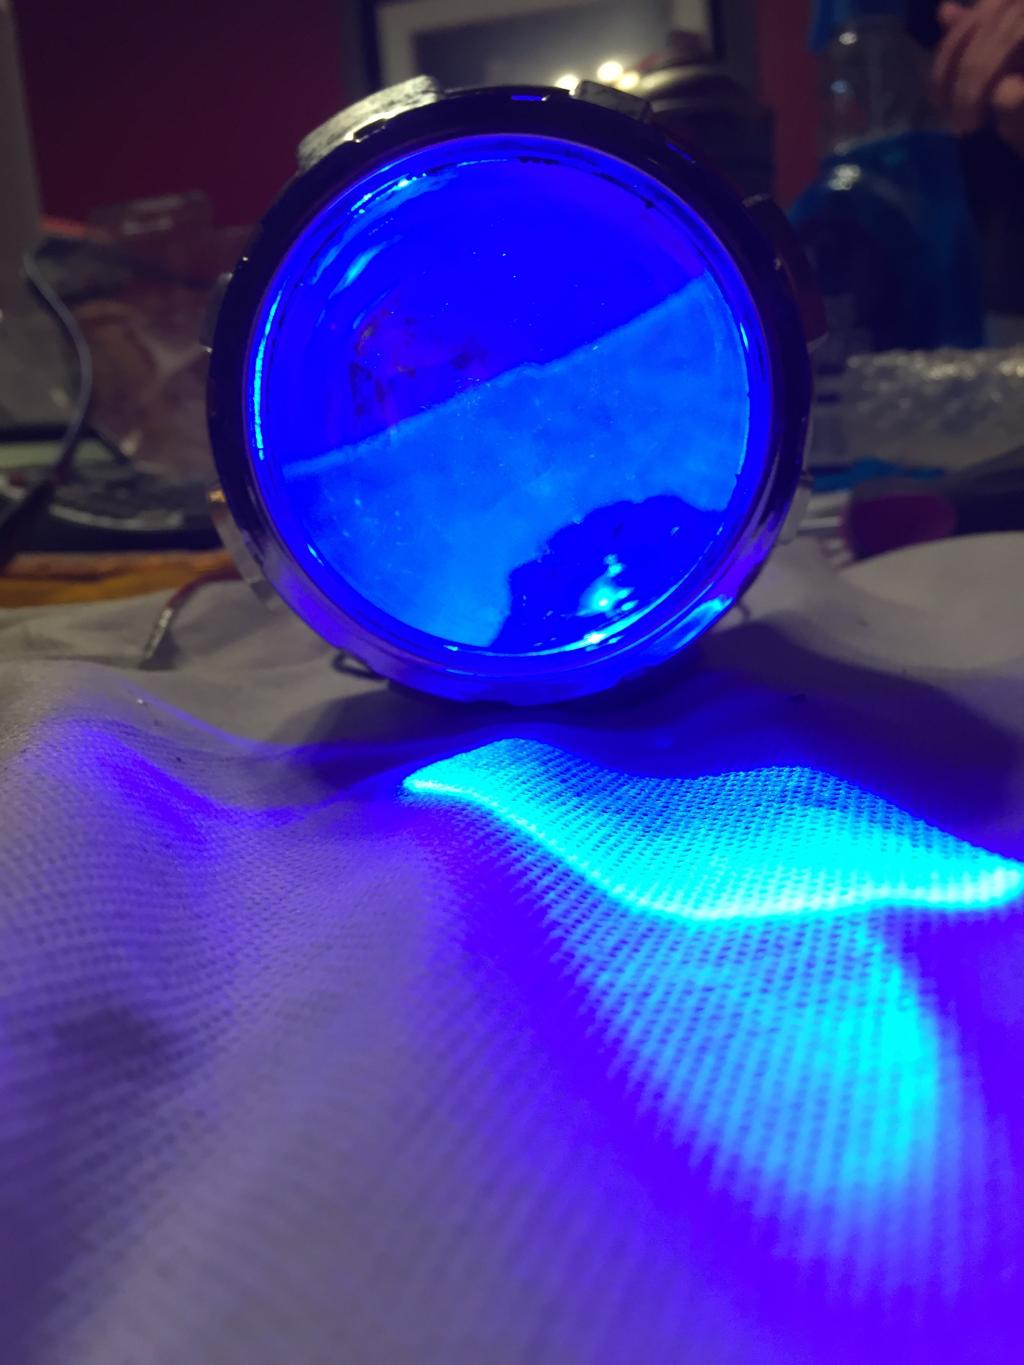
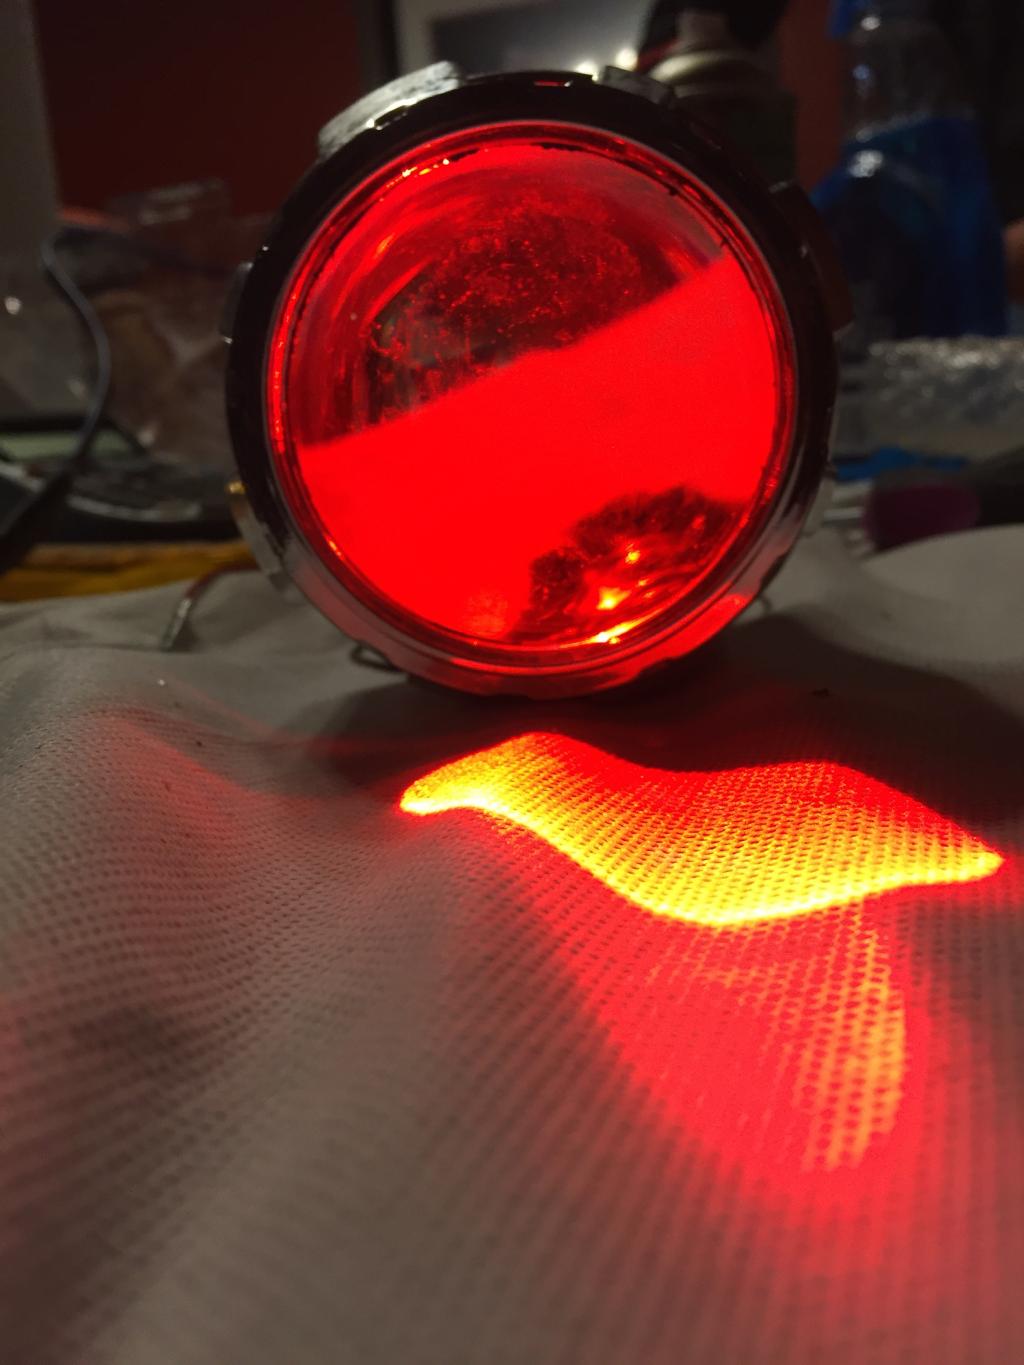
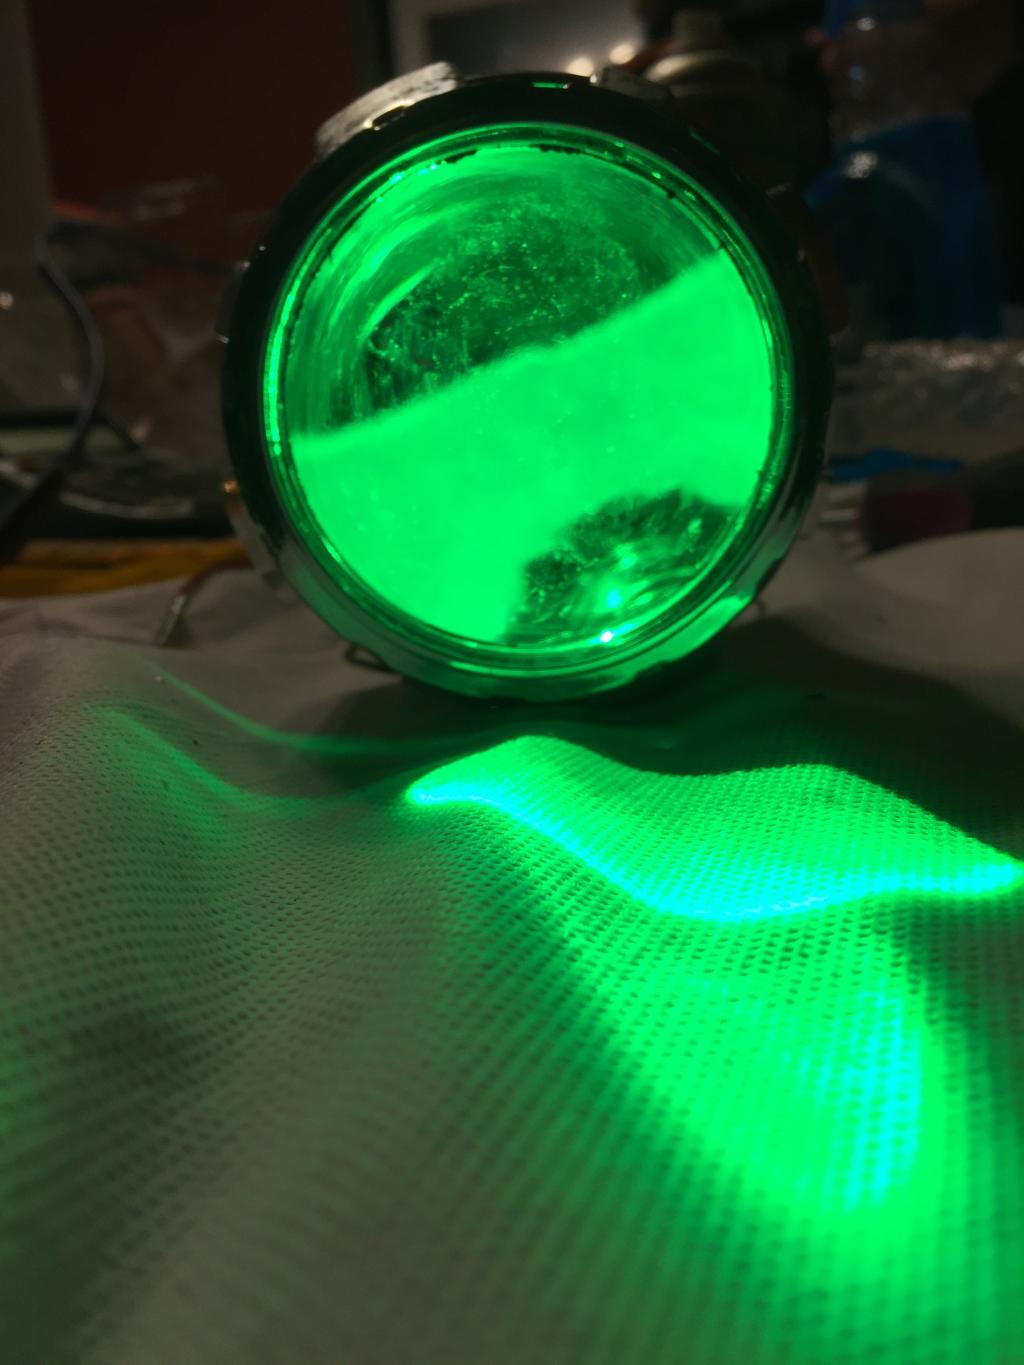
The finished product
Last edited by Buckshot482; 01-14-2015 at 05:21 PM.
If I was still in high school I'd be all over that.
Now thats funny! I literally LOL'ed at that.
It is not for me, but I can see the appeal. I could also see this as a white DRL or a turn signal if amber.
I can also see this getting you a ticket since any color light besides white and amber are illegal in the front unless an emergency vehicle. Need to wire it up to turn off when taken out of park if you use red blue or green.
Now thats funny! I leterally LOL at that. It is not for me, but I can see the appeal. I could also see this as a white DRL or a turn signal if amber. I can also see this getting you a ticket since any color light besides white and amber are illegal in the front unless an emergency vehicle. Need to wire it up to turn off when taken out of park if you use red blue or green.
It's on a controller, I have a remote that turns it on/off and have the ability to change the color.
Yes, but it is on a public forum and people are allowed to give their opinion. It also lets others know what others think about it. I did a "passive" one on mine, but it was with black paint. Just painted the shield black with high teim paint:
No, I painted the shield first before putting them in the housing, then the housing itself PTM (with the shroud in the trim color).
The pic above was during test fitting before I got the paint for the housing.
This is how they look now:
Passive demon eyes are harder to see, you need to be at the right angle to see it, especially the black. I need to get a better pic but it has been cloudy for the past 10 days or so.
Here is a pic of Jabraun98's, you can see the interior is more silver since it is magnifying the silver shield. You can paint them any color (with hight temp paint) to get passive colors and be legal.
 01-14-2015, 05:14 PM