Cheap, Easy, Fun Mods!!
 06-12-2013, 09:15 PM
#101
It's all wrapped not dipped I wish it was dipped it looks hella better in the pics then in real life honestly although it doesn't look terrible and od green I didn't think about that, that would prob be pretty beast. I'm hopin to get a ranch hand style number when I get back from vacation if I can scrape up the coin.
 06-12-2013, 09:52 PM
#103

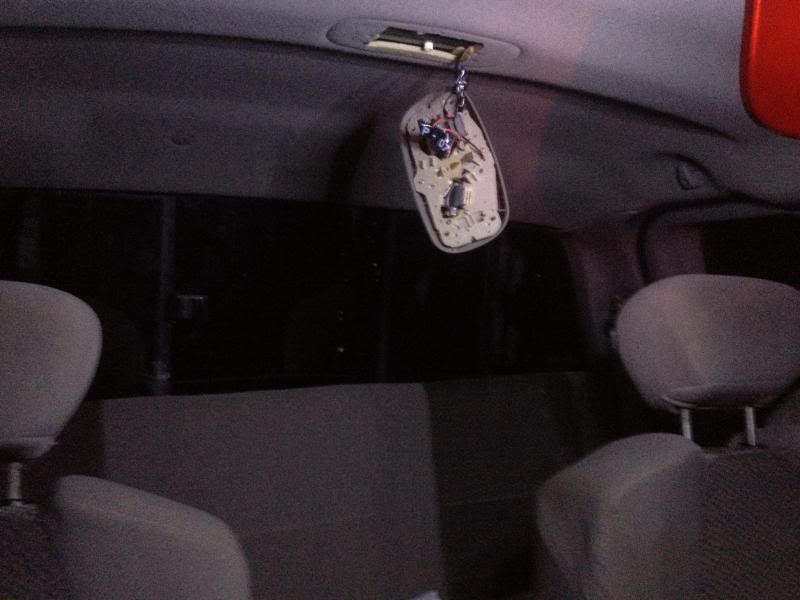
Wired my overhead temp/compass to come on with accessories and not in the run position. I also wired it up so it stays on until the door is opened.
Also added quite a few leds in the overhead. Used simple SPDT toggle switches for these.
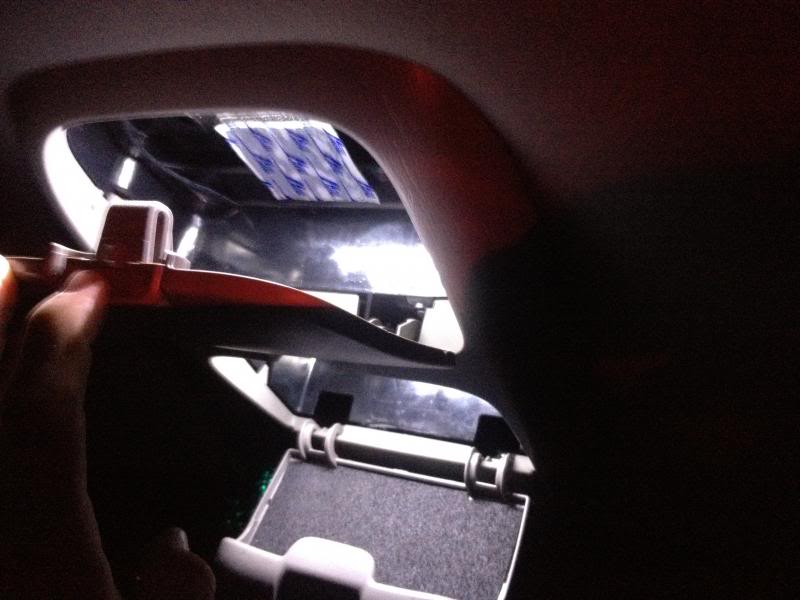
I used the garage door opener slot, as way to drop the lights down and shine to the back seat and at the gun rack.
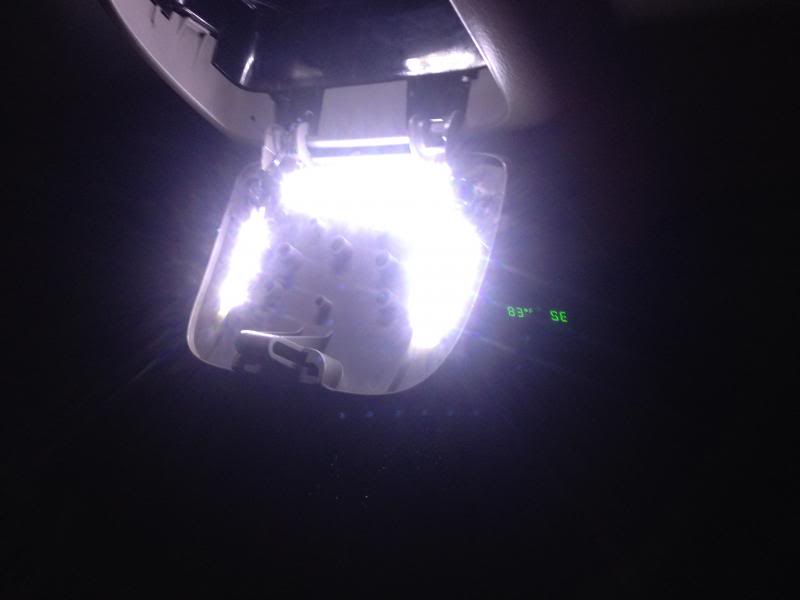
With one set of lets on, no dome light and no camera flash. Makes seeing the gun rack at night very easy.

Also added quite a few leds in the overhead. Used simple SPDT toggle switches for these.
I used the garage door opener slot, as way to drop the lights down and shine to the back seat and at the gun rack.

With one set of lets on, no dome light and no camera flash. Makes seeing the gun rack at night very easy.


 06-12-2013, 09:53 PM
#104
Pulled open the gem module and took out that stupid chimer that goes of when you leave the lights on with the door open or turn the key back and open the door listening to the radio.
Took me about 2 hours to find the thing.
Video of what I did.
Here's a semi-tutorial.
You have to take the fuse panel out from under the dash board. So you have to take the lower panel off and then unscrew the 4bolts in the fuse box. Once you get the fuse box loose, you will find two 8mm bolts on the back of panel, these two boxes unscrew and take loose the fuse terminals and wires. Then you will find three plugs on the gem (on the backside of the panel) unplug all three and take the fuse box/gem out to work on it.
Use a T20 torq bit to unscrew the 3 bolts holding the top of the gem box on. Once you open it, you will see the circular looking chime device. You can un-solder it from the board or take the top few piece off that make it chime. I took the piece off because I didnt want any solder getting on any of the other components. Once I got all of the chime mechanism out, I used a 1/4 watt 20 ohm resister to help keep the circuit consistent.
Thats all you have to do, and no more chiming at all.


Pull gem loose


 06-12-2013, 09:55 PM
#105

With everything out of the way, we need to look inside the door and find the rubber grommet on the right of the door handle.

Drilling hole in the grommet and bottom plastic piece of door handle: Tools- 1/8" drill bit and drill.
Now use a drill with a 1/8" bit to drill through the grommet. If the grommet pops out, notworries, it can go back in. I chose to remove the grommet so my wires wouldnt catch and place a small rubber washer where the old grommet was. I used a 5/16" rubber washer. (optional)

Once you drill through the grommet, put your hand outside on the door handle to hold it in so that you can drill a 1/8" hole in the bottom piece of the handle. Make sure to only drill through the first piece of plastice. The hole will be near the top of the handle so leaking will not be an issue and visibilty of wires won't be a concern.

Running Wires from LED's to the interior of the door panel. Materials - 3-1/2" LED strip attached to 24-28 gauge wire.
**Make sure your wire is 3-4ft long to give you lots of room to work with **
Feed your wire from the outside of the door handle through the door & grommet into the interior of the door.

Now tie a small knot (where the led is on the outside of the door). This makes sure the Led's dont get pulled off when pulling the handle. The knot wont allow the wire to go through the 1/8" hole.

Now clean off from under your door handle and apply the 3-1/2" LED strip. Mine had 3M back, so after a good cleaning it stuck under the door handle perfectly.

Once you have the knot in the wire, use a small zip tie and tighten it down where the wire goes into the door handle, this keeps all slack out of the wire. (not show).
 06-12-2013, 09:57 PM
#106
Making mechanism so the wires can extend and contract witht he movement of the door handle. Materials - 2 - 3/16" washers, a 1" spring , tape & zip ties.
*If you can't find a 1" spring use one out of an old flash light and strech it if needed**
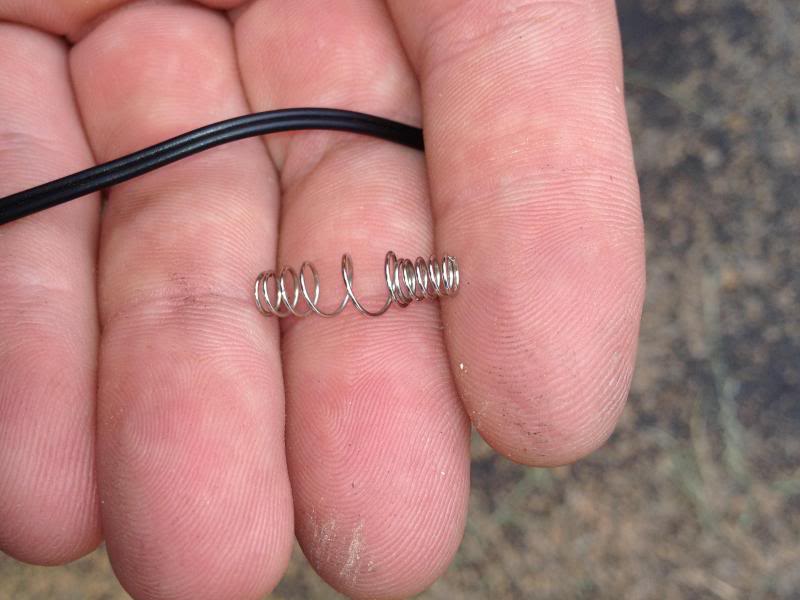
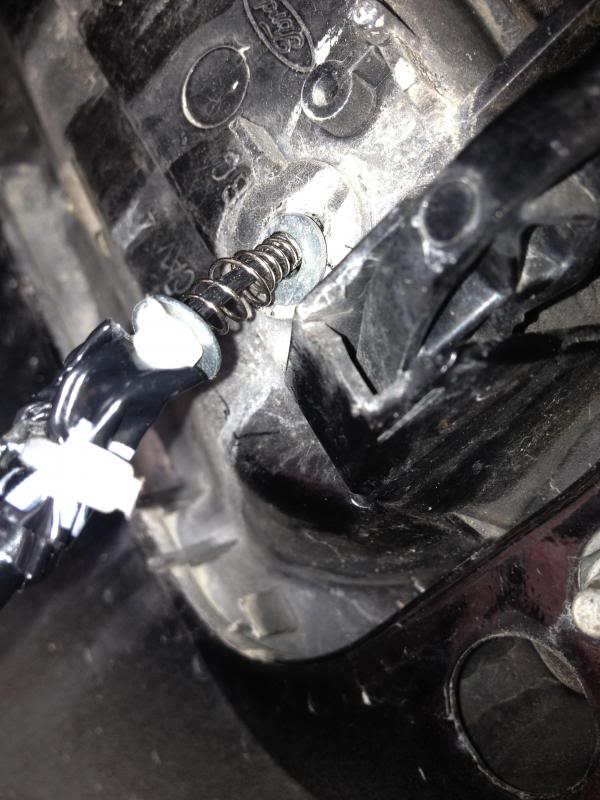
From the inside of the door panel, slide one of the 3/16" washers on the wire. Then slide on the spring, and the other washer. (The washers prevent the spring from going through the grommet and help for a smooth contraction.

Now slide the washers and springs up to the edge of the grommet.
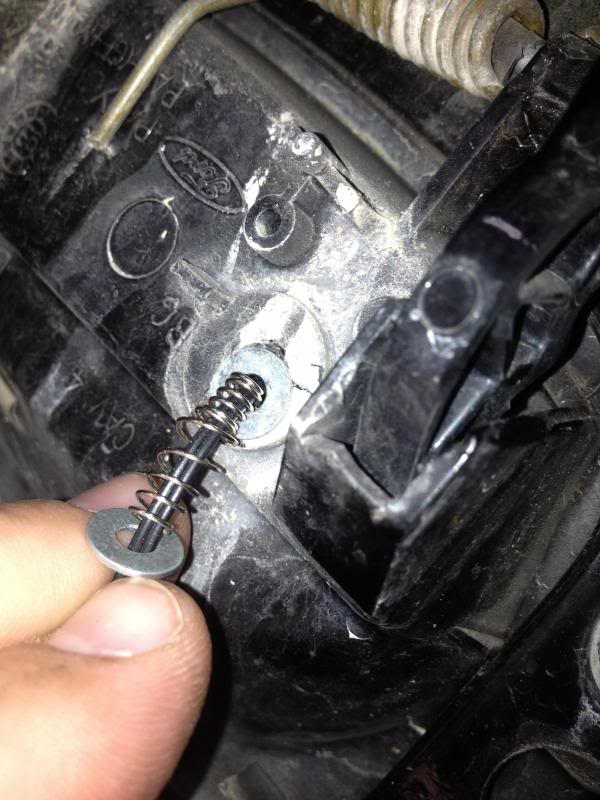
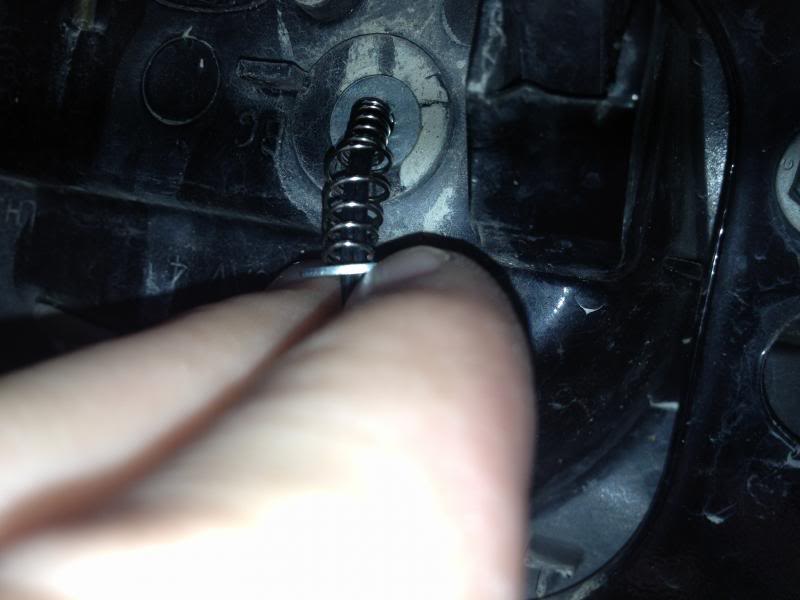
Now we need to secure the springs in place such that the wire doesn't pull through. This will only allow the spring to move and thus not letting the wire in the door jam up the door handle. We will do this by making sure the spring is all the way against the grommet (But not compressed) and attach a zip tie around the wire end so the wire cannot move through the spring/washer.
I used some mining tape and another zip tie to make sure the wire is secure.
Here is what the spring should do.
Running the wire inside the door to the courtesy lamps. Materials - (Zip ties, tape, knife)
Now for the easy part! Make sure you rurn the wires to the very left of the door, BESIDE THE POWER WINDOW TRACK! Once you run it to the left of the track, make sure to not get it caught in the lock actuator arm. Run it under the arm and out of the door frame. * Make sure to not run the wire out of the one of the square holes(This is where the door panel slides back on).
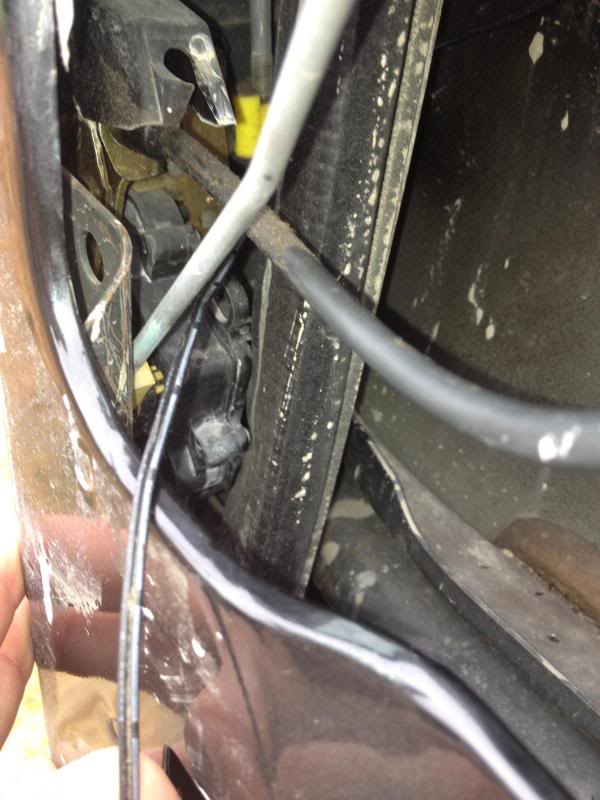
Once you have the wire outside the door, cut a small hole in the dampening material and run the wire to the courteously wire's. Put the dampening material back in place now. I chose to run a small capacity to help with the fading of the lamps, so now is when I installed the small capacity on the power wire.
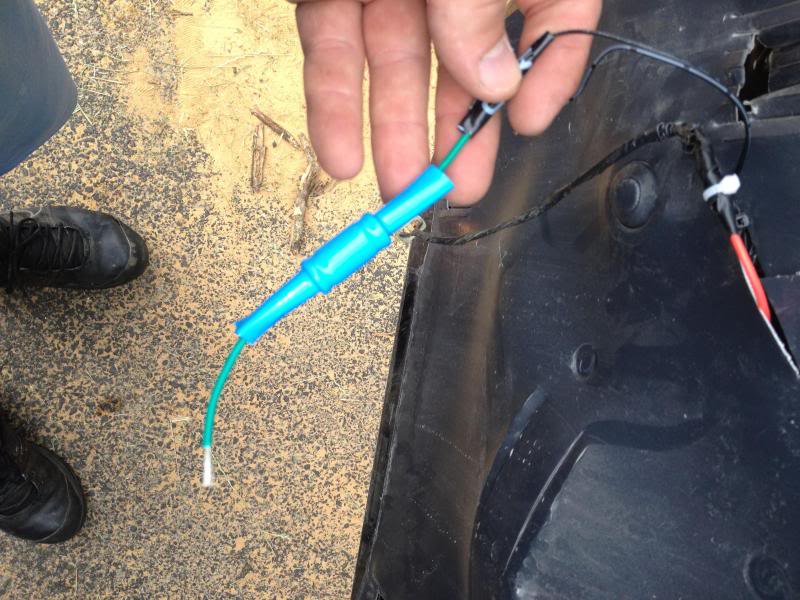
Splice the + wire from the led's into the the black/blue wire on the courtesy lamps and the - wire to the black one on the courtesy lamps. Make sure to leave enough wire to attach the courtesy bulb back into the door panel.
Tape up/Heat shrink the connections and use zip ties to secure them.
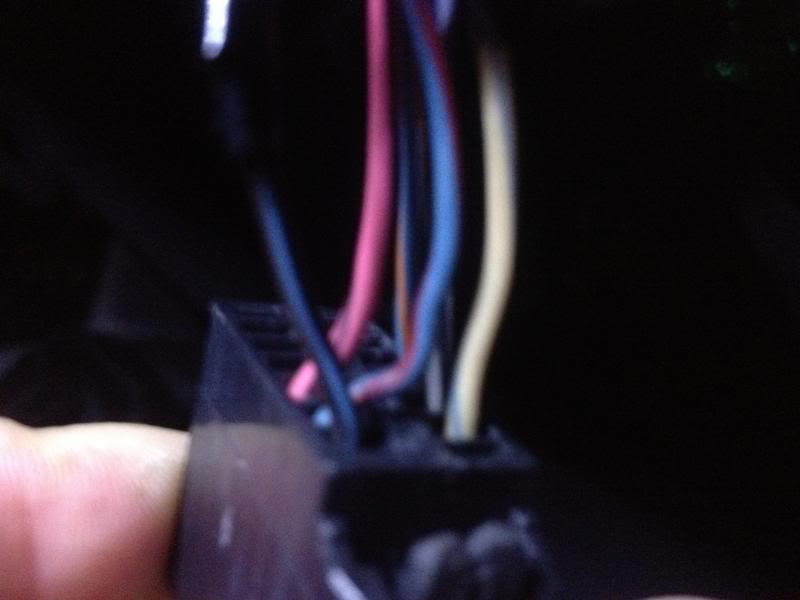
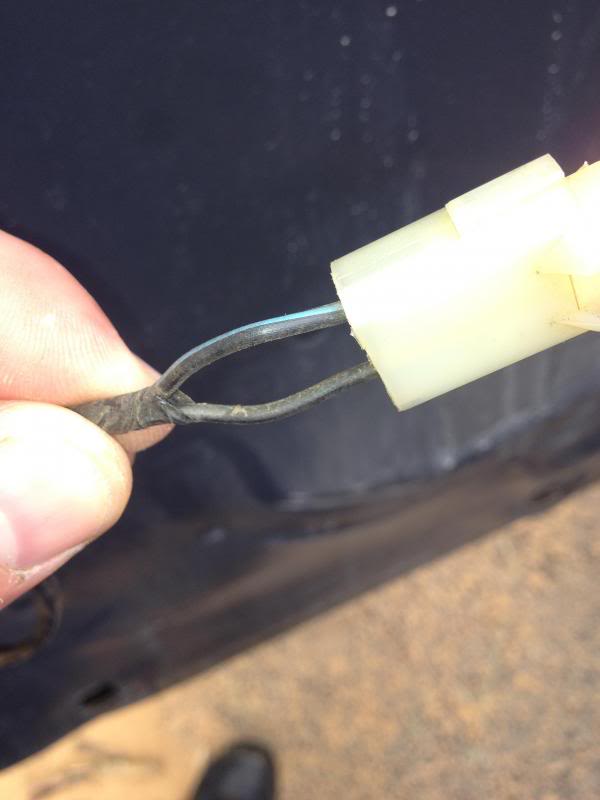
Here are the wires you are splicing into.
Note: You can tinker with some small 10k uF caps and 300 ohm resisters to get the LEDS to the lighting you prefer. You can also use a 555 timer to set up increments of how long the lights stay on and dim. I wont include all that info, but LED's are hard to dim correctly without a pulse system (555 timer setup).
Finally re install the courtesy bulb, door panel and window switches in reverse order. Put the trim piece back on and reconnect your negative battery terminal to try them out.
Now is the time to add some glue or anything u want to fill the small hole in the handle. Its not really necessary as that part of the handle rarely sees water unless your in a mud hole. So I will leave that optional.
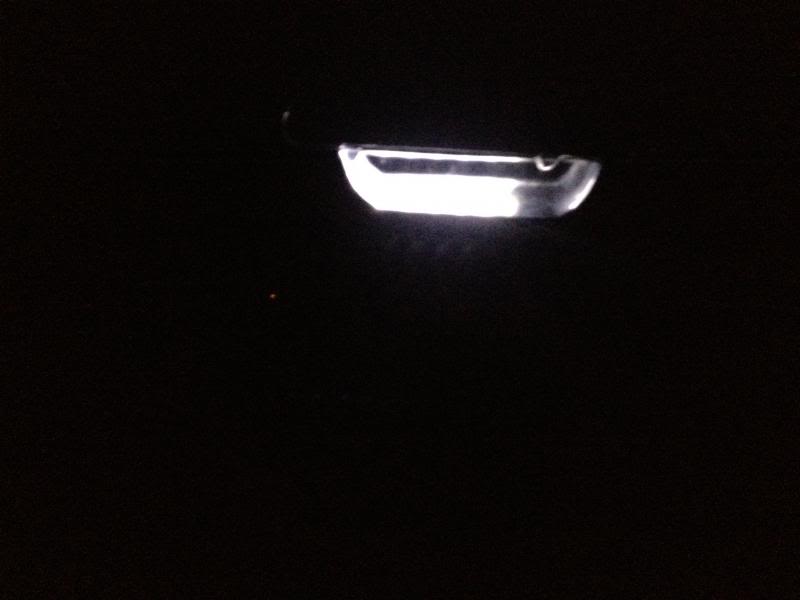
What you just accomplished.
*If you can't find a 1" spring use one out of an old flash light and strech it if needed**

From the inside of the door panel, slide one of the 3/16" washers on the wire. Then slide on the spring, and the other washer. (The washers prevent the spring from going through the grommet and help for a smooth contraction.

Now slide the washers and springs up to the edge of the grommet.


Now we need to secure the springs in place such that the wire doesn't pull through. This will only allow the spring to move and thus not letting the wire in the door jam up the door handle. We will do this by making sure the spring is all the way against the grommet (But not compressed) and attach a zip tie around the wire end so the wire cannot move through the spring/washer.

I used some mining tape and another zip tie to make sure the wire is secure.
Here is what the spring should do.
Running the wire inside the door to the courtesy lamps. Materials - (Zip ties, tape, knife)
Now for the easy part! Make sure you rurn the wires to the very left of the door, BESIDE THE POWER WINDOW TRACK! Once you run it to the left of the track, make sure to not get it caught in the lock actuator arm. Run it under the arm and out of the door frame. * Make sure to not run the wire out of the one of the square holes(This is where the door panel slides back on).

Once you have the wire outside the door, cut a small hole in the dampening material and run the wire to the courteously wire's. Put the dampening material back in place now. I chose to run a small capacity to help with the fading of the lamps, so now is when I installed the small capacity on the power wire.

Splice the + wire from the led's into the the black/blue wire on the courtesy lamps and the - wire to the black one on the courtesy lamps. Make sure to leave enough wire to attach the courtesy bulb back into the door panel.
Tape up/Heat shrink the connections and use zip ties to secure them.
Here are the wires you are splicing into.

Note: You can tinker with some small 10k uF caps and 300 ohm resisters to get the LEDS to the lighting you prefer. You can also use a 555 timer to set up increments of how long the lights stay on and dim. I wont include all that info, but LED's are hard to dim correctly without a pulse system (555 timer setup).
Finally re install the courtesy bulb, door panel and window switches in reverse order. Put the trim piece back on and reconnect your negative battery terminal to try them out.

Now is the time to add some glue or anything u want to fill the small hole in the handle. Its not really necessary as that part of the handle rarely sees water unless your in a mud hole. So I will leave that optional.
What you just accomplished.
The following users liked this post:
Kokopelli (09-22-2021)
