
99-03 LED cluster color change

Thread Starter
call me Randy
iTrader: (1)
Joined: Nov 2010
Posts: 6,502
Likes: 175
From: Salisbury, NC
For the people who dont like the green illumination in our truck heres how you can change that.
Whats included in the color swap...
Cluster
HVAC
Door switches
headlight switch
cruise buttons
Whats needed...
Cluster - 37/74 style LEDs X6
HVAC - 194 style LEDs X2
Door switches - 3.5mm x 2.8mm surface mount LEDs X5
Headlight switch - 5mm LED X1 + 680ohm 1/2watt resistor X1
Cruise Buttons - 3mm LED X3 + 680ohm 1/2watt resistor X2
I got all the LEDs from www.superbrightleds.com except for the surface mounts, I got those from www.oznium.com
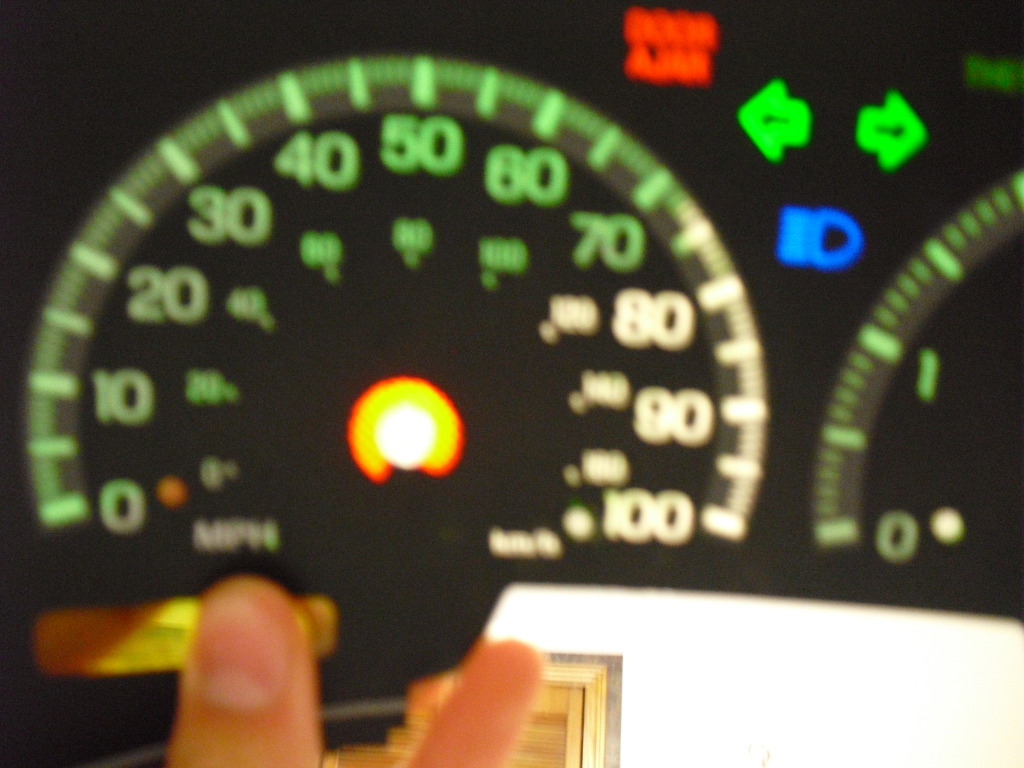
First off youll want to take a picture of every gauge with the truck turned off to mark the needle location.
This is an extremely important step!! start the truck and let it idle for about 5 minutes and take a picture of all the gauges, mines idles at 800RPM, to make it easier on yourself do it when your fuel level is right on a line.
Then youll need to remove the cluster from the truck, I wont go into detail about how to do that on this thread, If you dont already know how you can visit my odometer fix thread where i showed step by step how to remove it... link below
https://www.f150forum.com/f75/97-03-odometer-fix-93814/
Then take a T15 torx bit and take the back plate off

Now go ahead and undo the ribbon wire on the odometer and gently pry the circuit board off
Flip it over and remove the rest of the T15 torx screws and take it apart
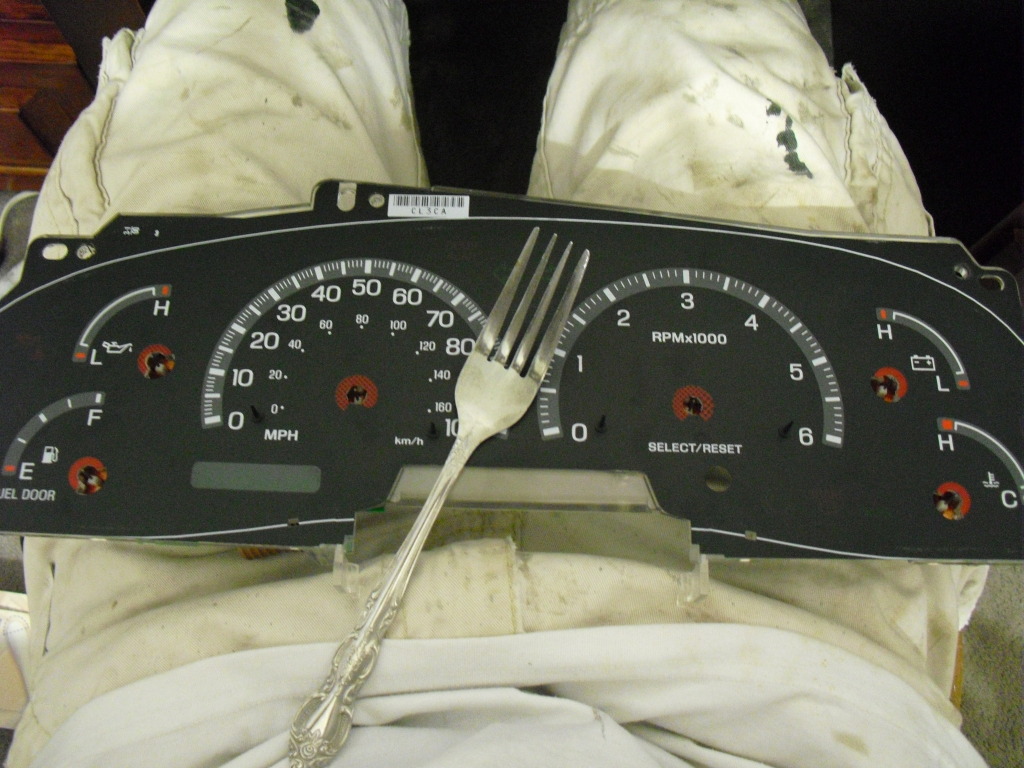
Now youll have to remove the needles, to do this i just used a fork
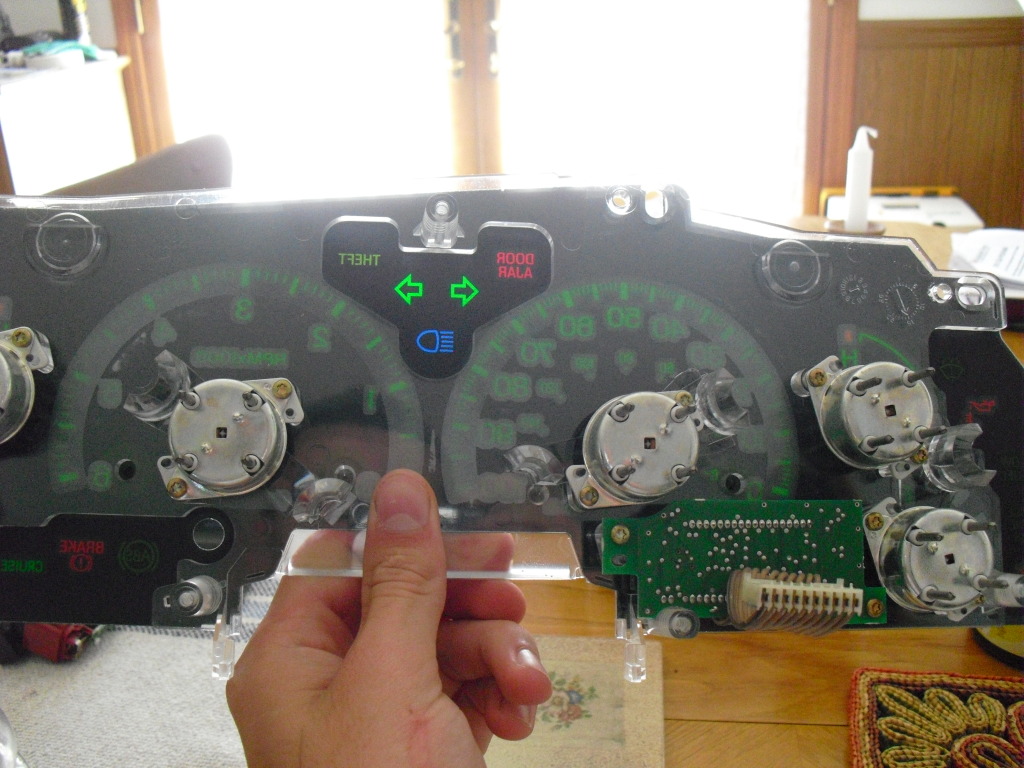
Now you want to be real careful, seriously if not youll make a cut on the overlay. its glued down in a few spots so start pulling it off on one side, it may help to heat it up too, when you get to the glue spots, and youll know it when you get there, I used a sharp razor blade to cut the glue close to the plastic backing plate. Now you have the overlay off
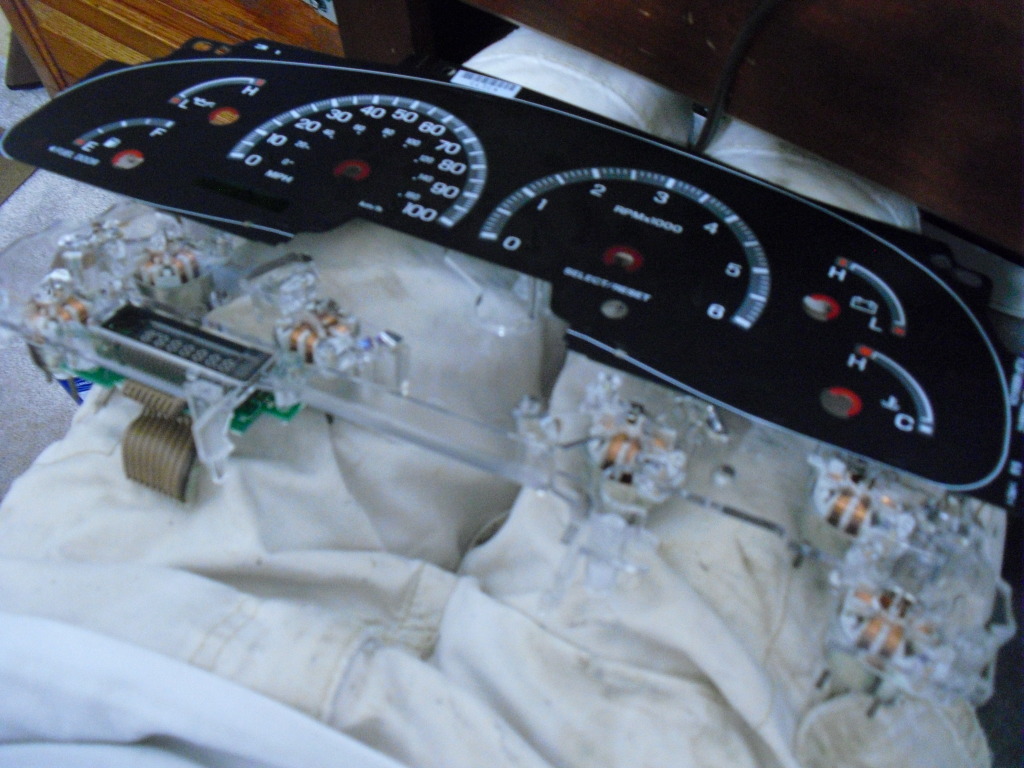
Then just pop the pegs on the speedo and tach off and lay them with the needles
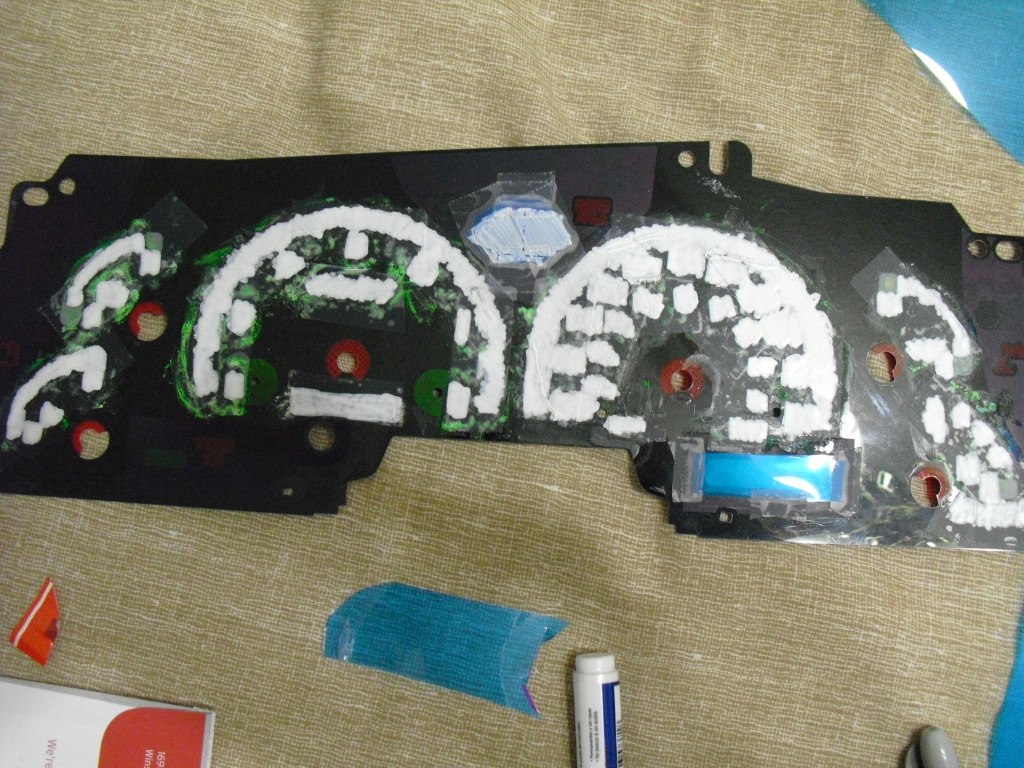
Heres where it gets fun, you have to remove the green tint. I used a bunch of Q-tips and acetone. On the odometer I first used finger nail polish remover but it still looked green so i went back over it and it went clear. Only use the cleaners on the back because it will eat away the black on the front
Now when you get all the green tint stripped you can put some white over it to reduce hotspots and diffuse the light. I put down scotch tape and used a paint marker to go over it all. to add color to the odometer you can either put scotch tape and sharpie it or tape down some film, I used blue plastic film i got at micheals
Now its a good idea to reinstall the cluster temporary to check for hotspots so you can put another layer of white on the back in those areas
When it looks good to you then put the cluster back together and lay it to the side. I used some 3M spray adhesive to glue it back on.
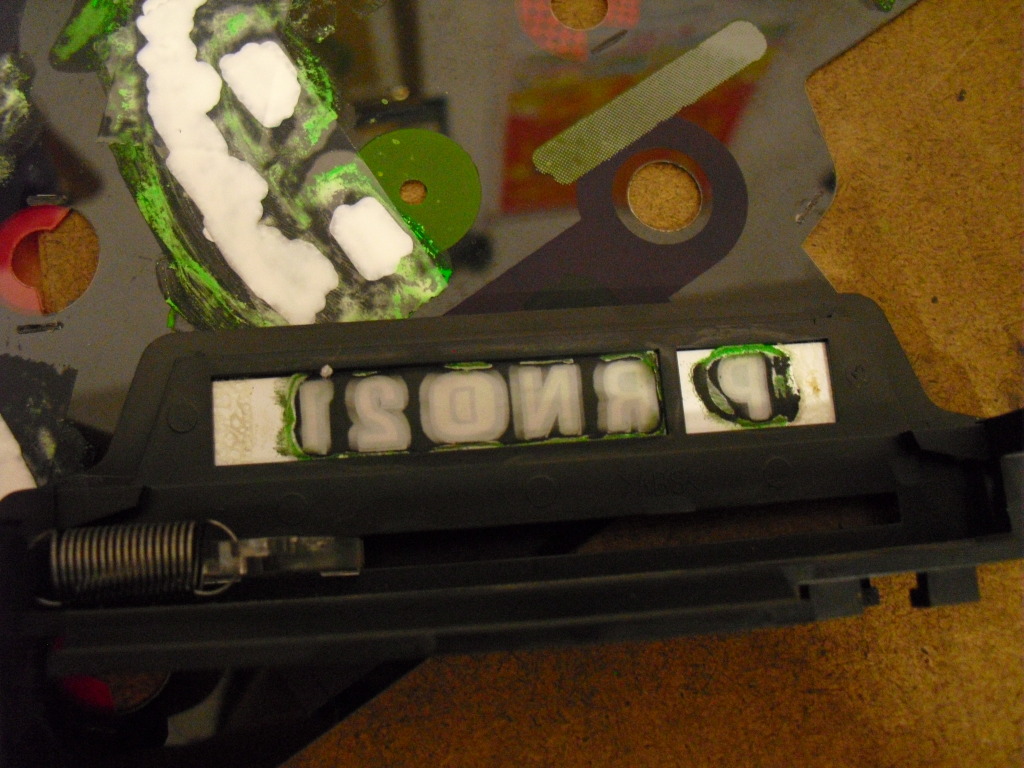
I doubt you want a green gear selector so youll have to strip the green off of it too. To do this use more Q-tips and finger nail polish remover. FINGER NAIL POLISH REMOVER! NOT ACETONE. Acetone will turn it into a clear rectangle. Then more scotch tape and white paint
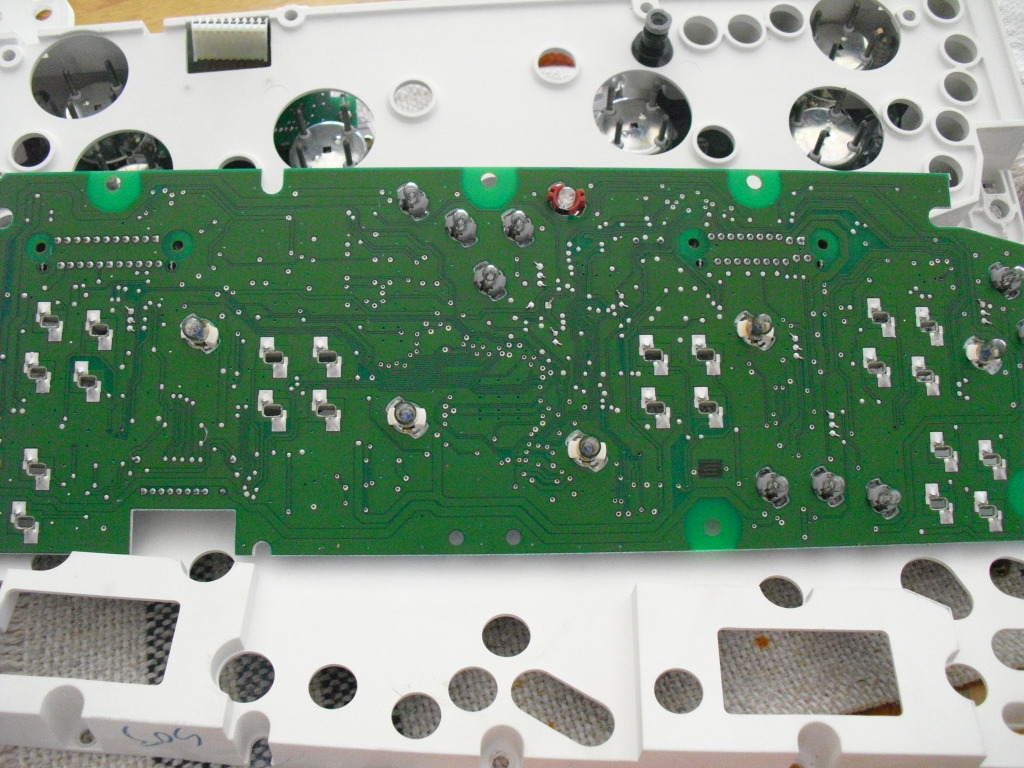
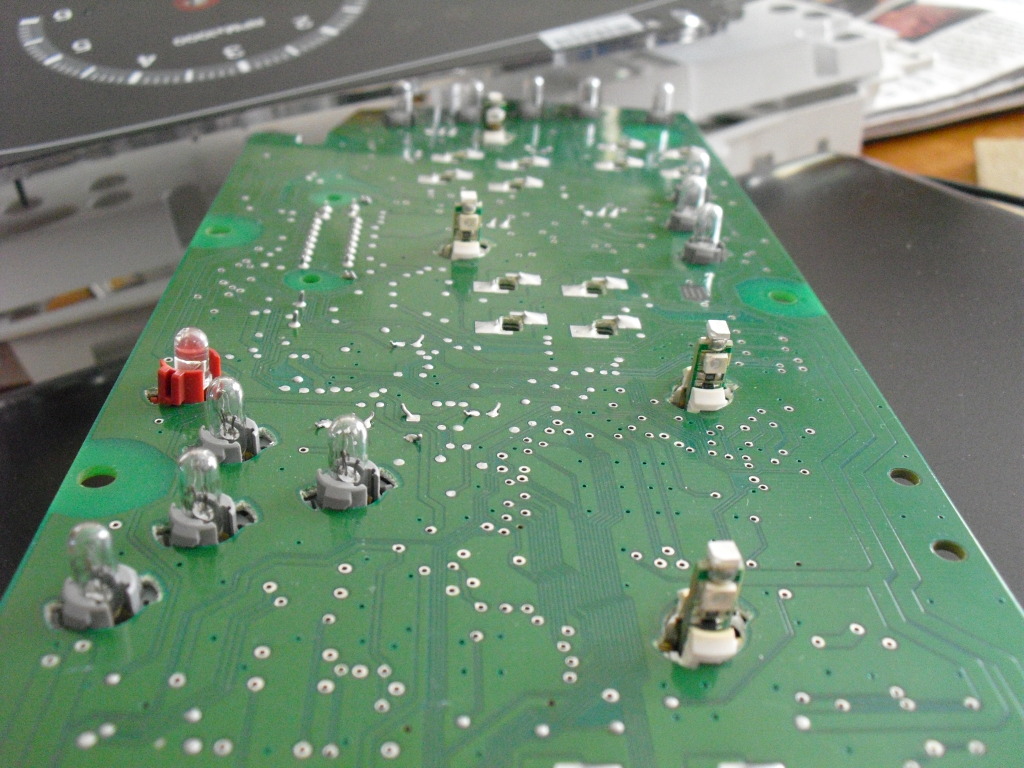
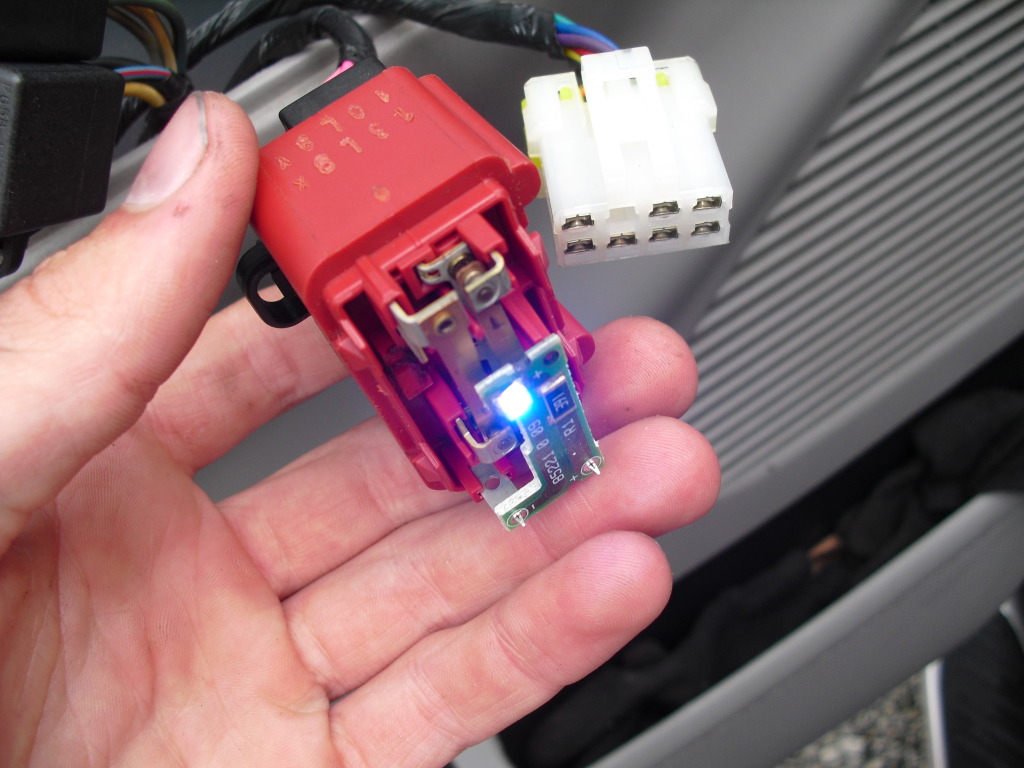
Heres just a pic of the circuit board with the LED installed
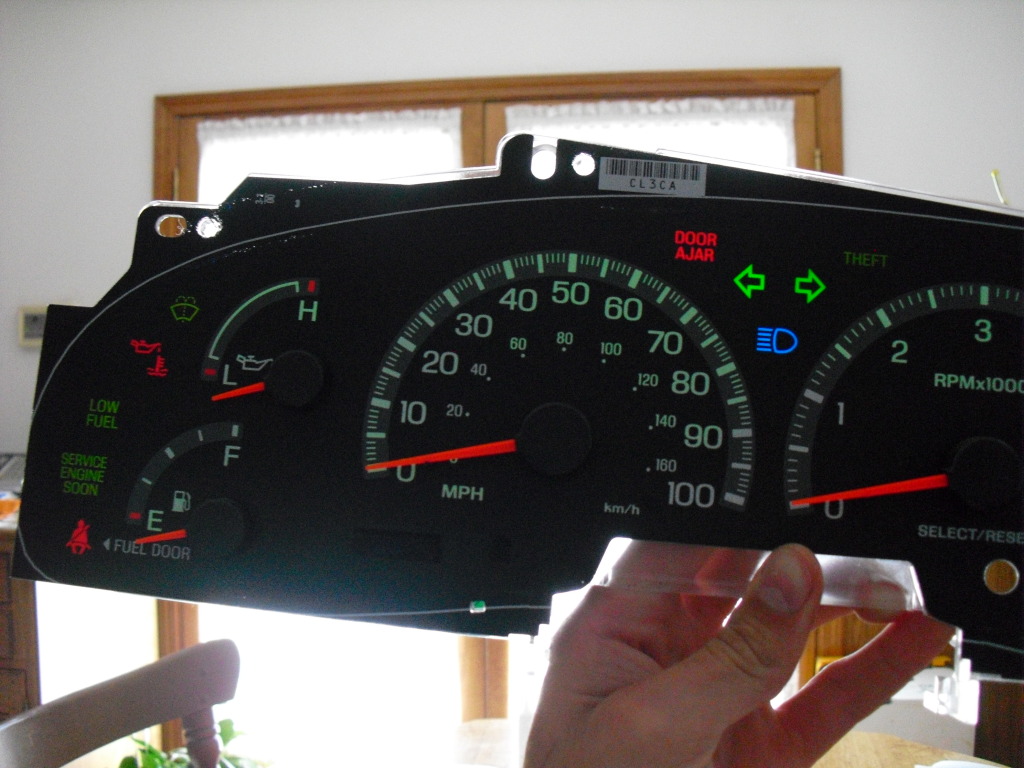
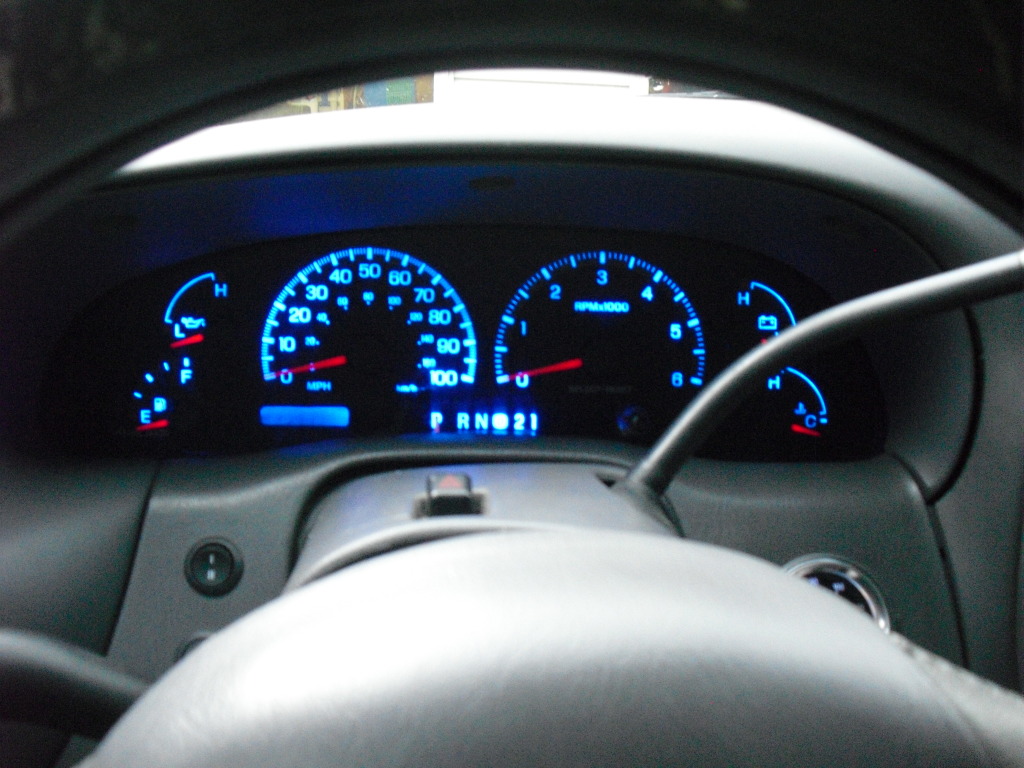
Now you can reinstall the cluster and set the needles. I mainly used the pics of it running after 5 minutes to set them accurately. Dont push them on too hard or they'll stick and not sweep correctly.
To set the speedometer youll have to do it moving. I found a long straight road and set the cruise at 40mph according to my GPS which I've tested and its really accurate. Had my buddy hold the steering wheel to keep it on the road while i positioned the needle and reinstalled it. Now all my gauges are as accurate if not more than they were before.
Whats included in the color swap...
Cluster
HVAC
Door switches
headlight switch
cruise buttons
Whats needed...
Cluster - 37/74 style LEDs X6
HVAC - 194 style LEDs X2
Door switches - 3.5mm x 2.8mm surface mount LEDs X5
Headlight switch - 5mm LED X1 + 680ohm 1/2watt resistor X1
Cruise Buttons - 3mm LED X3 + 680ohm 1/2watt resistor X2
I got all the LEDs from www.superbrightleds.com except for the surface mounts, I got those from www.oznium.com
First off youll want to take a picture of every gauge with the truck turned off to mark the needle location.
This is an extremely important step!! start the truck and let it idle for about 5 minutes and take a picture of all the gauges, mines idles at 800RPM, to make it easier on yourself do it when your fuel level is right on a line.
Then youll need to remove the cluster from the truck, I wont go into detail about how to do that on this thread, If you dont already know how you can visit my odometer fix thread where i showed step by step how to remove it... link below
https://www.f150forum.com/f75/97-03-odometer-fix-93814/
Then take a T15 torx bit and take the back plate off
Now go ahead and undo the ribbon wire on the odometer and gently pry the circuit board off
Flip it over and remove the rest of the T15 torx screws and take it apart
Now youll have to remove the needles, to do this i just used a fork
Now you want to be real careful, seriously if not youll make a cut on the overlay. its glued down in a few spots so start pulling it off on one side, it may help to heat it up too, when you get to the glue spots, and youll know it when you get there, I used a sharp razor blade to cut the glue close to the plastic backing plate. Now you have the overlay off
Then just pop the pegs on the speedo and tach off and lay them with the needles
Heres where it gets fun, you have to remove the green tint. I used a bunch of Q-tips and acetone. On the odometer I first used finger nail polish remover but it still looked green so i went back over it and it went clear. Only use the cleaners on the back because it will eat away the black on the front
Now when you get all the green tint stripped you can put some white over it to reduce hotspots and diffuse the light. I put down scotch tape and used a paint marker to go over it all. to add color to the odometer you can either put scotch tape and sharpie it or tape down some film, I used blue plastic film i got at micheals
Now its a good idea to reinstall the cluster temporary to check for hotspots so you can put another layer of white on the back in those areas
When it looks good to you then put the cluster back together and lay it to the side. I used some 3M spray adhesive to glue it back on.
I doubt you want a green gear selector so youll have to strip the green off of it too. To do this use more Q-tips and finger nail polish remover. FINGER NAIL POLISH REMOVER! NOT ACETONE. Acetone will turn it into a clear rectangle. Then more scotch tape and white paint
Heres just a pic of the circuit board with the LED installed
Now you can reinstall the cluster and set the needles. I mainly used the pics of it running after 5 minutes to set them accurately. Dont push them on too hard or they'll stick and not sweep correctly.
To set the speedometer youll have to do it moving. I found a long straight road and set the cruise at 40mph according to my GPS which I've tested and its really accurate. Had my buddy hold the steering wheel to keep it on the road while i positioned the needle and reinstalled it. Now all my gauges are as accurate if not more than they were before.
Last edited by Lenn; Nov 5, 2012 at 04:49 PM.
Thread Starter
call me Randy
iTrader: (1)
Joined: Nov 2010
Posts: 6,502
Likes: 175
From: Salisbury, NC
Next up the HVAC!
First you need to pop off the radio and hvac surround and unplug the airbag switch.
Then unscrew the 4 bolts holding the hvac in and disconnect all the wiring harnesses on the back, this kind of takes a while
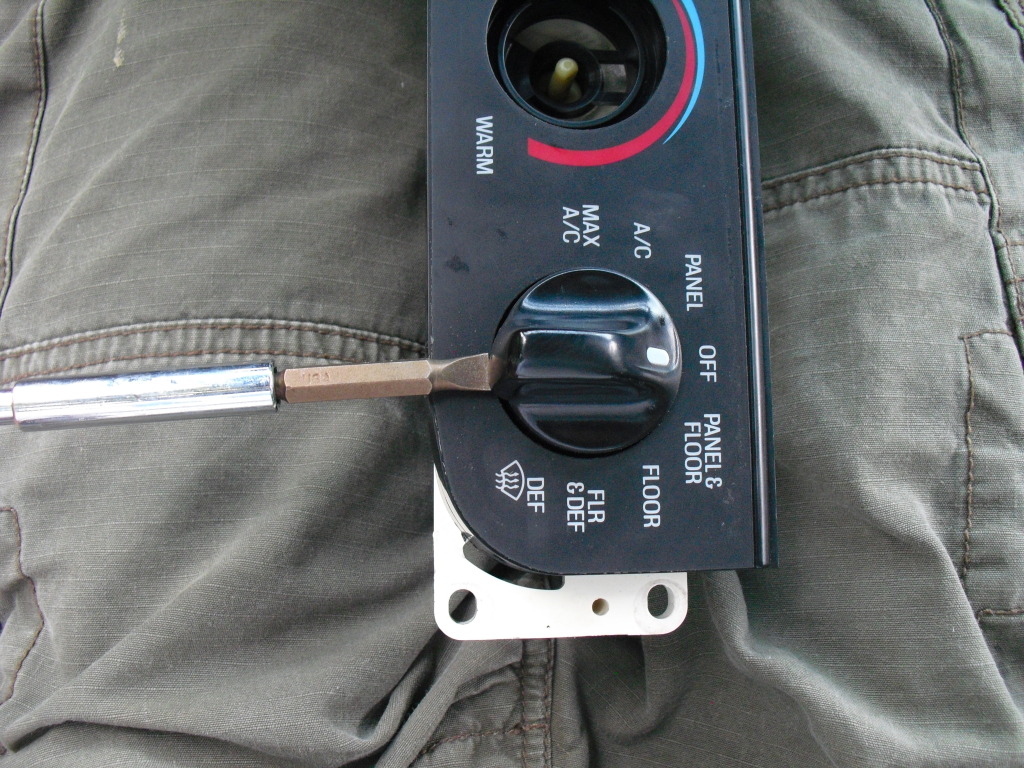
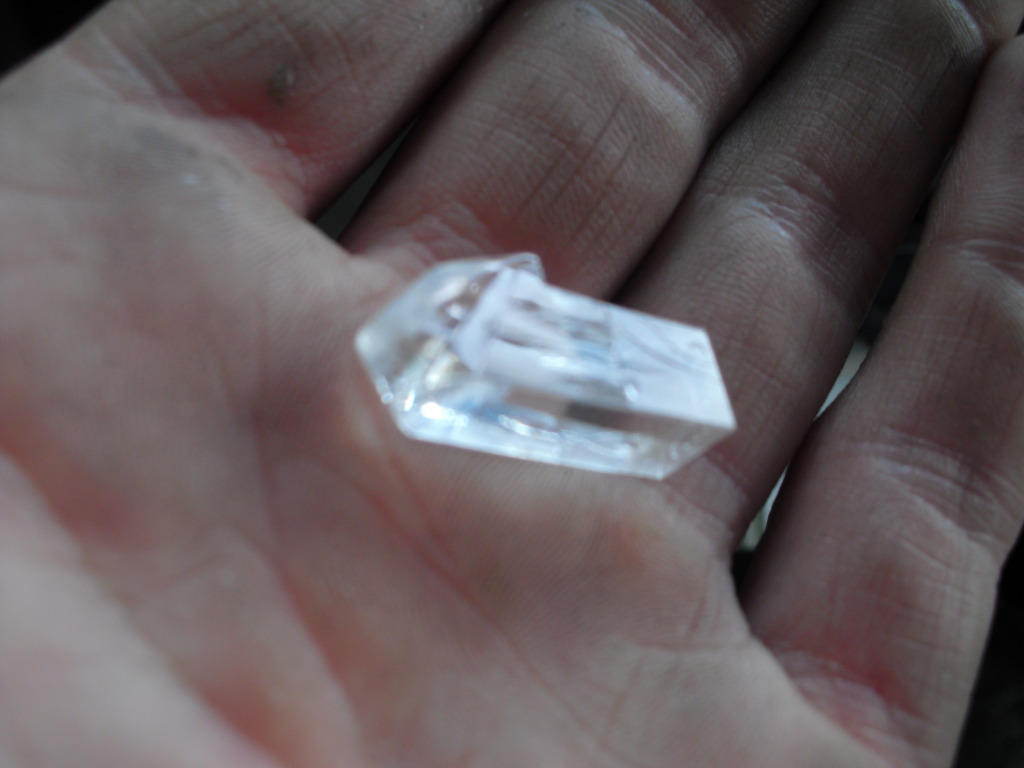
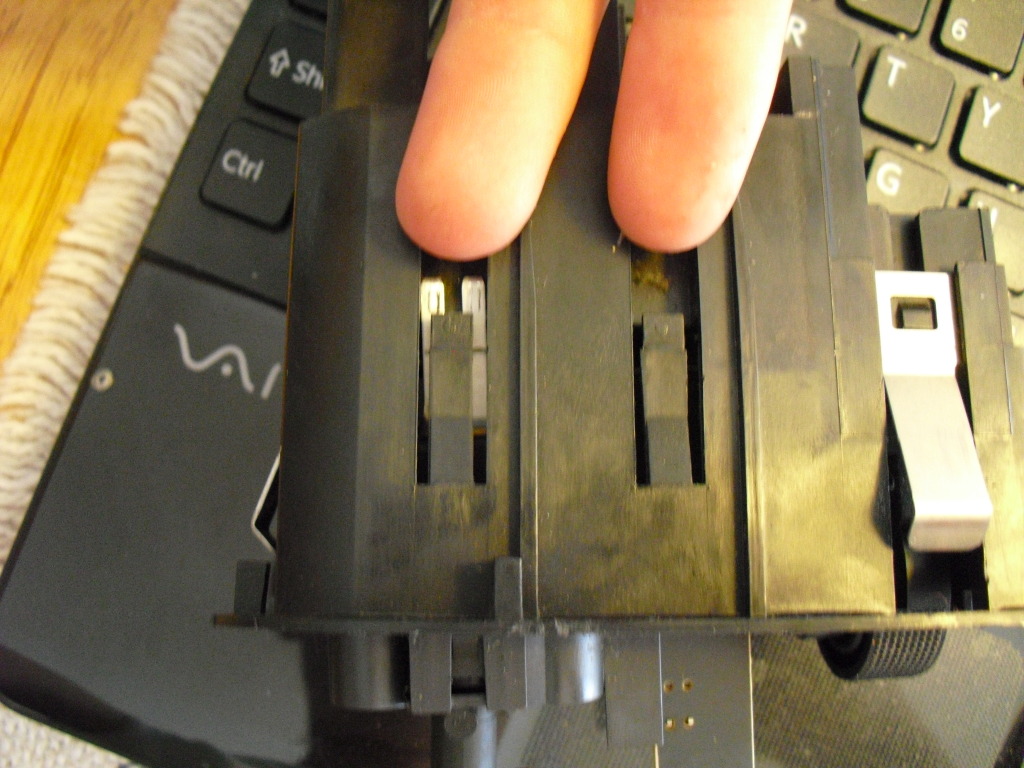
Now you can take a flat head screw driver and pop the ***** off
When you flip the ***** over youll see a little green cube
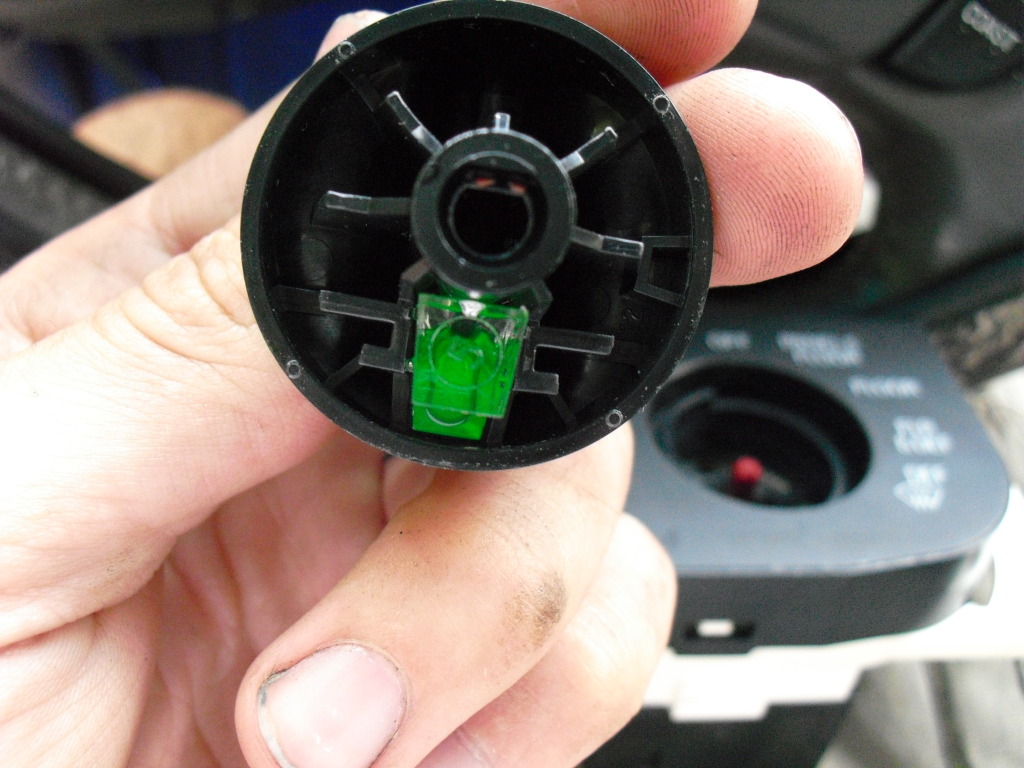
Just grab it and pull it out
I used my razor blade to scrape all the green and white off the tip. HOWEVER in later years they did switch to a solid green piece so in that case youll need to find a earlier model junker and grab the ***** off of it
Then I taped off around the tips and spray painted the tips back white so their visible in daylight. Now just stick them back in the *****.
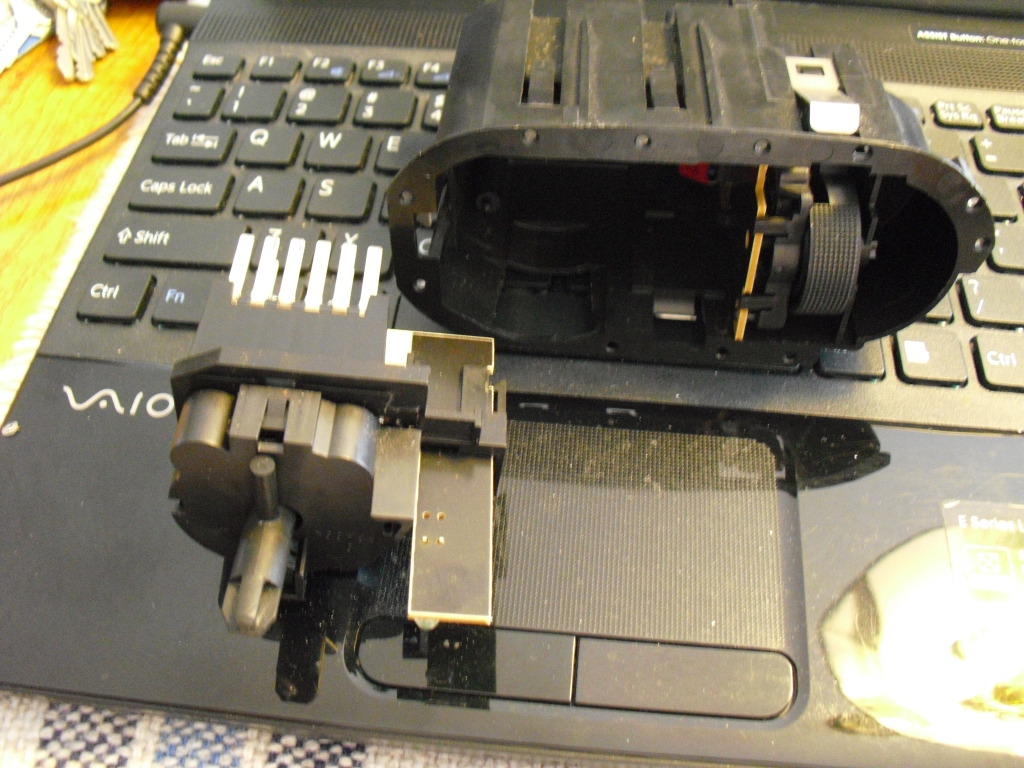
Now you can pry the back off, which is quite a pain since theres so many
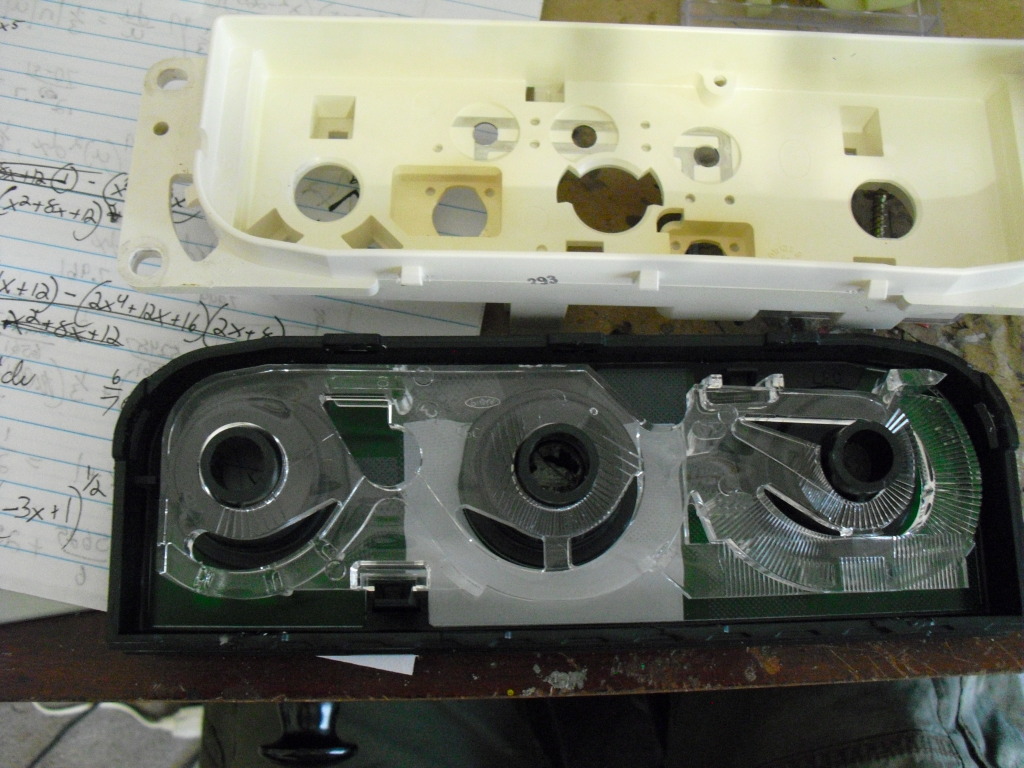
Unclip the clear piece that directs the light and dump the green sheet out
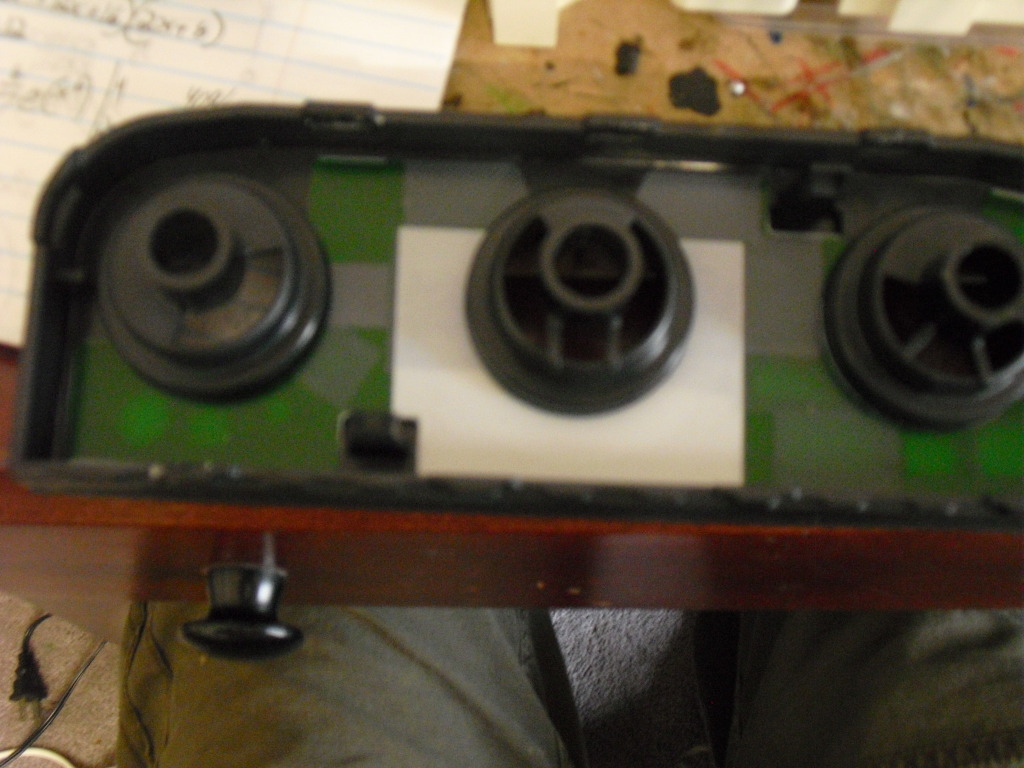
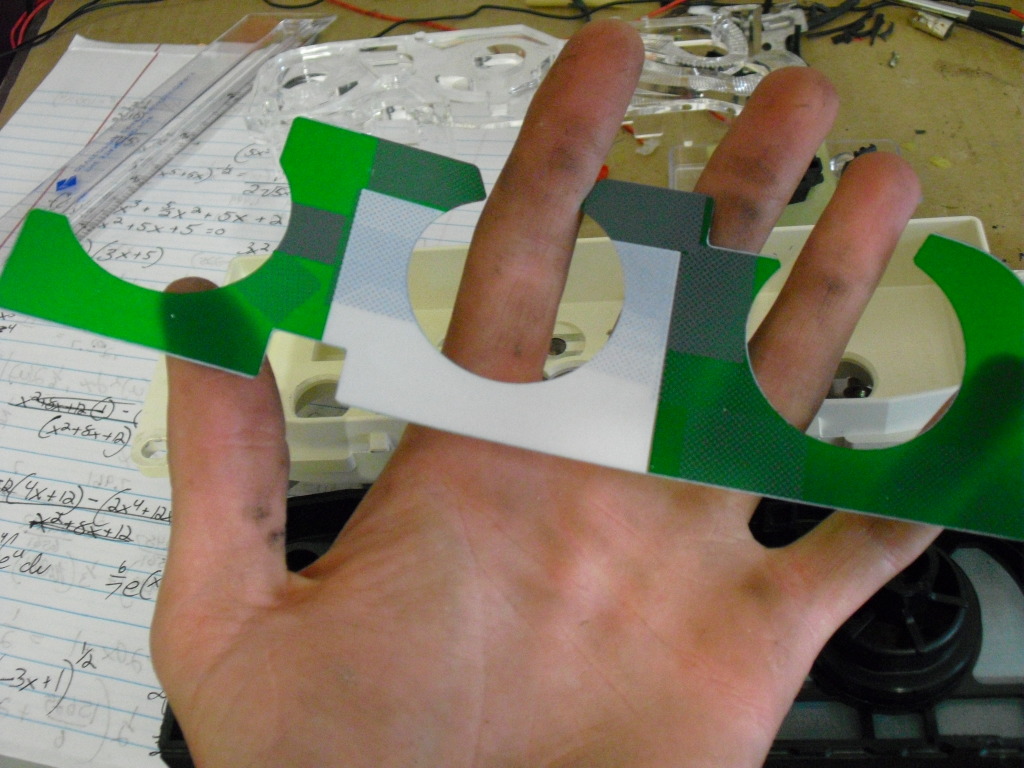
Now put some scotch tape on the bottom parts and paint it white, If you dont youll have bad hotspots
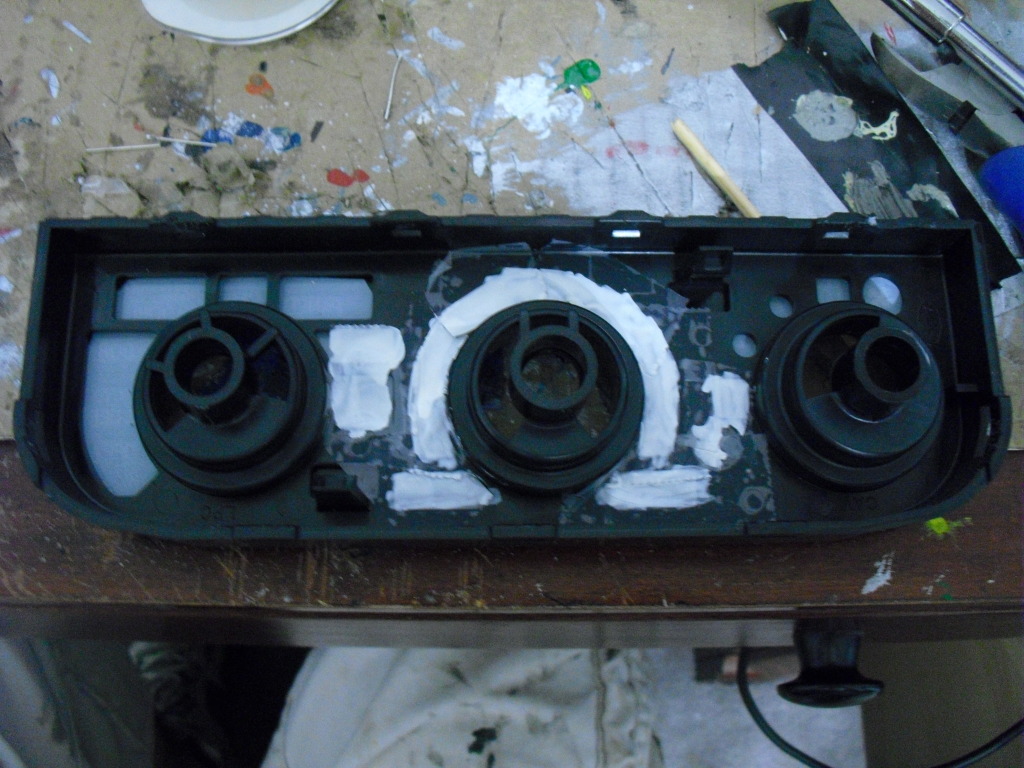
Now just put it all back together, minus the green sheet, and press the ***** back in place.
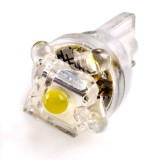
I used these LEDs
Now the HVAC is DONE! just reinstall it in the truck and enjoy the new color
First you need to pop off the radio and hvac surround and unplug the airbag switch.
Then unscrew the 4 bolts holding the hvac in and disconnect all the wiring harnesses on the back, this kind of takes a while
Now you can take a flat head screw driver and pop the ***** off
When you flip the ***** over youll see a little green cube
Just grab it and pull it out
I used my razor blade to scrape all the green and white off the tip. HOWEVER in later years they did switch to a solid green piece so in that case youll need to find a earlier model junker and grab the ***** off of it
Then I taped off around the tips and spray painted the tips back white so their visible in daylight. Now just stick them back in the *****.
Now you can pry the back off, which is quite a pain since theres so many
Unclip the clear piece that directs the light and dump the green sheet out
Now put some scotch tape on the bottom parts and paint it white, If you dont youll have bad hotspots
Now just put it all back together, minus the green sheet, and press the ***** back in place.
I used these LEDs
Now the HVAC is DONE! just reinstall it in the truck and enjoy the new color
Thread Starter
call me Randy
iTrader: (1)
Joined: Nov 2010
Posts: 6,502
Likes: 175
From: Salisbury, NC
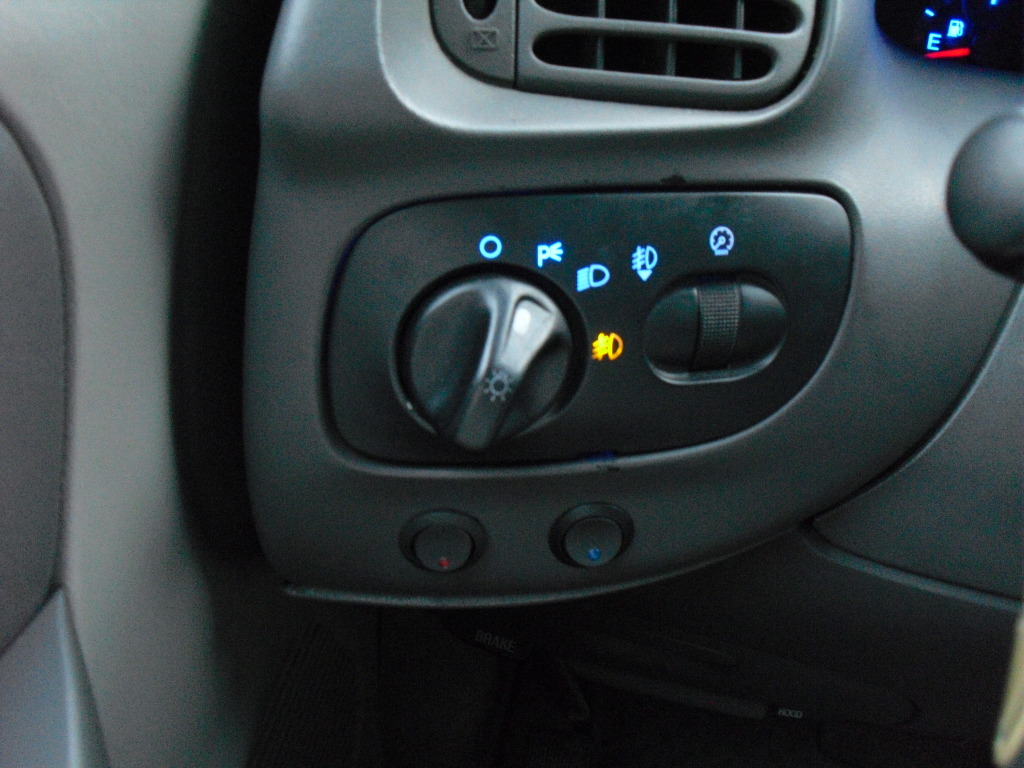
Ok, Next up the Headlight Switch
To do this you do technically have to 'break' the switch.
First Pull the **** out like for fogs and stick something small in the hole to release the ****, now just pull it off
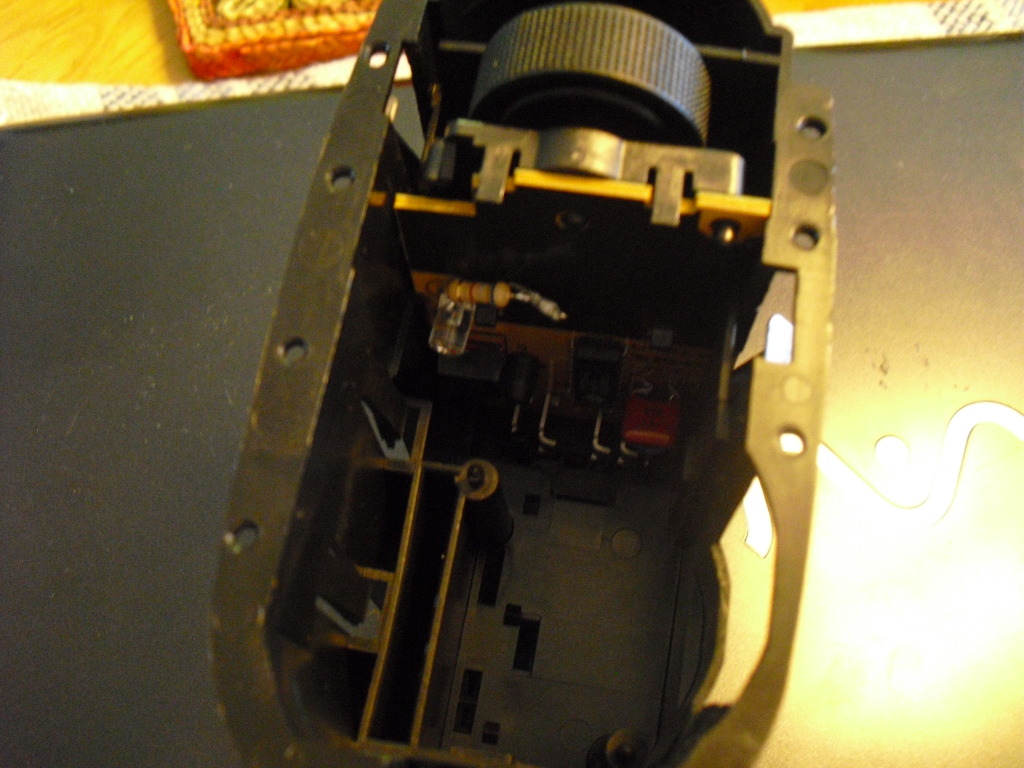
To get to the inside you have to pop the faceplate off, this is what I mean by breaking it.

Undo these 2 clips to the first half can pull out
grab the shaft and pull it out
The next half is harder to get out, the clips are harder to get to, you can see them here
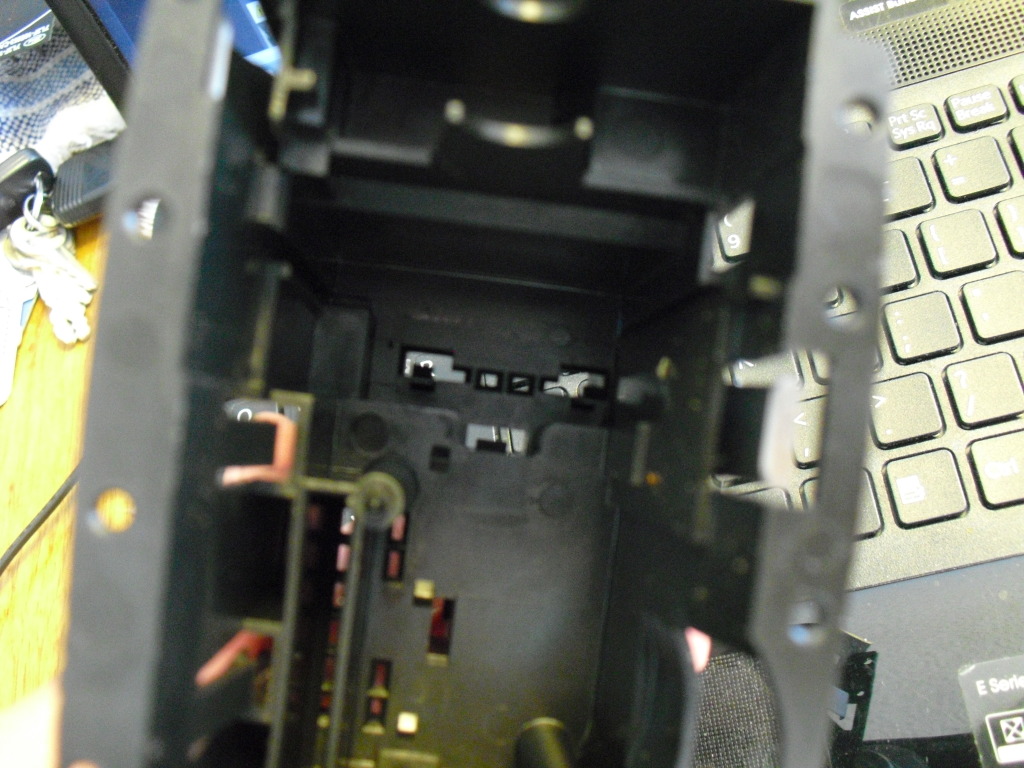
Now pull that half out
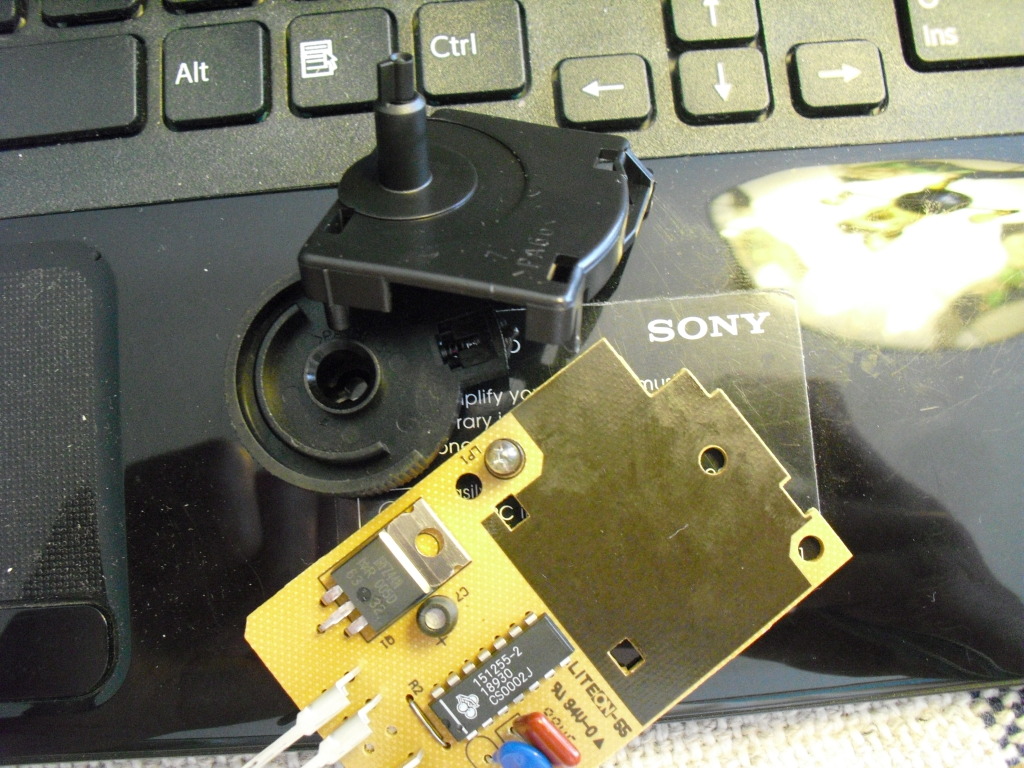
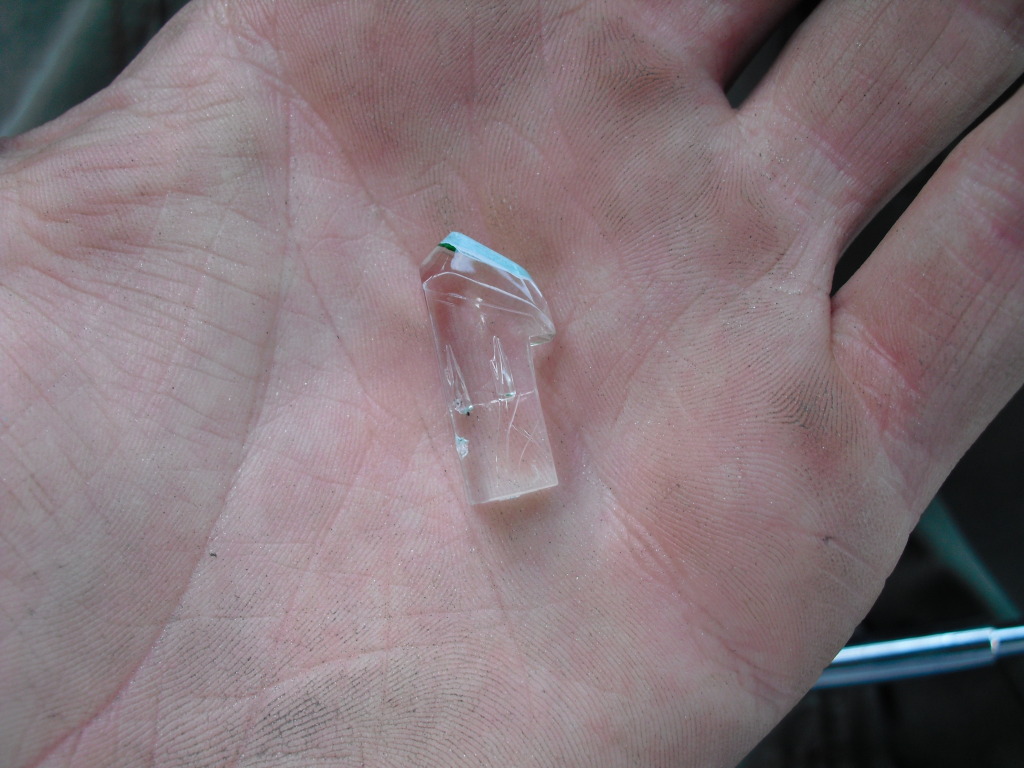
Here is the bulb that your replacing, and the green cover that was on it that I ripped off
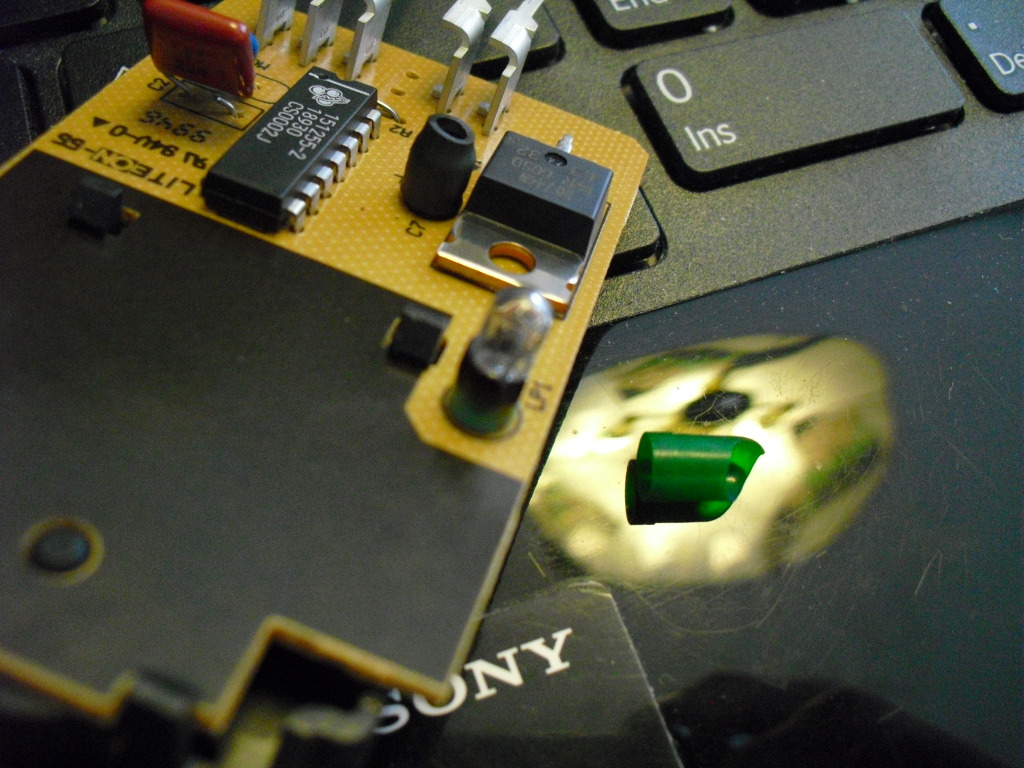
Now unsolder the leads on the back to pull it off.
Stick the negative lead back in the original hole (lower) and solder it on there
Stick one side of the 680ohm 1/2watt resister in the original hole and solder it on there
Now wrap the positive lead on the LED around the lead on the resistor and solder them together
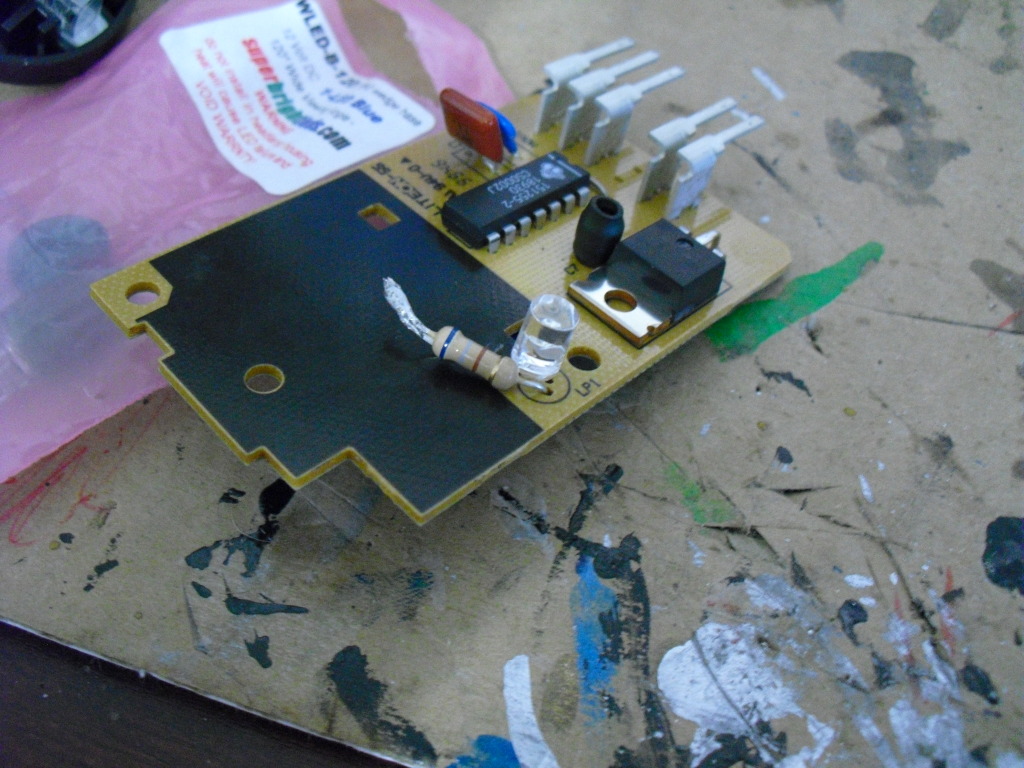
Try to get the new LED as close to the stock bulb location as possible and put the dimmer switch side back in

Now finish reinstalling the switch parts, I used 2 part loctite epoxy to put the faceplate back on
Alright now your done with the headlight switch
To do this you do technically have to 'break' the switch.
First Pull the **** out like for fogs and stick something small in the hole to release the ****, now just pull it off
To get to the inside you have to pop the faceplate off, this is what I mean by breaking it.
Undo these 2 clips to the first half can pull out
grab the shaft and pull it out
The next half is harder to get out, the clips are harder to get to, you can see them here
Now pull that half out
Here is the bulb that your replacing, and the green cover that was on it that I ripped off
Now unsolder the leads on the back to pull it off.
Stick the negative lead back in the original hole (lower) and solder it on there
Stick one side of the 680ohm 1/2watt resister in the original hole and solder it on there
Now wrap the positive lead on the LED around the lead on the resistor and solder them together
Try to get the new LED as close to the stock bulb location as possible and put the dimmer switch side back in
Now finish reinstalling the switch parts, I used 2 part loctite epoxy to put the faceplate back on
Alright now your done with the headlight switch
Last edited by Lenn; Nov 5, 2012 at 04:49 PM.
Thread Starter
call me Randy
iTrader: (1)
Joined: Nov 2010
Posts: 6,502
Likes: 175
From: Salisbury, NC
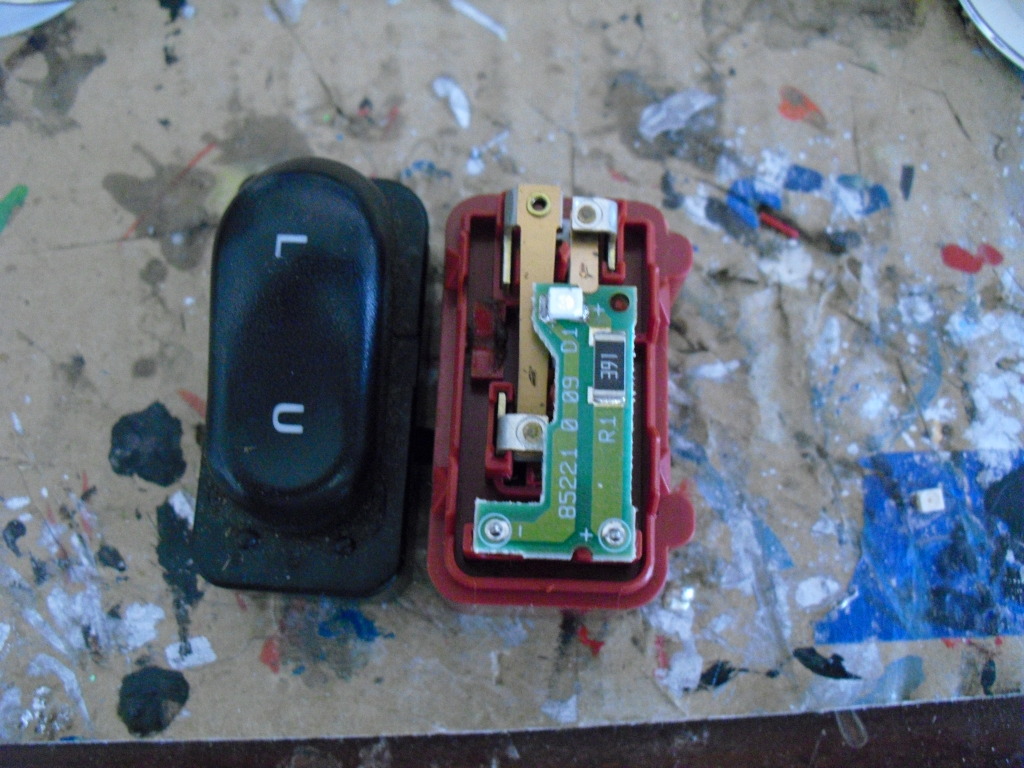
Ok now possibly the easiest thing to convert... The door switches
Remove the switches from the door
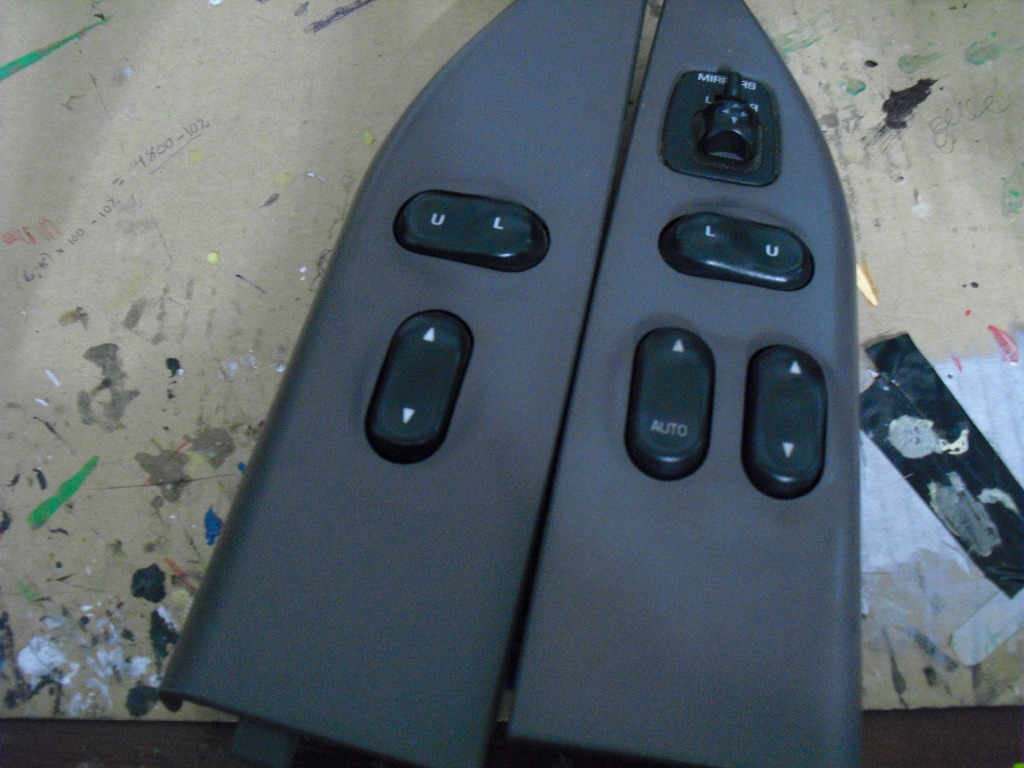
Flip them over and unclip them to get the actual switches out, I used an ice pick

Now pop the 2 sides of the switches apart to expose the light
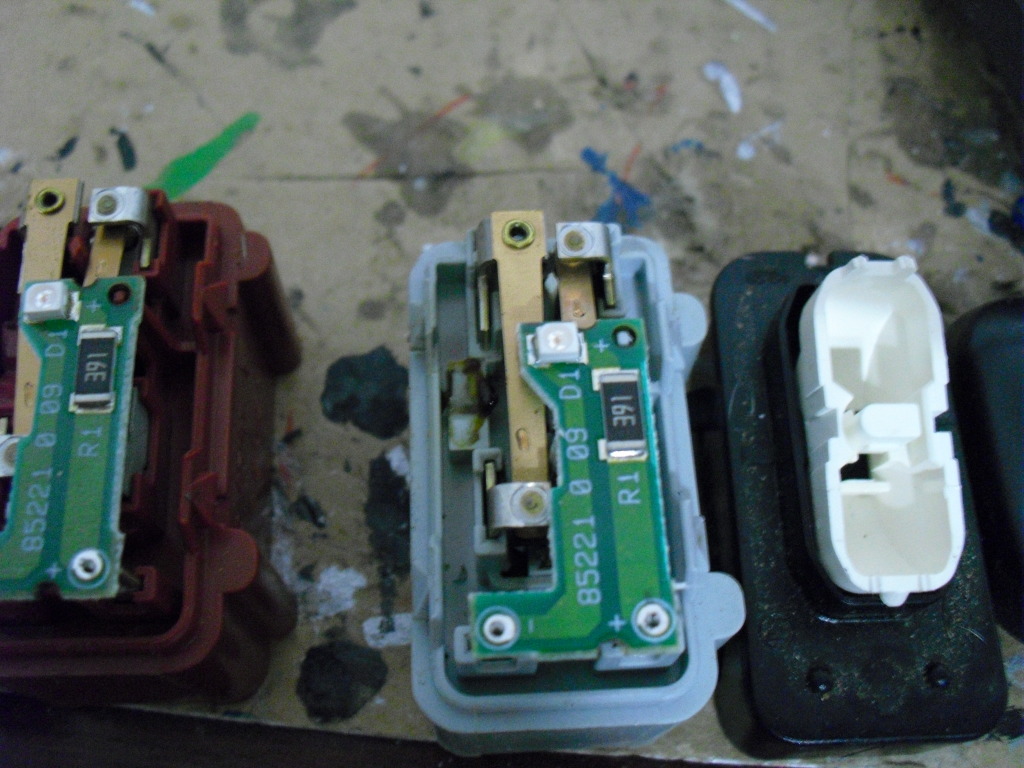
Yep, those little tiny squares are the lights.
Now take a small pair of needle nose pliers to grab the LED and use a soldering iron to unsolder the LED.
Make note of the pattern inside the original LED and which way it was in there so you put the new LEDs in the same way, If not they wont burn
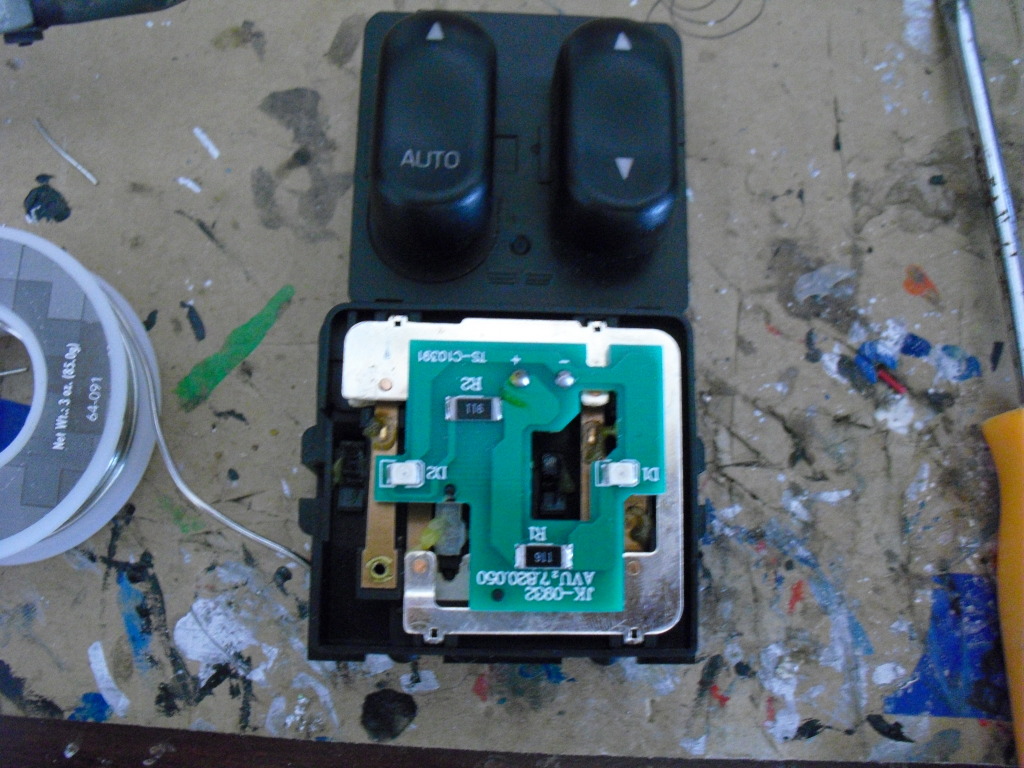
The LEDs needed, I ordered 8 but you only need 5, only $.59 each
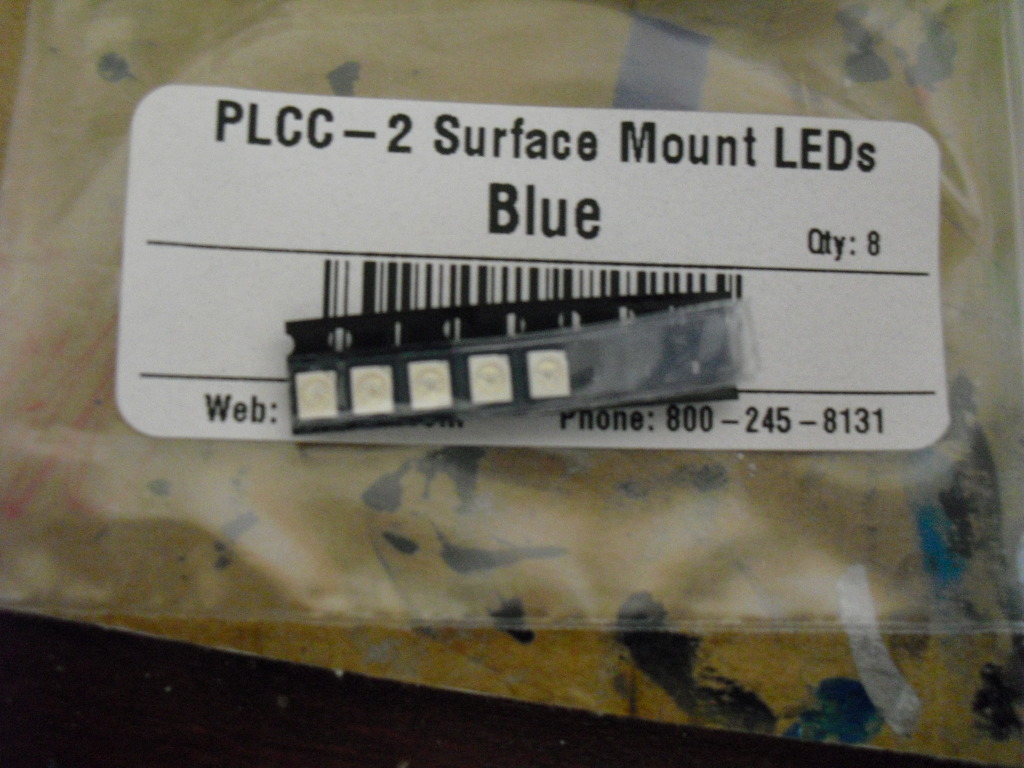
Its a good idea to test them after each one you do to make sure you got it on the right way
Now just pop the switches back together and reinstall them, took me maybe 20 minutes start to finish
Remove the switches from the door
Flip them over and unclip them to get the actual switches out, I used an ice pick
Now pop the 2 sides of the switches apart to expose the light
Yep, those little tiny squares are the lights.
Now take a small pair of needle nose pliers to grab the LED and use a soldering iron to unsolder the LED.
Make note of the pattern inside the original LED and which way it was in there so you put the new LEDs in the same way, If not they wont burn
The LEDs needed, I ordered 8 but you only need 5, only $.59 each
Its a good idea to test them after each one you do to make sure you got it on the right way
Now just pop the switches back together and reinstall them, took me maybe 20 minutes start to finish
Thread Starter
call me Randy
iTrader: (1)
Joined: Nov 2010
Posts: 6,502
Likes: 175
From: Salisbury, NC
The Overhead console is sadly a green plastic cover and a green LCD screen
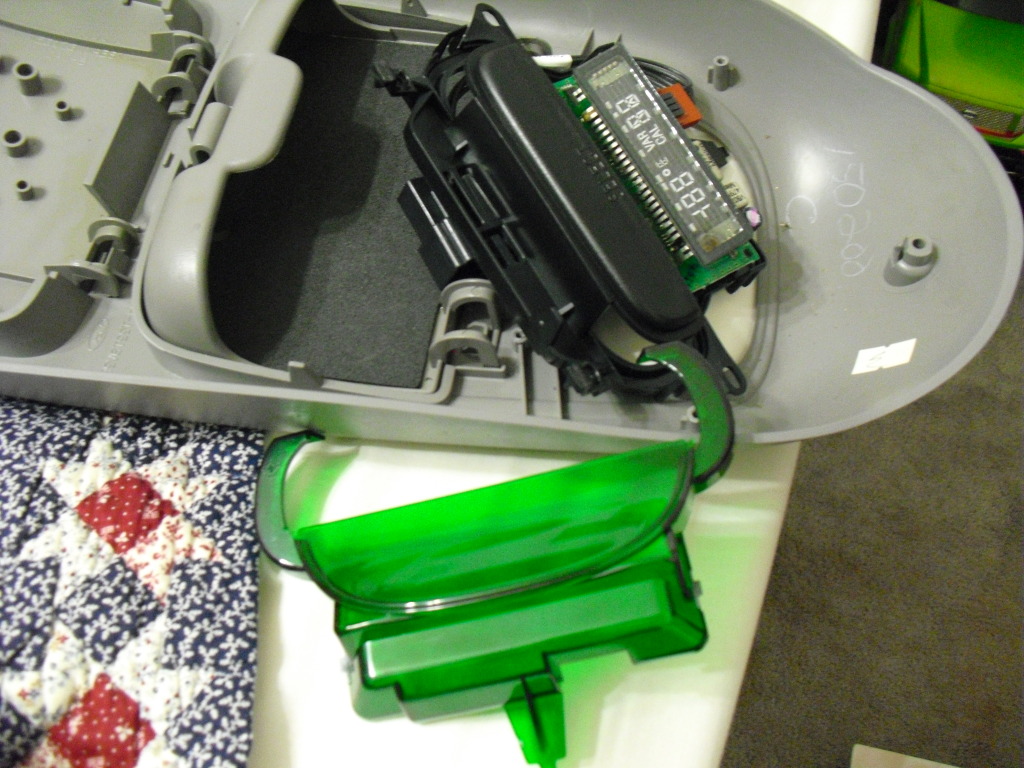
I even tried this...
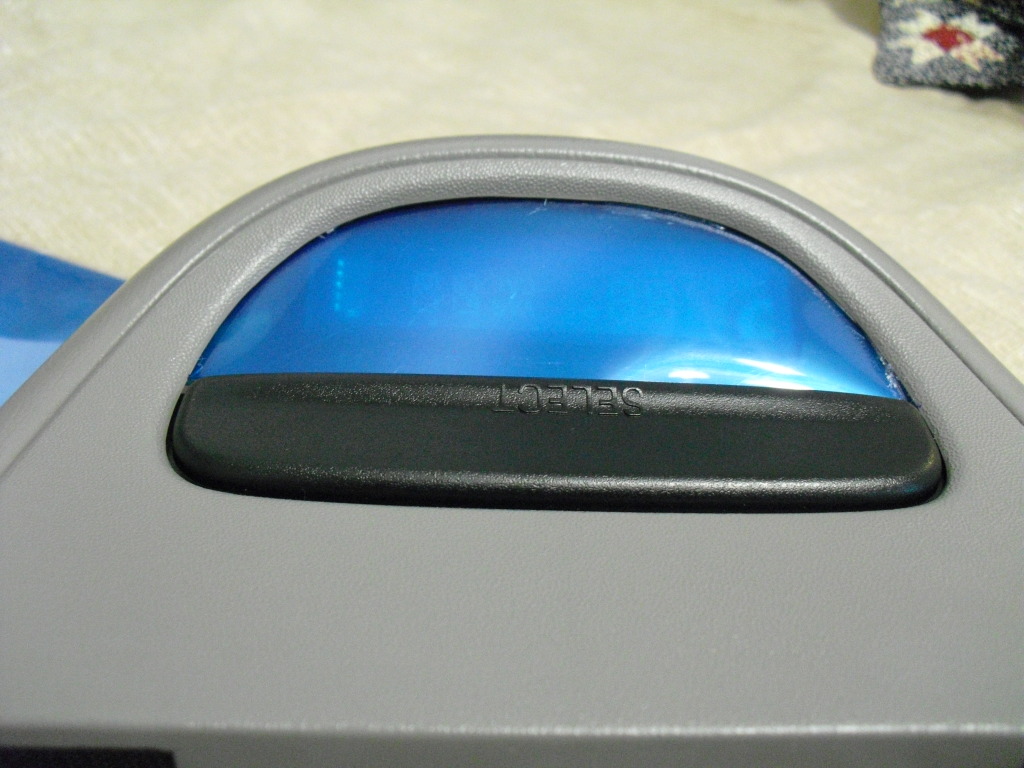
But still pretty green and pretty distorted, idk how to change that effectively. But Im open to suggestions
Have not done the cruise control buttons yet but their next on the list
I even tried this...
But still pretty green and pretty distorted, idk how to change that effectively. But Im open to suggestions
Have not done the cruise control buttons yet but their next on the list
Trending Topics
Thread Starter
call me Randy
iTrader: (1)
Joined: Nov 2010
Posts: 6,502
Likes: 175
From: Salisbury, NC
Resident light whore
Joined: Sep 2010
Posts: 31,772
Likes: 757
From: Arkansas
Originally Posted by 2000MTZ
Sadly no, I tried that first. Every one of them was off