08 Superduty Tail Lights step by step
 12-14-2012, 03:22 PM
#1
Senior Member
Thread Starter

This will help anyone who wants to upgrade to superduty tail lights on their truck.
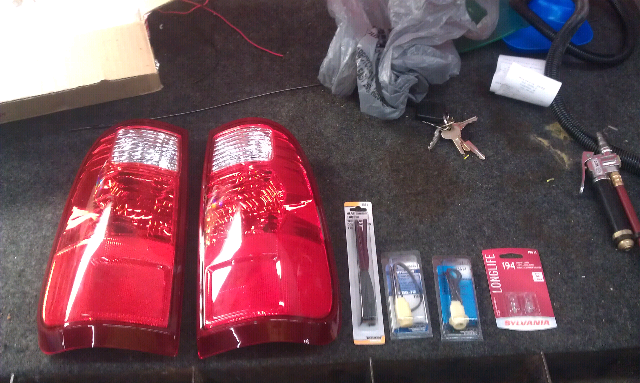
What you need to go buy:
Set of superduty tail lights. I got mine for about 52 shipped to my door from amazon.com.
Light socket for the reverse lights, also known as a pigtail. From Autozone the part number is 85814. They are 3.99 each.
Set of new bulbs for the pigtails. Part number 194 LL at autozone. They are 3.49 for two bulbs.
I also got some heat shrink for when you install the new pigtails as I don't want any water on my connections. I'm sure you can find heatshrink but just in case the part number is 85611 at autozone. 3.99 for more than you will even use for this.


The following users liked this post:
white89gt (12-17-2019)
12-14-2012, 03:27 PM
#2
Senior Member
Thread Starter
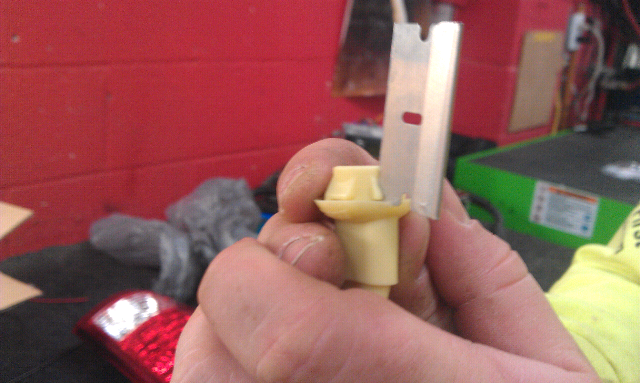
Next take out the pigtails. I had to use a razorblade to trim the tabs down just a little to fit them in the housing and lock properly.
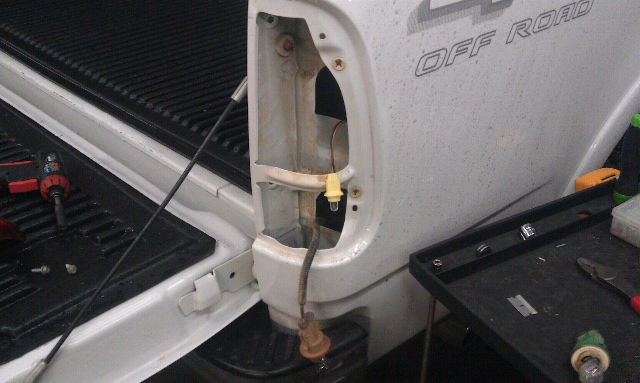
Next you will need to cut your factory reverse light pigtail off and butt connect the new one in. Make sure you put the heat shrink on before you connect the wires.
I failed to get a picture of this part but if you can't handle putting two wires together then you don't need to be doing this lol.
Here's a pic of it installed
 12-14-2012, 03:32 PM
#3
Senior Member
Thread Starter
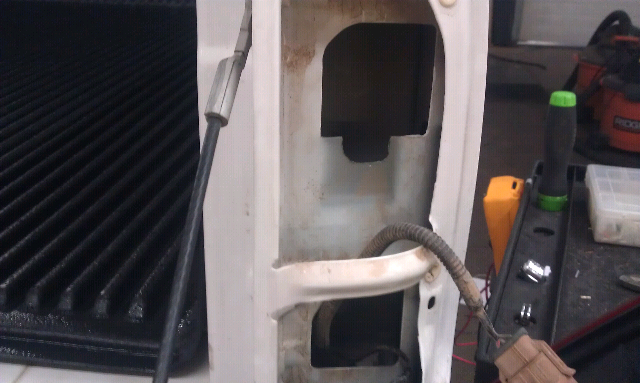
Now you will need to make a notch in the sheet metal behind the light. This will allow the pigtail for the tail light clear as it is in a higher position now.
Marked where I needed to cut with a sharpie.
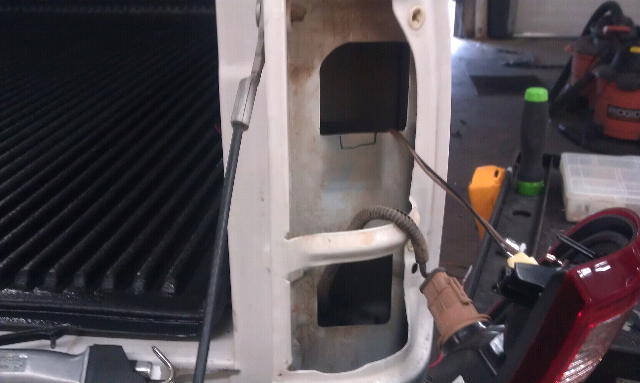
For the cut I used an air saw. The sheet metal is not super thin so this will be your best bet for cutting this notch.
After the cut.
Marked where I needed to cut with a sharpie.

For the cut I used an air saw. The sheet metal is not super thin so this will be your best bet for cutting this notch.
After the cut.


The following users liked this post:
white89gt (04-11-2016)
